
Youve just finished your beautiful crochet blanket. Every stitch is perfect, every color transition smooth. But something is missing. The edges curl slightly, the corners are not quite square, and the texture feels tight. That is where blocking comes in. It is the final touch that transforms a handmade piece from nice to professional. The good news is you do not need a fancy blocking mat to achieve stunning results.
Many crocheters assume blocking requires specialized gear, but you can block a crochet blanket without a mat using everyday household items. From spare beds and towels to yoga mats and corkboards, there are plenty of effective, budget-friendly alternatives. Whether you are working with cotton, acrylic, or wool, this guide walks you through how to block your crochet blanket safely and effectively, no mat required. You will learn the best methods for your fiber type, how to shape and pin without damaging surfaces, and which tools make the job easier.
Choose the Right Blocking Method for Your Yarn

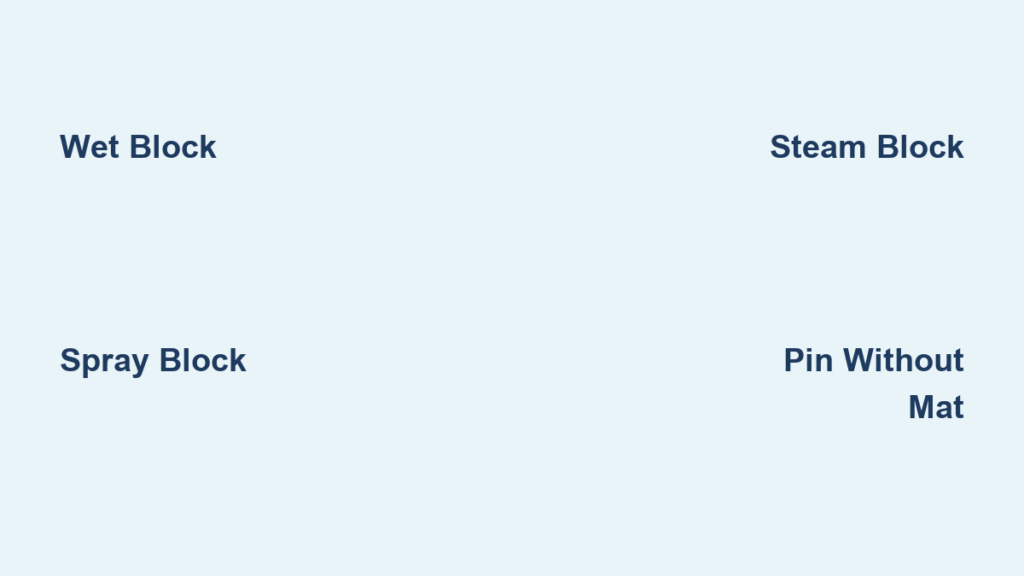
Before grabbing pins and water, decide which blocking technique suits your blanket is yarn and structure. The method affects both outcome and drying time.
Wet Blocking for Natural Fibers
Wet blocking is ideal for cotton, wool, or alpaca. This method reshapes fabric at a molecular level. Submerge your blanket in lukewarm water for 15 to 20 minutes. Gently press out excess moisture, never twist or wring. Lay it flat on your chosen surface, shape it evenly, and let it dry completely, which takes 24 to 48 hours.
Use a clean towel to roll and squeeze out water. This speeds up drying and prevents distortion.
Spray Blocking for Blends and Synthetics
Spray blocking is perfect for acrylic or mixed yarns. This method uses a misted water application. Lay the dry blanket on your surface, pin edges if needed, then spray until damp, not soaked. Smooth with hands to distribute moisture. Let dry undisturbed.
This method works because minimal water exposure reduces risk of stretching or fiber damage.
Steam Blocking for Acrylic Yarn
Contrary to myth, acrylic can be blocked. Steam blocking is the best approach. Shape the blanket, then hover a garment steamer or iron, no touching, above the fabric. Heat relaxes the fibers, setting the shape permanently. Cool completely before removing pins.
Never use steam on foam surfaces like yoga mats. They can melt.
Best Surfaces to Use Instead of a Blocking Mat
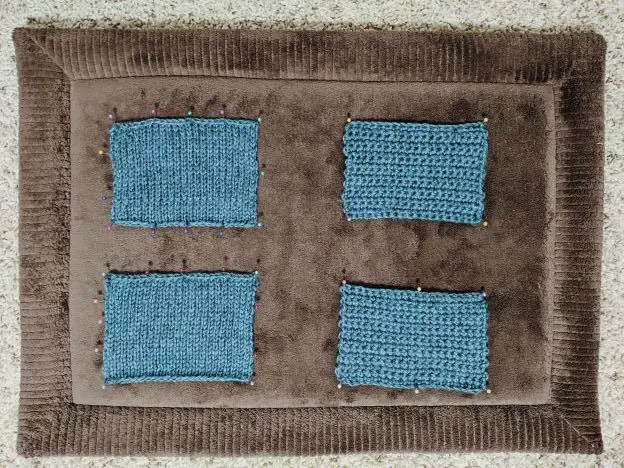
Skip the store-bought foam. These alternatives work just as well and will not clutter your craft room.
Bed With Sheet or Towels
Use your spare bed as a giant blocking board. Stretch an old fitted sheet tightly over the mattress to prevent slipping. Place your damp blanket on top and smooth edges.
Push rust-proof T-pins through the blanket and into the mattress for pinning. Slide a yoga mat or foam pad under the sheet to help pins grip. This method works best for full-sized throws, afghans, or multi-square blankets.
Avoid using your main bed. Accidental footsteps ruin hours of work.
Thick Towels on Flat Surface
Layer one to two bath towels on the floor, table, or countertop. Overlap and tape edges if using multiple towels to prevent shifting.
On carpet, insert pins vertically. They will anchor into the padding. On hard floors, fold towel edges and pin diagonally through layers. Swap towels halfway if they absorb too much water.
This method is ideal for quick, no-fuss blocking of medium-sized blankets.
Yoga Mat for Pin-Friendly Support
A yoga mat mimics commercial blocking mats with its grippy, cushioned surface. Lay the damp blanket directly on the mat. Pin edges with T-pins or plastic-headed pins. Avoid steam. Heat can warp rubber or foam.
The limitation is size. Large blankets may need repositioning or multiple mats.
Precision and Protection: Non-Pin Options
Some surfaces cannot handle pins. They still deliver great results.
Sewing Cutting Mat With Gridlines
Use a self-healing cutting mat for accurate shaping. Its grid helps align corners and measure edges. Lay blanket flat, smooth by hand. No pins are needed. Rely on weight or light pressure instead.
This method is best for spray blocking baby blankets or lace motifs. Avoid cardboard-backed boards. They disintegrate when wet.
Bath Mat for Small Projects
An old bath mat, foam or rubber, works for baby blankets or swatches. It is water-resistant and non-slip. It can hold pins if it is foam-core. Dry flat, do not hang.
This is not suitable for heavy or oversized blankets.
DIY and Creative Blocking Solutions
Think outside the box with these clever, reusable setups.
Corkboard for Secure Pinning
Corkboard is naturally pin-friendly. Lay it flat or mount on a wall. Pin your blanket directly into the surface. Cover with a trash bag to protect from moisture. Combine multiple boards with tape for larger projects.
This is best for individual squares, borders, or granny motifs.
Couch Cushions as Padded Base
Remove sofa cushions and lay them flat. Cover with a plastic bag, then place your blanket on top. The soft surface allows easy pin insertion. This is great when floor space is limited.
Do not use on leather. Moisture can cause damage.
Wooden Board With Nails DIY Frame
Build a custom blocking frame from wood. Cut a board to your blanket is size. Hammer nails or pushpins every 2 to 3 inches around the edge. Stretch the damp blanket over the frame and secure.
This is perfect for repeated projects like granny square afghans.
Hanging Method for Lightweight Blankets
For light cotton or lace throws, use gravity to your advantage.
Hang and Shape With Clips
String a clothesline indoors or in a shaded outdoor area. Clip the top edge of the blanket with clothespins. Add pins along sides and bottom to prevent sagging.
This method offers fast drying and opens up stitch patterns. Avoid with heavy or wet acrylic. The fabric may stretch permanently.
Fiber-Specific Blocking Tips
Not all yarns react the same. Match your method to your fiber.
| Fiber | Best Method | Why It Works |
|---|---|---|
| Acrylic | Steam blocking | Heat sets shape permanently |
| Cotton | Wet blocking | Absorbs water, holds structure |
| Wool | Wet or spray | Elastic fibers relax and reset |
| Blends | Spray blocking | Balances moisture and heat safety |
| Synthetics | Spray or steam | Prevents melting or warping |
Never steam on plastic, foam, or vinyl surfaces. They can degrade.
Tools You Will Need No Mat Required
You do not need much. Just a few key items.
Rust-proof T-pins or plastic-headed pins. They prevent stains and corrosion. A measuring tape ensures even edges and square corners. A spray bottle provides even misting in spray blocking. Clean towels press out water and protect surfaces. Plastic trash bags or sheets shield surfaces from moisture. A straight edge or ruler aligns borders precisely.
Use painter is tape to mark blanket dimensions on the floor. It keeps edges straight.
Drying: Do Not Rush the Final Step
Blocking is not done until the blanket is fully dry.
Dry flat unless using a clothesline. Flip halfway if on a non-breathable surface like plastic-covered couch cushions. Boost airflow with a fan, but not blowing directly on the fabric. Avoid sunlight. UV rays can fade colors and weaken fibers.
Time estimate is 12 to 48 hours, depending on thickness and humidity.
Block Before or After Joining Squares
This is a common dilemma. Here is the breakdown.
Block Before Joining
Block before joining when each square needs to lie flat and match in size. This is best for granny squares, hexagons, or motif-based blankets. The result is easier seaming and perfect alignment.
Block each square individually, let dry, then join.
Block After Joining
Block after joining when you want to smooth out seams and even overall tension. This is best for solid blankets or those with minimal joining. The result is unified drape and professional finish.
Light steam blocking often suffices for post-join smoothing.
Real Crocheter Tips From the Trenches
Thousands of crafters have blocked without mats. Here is what works.
My fitted sheet on the guest bed is my go-to. No slipping, and I can pin right into the mattress. Towels on carpet hold pins like magic. Just make sure the carpet is not too deep. I use my sewing cutting mat for baby blankets. The gridlines are perfect for symmetry. DIY nail board saves me hours. I label it Granny Square Size and reuse it constantly. Never steam on foam. It ruined my yoga mat. Now I use a towel-covered ironing board instead.
Community verdict is that bed plus sheet wins for large blankets. Cutting mat is best for precision.
Quick Comparison Best No-Mat Methods
| Method | Best For | Pins OK | Size Capacity | Drying Speed |
|---|---|---|---|---|
| Bed plus Sheet | Full-sized afghans | Yes | High | Medium |
| Towels on Floor | All sizes on carpet | Yes | High | Medium |
| Yoga Mat | Medium throws | Yes | Medium | Medium |
| Cutting Mat | Small, precise work | No | Low to Medium | Fast |
| Corkboard | Squares, swatches | Yes | Low | Medium |
| Clothesline | Lightweight cotton, lace | With clips | Medium | Fast in dry air |
| Wood plus Nails | Repeated shapes | Yes | Custom | Medium |
Key Takeaways for Blocking Your Crochet Blanket Without a Mat
Blocking your crochet blanket without a mat is not only possible. It is practical. With a little creativity and common household items, you can achieve smooth edges, even stitches, and professional drape without spending a dime on specialty gear. The key is matching your method to your blanket is size, fiber type, and available space.
Start with wet blocking for cotton or wool. Use steam for acrylic. Choose spray for blends. Use a bed with a sheet for large throws. Try towels on carpet for easy pinning. Reach for a cutting mat for precision. Build a wooden frame if you make the same size repeatedly.
Remember that blocking is the final polish. It makes your hard work shine. Whether you are gifting, selling, or snuggling your blanket, taking that extra step ensures it looks its best. So grab your pins, pick your surface, and give your crochet the finish it deserves.
Frequently Asked Questions About Blocking a Crochet Blanket Without a Mat
Can I use a yoga mat for blocking my crochet blanket?
Yes, a yoga mat works well as a blocking surface. It is cushioned, non-slip, and holds pins securely. Just avoid steam blocking on yoga mats. Heat can warp rubber or foam materials.
What is the best surface for blocking a large afghan?
A spare bed covered with a fitted sheet is ideal for large afghans. The sheet prevents slipping while the mattress provides a firm surface for pinning. This method accommodates full-sized throws and multi-square blankets.
How long does it take to block a crochet blanket without a mat?
Blocking takes 12 to 48 hours total. This includes soaking time for wet blocking plus drying time. Drying depends on blanket thickness, humidity, and airflow. Always wait until completely dry before removing pins.
Can I block acrylic yarn without a steamer?
Yes, spray blocking works for acrylic yarn. Mist the blanket until damp, shape it, and let it dry. Steam blocking produces more permanent results, but spray is safer and works well for most acrylic blends.
Do I need to block my blanket before joining granny squares?
Blocking before joining is recommended for granny square projects. Each square lies flat and matches in size, making seaming much easier. The result is uniform alignment and professional-looking finished piece.

