
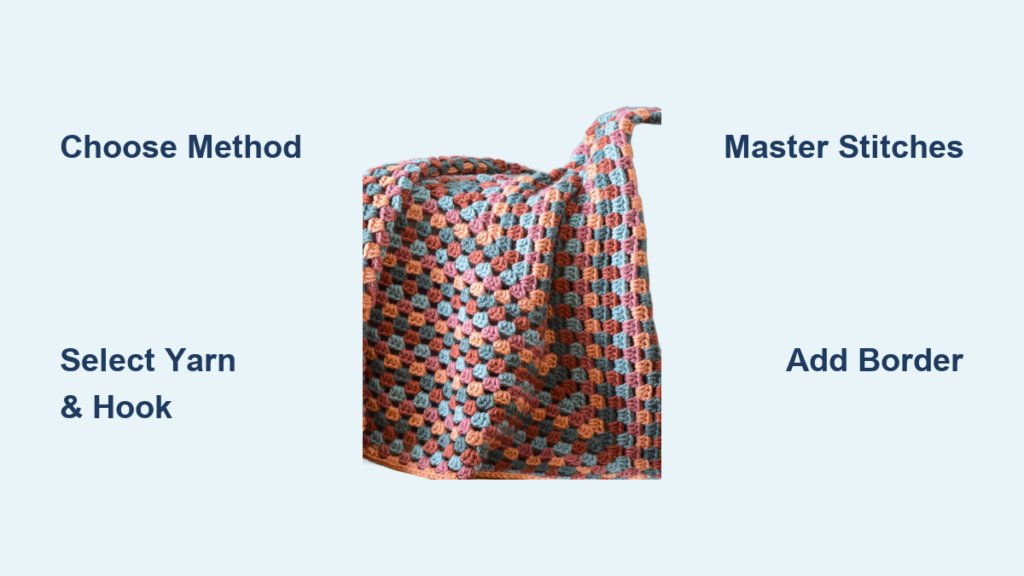
Crocheting a square blanket is one of the most rewarding projects for crafters of all skill levels. Whether you want a cozy throw for your living room or a soft baby blanket for a new arrival, learning how to crochet a square blanket opens up endless creative possibilities in color, texture, and design. The process uses repeatable patterns that become meditative once you master the basic technique.
This guide walks you through every step, from selecting the right yarn and hooks to finishing with professional-looking borders. You will learn two popular construction methods, essential stitches, color planning strategies, and how to avoid common mistakes that trip up beginners.
Choose Your Construction Method for a Square Blanket
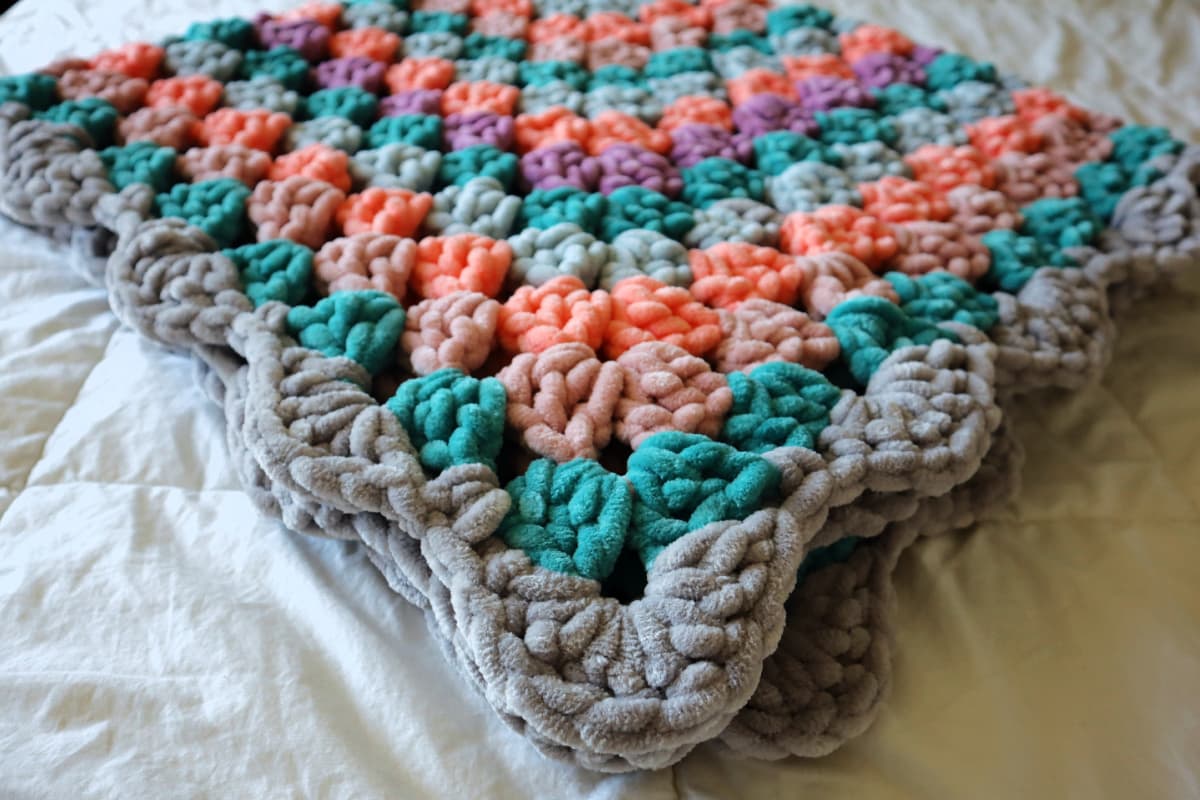
Before starting your project, you need to decide between two main construction approaches. Both methods produce beautiful results, but each offers distinct advantages.
Continuous In-the-Round Method
This technique builds a single large square outward from a central ring using concentric rounds. You work continuously without turning until reaching your desired size.
Best for: Fewer ends to weave in, seamless appearance, meditative rhythm
Skill Level: Beginner to intermediate
Time Estimate: 20 to 60 hours depending on size
Modular Granny Square Method
This approach involves creating multiple small squares separately, then stitching them together into a larger blanket. Each square is a complete unit that you assemble like a puzzle.
Best for: Color variety, portable projects, creative customization
Skill Level: Beginner
Time Estimate: 30 to 80 hours including assembly
Pro Tip: If you are new to crocheting, start with a 5-round granny square. Once you master the repeat pattern, scaling up becomes intuitive and predictable.
Gather the Right Materials and Yarn
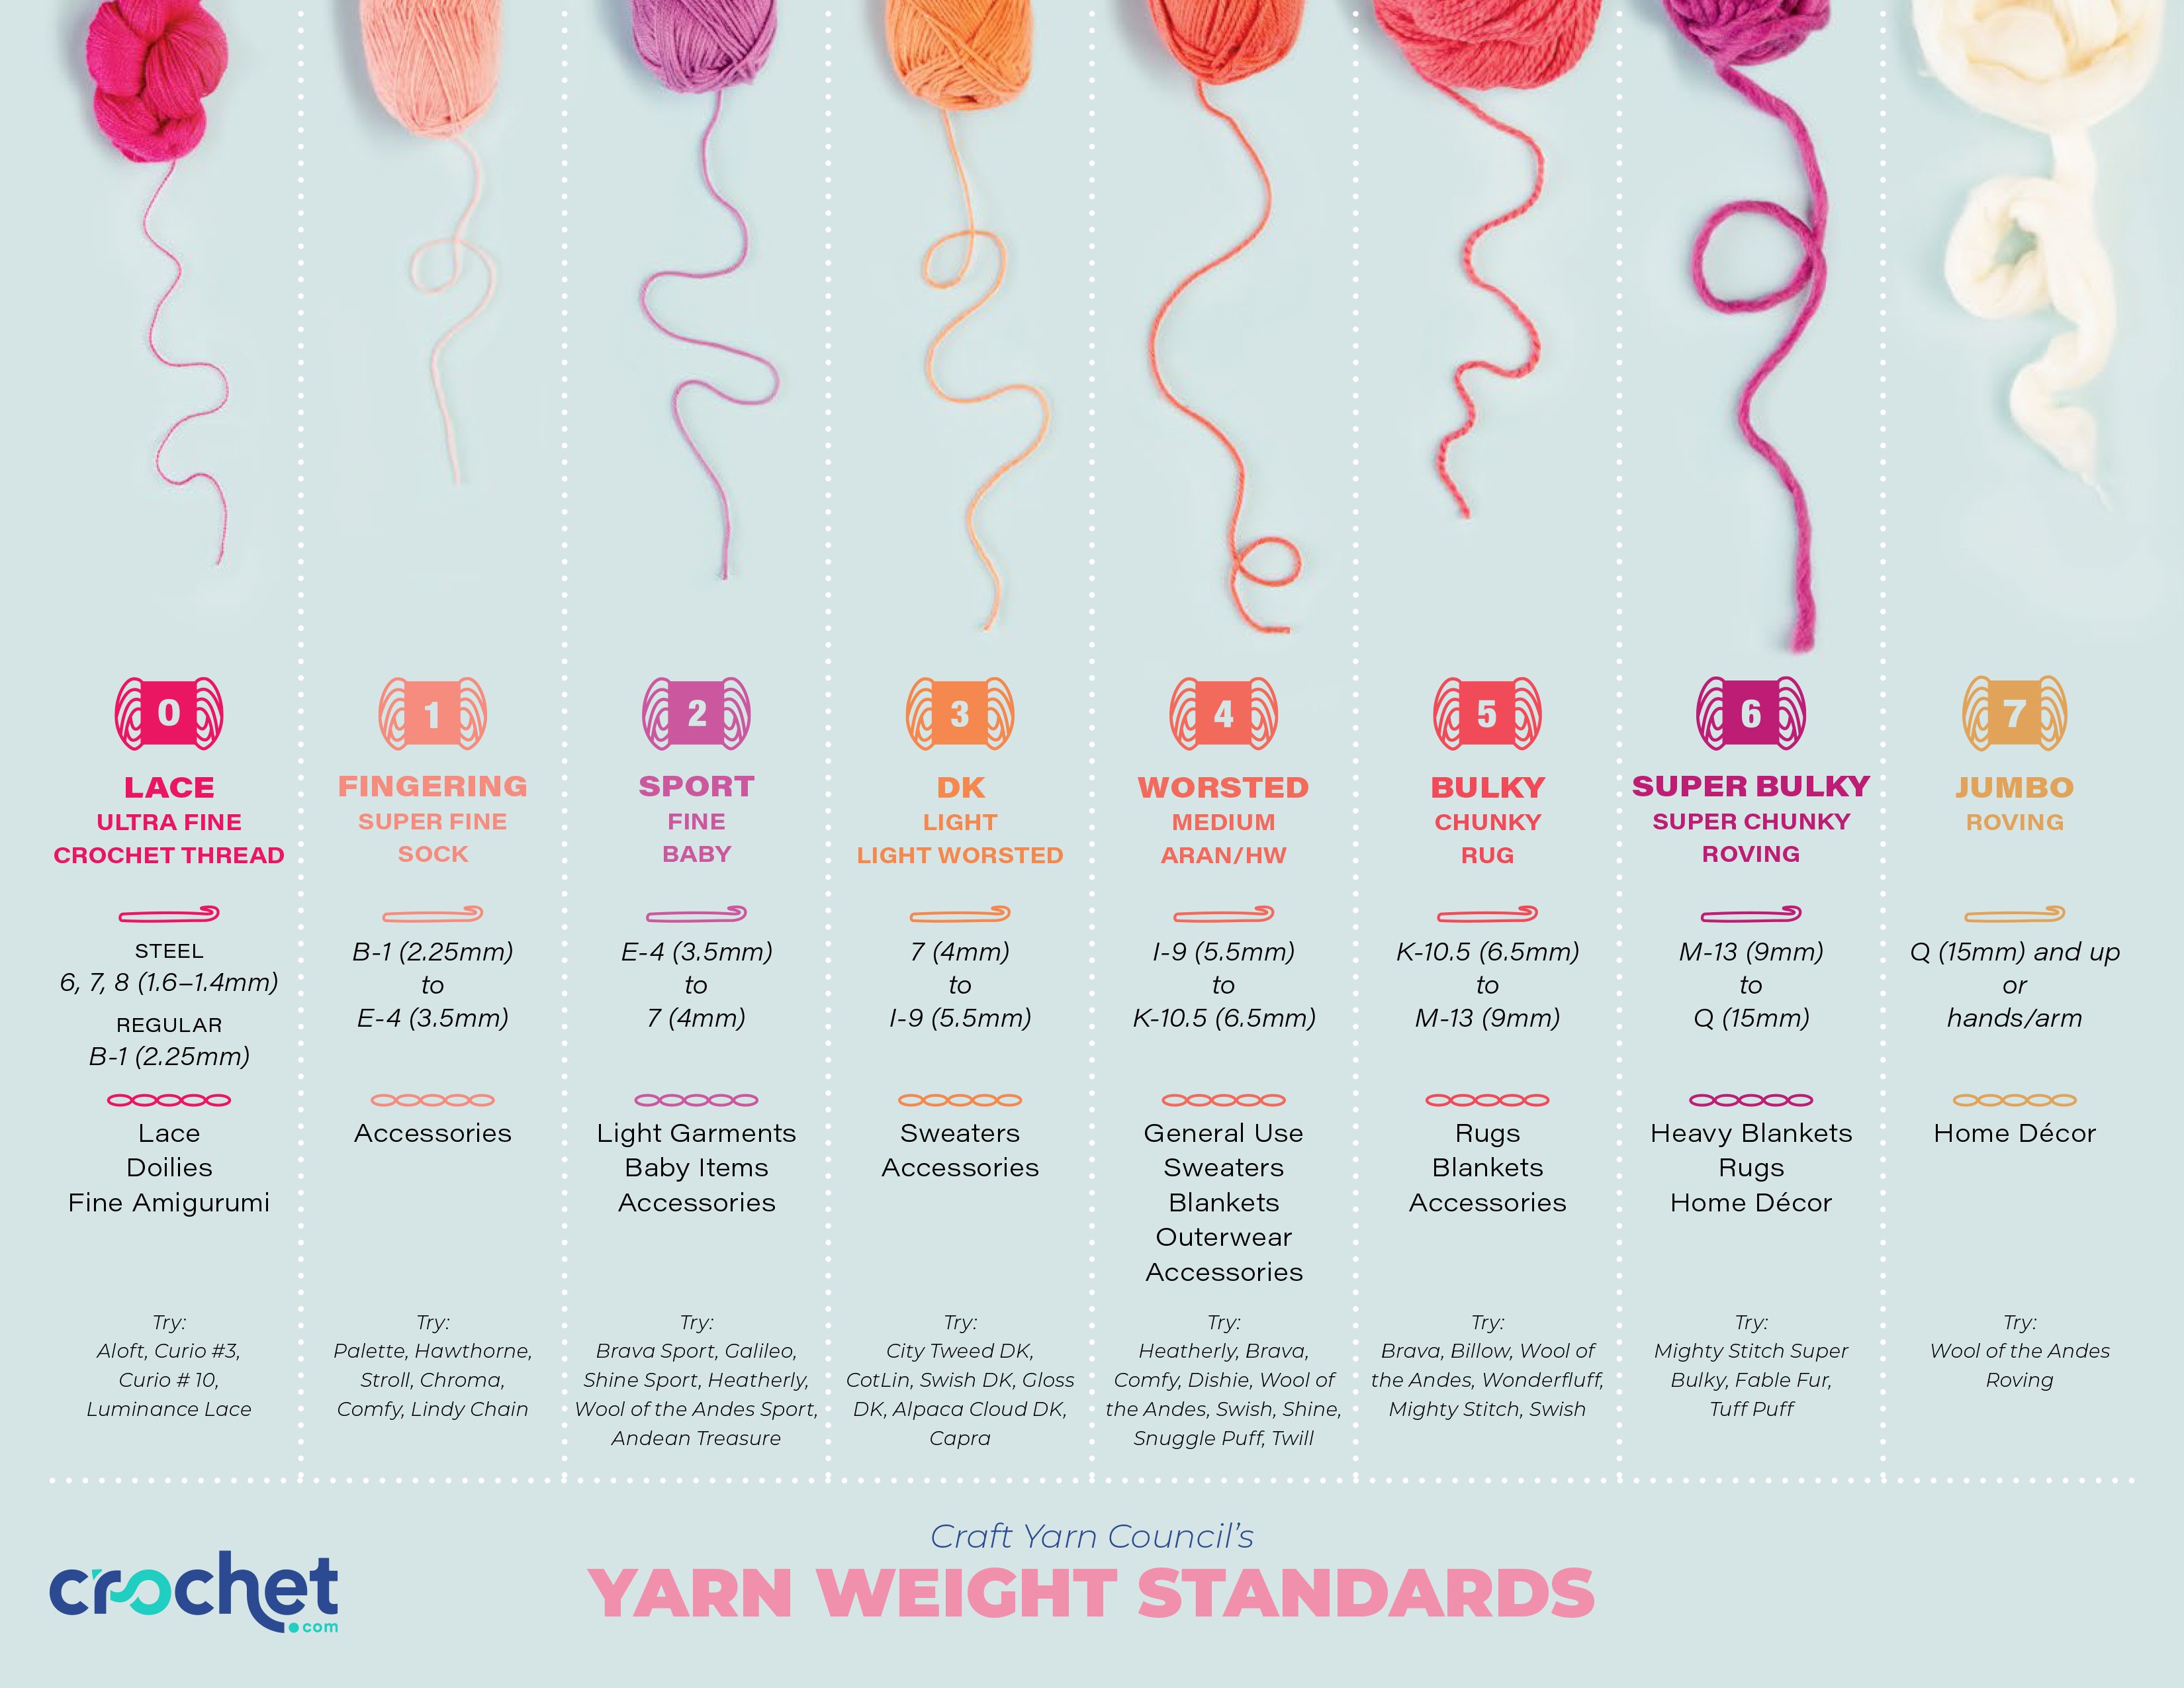
Having proper supplies ensures your blanket turns out even, durable, and beautiful. The right yarn makes a significant difference in both the finished look and your crocheting experience.
Select Your Yarn Weight and Type
Worsted weight yarn (#4) is the most recommended option for square blankets because it balances warmth, drape, and stitch definition perfectly.
Recommended yarn choices include:
– Premier Basix Worsted: Budget-friendly, machine-washable, great for throws
– Bernat Premium: Soft, durable, excellent stitch clarity
– Cotton Chirp DK: Lightweight, breathable, ideal for baby blankets
– Yarn Bee Soft and Sleek: Smooth finish, good for colorwork
Fiber Tip: Use 100% acrylic for easy care and durability. Choose cotton for a crisp, structured drape that breathes well.
Calculate Yarn Quantities
For a full-sized throw blanket using multiple colors, plan for 2,000 to 2,600 total yards. Using a neutral main color like cream, white, or chamomile helps unify bold contrast colors throughout your design.
Select the Correct Hook Size for Your Yarn
Matching your hook to your yarn weight ensures consistent gauge and even stitches throughout your project.
| Yarn Weight | Recommended Hook Size |
|---|---|
| Worsted (#4) | 5mm (H-8) |
| DK / Light Worsted | 3.75mm (F) |
Gauge Check: For DK cotton yarn, one finished square should measure 4 inches after washing. Adjust your hook size up or down to hit this target consistently.
Master Essential Crochet Stitches
You only need a handful of basic stitches to create any square blanket. These core techniques form the foundation of both construction methods.
Required Stitches
- Chain (ch): Creates the foundation loops
- Slip stitch (sl st): Joins rounds and edges
- Single crochet (sc): Creates tight, dense fabric
- Double crochet (dc): Provides height and openness
- Double crochet cluster (dc cl): Three dc stitches worked into one stitch or space
Special Techniques Worth Learning
- Magic ring: Creates a tight center with no visible hole
- Crab stitch: Reverse single crochet for decorative twisted edging
- Picot edging: Small looped border using ch-2, hdc into second chain from hook
Beginner Note: If a magic ring feels tricky, chain 4 and join with slip stitch to form a ring. This alternative works perfectly for first attempts.
Start with a Center Ring Foundation
Every square blanket begins with a central point that sets the foundation for all subsequent rounds. Getting this right ensures your blanket grows evenly.
Create a Magic Ring
- Wrap yarn around your fingers to form a loop
- Insert your hook, yarn over, and pull through the loop
- Chain 3 (counts as your first double crochet)
- Work 2 double crochets into the ring
- Chain 2, then work 3 double crochets into the ring
- Repeat the chain-2 and 3-dc pattern three more times
- Join with slip stitch to the top of your starting chain-3
You now have 4 clusters and 4 corner chain-2 spaces, which is the classic granny square foundation.
Visual Cue: The ring should close snugly with no gap visible. Pull the tail yarn to tighten after joining the round.
Build Rounds for Continuous Growth
When using the continuous method, your blanket grows outward following predictable pattern rules. Understanding these rules helps you control the shape and size.
Round-by-Round Growth Principles
- Increases happen at corners only
- Each side gains one more cluster per round
- Corner formula: 3 dc, ch 2, 3 dc defines the square shape
- Side clusters go into previous round’s chain spaces
Sample Round Progression
Round 1: In magic ring, work 3 dc, ch 2, repeat 4 times, join. This gives you 4 clusters and 4 corners.
Round 2: Join your main color in any chain-2 space. Work sc, ch 2, sc in the same space for a corner. Chain 3, skip the cluster, then 3 dc in the next chain-2 space. Repeat around.
Rounds 3 and Beyond: Alternate between single crochet rounds in neutral color and double crochet rounds in your contrast color. Each round adds clusters between corners until you reach your desired size.
Color Tip: Alternate every 2 rounds, ending with 3 rounds of your final color for visual balance and polish.
Create Individual Granny Squares
The modular method produces beautiful blankets made from separate squares. This approach offers excellent portability and endless color combinations.
Basic 5-Round Granny Square Pattern
Round 1: Make a magic ring. Chain 3 (counts as first dc), work 2 dc in ring. Chain 2, 3 dc in ring. Repeat 3 times. Join to top of chain-3.
Round 2: Join a new color in any chain-2 corner space with slip stitch. Chain 3, 2 dc in same space (first corner). Chain 1, 3 dc in next chain-2 space. Repeat around: 3 dc, ch 2, 3 dc in each corner, 3 dc in each chain-1 space on sides. Join to chain-3.
Rounds 3 through 5: Repeat the Round 2 pattern. Each round adds one cluster per side between corners. After 5 rounds, each side has 5 clusters.
Size Check: A finished 5-round square should measure approximately 4.5 inches before washing and 4 inches after laundering.
Plan Your Color Layout Strategy
Smart color choices transform a simple blanket into a stunning handmade piece. Planning ahead prevents expensive mistakes and ensures a cohesive look.
For Continuous Blankets
Alternate between main colors and neutral tones. Use 2 rounds per color, with the final color lasting 3 rounds for balanced visual weight. Calming combinations include light blue, linen, sage, linen, then slate.
For Modular Blankets
Use 9 contrast colors paired strategically. Pair contrasting shades like chartreuse with pink lily or firecracker red with pink ice. Use your main color in the final round of each square to unify the entire design.
Design Tip: Lay out all your squares before sewing them together. Take a photograph to lock in your favorite arrangement before committing to the seams.
Join Squares Together Seamlessly
How you assemble your squares affects both the flexibility and appearance of your finished blanket. Proper technique prevents puckering and creates invisible seams.
Whipstitch Join Method
- Place two squares with right sides facing each other
- Thread a darning needle with your main color yarn
- Insert the needle through corresponding corners, going front to back, then back to front
- Repeat across the entire edge, keeping stitches small and even
- Pull snug but not tight to avoid creating ripples
Pro Upgrade: Hold your yarn doubled (two strands together) for stronger, more durable seams that withstand washing.
Assembly Order
Sew squares into horizontal rows first, then join the rows together vertically. This method keeps seams aligned and makes the process more manageable.
Add a Polished Border Finish
The final border frames your blanket and hides any minor imperfections from the main body. Several border styles work well for square blankets.
Single Crochet Border
Single crochet in every stitch around the entire blanket edge. Place 3 single crochets in each corner stitch to turn corners smoothly. This simple border is beginner-friendly and always looks tidy.
Crab Stitch Border
Work single crochet from left to right instead of the normal right to left direction. This creates a twisted, braided edge that adds texture and visual interest.
Picot Edging
Work single crochet in the next 6 stitches. Then create a picot by chaining 2 and working a half double crochet in the second chain from your hook. Repeat around the blanket. At corners, work single crochet, picot, then single crochet.
Final Note: Any of these border options produces a professional finish. Choose based on your personal style preference and the overall aesthetic you want for your blanket.
Block and Care for Your Blanket
Blocking evens out stitches and gives your blanket a crisp, polished shape. This final step elevates your work from homemade to professional quality.
Blocking Methods by Fiber
For cotton: Machine wash in cold water, tumble dry on low heat
For acrylic: Lay flat to air dry. Lightly steam the edges with a hand steamer if needed
Pro Tip: Block individual squares before assembling your modular blanket. This ensures uniform sizing across all pieces.
Ongoing Maintenance
Machine wash your blanket in cold water using a gentle cycle. Tumble dry on low for cotton or lay flat to dry for acrylic. Spot clean stains with mild detergent and never use bleach.
Common Mistakes to Avoid
Even experienced crocheters encounter these issues. Knowing how to prevent them saves time and frustration.
Curling Edges
Cause: Inconsistent corner increases or tight tension
Fix: Count your stitches carefully at each corner and use stitch markers to mark corner positions
Twisted or Wavy Blanket
Cause: Not turning your work between rounds or skipping chain spaces
Fix: Turn your work after completing each round. Always work into the correct spaces.
Gaps in Corners
Cause: Loose chain-2 or chain-3 spaces at corners
Fix: Pull your yarn slightly tighter when chaining at corners to create snug spaces
Too Many Ends to Weave In
Fix: Weave in ends as you go rather than waiting until the end of your project. This habit prevents an overwhelming finishing task.
Pro Hack: Label your color balls and join new yarn at corners for neater transitions between colors.
Frequently Asked Questions About Crocheting a Square Blanket
How long does it take to crochet a square blanket?
A baby-sized blanket takes approximately 10 to 15 hours. A throw-sized blanket typically requires 30 to 60 hours depending on your speed and the complexity of your design.
What is the easiest stitch pattern for beginners?
The granny square is the easiest and most forgiving pattern for beginners. The repeatable sequence of clusters and chain spaces is easy to learn and difficult to mess up permanently.
How do I know when my blanket is big enough?
Measure your blanket regularly as you work. Standard throw size is 40 to 50 inches square. Stop when you reach your desired dimensions or when you have used approximately 2,000 yards of yarn.
Can I use different yarn weights in one blanket?
Mixing yarn weights is possible but requires adjusting your hook size and gauge. Stick with one yarn weight for your first project to ensure consistent results.
Why does my blanket curl at the edges?
Curling usually results from inconsistent tension or incorrect corner increases. Turn your work after each round and count stitches carefully at every corner to prevent this issue.
Key Takeaways for Crocheting Your Square Blanket
Crocheting a square blanket is more than a craft project. It is a meditative practice that produces a lasting handmade heirloom. Whether you choose the continuous spiral method or the modular granny square approach, the techniques remain fundamentally simple and repeatable.
Start with the right materials. Use worsted weight yarn and a 5mm hook for most projects. Master the magic ring foundation and the cluster-and-chain repeat pattern. Plan your colors intentionally using a neutral main color to unify contrast shades.
Remember to turn your work after each round to prevent warping. Block your finished squares before assembly for professional results. Weave in ends as you go rather than saving them for the end.
Pick your colors, grab your hook, and start where every square begins. Your perfect blanket awaits.

