
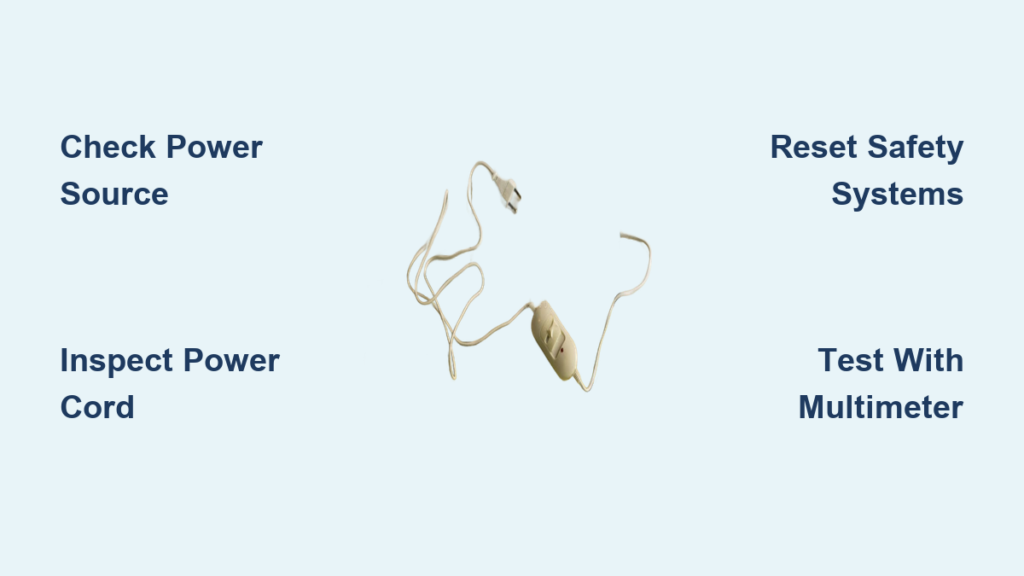
A broken heated blanket can leave you cold, especially during winter months. Whether your blanket won’t turn on, heats unevenly, or shuts off unexpectedly, the problem usually stems from one of several common failure points. This guide covers how to fix a broken heated blanket by walking you through diagnostic steps, repair procedures, and clear safety boundaries. You’ll learn when repair is feasible and when replacement is the only responsible choice.
Before attempting any repair, understand this: heated blankets are safety-critical devices. A malfunction can lead to fire, especially if internal wiring is compromised or repairs are done improperly. Many repair experts, including Repair Café Palma, report zero successful repairs of electric blankets due to inaccessible internal circuits and multiple simultaneous failures. Still, if your blanket shows no power but the fabric is intact, you may be able to revive it safely by diagnosing and replacing key components.
Check Power Source First
Before assuming the blanket is broken, verify the outlet is delivering power. Electrical issues upstream of the blanket are often mistaken for blanket failure.
Test the Outlet
Plug in another device like a lamp or phone charger. If it doesn’t work, press the reset button on GFCI outlets. Check your home’s circuit breaker panel for a tripped switch. Avoid using extension cords or power strips, as some models won’t operate through them due to voltage drop or filtering.
Tip: Some heated blankets are sensitive to power fluctuations. Even a slightly underpowered outlet can prevent startup.
If the outlet works but the blanket doesn’t, move to the next diagnostic step.
Inspect the Detachable Power Cord
Most modern heated blankets use a detachable power cord that connects the controller to the wall. This cord is a common failure point and the most accessible component to replace.
Look for Physical Damage
Disconnect the cord from both ends and examine it for fraying or crushing near the plug or connector. Look for scorch marks or melted plastic. Check for bent or corroded pins on the multi-pin connector.
Reconnect firmly, making sure the plug clicks into place to establish proper contact. Wait 15–20 minutes after reconnection to allow internal safety circuits to reset.
User Insight: “They fray/fall apart at the cord/pad area quickly.” — e-tek
If the cord shows visible damage, replace it with an OEM part. Using a mismatched cord can cause controller failure or fire hazard.
Reset the Blanket’s Safety Systems
Heated blankets have built-in protection against overheating and power surges. These systems can trip temporarily, causing a “no power” condition even when the hardware is fine.
Perform a Full Reset
Unplug the blanket from the wall. Wait at least 20 minutes to allow capacitors and thermal sensors to discharge and cool. Reconnect and power on. This simple step resolves many startup issues caused by temporary overloads.
Use the Controller Reset Button
Some models have a dedicated reset button on the control unit. Press and hold it for 10 seconds. Watch for the indicator light to blink or reappear. If the light returns and the blanket heats, the issue was a tripped safety circuit, not hardware failure.
Expert Note: You may hear a “click” from the thermostat as it cycles. This confirms the control unit is active and the safety systems have reset.
Diagnose Heating Problems
Understanding what type of heating failure you’re experiencing helps narrow down the cause and determine if repair is possible.
No Heat at All
If there’s no warmth on any setting, the issue likely lies in the controller, power cord, or a blown thermal fuse. Internal heating wires may still be intact, which you can verify with a multimeter.
Partial or Uneven Heating
If only sections warm up, lay the blanket flat and run it on high for 10–15 minutes. Use your hand carefully or an infrared thermometer to map temperature zones.
Interpretation:
– One cold end: Likely a wire break at a stress point, such as where wires enter the fabric.
– Cold center or edge: Damage from folding or general wear over time.
User Observation: “The main heating wire had about 80 ohms of resistance but the hair-thin wire… has no continuity.” — outdoorsman310
Even if the heater wire is fine, a broken auxiliary safety wire can prevent the controller from powering the blanket.
Test Resistance and Continuity with a Multimeter
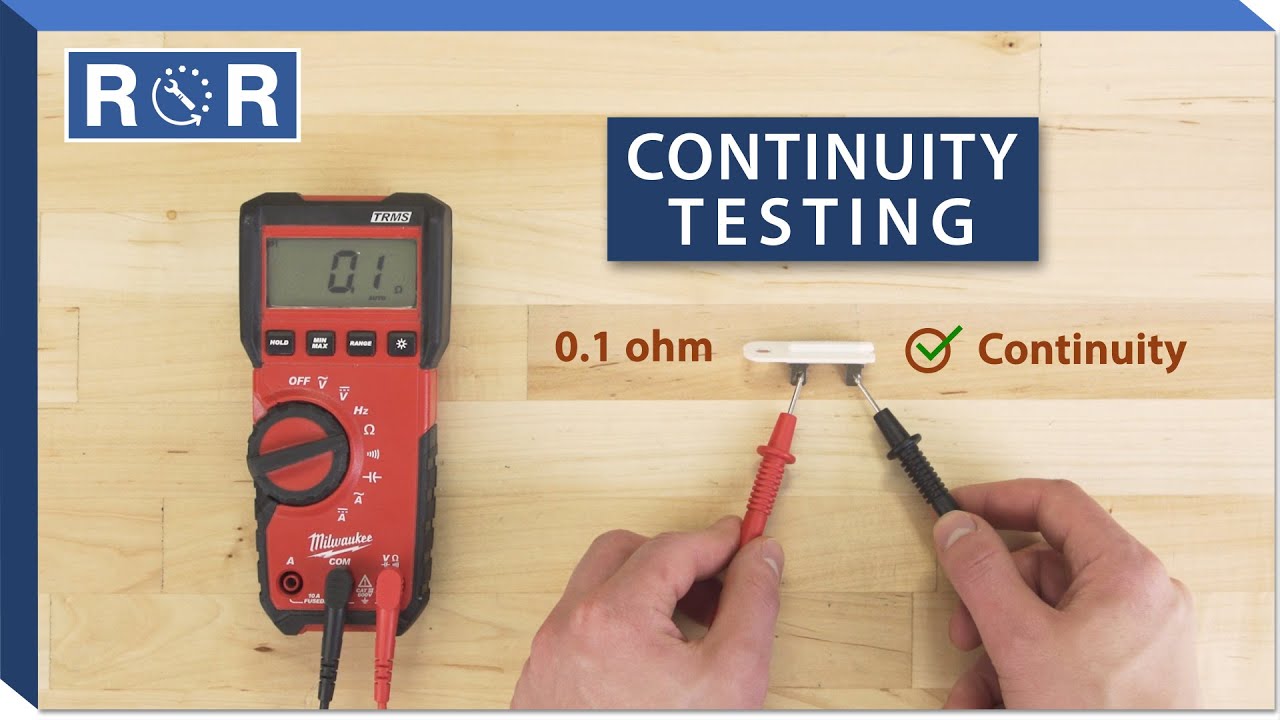
Using a multimeter to check electrical continuity and resistance is the most reliable way to diagnose internal problems without guesswork.
Set Up the Multimeter
Turn the dial to Ω (ohms). Touch the probes together to confirm the meter reads near 0 Ω before testing.
Test the Heating Element
Locate the two main terminals where the power cord connects to the blanket. Place one probe on each terminal and read the resistance.
| Blanket Type | Expected Resistance |
|---|---|
| Biddeford (single) | ~80 Ω |
| Silent Night (half circuit) | ~1227 Ω |
| Silent Night (double) | ~2555 Ω |
Infinite resistance (OL) indicates an open circuit from a broken wire. Near expected value means the heating element is likely intact.
Test the Auxiliary Wire
Probe the thinner wires running alongside the main heater. These should show continuity with low resistance. No continuity indicates a broken safety loop, which can disable the heater even if the main wire works.
Case Example: A Silent Night blanket showed 1277 Ω across outer wires (close to half-resistance) but no continuity in inner wires, pointing to a control path fault rather than blanket damage.
Open and Repair the Control Unit
If the blanket has no power and tests confirm the heater is intact, the controller may be the culprit. This repair requires basic electronics skills and caution.
Tools Needed
You will need a soldering iron, solder, multimeter, long-nose pliers, replacement thermal fuse, and a plastic pry tool.
Safety Warning
Unplug before starting. Controllers can store up to 220 V even when unplugged. Do not touch circuit board traces. Use non-conductive tools to avoid short circuits.
Disassemble the Controller
Use a plastic pry tool to open the case, avoiding metal that could cause shorts. The housing is held by plastic clips, so apply even pressure. Release the circuit board from its retaining clips to access the internal components.
Replace a Blown Thermal Fuse

The thermal fuse is the most common failure point in heated blanket controllers. This component is designed to blow permanently when overheating is detected, cutting power to prevent fire.
Identify the Fuse
The thermal fuse is usually a small white or ceramic cylinder with two leads. It is located on the circuit board, often near the power input.
Test with Multimeter
Set the multimeter to continuity or resistance mode. Touch probes to both leads. Infinite resistance (OL) means the fuse is blown. Near 0 Ω means the fuse is good.
User Tip: “The thermal fuse is often what fails. Simple replace it with one from Amazon…” — kyferez
Choose the Right Replacement
| Original Fuse | Safe Replacement |
|---|---|
| 108°C, 2A | 120°C (e.g., SM110A1) |
| 76°C, 250V | 76°C, 2A, 250V |
| 102°C, 250V | 102°C, 2A, 250V |
Note: The thermal fuse is a one-time safety device. If it blew, it likely detected overheating. Replace it only if you’re sure the root cause (such as a covered controller) is resolved.
Solder the New Fuse
Heat both solder joints and remove the old fuse. Insert the new fuse and solder from the back of the board. Test continuity to confirm a reading near 0 Ω.
Reassemble the Controller
Snap the circuit board back into place and close the housing. Do not glue or use conductive tape. If the case won’t seal, use electrical tape or a non-conductive band as a temporary fix.
Warning: Exposed live voltage poses shock and fire risk. Do not use the blanket if the case is compromised.
Test the Repaired Blanket
After reassembly, proper testing ensures the repair was successful and safe to use.
Initial Power Check
Plug in the controller and watch for the indicator light. If it turns on, power is restored to the control unit.
Full Function Test
Connect to the blanket and test on low, medium, and high settings. Monitor for consistent heat, normal thermostat cycling, and any hot spots, buzzing, or burning smells.
Pro Tip: Place the controller on top of the bedding, not under it, to prevent heat buildup from triggering the thermal fuse again.
Test Result Example: One repair restored continuity, lit the indicator, and generated heat on a tile floor. However, it was not recommended for sleep or unattended use.
Know When to Replace Instead of Repair
Understanding when repair is unsafe or impractical is just as important as knowing how to fix a broken heated blanket.
Repair Only If
The controller fuse is blown and you can replace it safely. The detachable cord is damaged and you have an OEM replacement. You have electronics experience and accept the risks involved. The blanket is used in a low-risk, supervised setting where it won’t be left unattended.
Replace If
There is visible damage to the blanket fabric or internal wires. The blanket is over 5 years old and used frequently. It has a history of overheating or tripped breakers. You detect any internal wire break, as repairing fabric-embedded wiring is unsafe.
User Consensus: “I’d toss it and get a new one. I’d be uncomfortable using one after any attempted repair.” — b-boy
“Yeah those things are disposable, only meant to last a couple of seasons, and then they become fire hazards.” — GP
Safety Best Practices for Heated Blankets
Prevention and proper care extend the life of your heated blanket and reduce fire risk.
Prevent Future Failures
Never fold sharply when storing; keep the blanket loosely rolled to avoid wire breaks. Do not machine wash the blanket; spot clean only. Inspect the cord-blanket junction regularly, as this is a high-stress zone. Keep the controller ventilated and never cover it with blankets or pillows.
User Practice: “Because the handicapped wife uses one 24/7/365, I… rotate in a new one every 6 months or so. Peace of mind IMHO.” — got2boostit2
Understand Replacement Value
New heated blankets cost approximately $23 for a single and $45 for king size. New models often include 5-year warranties, auto-shutoff features, and better safety technology. Given the low cost and high risk of fire, repair rarely makes economic or safety sense.
Frequently Asked Questions About Fixing a Broken Heated Blanket
Can I fix a heated blanket that won’t turn on?
You may be able to fix it if the issue is a blown thermal fuse in the controller or a damaged detachable power cord. However, if the internal heating wires are damaged, repair is unsafe and replacement is recommended.
How do I know if the thermal fuse is blown?
Set a multimeter to resistance mode and touch the probes to both leads of the thermal fuse. Infinite resistance (OL) indicates a blown fuse. Near 0 Ω means the fuse is still functional.
Is it safe to repair a heated blanket yourself?
Only attempt repair if you have electronics experience, understand the risks, and the issue is limited to the controller or cord. Never attempt to repair internal blanket wiring, as this compromises safety certifications and insulation integrity.
How long do heated blankets last?
With regular use, heated blankets typically last 5–10 years. Units older than 10 years should be replaced due to degraded wiring and lack of modern safety features.
Can I wash my heated blanket?
Most electric blankets are not machine washable. Spot clean only. Machine washing can damage internal wiring and create fire hazards.
When should I replace my heated blanket instead of repairing it?
Replace the blanket if it shows visible fabric damage, is over 5 years old with frequent use, has a history of overheating, or shows any internal wire damage. The cost of a new blanket is low compared to fire risk.
Key Takeaways for Fixing Your Heated Blanket
Fixing a broken heated blanket is possible in limited cases, mainly involving controller fuse replacement or power cord exchange. However, internal damage, aging components, and fire risk make replacement the only responsible choice for most users. Always test repairs thoroughly and never leave a repaired blanket unattended.
If you attempt a repair, do so cautiously. Use a multimeter to confirm the exact failure point before replacing components. Always use OEM replacement parts and verify the thermal fuse rating matches your model.
Your warmth isn’t worth the risk of a house fire. For high-use scenarios, consider rotating in a new blanket every 6-12 months for peace of mind. When in doubt, replace.

