
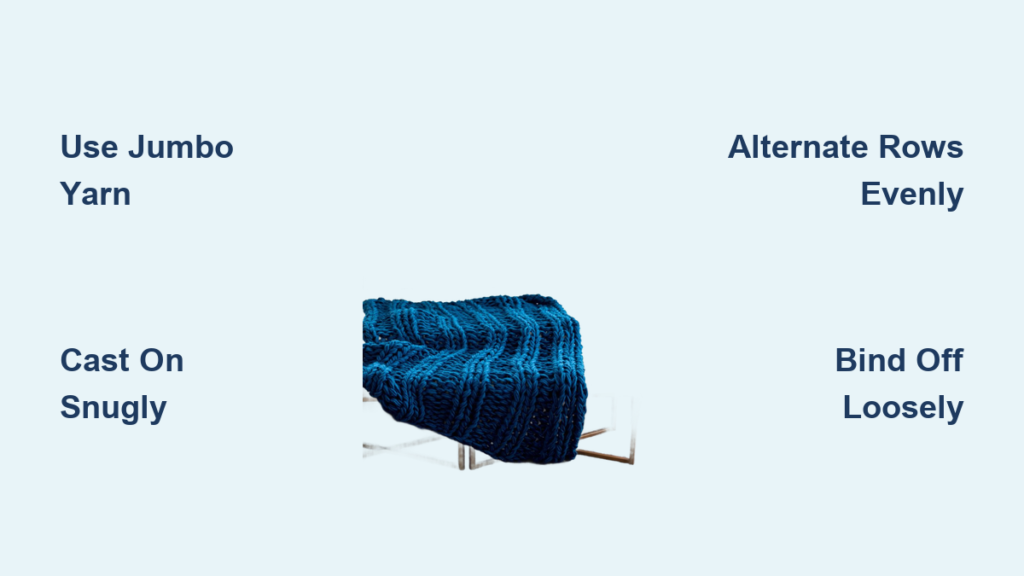
You don’t need knitting needles or years of experience to create a cozy, handmade blanket. Arm knitting uses your arms as giant needles to create thick, luxurious stitches in under two hours. Whether you’re making a gift, upgrading your home decor, or crafting with kids, learning how to make an arm knit blanket is one of the easiest and most rewarding projects you can start today.
This guide covers everything from choosing the right jumbo yarn to binding off with a clean edge. You’ll find step-by-step instructions, a yarn quantity chart, troubleshooting tips, and expert advice to help you complete your first throw in no time.
Choose the Right Yarn for Your Arm Knit Blanket
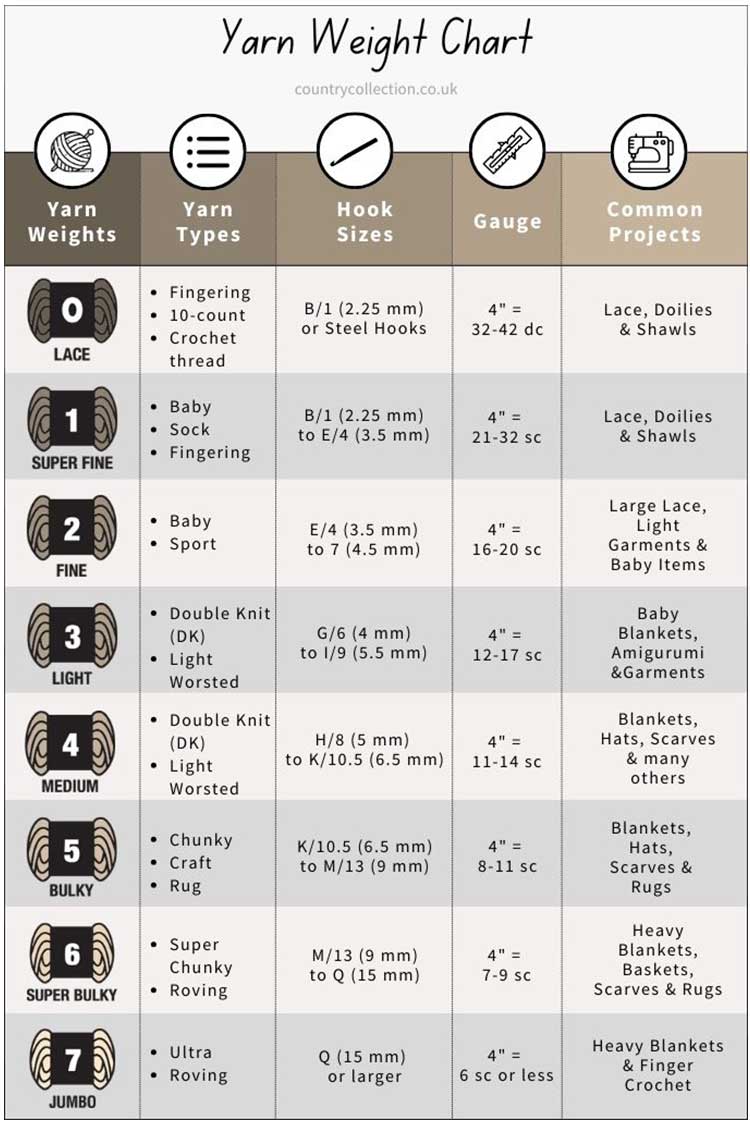
Your yarn choice determines the texture, warmth, and overall look of your finished blanket. Using the correct weight is essential for achieving that thick, plush look that makes arm knitting so popular.
Pick Jumbo-Weight Yarn Only
Arm knitting requires super bulky (size 6) or jumbo (size 7) yarn. Anything lighter will create sparse, thin fabric that defeats the purpose of this quick technique. Standard yarn takes much longer to work with and won’t deliver the chunky results you’re looking for.
Top Yarn Options for Texture and Warmth
These yarn types work exceptionally well for arm knit blankets.
Premiere Yarns Couture Jazz provides soft, durable fabric ideal for beginners. You’ll need about 8 skeins for a large blanket. Lion Brand Yooge or Go For Faux Yooge offers an ultra-plush, faux fur-like feel, and one 2267g skein creates a 25×57-inch throw. 100% Merino Wool delivers naturally warm, breathable, luxurious results. Eight pounds makes a 38×56-inch blanket. Acrylic or synthetic blends offer budget-friendly options with bold colors and easy care.
Match Yarn to Blanket Size
| Blanket Size | Yarn Needed | Skeins Required |
|---|---|---|
| 25 × 57 inches (throw) | ~2.25 kg | 1 large skein |
| 30 × 50 inches | 6 lbs | 6–7 skeins |
| 38 × 56 or 40 × 60 inches | 8 lbs | 8 skeins |
Pro Tip: Pull yarn from the outside of the skein to prevent tangling as you work.
Gather Essential Tools for Arm Knitting
Arm knitting requires minimal supplies. Most projects need only your arms, yarn, and a few basic items found in any household.
Must-Have Supplies
You need scissors for cutting yarn cleanly, a 6–10 foot tail of yarn for the cast-on process, and a flat workspace like a bed or large table. The flat surface lets the blanket lie flat while you work, reducing strain and improving tension.
Optional but Helpful
US Size 100 (38 mm) circular needles work for those who prefer needles over arms. This creates a denser, slightly smaller blanket. A measuring tape helps track length and ensures even edges throughout your project.
Note: Arm knitting produces a looser, more open drape than needle knitting, which is perfect for cozy throws.
Cast On Stitches Correctly for Arm Knitting
The cast-on establishes your blanket’s foundation. A proper long-tail cast-on creates a neat, stretchy edge that looks professional.
Use the Long-Tail Method
This reliable method gives you an even starting edge every time.
Cut a 6–10 foot tail of yarn. Make a slipknot by draping yarn over your hand, inserting fingers, pinching two strands, twisting away, grabbing working yarn, and pulling through. Place the loop on your arm and tighten gently. Hold the tail (closest to you) and working yarn under your ring and pinky fingers. Spread your index finger and thumb between strands, palm facing you. With your right hand, go under one strand, over the next, grab the back strand to form a new stitch. Slide the stitch onto your arm. Repeat until you have your desired stitch count.
Stitch Count by Blanket Width
| Width Goal | Stitches to Cast On |
|---|---|
| Narrow throw | 12 stitches |
| Standard throw | 13–18 stitches |
| Wide blanket | 20+ stitches |
Warning: Keep stitches snug but not tight. The first stitch should stay secure on your arm without cutting off circulation.
Fix Twisted Stitches: If a loop looks angled, twist it to the right before knitting into it.
Knit Rows with Proper Tension
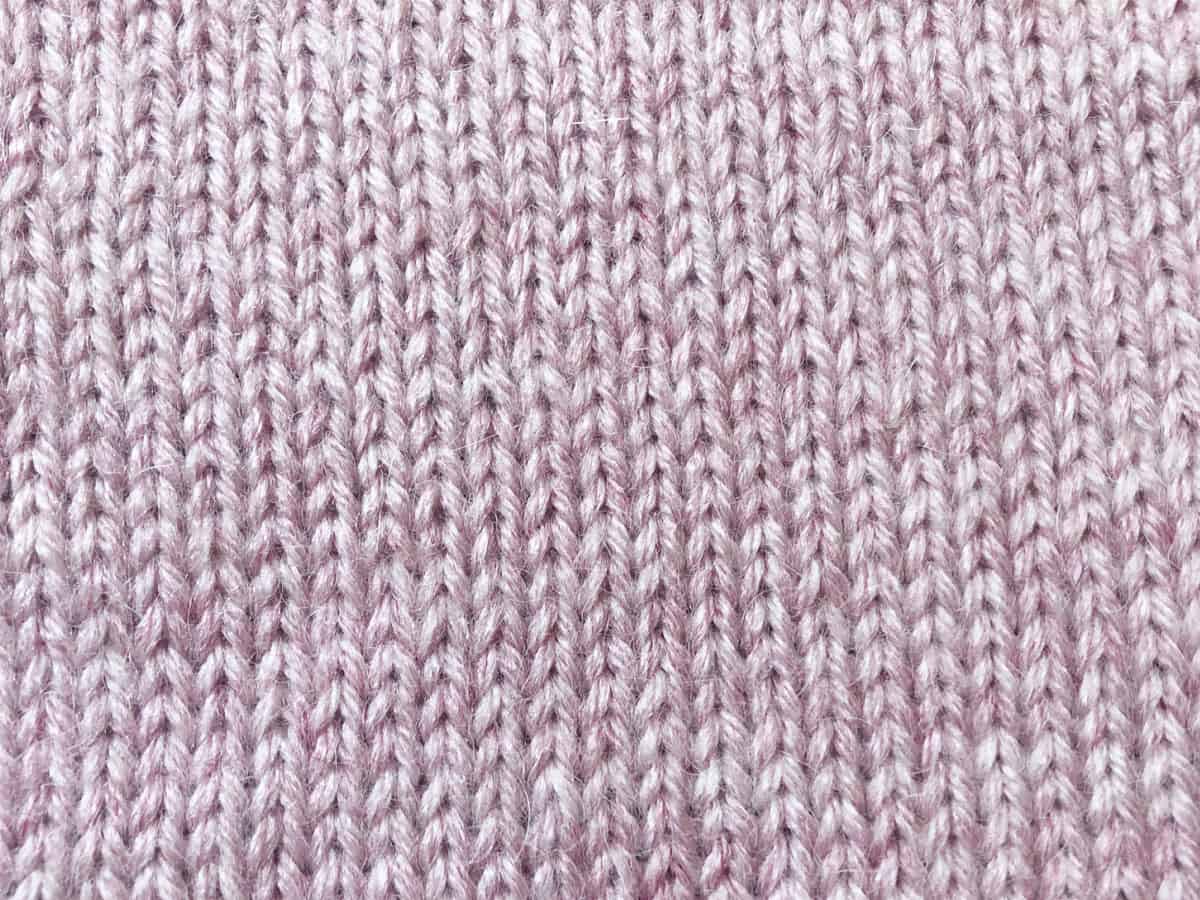
Knitting rows creates the main body of your blanket. The alternating row pattern produces a classic stockinette stitch with a smooth, even texture.
Row 1: Left to Right
Hold the working yarn in your right hand. Pull the first stitch over your arm, off, and onto your opposite arm. Gently tighten the new loop. Repeat across all stitches until you’ve transferred every stitch to your other arm.
Row 2: Right to Left
Switch the working yarn to your left hand. Pull the first stitch over, off, and onto your right arm. Tighten and continue across all stitches.
Repeat the Pattern
Alternate Row 1 and Row 2 throughout your project. This creates the stockinette stitch pattern. Continue until the blanket reaches your desired length, typically about 34 rows for a standard 30×50-inch throw. Stop when about 7 yards of yarn remain for binding off.
Pro Tip: Lay the blanket flat after each row. This reduces arm fatigue and keeps your tension even throughout the project.
Avoid Flipping: Never turn or rotate the work. Keep the same side facing up at all times.
Join a New Skein Seamlessly
When you run low on yarn, joining a new skein is simple. The knot becomes nearly invisible in chunky yarn.
Tie a Double Knot
Tie a double knot between the old and new skein yarn ends. Pull tight to secure the connection. Trim excess yarn close to the knot. Resume knitting as normal.
Good News: Knots are barely visible in jumbo yarn and will felt slightly over time, blending perfectly into the texture.
Bind Off for a Clean Edge
Binding off creates a finished edge that keeps your stitches secure. Proper technique prevents the edge from narrowing or looking uneven.
Standard Bind-Off Method
Knit two stitches. Pull the first stitch over the second and off your arm. Knit another stitch and repeat the pull-over step. Continue across the entire row. Keep tension slightly loose to prevent edge narrowing.
Finish the Last Stitch
When one stitch remains on your arm, cut a 1-foot tail. Pull the end halfway through the last loop. Then pull it fully through to lock the knot securely.
Alternative Bind-Off
Pull loops through your first and second stitches. Insert the second loop through the first to cast off. Repeat across the row. Cut the tail, pull through the final loop, and weave in any remaining ends.
Finish and Shape Your Blanket
Proper finishing ensures your blanket looks professional and lies flat for years to come.
Stretch for Even Drape
Gently pull on the stitches to loosen any tight areas. This helps the blanket lie flat and prevents bunching during use.
Check Cast-On Edge
Pull the edge side-to-side to ensure even width across the entire blanket. Adjust if one side feels tighter than the other.
Weave in Loose Ends
For the cast-on tail, thread it through the base of the first stitch. Pull halfway, repeat, then pull fully through. Trim excess. For the bind-off tail, bring it to the front, thread down through the hole, go under the next stitch, repeat on the opposite end. Pull halfway twice, then fully. Tighten and trim.
Final Step: Lay the blanket flat to rest for a few hours. Shape as needed before using.
Customize Size and Style
One of the best parts about arm knitting is endless customization. You control the final dimensions and aesthetic entirely.
Adjust Width and Length
Cast on 20 or more stitches for a wider blanket. Start with 10–12 stitches for a narrower throw. Keep knitting until the blanket reaches the foot of your bed or your desired length. Stop at 30–40 inches for a short throw perfect for lap use.
Choose Your Look
A long and skinny blanket drapes elegantly at the foot of a bed. A wide and short throw works perfectly as a sofa accent. Use 8 or more pounds of wool for extra large, full-size coverage.
Pro Tip: Use neutral tones like cream, gray, or mink for timeless decor. Choose bold colors for statement pieces that pop in any room.
Avoid Common Mistakes
Learning what not to do saves time and frustration. These tips help you avoid the most frequent beginner errors.
Fix Loose or Uneven Stitches
Inconsistent tension or knitting in mid-air causes loose stitches. Solve this by laying the blanket flat after each row. Keep stitches snug but not tight during casting on and knitting.
Prevent Twisted Stitches
Loops become crossed during cast-on when you skip the twist step. Always twist each stitch to the right before knitting into it.
Stop Edge Narrowing
Binding off too tightly narrows your finished edge. Keep the final row slightly looser than the rest of your stitches.
Watch Yarn Supply
Running out mid-process creates weak joins. Always leave at least 7 yards for binding off. Monitor your yarn as you approach the end.
Maintain Your Arm Knit Blanket
Proper care extends the life of your handmade blanket significantly. Different yarn types require different maintenance approaches.
Washing by Yarn Type
Merino wool or cashmere blends need hand washing in cold water with mild detergent. Lay flat to dry. Faux fur or synthetic yarns should be spot cleaned or dry cleaned. Avoid machine washing if possible. Always check the manufacturer’s care label for specific instructions.
Note: Some crafters successfully hand-wash dry-clean-only yarns, but proceed with caution and test a small area first.
Troubleshoot Like a Pro
Quick fixes for common issues keep your project moving forward without starting over.
| Problem | Quick Fix |
|---|---|
| Stitches too loose | Tighten slightly during cast-on and knitting |
| Twisted loops | Twist stitch to the right before knitting |
| Uneven rows | Lay blanket flat after each pass |
| Edge narrowing | Bind off with looser tension |
| Yarn tangles | Pull from outside of skein; keep workspace clear |
Key Takeaways for Making an Arm Knit Blanket
Arm knitting delivers big results with minimal effort. This technique requires only jumbo yarn, your arms, and basic household tools. Projects typically finish in under two hours, with experienced crafters completing throws in 20–25 minutes.
Choose super bulky or jumbo yarn for the thick, plush texture this method is known for. Cast on 12–20 stitches depending on your desired width, then alternate simple rows until reaching your target length. Leave 7 yards of yarn for binding off, and always lay the blanket flat while working to maintain even tension.
The process is forgiving and beginner-friendly. Mistakes unravel easily, and knots blend into chunky yarn naturally. Whether you prefer faux fur for maximum cuddle factor or merino wool for natural luxury, your finished blanket will look professional and cost far less than store-bought alternatives.
Frequently Asked Questions About Arm Knit Blankets
How long does it take to make an arm knit blanket?
Beginners typically complete a standard throw in 1–2 hours. Experienced crafters can finish in 20–25 minutes with practice.
What type of yarn is best for arm knitting?
Super bulky (size 6) or jumbo (size 7) yarn works best. Premium options include merino wool for luxury, faux fur for softness, and acrylic blends for affordability.
Do I need knitting needles for arm knitting?
No. Arm knitting uses your arms as needles. Optional US Size 100 (38 mm) circular needles create a denser, slightly smaller blanket if preferred.
How do I prevent my edges from narrowing?
Keep your bind-off tension slightly looser than your knitting tension. This prevents the edge from pulling inward as you progress.
Can I wash my arm knit blanket?
Yes, but care depends on yarn type. Hand wash wool in cold water and lay flat to dry. Spot clean or dry clean faux fur and synthetic blends.
How much yarn do I need for a full-size blanket?
A 40×60-inch blanket requires approximately 8 pounds or 8 skeins of jumbo yarn. A smaller throw needs 6–7 skeins or about 6 pounds.

