
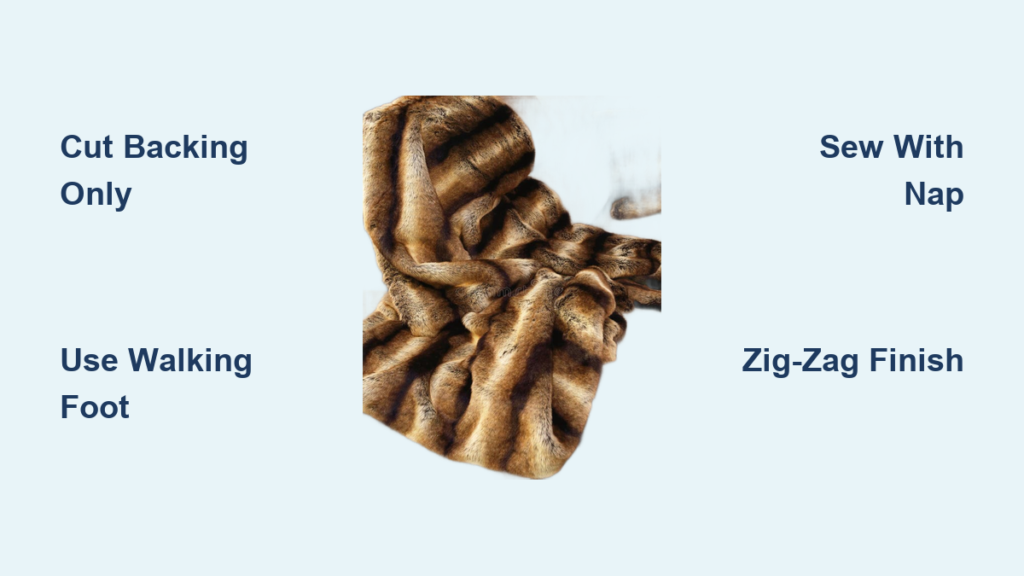
Nothing says cozy like a soft, plush faux fur blanket draped over your couch or gifted to someone special. Making your own faux fur blanket is easier than you think, and with just a few tools and materials, you can create a custom throw that rivals high-end store-bought versions for a fraction of the cost. Whether you’re crafting a baby blanket, a stylish home accent, or a warm lap throw, this guide walks you through every step to ensure professional results.
With basic sewing skills and about 1 to 4 hours of work, you can save up to 70% compared to retail prices while fully customizing color, size, and finish. Let’s dive into how to make a faux fur blanket that’s as functional as it is beautiful.
Choose the Right Faux Fur Fabric for Your Project

Selecting high-quality faux fur is the first step to a stunning result. Look for fabrics labeled as low-shedding and soft-hand, such as Shannon Fabrics “Luxe Cuddle” or options from Fabric Wholesale Direct. These brands resist fiber loss during cutting and sewing and offer a silky, realistic drape.
Avoid stiff or plasticky-backed furs because they’re harder to sew and less comfortable. Instead, opt for fur with a flexible knit backing that moves easily under the needle.
Pick the Perfect Pile Length for Your Skill Level
Pile length directly impacts how manageable your project will be.
• Short pile (½ to 1 inch): Easiest to handle, ideal for beginners
• Medium pile (1 to 2 inches): Balanced softness and manageability
• Long pile (2+ inches): Luxurious but trickier to align and sew
Always check the nap direction, which is the way the fibers lie, and mark it on the back of the fabric. All pieces must be cut with nap running the same way to avoid color or texture shifts.
Match Fabric Width to Your Blanket Size
Most faux fur comes in 60-inch-wide rolls, so your blanket’s width is limited unless you piece panels. For standard throw sizes (50×60 inches), one continuous piece is usually sufficient. For larger blankets like queen lounges (60×150 inches), you’ll need 5 yards to yield two matching 60×150-inch layers.
Buy extra if you’re new to handling faux fur because mistakes happen, and it’s better to have too much than too little.
Select a Complementary Backing Fabric
Your backing fabric impacts comfort, weight, and ease of sewing. Here are the top choices.
• Flannel: Soft, breathable, perfect for baby blankets
• Fleece: Warm, low-pile, adds body without bulk
• Minky/Cuddle Fabric: Ultra-plush, great for gender-neutral gifts
• Sherpa: Textured, cozy, ideal for winter throws
• Same Faux Fur: For double-sided luxury (expensive but stunning)
Cut the backing 1 to 2 inches larger than the faux fur before assembly. This accounts for shrinkage and seam allowance, ensuring full coverage when turned.
Avoid Stretchy or Slippery Backings
Highly elastic or slick fabrics can shift during sewing, causing puckers. If using a stretchy knit, stabilize it with fusible knit interfacing or pair it with a walking foot. Always pre-wash backing fabric if it’s cotton or flannel to prevent post-project shrinkage.
Gather Essential Tools and Supplies
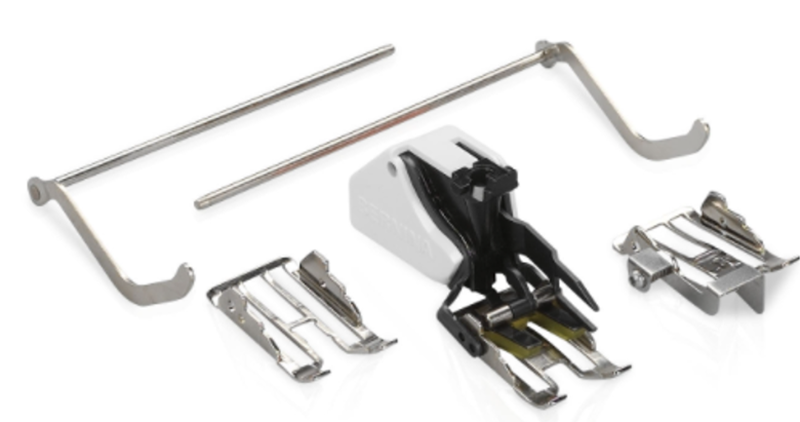
Sewing faux fur challenges standard machines. The thick pile and slippery backing can cause skipped stitches and uneven feeding. Here’s what you need.
• Walking foot: Feeds top and bottom layers evenly (highly recommended)
• Stretch or ballpoint needle (90/14): Slides between fibers without snagging
• Polyester thread: Strong and color-matched to the fur
• Rotary cutter and mat: For clean, precise cuts
• X-Acto knife: Ideal for slicing only the backing
• Fabric clips or long pins: Hold layers without distorting pile
• Corner turner (chopstick or nail file): Pushes out sharp corners
• Soft quilting ruler: Measures accurately on plush surfaces
Replace your needle before starting because dull needles cause skipped stitches and fray fibers.
Set Your Machine for Thick Fabrics
Adjust your sewing machine settings before beginning.
• Stitch length: 3.0 to 4.0 mm (longer stitches prevent jams)
• Tension: Slightly looser than normal; test on scraps first
• Stitch type: Straight stitch for seams, wide zig-zag for edges
Never sew over pins. Remove them just before the needle reaches them.
Cut Fabric Without Damaging the Pile
This is critical: never cut through the fur pile. Only slice the fabric backing using an X-Acto knife or rotary cutter on a cutting mat. Slide the blade under the pile and follow marked lines to preserve long fibers.
To mark cutting lines, use a fabric pen or chalk on the back of the fur. Measure with a hard ruler and soft measuring tape, and mark center points on all edges for alignment.
Trim Corners for Clean Edges
For mitered corner blankets, cut triangles from the faux fur corners. Place backing fabric centered on the wrong side of fur, mark 3 inches from each corner along both edges, draw a diagonal line, and cut out the triangle.
For turned-edge blankets, cut backing slightly larger than fur and trim seam allowance after sewing.
Assemble with the Mitered Corner Method
The mitered corner method is perfect for quick baby blankets with clean, enclosed seams. No turning required.
Create a No-Turn Baby Blanket
Follow these steps for a professional finish.
- Cut faux fur to 46×46 inches and flannel to 40×40 inches
- Lay fur wrong side up, place flannel right side up centered on top
- Remove flannel and mark 3-inch points on fur corners
- Cut out corner triangles
- Fold one fur corner so right sides meet; sew a ¼-inch seam
- Repeat on all four corners
- Insert flannel into the pocket formed by sewn corners
- Pin edges thoroughly
- Sew around perimeter with a wide zig-zag stitch to hide raw edges
This method hides all seams inside and creates sharp, professional corners.
Why Zig-Zag Stitch Works Best
A wide zig-zag stitch (width 4.0 to 5.0) blends into the fur, prevents unraveling, and adds flexibility. It’s more forgiving than straight stitching and hides minor alignment issues.
Build a Reversible Throw with the Tube Turn Method
Want a reversible blanket with no raw edges? Use the tube turn method, ideal for standard throws.
Sew and Turn for Soft, Hidden Seams
Follow these steps for a polished reversible blanket.
- Cut backing 1 to 2 inches larger than faux fur
- Place fabrics right sides together
- Pin around edges every 6 inches
- Sew both long sides with straight stitch
- Align top and bottom edges (mark centers), pin, and sew, leaving a 6 to 8 inch opening
- Snip corners diagonally to reduce bulk
- Turn blanket right side out through the opening
- Use a corner turner to push out points
- Press lightly with a pressing cloth (never iron directly on fur)
- Close opening with hand-sewn blind stitch for invisible finish, or machine-topstitch ¼ inch in if blending thread and bobbin
This method yields a soft, plush blanket with hidden seams and a polished look.
Finish with Binding for a Decorative Edge
For a tailored, durable edge, use fleece binding tape, especially on large throws or decorative pieces.
Apply Fleece Binding Like Bias Tape
Follow these steps for a boutique finish.
- Sew layers together wrong sides out (furry sides facing out)
- Trim seam allowance to ⅛ inch to reduce bulk
- Open one fold of binding; align raw edge with blanket edge
- Sew along first crease
- Fold binding over edge; sew through second fold
- Miter corners by folding binding at 45 degrees, then continuing straight
Binding protects edges from fraying and gives a professional finish.
Choose Between Binding and Zig-Zag
Binding is more durable and decorative, hiding raw edges. Zig-zag is faster, blends into fur, and requires no extra supplies. Use zig-zag for baby blankets and binding for heirloom-quality throws.
Prevent Shedding with Stabilization Techniques
After assembly, the backing may shift independently from the fur. Prevent this with light stabilization.
Add Tie Quilting or Edge Topstitching
Choose from these stabilization methods.
• Edge topstitching: Sew ½ inch from all edges with straight or decorative stitch
• Tie quilting: Knot thin thread through all layers every 6 to 8 inches in a grid
• Stitch-in-the-ditch: Sew along patchwork seams to anchor layers invisibly
• Grid quilting: Use large zig-zag stitches in diamond or square patterns
Avoid spray adhesives because they can melt fibers or create sticky spots.
Hand-Tie for a Vintage Look
To tie quilt, thread a needle with matching thread. Push through all layers from front to back, repeat ½ inch away to form a loop, pull tight and knot on back, then trim ends short. Ties add texture and help layers stay aligned through washing.
Fix Common Sewing Problems Fast
Faux fur sewing comes with challenges, but they’re all fixable.
| Problem | Quick Fix |
|---|---|
| Puckered backing | Use walking foot; place fur on bottom layer |
| Skipped stitches | Replace with 90/14 stretch needle; lengthen stitch |
| Jagged edges | Use sharp X-Acto; cut backing only |
| Uneven corners | Mark centers; snip corners before turning |
| Visible seams | Use wide zig-zag; blend thread color |
Sew in the direction of the nap (downward) to reduce resistance and improve stitch quality.
Baste Layers if Machine Struggles
If layers shift despite clips, hand-baste with long stitches every 6 inches. Remove basting thread after sewing.
Groom and Maintain Your Finished Blanket
After sewing, fibers may be matted or loose. Restore loft with proper grooming.
Brush and De-Fuzz for a Polished Look
Use these techniques to revive your blanket’s appearance.
• Pet comb or fabric brush: Gently brush in nap direction
• Fine sandpaper (150 to 200 grit): Smooth rough edges (test first)
• Shake and fluff: After washing, shake vigorously to revive pile
Avoid pulling or aggressive brushing.
Wash and Dry Your Blanket Safely
Care for your blanket properly to extend its life.
• Wash cold, gentle cycle, mild detergent
• No fabric softener (it degrades synthetic fibers)
• Tumble dry low or air dry
• Spot clean stains with damp cloth and soap
• Store flat or rolled (don’t compress long-term)
Never dry clean unless the fabric label specifies it.
Customize Your Design Creatively
Faux fur blankets shine with personalization. Try these popular combinations.
• White fur + navy flannel: Modern nautical
• Gray fur + Minky dots: Gender-neutral baby gift
• Black fur + red fleece: Dramatic Game of Thrones style
• Patchwork fur: Boho, playful throw
Use monograms, contrast topstitching, or custom labels for a gift-ready finish.
Try the Patchwork Method for Artistic Flair
For artistic flair, cut fur into rectangles (two large, two small). Sew pieces together with straight stitch, square up final panel with quilting ruler, back with matching fabric, and sew right sides together, leaving an opening to turn and hand-close.
Save Big with DIY vs. Retail
Store-bought faux fur throws cost $100 to $250 or more. Making your own slashes that cost significantly.
| DIY Cost | Retail Price | Savings |
|---|---|---|
| $35–$60 (throw) | $120–$200 | 60–70% |
| $80–$120 (queen) | $250+ | 65–70% |
Premium fabrics from Fabric Wholesale Direct or Joann deliver luxury at a bargain.
Frequently Asked Questions About Making a Faux Fur Blanket
What type of faux fur is best for beginners?
Short-pile faux fur (½ to 1 inch) with a flexible knit backing is best for beginners. It sheds less, feeds through the machine more easily, and conceals minor sewing imperfections. Shannon Fabrics “Luxe Cuddle” and options from Fabric Wholesale Direct are highly recommended brands.
Do I need a special sewing machine foot for faux fur?
A walking foot is highly recommended but not absolutely required. It feeds both the top and bottom layers evenly, preventing puckering. If you don’t have one, place the fur on the bottom layer and hand-baste the layers together before sewing.
How do I prevent faux fur from shedding while sewing?
Choose low-shedding, high-quality faux fur from reputable suppliers. Always cut only the backing, never the pile. Use a sharp X-Acto knife or rotary cutter, and sew in the direction of the nap to minimize fiber disturbance.
Can I wash my faux fur blanket in the washing machine?
Yes, most faux fur blankets are machine washable. Use cold water on a gentle cycle with mild detergent. Avoid fabric softener, which degrades synthetic fibers. Tumble dry on low heat or air dry.
How do I close the opening after turning my blanket right side out?
The cleanest finish is a hand-sewn blind (ladder) stitch. Fold the raw edges inward, then insert the needle from back to front, picking up ½ inch of fabric on each side. Repeat and tie off securely. Alternatively, machine-topstitch ¼ inch from the edge.
Key Takeaways for Making Your Own Faux Fur Blanket
Making a faux fur blanket is a rewarding, beginner-friendly project that blends style, warmth, and significant savings. By cutting only the backing, aligning the nap, using a walking foot, and finishing with a zig-zag stitch or binding, you’ll create a custom throw that feels store-bought or better.
The most critical techniques to master are cutting only the fabric backing (never the pile), using a walking foot and stretch needle, and sewing in the direction of the nap. Choose the mitered corner method for quick baby blankets or the tube turn method for reversible throws.
Whether you choose the quick mitered method or a reversible turned blanket, your handmade faux fur creation will be a cozy heirloom for years to come. Start with a small project like a lap throw, and you’ll quickly gain confidence to tackle larger blankets.

