
Putting a solar blanket on your pool is one of the smartest moves a pool owner can make. It traps heat, slashes evaporation, and cuts chemical use, saving money while extending your swim season. But to get these benefits, you need to install it correctly. The biggest mistake? Placing the bubbles facing up. That single error can turn an energy-saving cover into a heat-wasting liability.
This guide walks you through every step, from unrolling and trimming to attaching a reel and managing pool chemistry. Whether you have an inground or above ground pool, this is your complete roadmap to a flawless setup that maximizes heating performance and lasts for years.
Unroll With Bubbles Facing Down
The bubbled side of your solar blanket must always face down, directly touching the water. This is not optional. It is physics. The bubbles act like tiny solar lenses, focusing sunlight into the water and creating a greenhouse effect that traps heat at the surface. The smooth top layer lets sunlight pass through, but the bubbles prevent that heat from escaping back into the air.
If you flip it bubble-side up, the heat gets trapped in the air pockets and radiates into the air instead of the water. You lose efficiency fast, and UV rays degrade the bubbles, shortening your cover’s life from 5 years to just 2.
Why Bubbles Must Touch Water
The corrugated bubble side is specifically designed to maximize heat transfer. When submerged, each bubble becomes a tiny heat exchanger, drawing solar energy into the water and holding it there. The smooth top layer is UV-resistant and acts as a protective barrier. This two-sided design only works when installed correctly with bubbles down.
How to Check Orientation Before Unrolling
Before placing the blanket on your pool, identify the sides. The smooth side goes on top, facing the sun. The bubbled side goes on the bottom, touching the water. If you are unsure, look at the texture. The bumpy side is the bubble side. Mark the smooth side with a permanent marker before storing it so you never guess again.
Let the Blanket Relax in the Sun

Solar blankets are made of low-density polyethylene, which contracts when rolled. Once exposed to sunlight on the water, the material expands. If you trim it too early, you will cut material that later stretches, leaving gaps around the edges.
Wait 2 to 4 Hours Before Trimming
Let the blanket float for 2 to 4 hours in midday sun. This thermal relaxation flattens wrinkles, expands the material to full size, and helps it conform to your pool’s exact shape. Trimming during this window ensures accurate cuts that fit permanently.
The best time to trim is afternoon, when the blanket is fully warmed and expanded. Do not rush this step. An ill-fitting cover leads to heat loss, debris entry, and wind lift problems.
Trim to Fit Your Pool Shape
Trimming ensures a snug fit and prevents wind from catching the edges. Use sharp scissors or a utility knife with a straight edge for clean cuts.
Cut Below the Waterline
Trim 1 centimeter, or half an inch, below the waterline, just short of the pool wall. This prevents chlorine gas buildup under the cover and allows for natural shrinkage, which can reach 2% over time, mostly lengthwise. It also makes rolling easier on a reel.
Two Trimming Methods
The cut-to-waterline method is recommended for most pools. It sits just below the edge, reducing wind lift and preventing chemical buildup.
The cut-large method works for windy or leafy areas. Cut the blanket slightly larger so it rolls up the pool walls like a bowl, blocking debris from blowing underneath. Never extend the cover above the coping, or wind will catch it and rip the edges.
A gap of up to 2 inches between the edge and the wall is acceptable. Full contact is not required.
Cut Flaps for Skimmer and Ladder
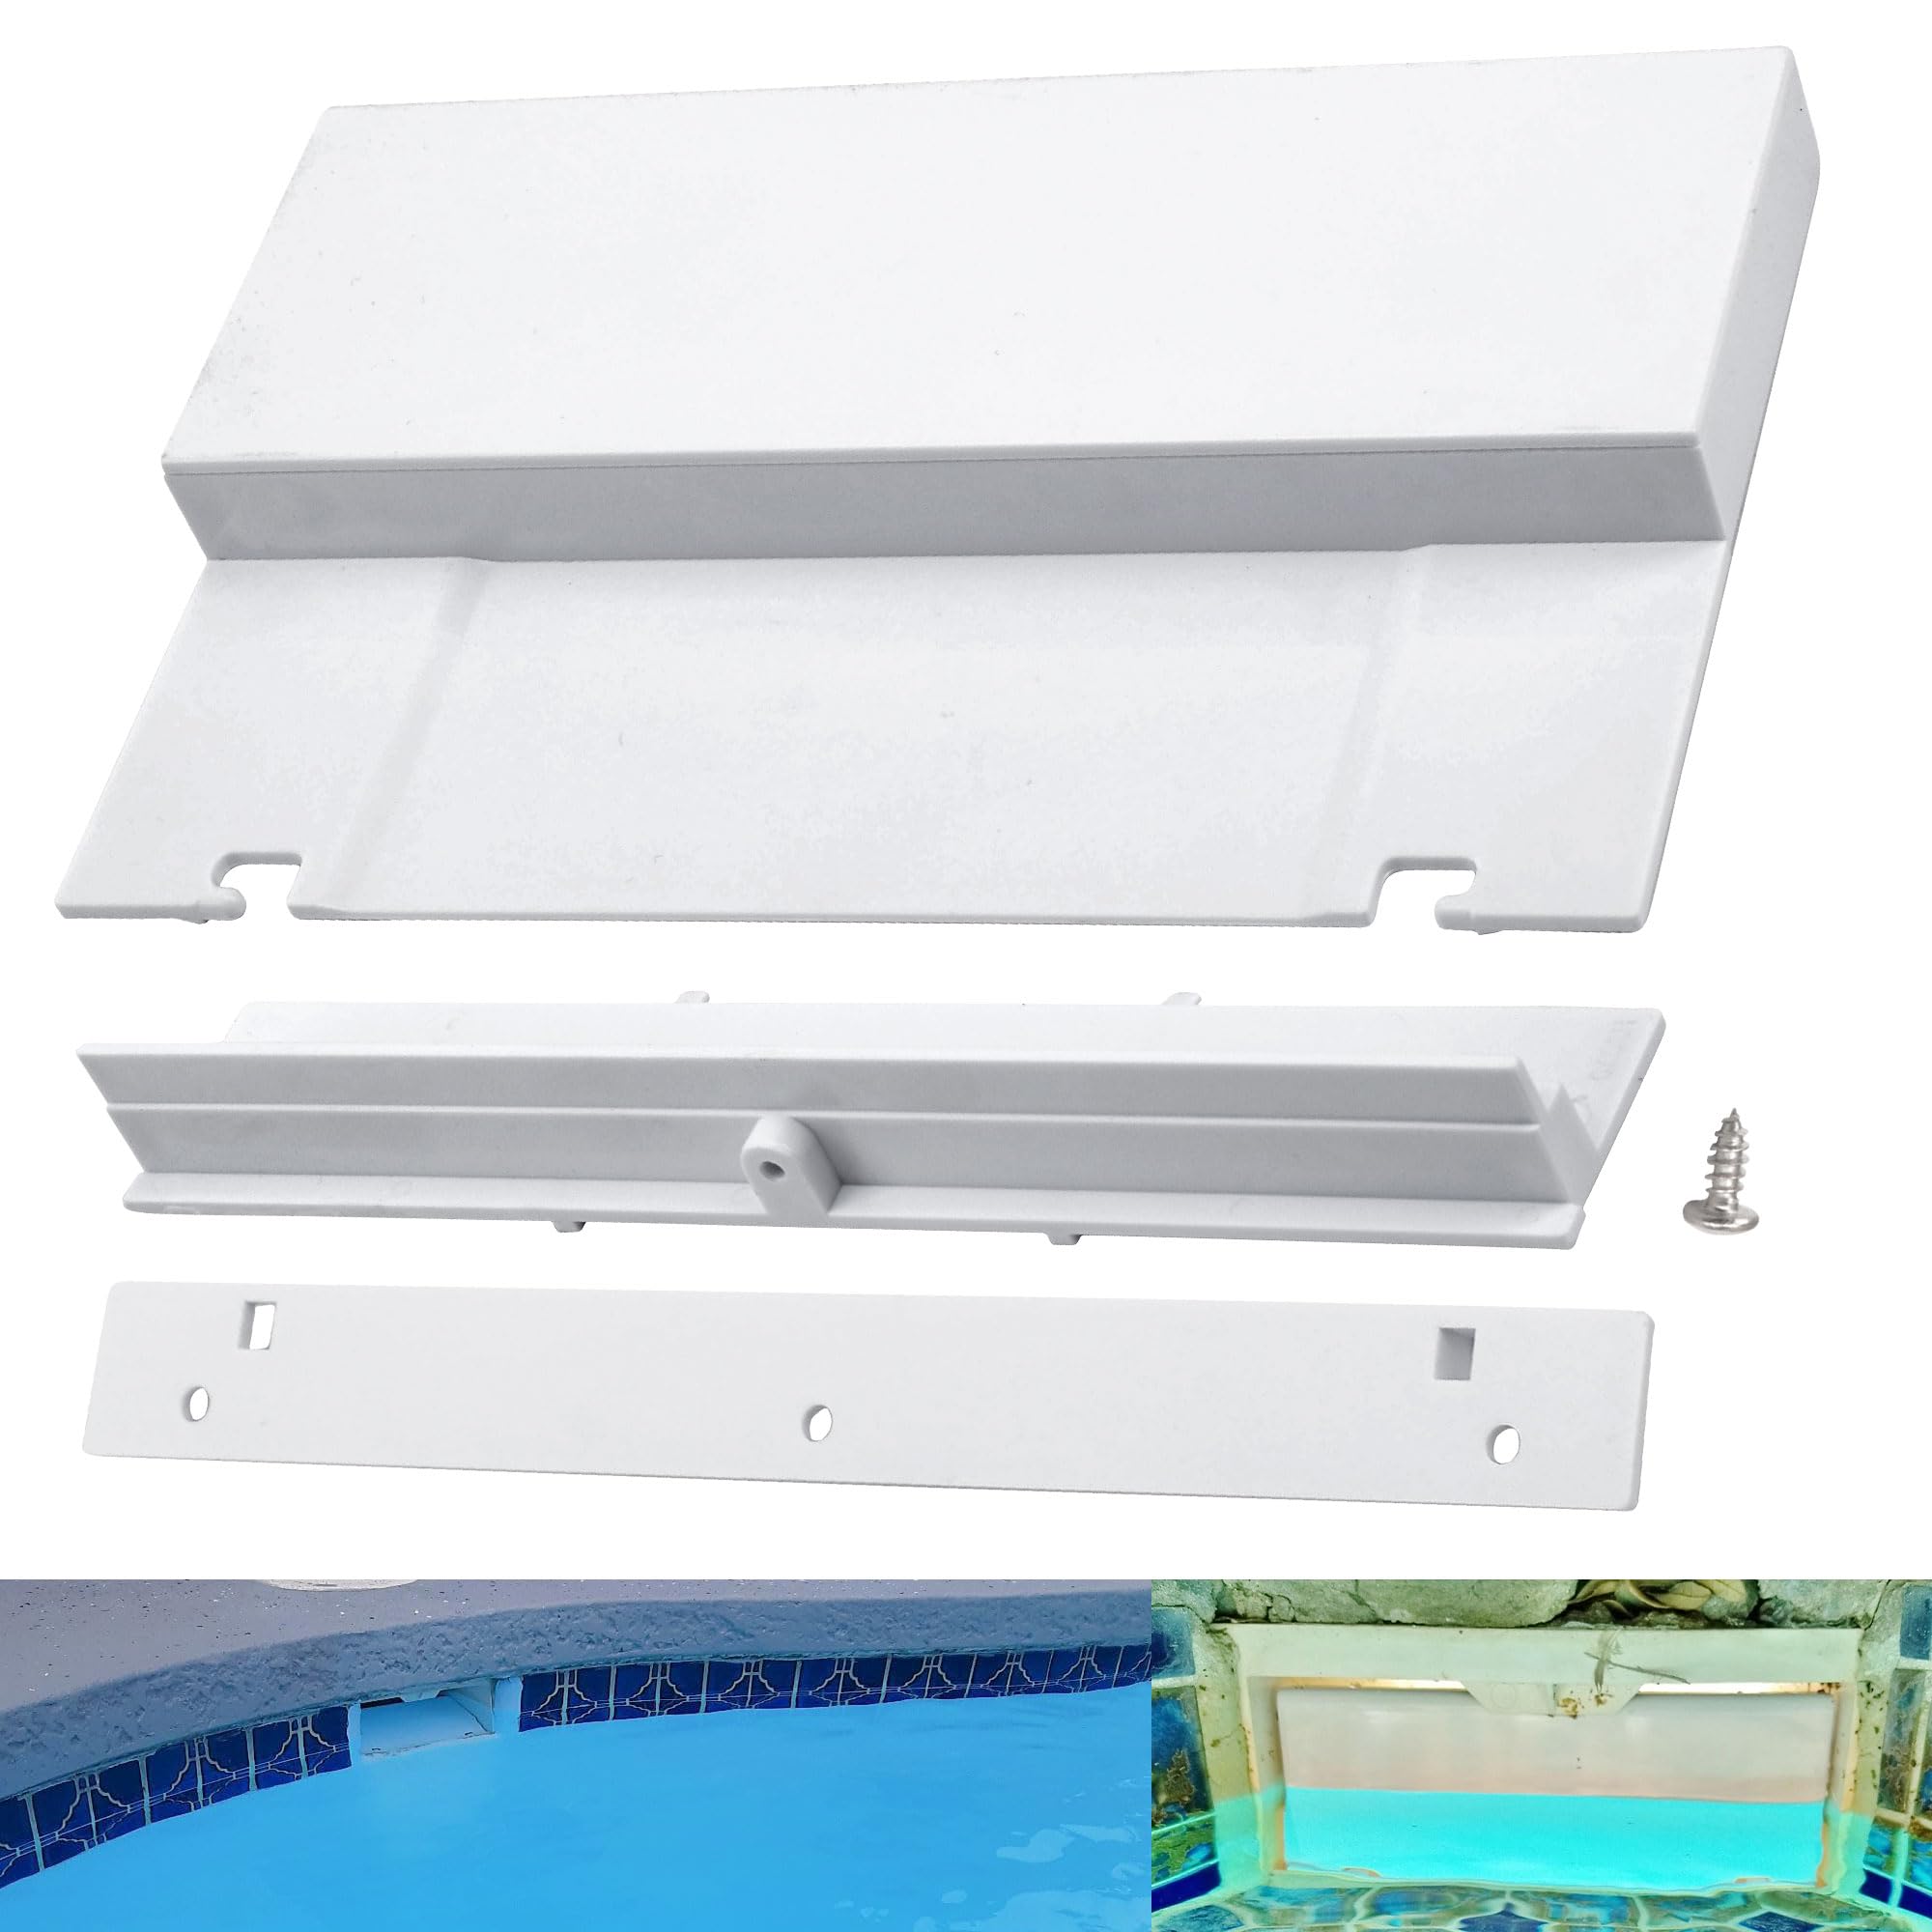
Never cut large holes for pool obstructions. Instead, cut flaps that fold back to maintain structural integrity.
Skimmer Box
Do not cut a big hole over the skimmer. Water flow will suck the blanket into the basket and block filtration. Instead, cut a tongue or flap that folds into the skimmer opening. Make it slightly smaller than the skimmer mouth so water flows in freely but the blanket cannot be pulled inside.
Ladder and Steps
For ladder rails or steps, cut two 2-inch vertical slits where the legs enter the water. Fold the flap inward around the rails. Avoid circular holes, which weaken the cover and let in debris.
For freeform pools, consider sectional trimming. Cut the cover into rollable segments for easier handling around curves and irregular shapes.
Smooth and Finalize Placement
Once positioned, use a pool broom or squeegee to push out air pockets and smooth wrinkles. Start from the center and work outward toward the edges.
Make sure the cover floats freely, not stretched tight. All corners and steps should be covered, and no folds should trap water on top.
Never walk on the blanket. It can puncture, crush bubbles, or tear. Even a small tear compromises the entire cover’s efficiency.
Attach to a Solar Cover Reel
A solar cover reel makes deployment and retrieval easy, especially for one person. Without it, folding and dragging the blanket causes wear and damage.
Measure and Cut Straps
Measure from the reel groove to the water surface, then add 2 inches. For square pools, all straps are the same length. For rectangular pools, measure each side individually.
Make an X-shaped cut or use a hole punch at each end of the strap.
Install Grommets Correctly
Fold the blanket edge 2 inches with bubbles up on the fold. Push the male grommet through the strap and folded edge, then snap the female grommet on top. Point the rope tab toward the reel to reduce drag when rolling.
Use a rubber mallet, not a hammer, to secure grommets. Metal hammers crack plastic grommets.
Space Straps Evenly
Place straps 12 to 24 inches apart across the width. Screw all straps to the reel tube before attaching grommets. Once secured, roll the blanket onto the reel for storage or deployment.
Adjust for Inground vs. Above Ground Pools
Inground Pools
Follow the standard steps, but pay extra attention to ladder and step cutouts, skimmer alignment, and irregular shapes. Roman ends, tanning ledges, and kidney curves require careful trimming. Measure and match the cover to unique contours after heat relaxation.
Above Ground Pools
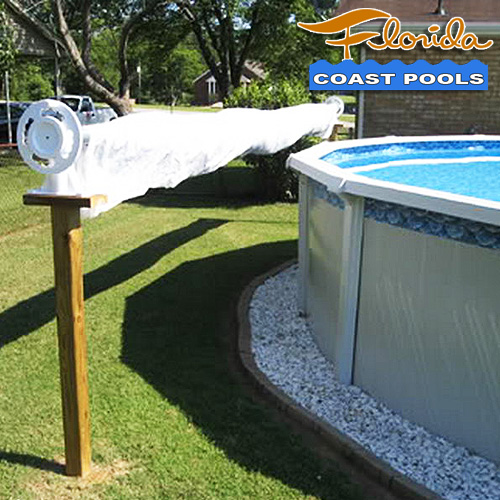
Measure the widest diameter, whether round or oval. Cut the cover slightly larger than the pool’s outer edge so it extends over the top rail and hangs down evenly. Secure edges with cover clips or water tubes to prevent wind lift.
Solar blankets work great on above ground pools. Just remember to keep bubbles down.
Deploy and Remove the Right Way
How to Unroll Without Damage
Start from the reel end. Unroll smoothly across the water, avoiding yanking or stepping on the blanket. Use a pool broom to flatten air pockets as you go.
How to Roll It Up
Use the reel to wind it up. Pump or siphon off standing water first, because a wet cover breeds algae and adds stress. Keep the top surface dry to extend the blanket’s lifespan.
Folding Without a Reel
If you have no reel, fold in a Z-pattern, accordion style. Alternate sides with each fold and keep folds consistent to prevent creasing and wear.
Manage Chemicals With the Blanket On
A solar blanket reduces evaporation and chemical loss by 30 to 60%. If you keep dosing at full strength, chlorine builds up.
Reduce Chlorine by 50%
Cut automated chlorinator output by half. Test free chlorine daily at first. For manual dosing, use 30 to 60% less chlorine than usual.
Adding Chemicals
Peel back 3 to 5 feet of the blanket. Add chemicals near return jets for fast mixing. Wait 10 to 15 minutes before re-covering.
Never pour chemicals directly onto the blanket.
Shocking the Pool
For chlorine-based shocks, remove the blanket if possible. If left on, take it off every 2 to 3 days for 2 or more hours to allow chloramine outgassing. Stale air under the cover creates chloramines, which cause red eyes and strong odors.
Run Equipment Under the Blanket
Suction-Side Cleaners
You can run cleaners like a Wanda Whale under the blanket. Ensure the skimmer flap is secure and watch for reduced suction or entanglement in the cuts.
Pumps and Filters
Run the pump daily without exception. Ensure the skimmer is not blocked. Use a timer for consistent circulation.
Never run the pump without water flow, because it can burn out the motor.
Maximize Heating and Efficiency
How Much Warmer Will the Water Get
The cover acts like a greenhouse. Sunlight passes through the smooth top, heats the water, and the bubbles trap the heat. Under ideal conditions, expect a 10 to 15°F temperature increase. In spring and fall, aim for around 10°F. During peak summer, expect only about 4°F increase.
When to Remove the Cover
Remove the cover on extremely hot days to avoid overheating. Always remove it before swimming. Never swim under the blanket. Also remove it for shocking or major chemical adjustments.
The best use is early spring and late fall, which extends your swim season by weeks.
Leave It On During Vacations
You can leave the blanket on while away for up to 10 days if the pump runs on a timer and chlorine and pH are balanced before you go. Remove and air it out upon return.
Check for algae growth, especially if the water was unbalanced. Remove the blanket for a few hours before returning to outgas any chloramines.
Store and Maintain Properly
Off-Season Storage
Clean the blanket with mild soap and water, then rinse and dry completely. Store it flat or loosely rolled in the original white or silver reflective bag. Never use a black bag in sunlight, because it absorbs heat and degrades the material.
In-Season Care
Keep the top surface free of leaves and debris. Use a cover pump to remove rainwater. Store the reel in shade when possible.
Avoid Safety and Environmental Risks
Never Swim Under the Blanket
A solar blanket is a drowning hazard. It can entangle swimmers and trap people underwater. It is not a safety cover.
Never swim under it. Never get on or under it while in water.
Keep Away From Kids and Pets
Store the blanket securely when not in use. Loose covers can trap small children or animals.
Recycle, Do Not Burn
Solar blankets are made of LDPE number 4 plastic, which is fully recyclable if your local facility accepts it. Never burn the blanket, because toxic fumes are released.
Boost Longevity to 5 Years
Choose 12 to 16 Mil Thickness
Thicker covers last longer and retain heat better. Twelve to 16 mil thickness offers the best durability and performance. Eight to 10 mil is cheaper but shrinks faster and is less durable.
Follow These Tips
Use a reel to minimize folding stress. Balance water chemistry with pH between 7.2 and 7.6. Avoid high chlorine when covering. Wait 2 to 4 hours after shocking before putting the cover back on. Remove jewelry before handling, because sharp edges cause tears. Store in shade, because UV light degrades the material.
Fix Common Problems Fast
If the blanket shrinks after installation, leave 4 to 6 inches extra at first and do the final trim after 2 to 3 weeks. If wind lifts the edges, re-cut to sit below the coping and use water tubes. If the skimmer sucks in the cover, install a fold-back flap instead of a hole. If grommets break, use a rubber mallet and do not over-tighten. If algae grows under the cover, run the pump daily, test chemistry, and remove the blanket every 2 to 3 days. If water pools on top, use a cover pump or siphon before rolling.
Frequently Asked Questions About Putting a Solar Blanket on a Pool
Which side of the solar blanket goes down?
The bubbled or corrugated side must face down, touching the water. The smooth side faces up toward the sun. This orientation allows the bubbles to trap heat in the water while the smooth top lets sunlight pass through.
How long should I wait before trimming my solar blanket?
Wait 2 to 4 hours in midday sun before trimming. This allows the low-density polyethylene material to expand fully through thermal relaxation, ensuring accurate cuts that fit your pool permanently.
Can I use a solar blanket on an above ground pool?
Yes, solar blankets work effectively on above ground pools. Measure the widest diameter, cut the cover slightly larger than the pool’s outer edge, and let it extend over the top rail. Secure with cover clips or water tubes and keep bubbles facing down.
How much will a solar blanket heat my pool?
Under ideal sunny, low humidity conditions, a solar blanket can increase water temperature by 10 to 15°F. In spring and fall, expect around 10°F warming. During peak summer, the increase is typically 4°F or less.
How often should I remove the solar blanket for chemical outgassing?
Remove the blanket every 2 to 3 days for at least 2 hours. This allows chloramines and other gases to escape from under the cover. Always remove it before swimming or shocking the pool.
Key Takeaways for Installing Your Solar Blanket
A properly installed solar blanket pays for itself within one to two seasons through water, energy, and chemical savings. The most critical step is ensuring bubbles face down, because this orientation enables the greenhouse effect that heats your pool. Always let the material relax in the sun for 2 to 4 hours before trimming, and cut flaps rather than holes for skimmers and ladders. Use a reel for easy handling, reduce chlorine by 50%, and remove the cover every few days for outgassing. With the right installation and care, your solar blanket will deliver years of warmer water and lower maintenance costs.

