
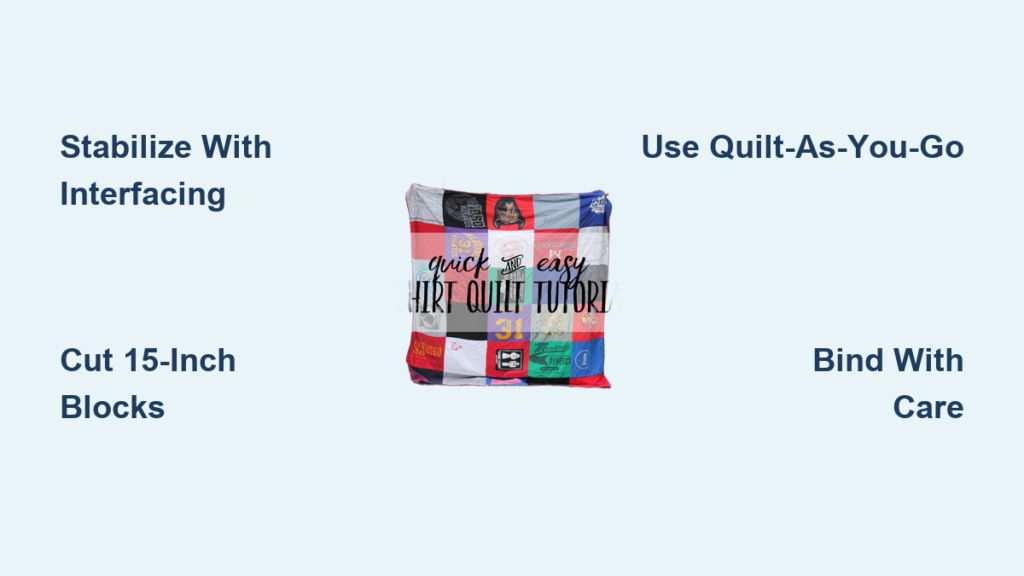
Old concert tees, sports jerseys, and travel souvenirs often end up stuffed in drawers, forgotten but too meaningful to toss. Turning these shirts into a quilt transforms sentimental garments into a cozy heirloom that lasts for decades. The trick lies in proper stabilization, smart layout planning, and choosing a quilting method that holds up to repeated washing.
This guide walks you through every stage of making a t-shirt quilt, from sorting shirts to adding the final binding. Whether you choose the framing method or sashing grid, you’ll learn how to prep fabric, cut precise blocks, and finish with durable stitching. Even beginners can create a professional-looking quilt using a standard home sewing machine.
Sort and Prepare Your T-Shirts
Group Shirts by Color and Design
Start by laying out every shirt and sorting them into stacks based on dominant colors. Red, blue, black, and white groupings make it easier to balance visual weight across the finished quilt. If your collection includes many light-colored shirts, set them aside for sashing or a secondary design element.
Evaluate each garment for wear before committing it to the project. Avoid shirts that feel thin, stretched out, or stained, since these won’t survive repeated washing. Focus on preserving the largest possible area of each print. While most graphics sit on the front, check the back for tie-dye patterns or secondary designs worth saving.
Estimate Quilt Size and Shirt Count
The number of shirts you collect determines your finished quilt dimensions. Use this chart to plan your project:
- Throw (48″ x 64″): 12 shirts in a 3×4 layout
- Twin (64″ x 82″): 20 shirts in a 4×5 layout
- Full (82″ x 96″): 30 shirts in a 5×6 layout
- Queen (96″ x 96″): 36 shirts in a 6×6 layout
- King (110″ x 96″): 42 shirts in a 7×6 layout
Larger quilts require more backing fabric, batting, and binding. They also take longer to assemble and quilt. For your first attempt, start with a throw or twin size to keep the workload manageable.
Stabilize T-Shirt Fabric Before Cutting
Cut and Apply Fusible Interfacing
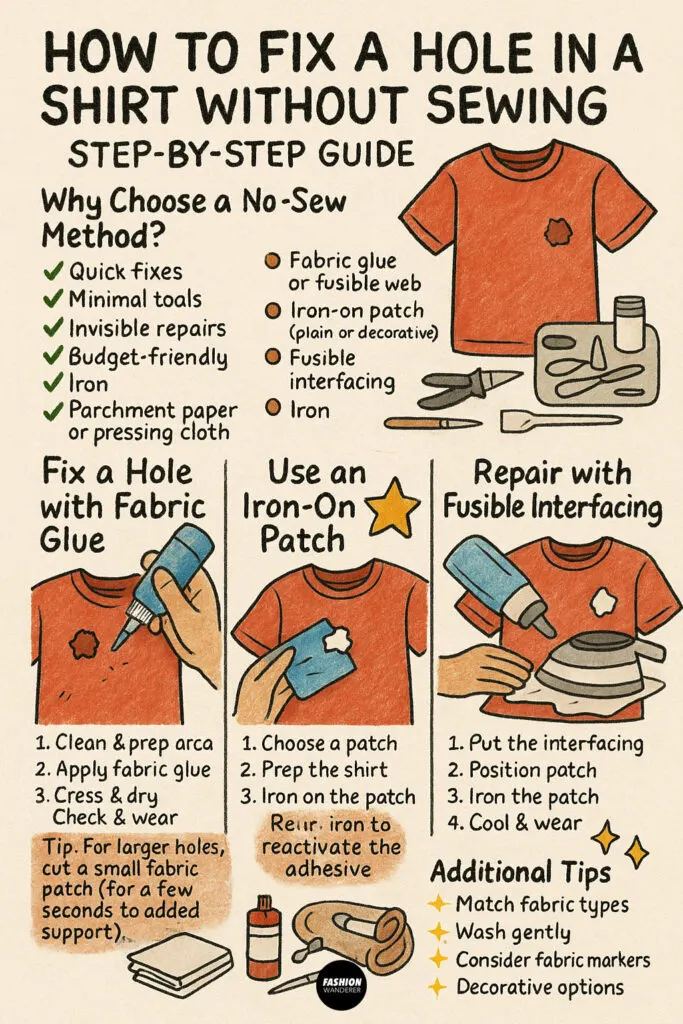
T-shirt fabric is knit, which means it stretches and causes puckering during sewing. You must fuse each piece with lightweight, non-woven interfacing before cutting. French Fuse is a popular choice because it keeps fabric soft while preventing stretch.
Cut a 17-inch square of interfacing for every shirt block. Never piece the interfacing together, because seams will show through the finished quilt. Place the shirt face down on your ironing board, then position the interfacing on the wrong side with the rough resin side touching the fabric.
Cover the interfacing with a pressing cloth to protect your iron and prevent adhesive buildup. Press with a hot, dry iron for 10 to 15 seconds per section, moving across the entire square. Let the fabric cool completely before moving it, since the bond sets as it cools.
Avoid Common Stabilization Mistakes
Never skip this step, because unstabilized fabric stretches during sewing and produces wavy seams. Avoid wrinkling the fabric during fusing, as wrinkles become permanent once the bond sets. If a shirt graphic doesn’t fit a 17-inch square, trim the interfacing to fit just behind the design, but never leave unstabilized areas exposed.
Cut and Square T-Shirt Blocks

Trim to 15-Inch Finished Blocks
After fusing, use a rotary cutter and quilting ruler to square each shirt into a 15-inch block. Center the design carefully by measuring from all sides to ensure balance. The old quilting rule applies here: measure twice, cut once.
Cut all blocks at once and stack them neatly for consistency. While custom shapes are possible, squares align easily and simplify layout for beginners. Use a sharp rotary blade on a cutting mat, since dull tools drag the fabric and distort block edges.
Choose Between Framing and Sashing Methods
You have two main options for assembling your blocks:
- Framing (Foundation Piecing): Each block gets bordered with fabric strips on a cotton foundation.
- Sashing (Grid Method): Fabric strips separate blocks in a grid pattern.
Both methods produce clean, structured layouts. Framing gives a floating look, while sashing creates a quilted grid effect.
Build Blocks with the Framing Method

Piece Fabric Around the T-Shirt Center
The framing method uses 100% cotton foundation fabric to anchor each block. Pre-wash, starch, and press an 18-inch square of cotton fabric before starting. Center the 15-inch t-shirt block on the foundation, then cut 2.5-inch wide fabric strips for the frame.
Sew the strips in this order:
- Place the top strip right sides together and stitch with a 1/4-inch seam. Flip and press.
- Repeat for the bottom strip.
- Repeat for the left and right strips.
Trim excess fabric flush with the block edges. Then stitch a 16-inch square line around the center to stabilize the block and guide future quilting.
Choose Frame Fabric Wisely
For a cohesive look, use one solid color like black, navy, or white for all frames. Black is especially effective because it unifies busy designs and pairs well with dark binding. For variety, use fabric scraps, jelly rolls, or orphan quilt blocks, but avoid overly busy prints that compete with the t-shirt graphics.
Assemble with Sashing and Borders
Add 2-Inch Sashing Strips
Sashing creates a clean grid between blocks and makes layout more flexible. Cut horizontal sashing strips 2 inches wide by 15 inches long. Sew one strip to the bottom of each block except those in the last row, then join blocks into vertical columns.
Next, cut vertical sashing strips slightly longer than the column height. Sew one strip to the right side of each column except the far-right column, then join columns together. Press seams toward the sashing to reduce bulk and create flat seams.
Finish with 2.5-Inch Borders
Borders frame the quilt and help it lie flat. Cut 2.5-inch wide strips from 100% cotton fabric. Sew them to the top and bottom first, then add the sides. Press seams toward the border. If you used black sashing or frames, use black binding later to maintain a unified look.
Choose a Durable Quilting Method

Avoid Stitch-in-the-Ditch
Many beginners use stitch-in-the-ditch, sewing only along block seams. But this leaves large unstitched areas where batting sags and balls up after washing because quilting is too sparse, often more than 15 inches apart. Most batting requires quilting no more than 4 inches apart to stay flat.
Tying Is Fast but Fragile
Tying with yarn or floss every 4 inches is quick and low-cost. But ties can come undone, and the knit fabric may tear between them. This method isn’t ideal for an heirloom quilt meant to last generations.
Long-Arm Quilting Offers Best Results
Computer-driven long-arm quilting applies a repeating pattern across the whole quilt. It’s durable but may not complement unique t-shirt graphics. The best option is hand-guided long-arm quilting from the front, where a professional quilter traces each design to outline logos, stars, or text. Each block gets quilted individually, so stitching doesn’t cross seams.
Use Quilt-As-You-Go for Home Sewers
Quilt Blocks Before Assembly
This method is perfect for home machines and avoids wrestling with a bulky quilt. Quilt each block before joining them:
- Cut 18-inch squares of backing fabric and batting.
- Layer backing right side down, batting, then quilt block right side up.
- Baste with pins or spray.
- Quilt with free-motion stitching using stippling, waves, or traced designs.
- Trim to 16.5 or 17 inches square.
Once all blocks are quilted, join them with binding strips or sashing. This delivers professional results without needing a long-arm machine.
Save Time and Prevent Bulk
Quilt-As-You-Go eliminates basting and quilting a full-sized sandwich. It’s beginner-friendly, reduces errors, and ensures even quilting on every block. Use a walking foot if free-motion feels too advanced, since simple straight-line quilting works well too.
Finish with Binding and Label
Apply Double-Fold Binding
Binding encases raw edges and gives a clean finish. Cut 2.5-inch wide strips from 100% cotton fabric and join them at 45-degree angles for continuous binding. Fold in half lengthwise and press.
Sew binding to the front of the quilt with a 1/4-inch seam, then fold it to the back and hand-stitch or machine-stitch in place. Use black binding if your sashing or frames are black for a unified look.
Add a Personal Label
Sew a fabric label to the back with your name, completion date, and names of people or events represented. This turns your quilt into a documented family heirloom. Use iron-on letters or hand-embroider for a custom touch.
Care for Your T-Shirt Quilt
Wash and Store Properly
To preserve your quilt, machine wash cold on a gentle cycle with mild detergent. Tumble dry low or air dry flat. Never use bleach or fabric softener. Avoid high heat, since plastisol ink on prints can crack or smudge.
Iron with Caution
Never iron directly on t-shirt prints. Use a pressing cloth and low heat, and iron only on cotton sashing or backing areas when possible.
Check for Wear Over Time
Inspect tied quilts annually for loose knots. In machine-quilted versions, look for thread breaks in block centers, which indicates insufficient quilting density.
Frequently Asked Questions About Making a T-Shirt Quilt
How many t-shirts do I need to make a quilt?
The number depends on your desired quilt size. A throw quilt needs about 12 shirts, while a king-size quilt requires around 42 shirts. A twin-size quilt is a good starting point for beginners and uses roughly 20 shirts.
What kind of interfacing should I use for a t-shirt quilt?
Use lightweight, non-woven fusible interfacing such as French Fuse. It stabilizes stretchy knit fabric without making it stiff. Cut 17-inch squares and never piece them together, since seams show through the finished quilt.
Can I make a t-shirt quilt without a long-arm quilting machine?
Yes. The Quilt-As-You-Go method lets you quilt individual blocks on a standard home sewing machine. You free-motion stitch each block before joining them, which avoids the bulk of quilting a full-sized sandwich.
How do I prevent my t-shirt quilt from puckering or sagging?
Stabilize every shirt with fusible interfacing before cutting. Quilt with stitches no more than 4 inches apart to prevent batting migration. Avoid stitch-in-the-ditch alone, since it leaves large unstitched areas that sag after washing.
What is the best fabric for sashing and borders?
Use 100% cotton fabric for sashing and borders. Pre-wash, starch, and press it before cutting to prevent shrinkage and distortion. Solid colors like black, navy, or white unify busy t-shirt designs.
How should I wash a finished t-shirt quilt?
Machine wash cold on a gentle cycle with mild detergent. Tumble dry low or air dry flat. Never use bleach or fabric softener, and avoid high heat that can damage plastisol prints.
Key Takeaways for Your T-Shirt Quilt Project
Making a t-shirt quilt is more than a craft. It’s memory preservation. By stabilizing each shirt with fusible interfacing, cutting precise 15-inch blocks, and choosing a durable quilting method like Quilt-As-You-Go or custom long-arm work, you create a piece that lasts for generations.
Start small with a throw or twin size to manage the workload. Use quality materials and don’t rush the fusing step, since this determines whether your blocks align properly. Whether you frame the blocks or use sashing, consistency and care produce the best results.
Your next step is simple: gather your shirts, sort them by color, and start cutting your first interfacing squares. The sooner you begin, the sooner you’ll hold a finished quilt that tells your story one block at a time.

