
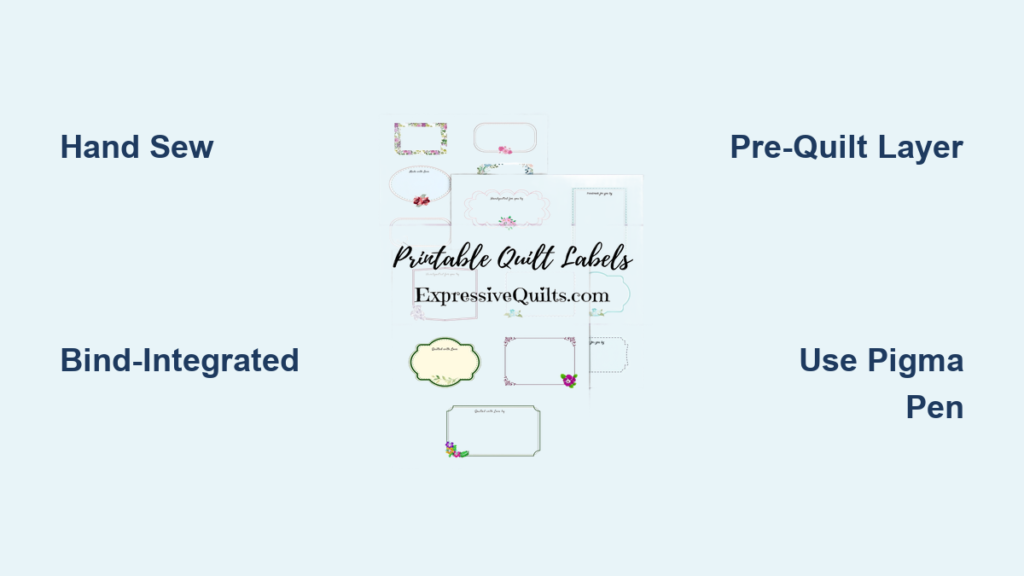
Every quilt carries a story in its stitches, but without a label, that story fades with time. Learning how to sew on quilt labels ensures your handmade pieces are remembered for generations. A simple tag transforms your quilt from anonymous fabric into a documented heirloom with a known maker, date, and purpose.
This guide covers everything you need to know about attaching quilt labels professionally. You will explore different label types, learn what information to include, and master three reliable attachment methods. Whether you prefer hand stitching, binding integration, or pre-quilting layering, these techniques guarantee a durable, polished result.
Choose the Right Label Type for Your Quilt
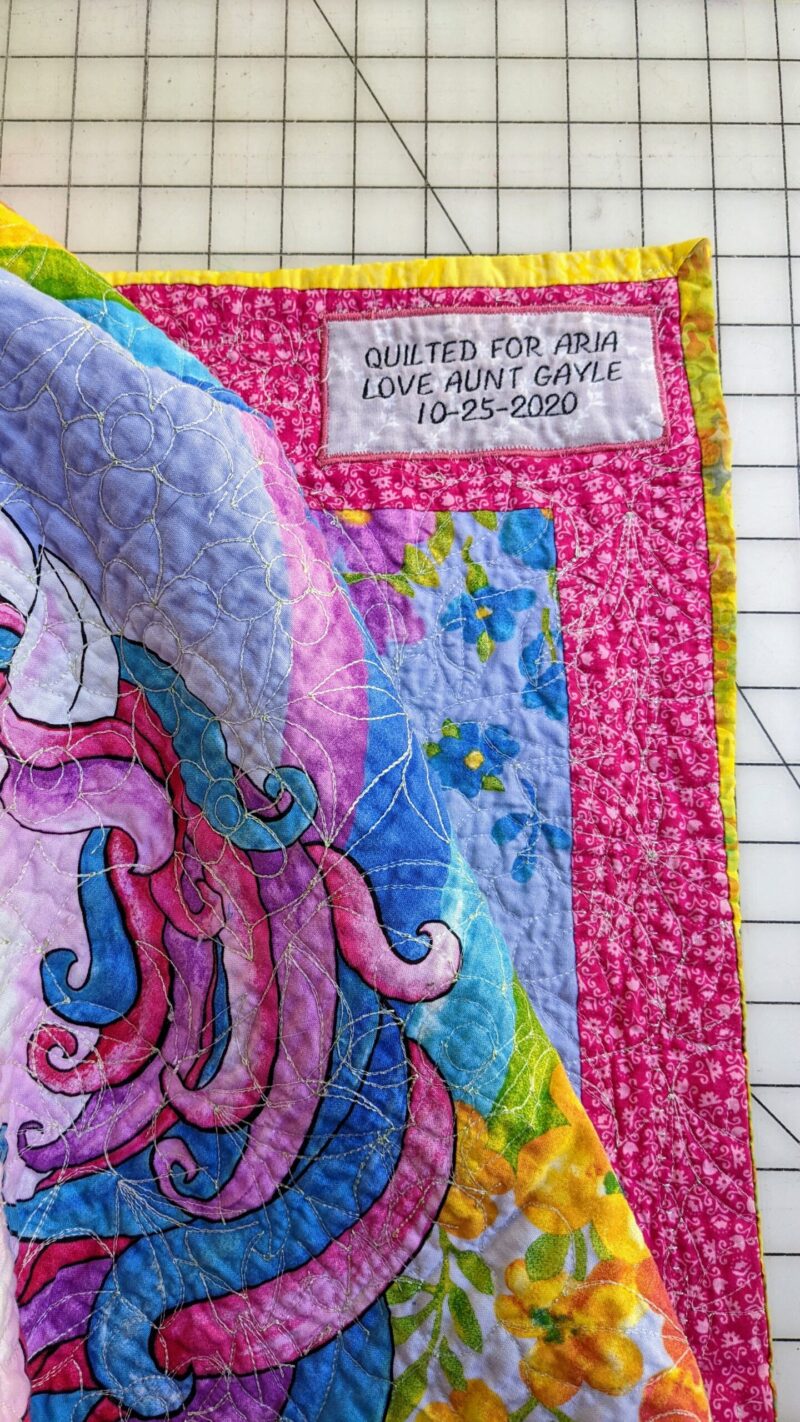
Before learning how to sew on quilt labels, decide which label style fits your project. Each option affects your materials, timeline, and final appearance.
Pre-Printed Fabric Labels
These ready-made tags come in themed designs or blank formats with printed fill-in lines. They offer a quick, decorative solution for quilters who want minimal customization.
- Cut to size and fold edges under.
- Write details with a Pigma pen or Micron pen.
- Hand-stitch into place using a blind stitch.
Custom Printed Labels
For a personalized look, design your own label using Canva and print through Spoonflower. This method produces professional results at home.
- Use 300 DPI resolution for crisp text.
- Scale to 50% on Spoonflower for proper sizing.
- Print on Petal Signature Cotton® for best quality.
Machine Embroidered Labels
Embroidered labels are wash-proof and highly durable. They stitch directly onto cotton tape or stabilized fabric using an embroidery machine.
- Use stabilizer to prevent puckering.
- Embroider text, then trim excess stabilizer.
- Attach by hand or during binding.
Hand-Embroidered Labels
Traditional and charming, hand-embroidered labels stitch directly into the quilt back with embroidery floss. They suit vintage-style or heirloom quilts beautifully.
- Requires steady hand skills.
- Often integrated into quilt design.
- Adds a personal, artisanal touch.
Printable Home Fabric Sheets
Printable fabric sheets let you run labels through your home printer. They offer convenience but require wash-fastness testing before final use.
- Use permanent fabric pens if handwriting.
- Test durability on scrap fabric first.
- Less durable than professional printing.
DIY Fused Labels (No Hand Sewing)
This modern favorite skips hand stitching entirely by integrating the label into the binding. It saves time while ensuring long-lasting results.
- Made from quilt scraps and fusible interfacing.
- Attached during the binding process.
- Ideal for quilters who dislike hand sewing.
Essential Information to Include on Every Label
A great label tells the full story of your quilt. Documenting the right details preserves provenance and adds archival value.
Core Details (Must-Have)
These five elements preserve the quilt’s identity and should appear on every label:
- Quilt Name (e.g., “Grandma’s Star”)
- Pattern Designer and Name (e.g., “Log Cabin by Jen Kingwell”)
- Your Name as the maker
- Date Completed (e.g., “July 2024”)
- Recipient if the quilt is a gift
Advanced Details (Recommended)
Turn your quilt into an archival textile by adding technical specifications:
- Fabric Line Used (e.g., “Ruby Star Society Sun Print 2023”)
- Fiber Content (e.g., “100% Cotton”)
- Batting Type (e.g., “Warm and Natural 100% Cotton”)
- Thread Brand and Type (e.g., “Aurifil 50wt Cotton”)
Pro Tip: Use a template to keep text aligned and centered. A simple grid ensures clean, readable results every time.
Tools and Materials You Will Need
Having the right supplies makes label-making smoother and more professional. Gather these items before starting.
Writing and Marking Tools
- Pigma Pen: Archival, fade-resistant ink in fine tips.
- Frixion Pen: Heat-erasable, perfect for temporary grid lines.
- Micron Pen: Permanent and precise for final text.
- Fabric Marker: Use only if permanent and wash-tested.
Fabrics and Stabilizers
- Quilt Scrap Fabric: Matches the quilt top for cohesion.
- Fusible Interfacing: Adds stiffness to prevent curling.
- Cotton Tape: Ideal for machine-embroidered labels.
- Petal Signature Cotton®: Best for custom printing projects.
Hardware and Accessories
- Starch: Crisps fabric edges for neat folds.
- Cardboard Straight Edge: A cereal box works perfectly for clean 1/4″ folds.
- Pins or Clips: Hold the label in place before stitching.
- Stabilizer: Prevents shifting during machine embroidery.
How to Sew on Quilt Labels by Hand
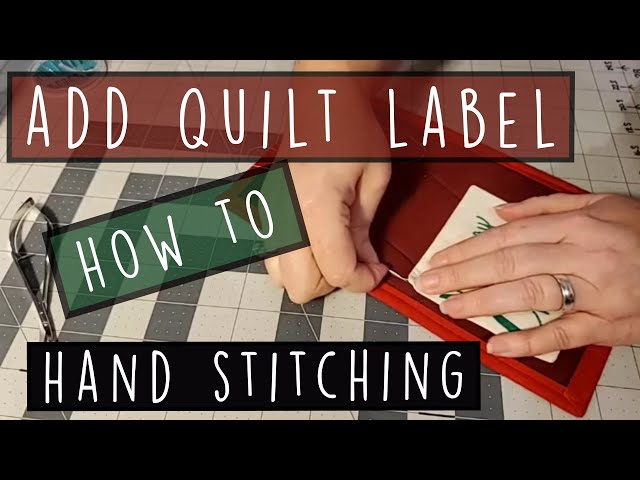
The traditional hand-sewing method gives a handcrafted finish and works with any label type. Follow these steps for a clean, invisible attachment.
Prepare the Label
- Cut label fabric to your desired size (e.g., 4″ x 2″).
- Iron fusible interfacing onto the back for stiffness.
- Fold edges under 1/4″ using starch and a cardboard guide.
- Press with a warm iron for crisp, flat edges.
Position and Pin the Label
- Place the label in the bottom left or right corner of the quilt back.
- Pin securely to prevent shifting during stitching.
Sew with a Blind Stitch
- Thread a hand needle with matching thread.
- Use a ladder (appliqué) stitch:
– Insert the needle into the quilt backing only.
– Pick up a tiny fold of the label edge.
– Slide through the backing without piercing the top.
– Repeat every 1/4 inch. - Knot the thread securely on the back.
Warning: Never let the needle pierce through to the quilt top. Keep all stitches hidden within the backing layers.
No-Hand-Sewing Method: Bind-Integrated Labels
Skip the hand stitching with this clever method. The label attaches during binding, making it fast and foolproof.
Make the Fused Label
- Cut a 6.5″ square from scrap fabric and fusible interfacing.
- Fuse the interfacing to the wrong side of the fabric.
- Fold diagonally with wrong sides together and press.
- Sew a 1/4″ seam along the folded edge.
Add Grid Lines for Text
- Use a Frixion pen to draw guidelines:
– 1/2″ from each side edge.
– 1″ from the top edge.
– Horizontal lines spaced 1/2″ apart down the label. - Practice writing to center your text.
- Trace final text with a Micron or Pigma pen.
- Iron to erase Frixion lines.
Attach During Binding
- Place the label at the bottom corner of the quilt back.
- Align the two raw edges with the quilt’s raw edges.
- Apply binding as usual; the seam catches both raw edges.
- The folded top edge remains visible and clean.
Advantage: No extra stitching required. The binding mechanically locks the label in place.
Alternative: Pre-Quilt Layering Method

For custom or framed labels, attach before assembling the quilt sandwich. This method secures labels through quilting stitches.
Steps to Layer the Label
- Cut backing fabric slightly larger than the quilt top.
- Sew the label onto the wrong side of the backing.
- Layer with batting and quilt top as usual.
- Quilt normally; stitches pass through the label.
Benefits of This Method
- Label is secured by quilting lines, not just edges.
- Eliminates hand sewing entirely.
- Ideal for large or decorative labels.
Common Mistakes to Avoid When Sewing Quilt Labels
Even experienced quilters make labeling errors. Here is how to prevent the most frequent problems.
Crooked or Uneven Text
- Fix: Use Frixion pen grid lines for alignment.
- Pro Tip: Practice on scrap fabric before writing the final label.
Fuzzy or Fading Ink
- Fix: Use only Pigma or Micron pens.
- Never use ballpoint or washable markers on fabric.
Curling or Wrinkled Labels
- Fix: Always use fusible interfacing or starch.
- Press thoroughly after folding edges.
Poor Placement Choices
- Rule: Always use the bottom corner, consistently.
- Pick left or right and stick with it across all quilts.
Forgetting Before the First Wash
- Warning: Washed quilts shrink and soften, making hand sewing harder.
- Best Practice: Attach labels before the first wash whenever possible.
Durability Tips for Long-Lasting Quilt Labels
Your quilt may outlive you. Make sure the label survives just as long with these durability strategies.
Use Archival-Quality Materials
- Ink: Pigma pens offer museum-grade permanence.
- Fabric: 100% cotton holds up best over decades.
- Thread: Choose cotton or polyester with high tensile strength.
Reinforce the Attachment
- Labels sewn into binding or quilted through last longer.
- Avoid glue or fusible web alone; these degrade over time.
Test Washability First
- Spot-test ink and fabric on a scrap piece.
- Wash a sample label to check for bleeding or fading.
Designing Custom Labels with Canva and Spoonflower
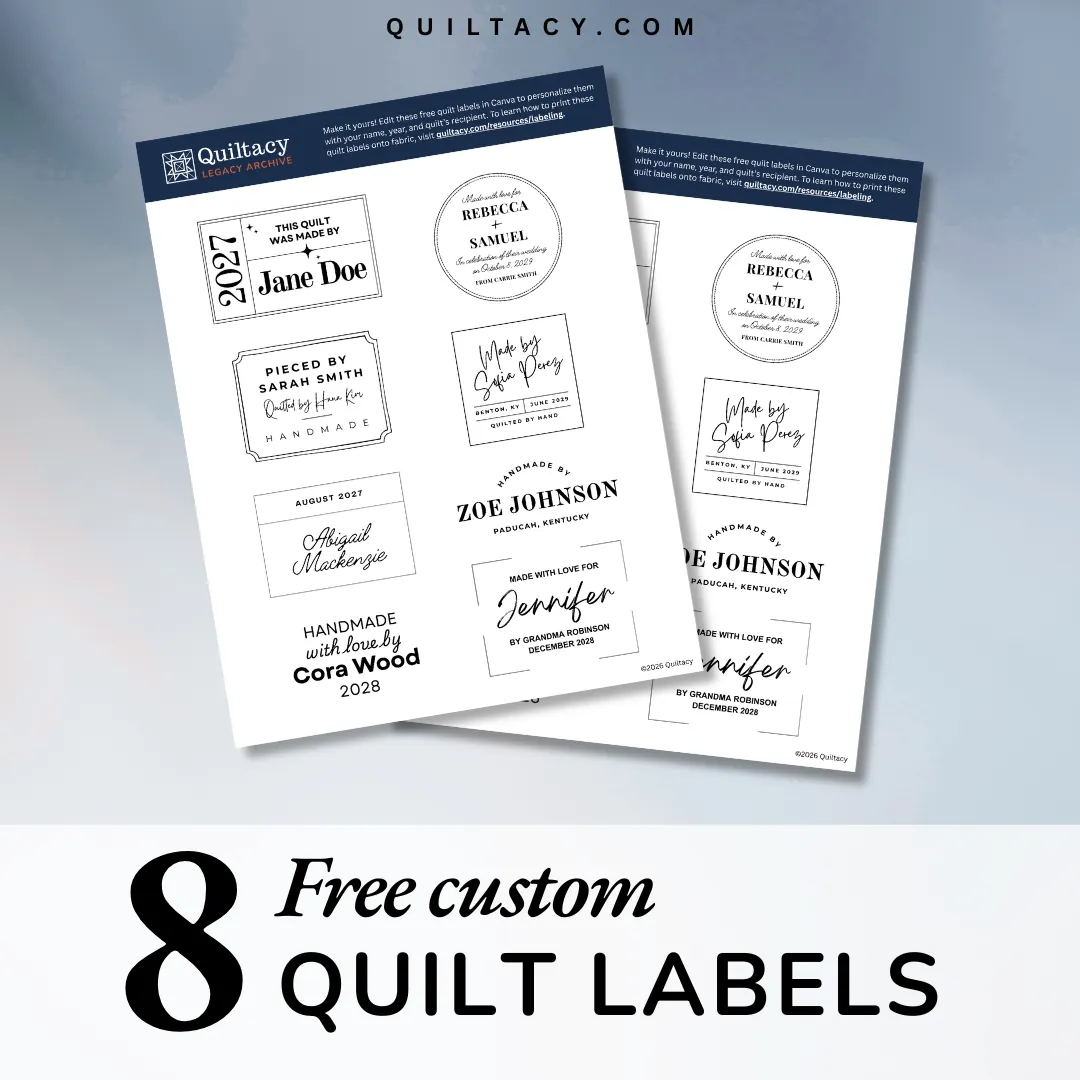
Create a unique, professional label in minutes using free design tools and print-on-demand services.
Design Your Label in Canva
- Open Canva and select “Custom Size” (e.g., 4″ x 2″).
- Add background, text, logo, or photo elements.
- Choose readable fonts like Helvetica or Playfair.
- Download as a PNG file at 300 DPI.
Critical: Set your size correctly upfront. Canva Free does not allow resizing after creation.
Print Through Spoonflower
- Upload your PNG file to Spoonflower.
- Set the scale to 50% to match 300 DPI physical size.
- Choose Petal Signature Cotton® as your fabric.
- Order a swatch; one sheet yields multiple labels.
Final Tips for Quilt Label Success
Make labeling a habit rather than a chore. These simple practices ensure every quilt gets documented properly.
Plan Early
- Decide on label content before finishing the quilt.
- Write details down to avoid last-minute stress.
Keep the Format Consistent
- Use a standard template for all quilts.
- Example format: “Made by [Name] for [Recipient] • [Date] • Pattern: [Name] by [Designer]”
Make It a Ritual
- Attach the label as the final step before gifting.
- Treat it like signing a painting or finishing a sculpture.
Preserve the Story
- Include personal notes like “Made during the 2020 lockdown.”
- Future owners will cherish these meaningful details.
Frequently Asked Questions About Sewing Quilt Labels
What is the best way to sew on quilt labels without hand stitching?
The bind-integrated method is the most popular no-sew option. You create a fused label from scrap fabric and fusible interfacing, then trap its raw edges inside the binding seam. The binding mechanically secures the label, eliminating the need for hand stitching.
What information should I include on a quilt label?
Every label should include the quilt name, pattern name and designer, your name as the maker, the completion date, and the recipient if applicable. Advanced labels may also list the fabric line, fiber content, batting type, and thread brand for full archival documentation.
Where should I place a quilt label on the finished piece?
Place the label in the bottom left or bottom right corner of the quilt back. Choose one corner and use it consistently across all your quilts. This makes labels easy to find and creates a professional, uniform appearance.
When should I attach the quilt label?
Attach the label before the first wash whenever possible. Unwashed quilts are stiffer and easier to manipulate during hand sewing. Attaching early also ensures the label is secured before any fabric shrinkage or shifting occurs in the laundry.
What pen should I use to write on fabric labels?
Use Pigma pens or Micron pens for permanent, archival-quality text. These pens offer fade-resistant ink that withstands washing. Use a Frixion pen only for temporary grid lines, since heat from an iron erases its marks.
Can I print my own quilt labels at home?
Yes, printable fabric sheets let you run labels through a standard inkjet printer. However, test the wash-fastness on a scrap before committing. Professionally printed labels through Spoonflower offer higher durability and color fidelity.
Key Takeaways for Sewing Quilt Labels with Confidence
Learning how to sew on quilt labels is a small investment of time that pays off for generations. Choose a label method that matches your skill level, gather archival-quality materials, and document the essential details that tell your quilt’s story. Whether you hand stitch, bind-integrate, or pre-layer your label, consistency and permanence matter most.
Your next step: Pick one unfinished quilt in your project pile and add a label today using the bind-integrated method. Once you see how simple it is, make labeling a standard final step for every quilt you create.

