
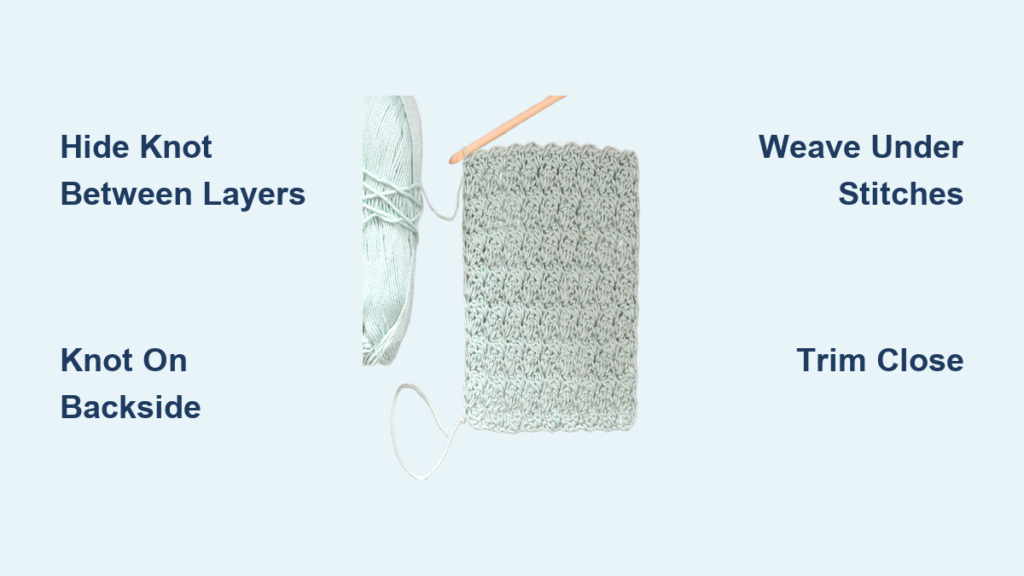
You have just finished the final loop of your blanket stitch, and your edge looks crisp, even, and beautifully handcrafted. But one crucial step remains: ending the stitch securely and invisibly. Knowing how to end a blanket stitch properly makes the difference between a project that lasts for years and one that unravels after a few uses.
Whether you are working on thick felt, a single layer of cotton, or stopping mid-row, the right finishing technique ensures durability, a clean appearance, and a polished result. In this guide, you will learn step-by-step how to finish your blanket stitch on two layers, a single layer, or mid-row, plus how to troubleshoot common issues and ensure long-term strength.
Secure Two-Layer Finish

Ideal for felt, pillows, and layered crafts, this method hides the knot between fabric layers for a seamless look.
Hide Knot Between Fabric Layers
Complete your final blanket stitch on the edge. Pass the needle under the vertical leg of the last stitch and pull through to form a loop. Thread the needle through the loop to create a tiny knot at the top. Without cutting the thread, run the needle down through both fabric layers just beside the last stitch. Guide the thread between the layers for half an inch, weaving it subtly. Gently pull to secure, then clip the tail close to the fabric.
This technique keeps the knot completely hidden and prevents fraying, which is perfect for children’s toys or decorative items where clean finishes matter.
Best for Felt and Appliqué
Felt does not fray, so buried thread tails stay intact. Use embroidery floss or pearl cotton for consistent thickness. Avoid bulky knots by using a single strand for the final passes.
Pro Tip: If your fabric layers are thick, use a sharp embroidery needle in size 7 to 9 to pierce cleanly without distorting the stitch.
Single-Layer Finishing Technique
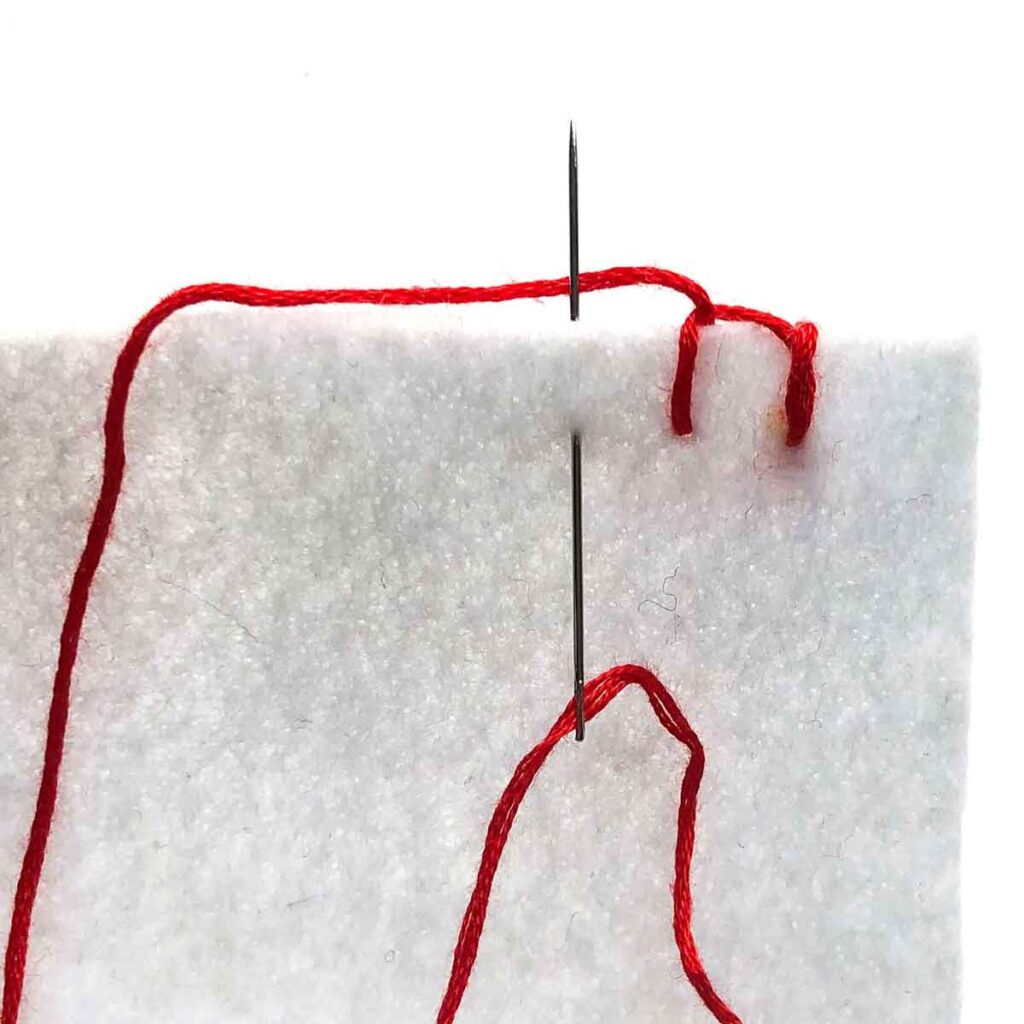
When only one layer of fabric is used, the backside becomes your anchor zone. The goal is to secure the thread without creating visible bumps on the front.
Knot on the Backside
After the final stitch, pass the needle under the vertical leg to form a loop. Pull through and tie a small knot at the base of the stitch. Flip the work over to the reverse side. Bring the needle through nearby stitches on the back, but do not make new ones. Tie a second knot by looping the thread around the needle and pulling tight. Repeat for extra security, then trim the tail short.
This double-knot method prevents slippage, especially on frequently handled items like embroidered coasters or tote bags.
Prevent Front-Side Bumps
Use single-strand thread for finishing to reduce bulk. Spread out the thread path by not running it straight up and down in one spot. For thin fabrics like cotton or linen, apply a dab of fray check to the knot, but only if the item will not be washed often.
User Tip: Knot once on the front base, then again on the back. Never had a stitch come loose, even after washing.
Mid-Row Stop and Restart
Sometimes you need to end a blanket stitch before completing a full edge, such as on an open hem or a decorative trail. The key is anchoring without leaving a loose tail.
Lock Thread Under Existing Stitches
Complete the last visible stitch. Pass the needle under the vertical leg and pull through to form a loop. Thread the needle through the loop and tighten into a micro-knot at the top. Flip to the back and weave the tail under 3 to 5 previous stitches. Pull gently to lock the thread in place. Clip excess close, with no knot needed on the back.
This method leaves zero visibility on the front, making it ideal for partial borders or embellishments.
Weave Instead of Knotting
For delicate fabrics, skip the back knot entirely. Weave the thread tail back and forth under existing stitches for 1 inch. Change direction slightly to prevent pulling. Trim close once secure.
This technique is especially useful when stitching will resume later, like in modular embroidery designs.
Troubleshoot Common Finish Issues

Even experienced crafters face problems like loose ends or visible knots. Here is how to fix them fast.
Fix Visible or Bulky Knots
The problem is that the knot sits on top or shows through thin fabric. The solution is to always bury the thread between layers or weave on the back. Use shorter thread tails at 2 inches to reduce bulk. Separate strands of embroidery floss and use only one for finishing.
Pro Tip: Stretch the fabric taut while finishing to spot bumps before trimming.
Stop Thread from Pulling Out
The problem is that the knot slips out after a few days. The solution is to use two knots or a weave plus knot combo. Apply a tiny drop of fabric glue on the back knot, such as Aleene’s, which is ideal for non-washable items. Test security by gently tugging the last stitch after finishing.
Warning: Avoid glue on washable garments. Opt for double weaving instead.
Reduce Thread Bulk at Endpoint
The problem is a thick cluster of thread at the endpoint. The solution is to use single-strand thread for the last 3 to 4 passes. Space out weaving by not stacking thread in one spot. Choose thinner needle eyes to guide thread smoothly.
Choose the Right Thread and Needle
Your materials impact how well the finish holds and how invisible it remains.
Recommended Supplies
Embroidery floss made of cotton or rayon works best for decorative edges. Separate strands for finishing. Pearl cotton in number 5 or 8 is ideal for felt and pillows because it is naturally smooth and resists fraying. Perle yarn suits textured projects, but use a sharp needle due to the thickness. Needle size 5 to 10 works for most fabrics, with smaller sizes for tight weaves and larger sizes for felt.
Thread tail length should be at least 2 inches for secure weaving and knotting. For high-stress areas like bag handles, double the thread during stitching, but finish with a single strand.
User Feedback: A self-threading needle saves time when weaving through tight backside stitches.
Ensure Long-Term Durability
A well-finished blanket stitch should last for years, even with regular use.
Wash and Care Tips
Hand-wash only if possible, especially for knotted finishes. Machine wash only if knots are double-secured and thread is colorfast. Iron from the back to avoid flattening knots or distorting stitches.
Repair a Loose End
If a stitch comes undone, re-thread the needle with matching floss. Weave through nearby stitches to anchor. Re-create the last 2 to 3 blanket stitches. Finish using the original method.
This preserves the pattern and restores strength.
Match Finish to Project Type
Different crafts demand different finishing strategies.
Felt Toys and Coasters
Use the two-layer burial method. Knot between layers, weave half an inch, then clip. No glue is needed because felt holds thread well.
Lightweight Fabric Borders
Finish with backside double knot plus weaving. Use single-strand thread to avoid front bumps. Consider fray check on raw edges before stitching.
Partial or Open Edges
Use the mid-row weave technique. No knots on the front is ideal for asymmetrical designs. Weave 1 inch on the back for maximum hold.
Key Takeaways for Ending a Blanket Stitch

Ending a blanket stitch does not have to be tricky. Follow these proven steps for a professional result every time.
Anchor under the vertical leg of the last stitch to form a micro-knot. Bury or weave the tail, and never leave a loose end. Knot on the back for single-layer projects. Use two knots or weaving in high-stress areas. Trim close, but not so short that the knot unravels. Test tension by gently pulling the fabric near the end.
By applying these techniques, you will ensure your blanket stitch projects look handmade in the best way: neat, durable, and built to last. Whether you are crafting a child’s plush toy or a monogrammed handkerchief, a properly finished stitch is the final touch that says, “This was made with care.”
Frequently Asked Questions About Ending a Blanket Stitch
How do I hide the knot when finishing a blanket stitch?
Pass the needle under the vertical leg of the last stitch, form a loop, and pull the needle through to create a tiny knot. For two-layer projects, run the needle between the layers and clip. For single-layer projects, flip to the back and weave under existing stitches before clipping.
Can I end a blanket stitch in the middle of a row?
Yes. Complete the last visible stitch, form a micro-knot at the top, flip to the back, and weave the tail under 3 to 5 previous stitches. Clip close without knotting. This leaves no visible bumps on the front.
What is the strongest way to finish a blanket stitch?
Use two knots or combine knotting with weaving. Pass the needle under the vertical leg, create the first knot, then make a second knot on the back by weaving through nearby stitches. This prevents the thread from pulling out even with frequent handling.
Why does my blanket stitch finish show a bump on the front?
The knot is likely being tied on the surface instead of being buried. Always anchor between fabric layers or weave on the back. Using single-strand thread for finishing also reduces bulk and prevents visibility.
What thread is best for finishing blanket stitches?
Embroidery floss, pearl cotton, and perle yarn all work well. Pearl cotton number 5 or 8 is particularly good for felt and pillows because it is smooth and resists fraying. Use a single strand for the final passes to minimize bulk.
How do I repair a loose end on a blanket stitch?
Re-thread with matching floss, weave through nearby stitches to anchor, re-create the last 2 to 3 blanket stitches, and finish using the original method. This restores both the pattern and the strength of the stitch.

