
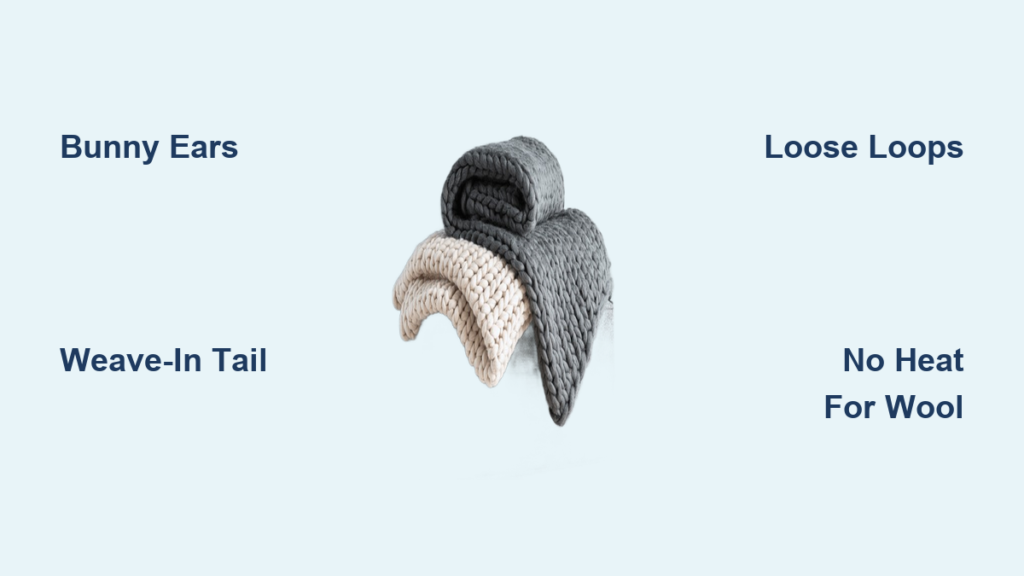
You’ve spent hours arm-knitting or finger-knitting your cozy chunky blanket. The final row is done now, but the way you finish it determines whether your hard work looks professional or gets ruined. How to end a chunky knit blanket properly is the skill that separates beautiful finished pieces from sloppy projects. Whether you’re using chenille, acrylic, wool, or cotton, the right finishing technique locks in your work, prevents unraveling, and creates polished edges that showcase your craftsmanship.
In this guide, you’ll learn the three best cast-off methods, how to secure tails safely, which technique matches your yarn type, and exactly how to avoid the mistakes that ruin otherwise perfect blankets.
Choose the Right Finishing Method

Not all chunky blankets end the same way. Your choice of technique depends on your yarn type, skill level, and the look you want. Three primary methods dominate expert recommendations: Standard Cast-Off, Bunny Ears, and Top Chain Border. Each delivers durability and visual appeal when done correctly.
Standard Cast-Off for Needle-Free Knitting
Even without needles, you can bind off like a pro using hand-manipulated loops. This method mimics traditional knitting bind-offs but works perfectly for large-loop, arm-knit projects.
Pull Through and Pass Over
With 14 live stitches or your original count, begin by forming a new loop using a four-finger width. This is wider than your casting-on width to prevent a tight edge.
- Insert two fingers into the first stitch
- Pull working yarn through to create a new loop
- Place the new loop back onto your hand
- Lift the first completed stitch over the top of the new loop to lock it
- Repeat across the row: create a new loop, pass the previous stitch over
Pro Tip: Always pull yarn from the working end connected to the ball, not the tail. This maintains even tension and prevents puckering.
Keep Loops Loose and Uniform
Tight pulling is the number one cause of curled edges. Use consistent four-finger measurements for each new loop. If your corners are rounding, your loops are too small.
Visual Cue: A well-finished edge lies flat and mirrors the drape and flexibility of your cast-on edge.
Bunny Ears Technique for Beginners
If you’re new to arm-knitting, this tool-free, intuitive method is perfect. It’s called bunny ears because you work with two large vertical loops that resemble rabbit ears.
Start at the Opposite End
Begin at the side opposite your working yarn to distribute tension evenly across the final row.
Cross Left Over Right
- Form two large loops, your first bunny ears
- Take the left loop and cross it over the right, pulling both down slightly to secure
- Create a new large loop on the same side
- Take the previous right loop, now on the left, and cross it over the new right loop
- Repeat across the entire row
Rhythm to Remember: Create, cross, repeat.
Lock With a Final Knot
At the last loop, make one final large loop. Cross left over right one last time. Tie a tight but not constricting knot at the corner. Trim excess, then weave or fuse the tail based on your yarn type.
Best For: Chenille, acrylic, and beginner-friendly kits. This method is widely taught in video tutorials due to its simplicity.
Top Chain Border for a Polished Edge
Want a gallery-ready finish? The top chain border adds structure and elegance. It looks like a slip-stitch crochet edging and is ideal for gifts, displays, or sale pieces.
Knit Final Row With Large Loops
Before starting the border, knit your last row using slightly oversized stitches. These act as anchor points for the chain border.
Sandwich and Pull Through
- Hold the first two end loops together
- Pull the working yarn from behind to the front, forming a loose chain
- Place this chain loop over the next stitch on the edge
- This binds off the prior stitch while maintaining a soft, flexible edge
Maintain Loose, Consistent Chains
Tight chains cause the edge to curl inward. Keep each loop large and uniform, matching the chunkiness of your yarn.
Expert Note: This method takes slightly longer but delivers the most professional appearance, especially on chenille and velvet yarns.
Secure the Final Stitch
No matter which cast-off method you use, you’ll end with one remaining loop. This is where your blanket is most vulnerable, so finish it right.
Cut Yarn With a 6-Inch Tail
Use sharp scissors to cut the working yarn, leaving at least 6 inches of tail. Running short now can force a messy restart.
Pull Tail Through Last Loop
- Thread the tail completely through the final stitch
- Gently pull downward until the loop sits flush with the edge
- Apply light pressure behind the stitch to square the corner
Warning: Do not yank hard, especially with stretchy yarns like chenille. Over-tightening distorts the fabric.
Finish the Yarn Tail Like a Pro
How you handle the tail determines long-term durability. Two methods dominate: weave-in and fuse. Choose based on fiber content.
Knot and Weave-In for All Yarns
This universal method works on wool, cotton, chenille, and acrylic. It’s safe for beginners and all yarn types.
Tie a Single Overhand Knot
- About 5 inches from the edge, tie a simple knot to anchor the tail
- Trim close, leaving one-quarter inch of knotted end
Weave Into Back Chain Stitches
- Use fingers or a blunt tapestry needle to push the tail from back to front
- Loop it under a horizontal back chain along the top edge
- Wrap around the base, pull tight, then push back through to the reverse side
- Trim any visible ends flush
Durability Rule: Weave tails over 3 to 4 inches of fabric. Short weaves come loose after washing.
Design Tip: Weave through neutral-colored sections to hide tails on variegated yarns.
Burn Ends for Synthetic Yarns Only
For acrylic, polyester, and chenille, fusing creates a seamless, invisible seal.
Trim and Melt the Tip
- After pulling through, tuck the tail under a nearby stitch on the back
- Cut to one-half inch
- Use a long-reach lighter to briefly pass the tip through flame. Do not ignite
- Immediately press the melted end into the fabric underside
- Hold until cooled
Critical Safety Rule: Never use on wool, cotton, or alpaca. They burn, smoke, or shrink.
Ventilation Required: Always work in a well-ventilated area with fire safety tools nearby.
User Feedback: Crafters say this method saves time and eliminates bulk, but stress caution.
Match Method to Yarn Type
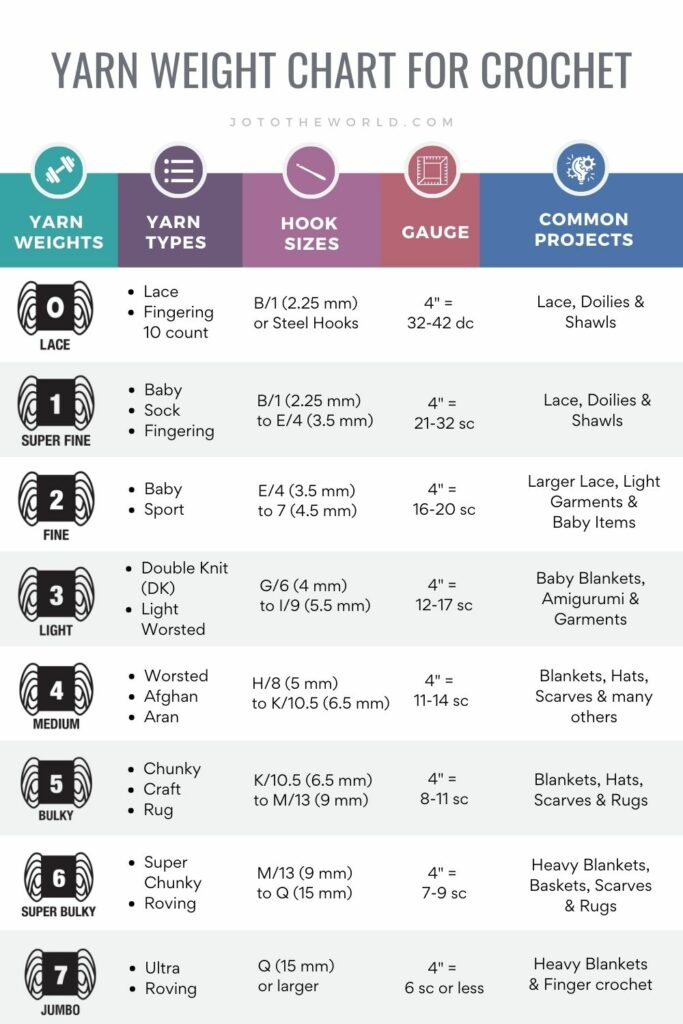
Using the wrong finish can damage your blanket. Always align technique with fiber composition.
| Yarn Type | Best Finish | Avoid |
|---|---|---|
| Chenille / Velvet | Knot and weave-in | Heat, melts pile |
| Acrylic / Polyester | Weave-in or fuse | None, both safe |
| Wool / Alpaca | Weave-in only | Flame, causes burning |
| Cotton / Linen | Weave-in with multiple tucks | Heat, no melt, just scorch |
Pro Insight: Pre-packaged DIY kits almost always recommend weave-in methods for safety and accessibility.
Prevent Common Finishing Mistakes
Even experienced crafters make errors. Here’s how to avoid the top issues.
Avoid Tight Edges
Problem: Puckered, rippling, or constricted top edge.
Cause: Over-tightening during cast-off.
Fix: Use four-finger width for each loop. Keep tension loose and consistent.
Prevent Running Out of Yarn
Problem: Yarn cuts short mid-bind-off.
Cause: Insufficient length.
Fix: Measure four times the blanket width or leave 3 to 5 full strands before starting.
Stop Curling Corners
Problem: Rounded or inward-curving edges.
Cause: Uneven or tight loops.
Fix: Maintain large, uniform loops and check alignment every few stitches.
Enhance With Decorative Finishes
Once secured, add flair. These touches are optional but impactful.
Add Fringe or Tassels
- Cut yarn strands twice the desired length
- Fold in half, pull loop through edge stitch, then thread ends through and pull tight
- Trim evenly for a clean fringe
Style Tip: 6 to 8 inch tassels work best on 40 by 60 inch blankets.
Attach Pom-Poms
- Sew color-matched pom-poms to corners or every 6 to 8 inches along edges
- Use strong, hidden stitches for durability
Crochet a Border
- With a large crochet hook, add single or double crochet around all edges
- Reinforces structure and adds texture
Best For: Gift blankets or display pieces needing a refined edge.
Tools You Will Need
You do not need much, but the right tools make finishing faster and cleaner.
- Sharp Scissors: For precise cuts without fraying
- Blunt Tapestry Needle: Ideal for weaving thick tails
- Long-Reach Lighter: Safer for fusing synthetic ends
- Measuring Tape: Verify edge alignment and corner squareness
Pro Hack: Some crafters use modified crochet hooks or large-eye needles for ultra-thick yarns.
Time and Skill Guide
Finishing takes 15 to 45 minutes, depending on size and method.
| Skill Level | Recommended Method | Average Time (40×60) |
|---|---|---|
| Beginner | Bunny Ears plus Weave-In | 20 to 25 minutes |
| Intermediate | Standard Cast-Off plus Weave | 25 to 30 minutes |
| Advanced | Top Chain plus Fused Ends | 35 to 45 minutes |
Beginner Tip: Practice on a small swatch before finishing your full blanket.
Final Quality Check
Before declaring your blanket done, inspect for these elements.
- Flat, non-curling edge
- Squared corners if intended
- No loose ends or visible knots
- Matching drape on both cast-on and cast-off edges
- Secure, hidden tails
Expert Rule: The last 5 percent of your work defines 100 percent of its perception. A flawless finish signals craftsmanship.
Complete Finishing Workflow
- Complete final row with enlarged loops. Verify stitch count.
- Choose your method: Bunny Ears for beginner, Standard Cast-Off for balanced, or Top Chain for professional.
- Use four-finger width for loose, even loops.
- Maintain tension. Pull from working yarn, not tail.
- End with one stitch. Pull through 6-inch tail. Square edge.
- Secure tail. Weave-in for all yarns or fuse for synthetics only.
- Weave over 3 to 4 inches or melt tip briefly into fabric.
- Inspect edge for uniformity and hidden ends.
- Add fringe, pom-poms, or crochet border if desired.
Key Takeaways for Ending Your Chunky Knit Blanket
A beautifully ended chunky knit blanket is not just cozy, it is a statement of care and skill. The method you choose should match your yarn type and your experience level. Beginners should start with the Bunny Ears technique and weave-in tails for safety. Intermediate crafters can try the Standard Cast-Off for balanced results. Advanced finishers can achieve gallery-quality edges with the Top Chain Border and fusion method for synthetic yarns.
Remember the critical rules: always use four-finger width to prevent tight edges, weave tails over 3 to 4 inches for durability, never apply heat to natural fibers, and inspect your final work before calling it done. Whether you are making this blanket for your own couch or as a heartfelt gift, the right finish ensures durability, beauty, and pride in your handmade piece.
Frequently Asked Questions About Ending a Chunky Knit Blanket
What is the easiest way to finish a chunky knit blanket for beginners?
The Bunny Ears technique combined with knot and weave-in is the easiest method for beginners. It requires no tools, uses intuitive hand movements, and works safely with all yarn types. Simply cross left loop over right, create a new loop, and repeat across the row.
Can I use heat to finish the tails of a wool blanket?
No, never use heat or flame on wool, cotton, alpaca, or linen. Natural fibers will scorch, burn, or shrink when exposed to flame. Always use the knot and weave-in method for natural fibers. Reserve the burn or fuse method for synthetic yarns only, such as acrylic, polyester, and chenille.
How long should the tail be when finishing a chunky knit blanket?
Leave at least 6 inches of tail after cutting from the ball. This gives you enough length to pull the yarn through the final stitch, square the corner, and have sufficient length for weaving or knotting. For weaving, plan to cover 3 to 4 inches of fabric with the tail.
Why does my finished edge curl or pucker?
Curling and puckering happen when you pull too tightly during the cast-off process. Use a four-finger width for each loop rather than pulling tight. Always pull from the working end connected to the ball, not the tail. Larger, looser loops maintain flexibility and prevent the edge from constricting.
Should the cast-off edge match the cast-on edge?
Yes, a professional finish has matching edges. The cast-off edge should mirror the drape and flexibility of your cast-on edge. Differences in tension or technique create asymmetry. Use the same four-finger width for both casting on and casting off to ensure visual consistency.
How do I add fringe to a chunky knit blanket?
Cut yarn strands to twice your desired fringe length. Fold each strand in half, insert the loop through an edge stitch, then thread the cut ends through the loop and pull tight. Trim evenly for a clean look. Six to 8 inch tassels work best on standard 40 by 60 inch blankets.

