
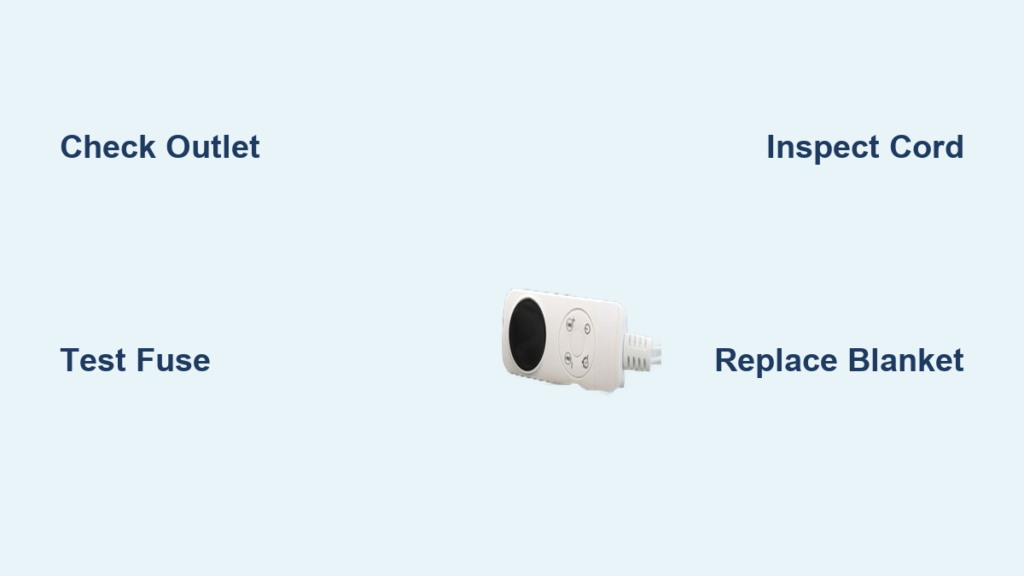
You plug in your electric blanket, settle in for a cozy night, and nothing happens. No warmth. No indicator light. Maybe a strange smell or flickering controller. It is frustrating, especially when the cold sets in. But before you toss it or risk a dangerous DIY fix, know this: some electric blanket issues can be safely resolved with simple troubleshooting. Others are red flags screaming replace me now.
This guide shows you exactly how to fix an electric blanket, when it is safe to try, and when to walk away. You will learn how to test fuses, reset controllers, and spot deadly hazards like internal wire breaks or thermal damage. Most importantly, you will gain a clear decision framework: repair or replace?
Diagnose Common Failure Symptoms
Knowing what is wrong starts with recognizing the signs. Each symptom points to a specific part of the system: power, controller, wiring, or safety circuits.
No Heat or Power Light
If the blanket does not warm up and the controller shows no light, the issue could be external or internal. Start with the basics. Unplug and reseat the cord because many modern blankets use detachable connectors that must click firmly into place. Test the outlet using a phone charger or lamp. If it is dead, check for a tripped GFCI or circuit breaker. Wait 20 minutes after unplugging to reset internal electronics because some controllers lock up and need a full discharge.
A working outlet but no response suggests a blown fuse, failed controller, or broken heating wire.
Partial Heating and Cold Spots
When only part of the blanket heats, internal wire damage is likely. The heating element is a long, thin wire woven through the fabric. Folding, compression, or washing can break it. Run your hands over the blanket to feel for thin or stiff sections because these may hide breaks. Cold spots mean the circuit is interrupted. This type of damage is not repairable without cutting open the blanket, which compromises safety.
If you see no visible damage but still have cold zones, use a multimeter to test continuity.
Blinking Controller or Auto Shut-Off
Flashing lights often mean the blanket detected a fault. Overheating from being folded, covered by heavy bedding, or placed under body weight can trigger this. An internal short circuit may also be activating the thermal fuse. A controller logic error is another possibility that sometimes fixes with a reset.
Unplug the blanket, let it cool for 30 minutes, and try again. If blinking returns immediately, the problem is likely internal.
Burning Smell or Scorch Marks
This is a critical warning sign. A burnt odor, discolored fabric, or melted controller casing means overheating due to a short circuit or failed thermostat. It may also indicate insulation breakdown in wires. This is a fire hazard, so stop using immediately.
Do not attempt repair. Discard the blanket safely.
Test Power and Connections
Before opening any components, verify the power path is intact. Many broken blankets just have loose connections or tripped outlets.
Check Outlet and Circuit
Plug a known-working device like a lamp into the same outlet. If it does not power on, press the reset button on GFCI outlets. Check your home breaker panel for tripped switches. Avoid using extension cords because most electric blankets require direct wall connection.
If the outlet works but the blanket does not, move to the next step.
Inspect the Power Cord
Examine the cord from wall plug to controller. Look for fraying, kinks, or chew marks because pets love these cords. Check where the cord enters the controller because this is a common failure point. Gently bend the cord near connections while the blanket is on. If heat flickers, there is an internal break.
If the cord is damaged but the plug end is intact, some models allow cord replacement, but only if designed for it.
Reconnect and Reset the System
Many issues resolve with a simple reconnection. Unplug the blanket. Remove and reinsert the detachable cord until it clicks. Wait 20 minutes to reset internal capacitors. Plug back in and power on.
Some digital controllers have a reset button. Use a paperclip to press and hold for 10 seconds. This fixes temporary faults like logic lockups or communication errors between controller and blanket.
Use a Multimeter to Diagnose Faults
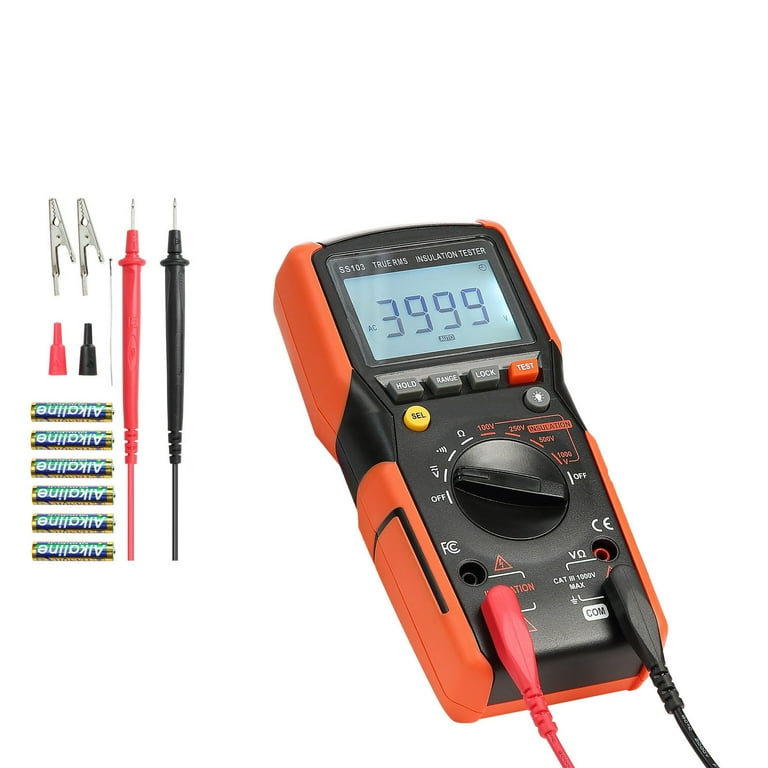
A 10 multimeter can pinpoint whether the problem is in the controller, fuse, or heating element.
Test Fuse Continuity
The main fuse, usually 2A, 250V, protects against overloads. It is located near the AC input on the controller PCB. Set multimeter to resistance or continuity mode. Touch probes to both ends of the fuse. A good fuse shows near-zero resistance and beeps in continuity mode. A blown fuse shows infinite resistance with no beep.
Replace with the exact rating because a higher-rated fuse defeats safety protection.
Measure Heating Element Resistance
Disconnect the blanket from the controller. Test the plug pins connected to the internal wires. Expected reading is 80 to 500 ohms depending on model. For example, Biddeford models average around 80 ohms. An open circuit means broken heating wire, so replace the blanket. Near-zero resistance means short circuit, so do not use.
If resistance is out of range, the heating element is damaged.
Check Thermal Cut-Off Fuse
This one-time safety device trips at high temperatures, typically 108C or 120C. It is often a white or yellow component on the PCB. Test for continuity as with the main fuse. If open, it must be replaced, not bypassed. Use correct replacement: 108C, 2A is preferred, or 120C, 2A is acceptable.
Bypassing this fuse creates a fire risk. Never use a jumper wire.
Replace the Thermal Cut-Off Fuse
If testing confirms a blown thermal fuse and no other damage exists, replacement is possible with caution.
Tools and Safety Prep
You will need a soldering iron at 30 to 60 watts. Gather solder and desoldering wick. Have a multimeter ready. Get a plastic pry tool. Have a replacement fuse ready, such as SM110A1 or 108C, 2A.
Work unplugged in a dry area with insulated tools. Wear eye protection.
Open the Controller Housing
Most controllers are sealed with plastic clips. Use a plastic pry tool to gently snap open the case. Clips often break, so plan to reassemble with tape or a zip tie. Avoid metal tools that could short the PCB.
Desolder and Replace the Fuse
Locate the thermal fuse on the board, often labeled with temperature rating. Heat both solder joints with the iron. Use desoldering wick to remove excess solder. Pull out the old fuse with tweezers. Insert the new fuse in the same orientation. Solder both ends securely.
Test continuity before reassembly.
Reassemble and Test
Close the case temporarily with electrical tape. Plug in and check for indicator light. Lay blanket flat and test on low setting. Monitor for 10 minutes with no smoke, smell, or overheating.
If it works, consider the repair successful, but inspect regularly.
Replace the Main Fuse or Controller

Sometimes the fix is simpler: swap a fuse or entire controller.
Swap the Main Fuse
The main fuse, 2A, 250V, is often in a holder or soldered near the plug input. Replace with exact same rating. If the new fuse blows immediately, stop because there is a short circuit downstream. Do not operate until the root cause is found.
Install a New Controller
Some brands like Warmer and Biddeford sell replacement controllers. Unplug the old one. Disconnect wiring carefully, noting polarity. Attach new controller using manufacturer instructions. Test before full use.
This avoids complex PCB work and restores safety features.
Pro Tip: If your blanket has a detachable controller, this is the safest repair path with no internal modifications needed.
Recognize When to Replace, Not Repair

Repairing an electric blanket is not always safe or practical. Know when to walk away.
Irreparable Damage Signs
Replace immediately if you see exposed or broken heating wires. Replace if you notice burnt fabric, scorch marks, or melted insulation. Replace if you find frayed internal wires from washing. Replace if there is repeated fuse blowing. Replace if the blanket is over 10 years old.
These indicate permanent safety compromise.
Why Internal Repairs Are Risky
Heating wires are not user-repairable because splicing creates hot spots. Opening the blanket voids UL certification and warranty. Repairs may disable overheat protection or ground fault systems.
Even small mistakes can lead to fire or electrocution during sleep.
Follow Safety Rules Before Any Repair
Electric blankets combine high voltage and flammable materials. One misstep can be deadly.
Always Unplug First
Never work on a live system. Unplug before inspection, testing, or repair.
Avoid Water and Damp Areas
Moisture increases shock risk. Never handle a wet blanket or work in a humid environment.
Use Insulated Tools
Screwdrivers, pliers, and multimeter probes must have rubber-coated handles rated for 1000V.
Never Bypass Safety Devices
Do not jump a thermal fuse. Do not remove the auto shut-off timer. Do not replace fuses with higher ratings. These are life-saving features, not inconveniences.
Work in a Clean, Dry Space
Dust, lint, and moisture can cause shorts. Keep your workspace clear and well-lit.
Decide: Repair or Replace
Use this decision framework to choose safely.
Repair Only If
Repair only if only the thermal fuse is blown and no other damage exists. Repair if the controller is replaceable by manufacturer. Repair if the cord is loose and can be reseated or replaced safely. Repair if the blanket is under warranty because you should contact the maker first.
Example: A 3-year-old Biddeford blanket with no light but good cord and outlet is likely a blown fuse. Replace the fuse or return under warranty.
Replace Immediately If
Replace immediately if there are cold spots or no continuity in heating wire. Replace immediately if there is a burnt smell, scorch marks, or melted parts. Replace immediately if there is a blinking controller with arcing sounds. Replace immediately if the blanket has been washed, even spot cleaned. Replace immediately if age exceeds 5 to 10 years.
New blankets cost 50 to 100 dollars and come with auto shut-off, overheat protection, and UL certification. These are features older models lack.
Expert Consensus: If you are not 100 percent confident, replace it. Your life is worth more than a 70 dollar blanket.
Prevent Future Problems
Extend your next blanket life with smart habits.
Use and Store Properly
Lay flat because never fold tightly or tuck in. Do not sleep directly on it. Use as an under-blanket or top layer instead. Store loosely rolled, not folded. Never place heavy objects on top during use.
Inspect Before Each Use
Check for frayed cords. Check for discoloration. Check for stiff or thin patches. Check for loose connections. A 10-second check can prevent disaster.
Buy Safer Models
When replacing, choose blankets with auto shut-off at 8 to 10 hours. Choose models with overheat protection. Choose blankets with UL or ETL certification. Choose models with dual thermostats for dual controls. Choose blankets with water-resistant fabric.
Modern designs are far safer than older units.
Frequently Asked Questions About Fixing Electric Blankets
Can I fix a cold spot in my electric blanket?
Cold spots indicate internal wire damage that is not user-replaceable. The heating element is woven through the fabric, and breaking it creates safety hazards. Replace the blanket instead of attempting repair.
Why does my electric blanket keep blowing fuses?
Repeated fuse blowing indicates a downstream fault like a short circuit or damaged heating element. Replacing the fuse without diagnosing the root cause will result in immediate failure. This is a sign to replace the blanket.
Is it safe to replace the thermal fuse myself?
Replacing the thermal fuse is possible if you have soldering skills and the correct part. However, it voids UL certification and may compromise safety if done incorrectly. Only attempt this if you are confident in your skills.
How do I reset my electric blanket controller?
Unplug the blanket and wait 20 minutes to allow capacitors to discharge. Reconnect the detachable cord firmly until it clicks. If your controller has a reset button, hold it for 10 seconds with a paperclip.
When should I replace my electric blanket instead of repairing it?
Replace immediately if you see scorch marks, melted parts, or frayed internal wires. Replace if the blanket is over 10 years old. Replace if washing has damaged the internal wiring. Replace if you experience repeated failures after troubleshooting.
Can I use an extension cord with my electric blanket?
Avoid extension cords unless rated for continuous heating devices. Electric blankets should connect directly to wall outlets for proper power delivery and safety shut-off functionality.
Key Takeaways for Fixing Your Electric Blanket
While it is technically possible to fix an electric blanket, especially replacing fuses or controllers, the risks often outweigh the benefits. Start with simple troubleshooting: reseat connections, test outlets, and perform a full system reset. These steps resolve many common issues without opening the controller.
When it comes to internal faults, walk away and upgrade. Your safety and that of your family is the top priority. A new certified blanket offers peace of mind, reliable warmth, and built-in protections no repair can match. Fix the simple things like outlets, cords, and resets, but when internal components fail, replace the blanket. Modern blankets with auto shut-off and overheat protection are affordable and worth the investment.

