
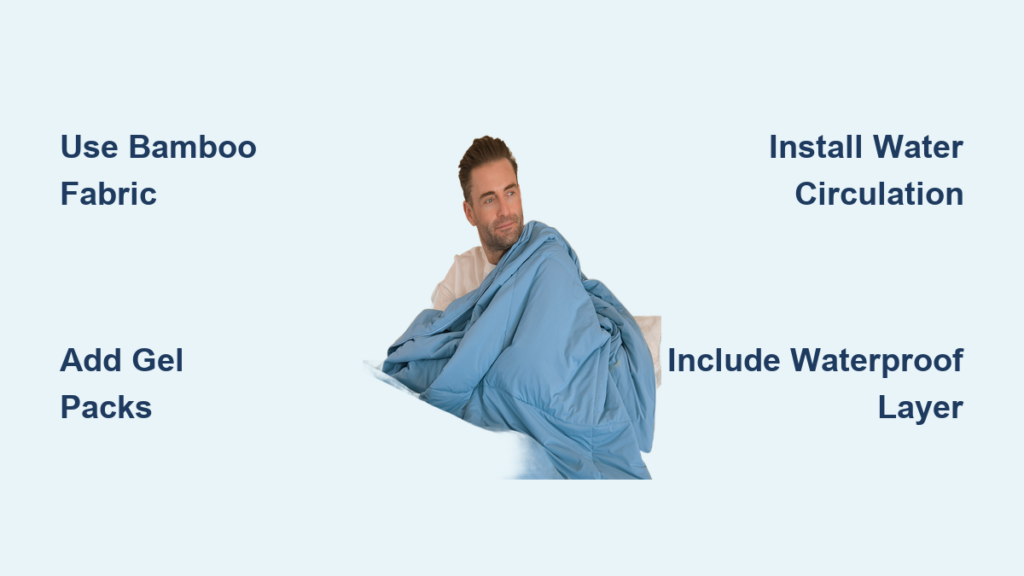
Struggling to sleep through hot nights affects millions of adults who report disrupted rest due to overheating. A cooling blanket regulates body temperature, wicks moisture, and improves airflow for deeper, more comfortable sleep. While commercial versions cost $100 to $300, making your own DIY cooling blanket cuts costs by up to 80% while giving you complete control over materials, size, and cooling performance.
This guide walks you through selecting breathable fabrics, building reusable cooling inserts, and assembling a functional blanket using proven methods. Whether you battle night sweats, live without air conditioning, or simply want better sleep during summer months, these step-by-step instructions help you create a customized cooling solution.
Choose the Right Cooling Method for Your Needs
The first step in making a cooling blanket is selecting the technology that best fits your lifestyle and cooling requirements. Each method uses different materials and delivers unique benefits.
Gel-Based Cooling
Gel packs sewn into fabric pockets absorb body heat through conduction, providing short-term cooling that lasts 2 to 4 hours. This method works best if you experience hot flashes, lack air conditioning, or prefer a low-tech solution. Simply place packs in pockets, freeze before use, and replace with backup sets when they warm up.
Water Circulation System
Chilled water flows through tubing embedded in the blanket, delivering all-night continuous cooling. This setup requires a small aquarium pump, food-grade silicone tubing, and an insulated reservoir filled with ice water. It suits you if you tolerate slight pump noise and want active cooling throughout the night.
Phase Change Material (PCM) Packs
PCM materials absorb heat as they melt, maintaining steady temperatures for 3 to 5 hours. Paraffin wax melts at 20 to 30°C, while sodium acetate trihydrate melts at approximately 58°C. This method avoids the cold shock of frozen gel and provides more consistent cooling.
Breathable Fabric-Only Blanket
This option relies on evaporation and airflow to cool the body without any inserts. It works best in mild heat, dry climates, or for light sleepers who prefer a lightweight, washable cover. Lightly misting the fabric before bed enhances evaporative cooling performance.
Select High-Performance Cooling Fabrics
Your fabric choice directly impacts breathability, moisture management, and overall comfort. Choosing high-quality materials ensures your cooling blanket performs effectively.
Bamboo Fabric
Bamboo naturally wicks moisture, resists bacteria, and feels silky smooth against the skin. It provides excellent airflow, stays cool to the touch, and offers eco-friendly benefits. The main drawback is a slightly higher cost compared to cotton. Use 100% bamboo viscose or lyocell for optimal results.
Tencel (Lyocell)
Made from sustainably sourced wood pulp, Tencel absorbs moisture highly effectively and breathes well. Its hypoallergenic and biodegradable properties make it ideal for sensitive skin. This material pulls moisture 50% faster than cotton, though it requires gentle washing and should avoid high heat.
High-Thread-Count Cotton
Lightweight cotton offers affordability, easy sewing, and durability. Choose percale weave for a crisp, airy feel rather than flannel or jersey. The downside is that cotton retains moisture longer unless tightly woven.
Microfiber (Coolmax-Type)
Synthetic microfiber engineered for athletic wear dries quickly and resists wrinkles. It works well as an inner liner layer for added wicking, though it proves less breathable than natural fibers.
Pro Tip: Layer fabrics by using bamboo on top, Coolmax underneath, and add a waterproof PUL liner if using gel or water inserts.
Build Your Own Cooling Inserts
Creating your own cooling inserts costs significantly less than buying commercial options and allows complete customization.
Make DIY Gel Packs
Create reusable, flexible cooling pads using household items. Mix three parts water with one part rubbing alcohol (70% isopropyl) to prevent complete freezing. Pour the mixture into quart-sized resealable bags, leaving one inch of space for expansion. Seal tightly and double-bag for leak protection. Freeze for at least four hours before inserting into 6×6 inch fabric pockets spaced evenly across the blanket.
Warning: Never use pure water in gel packs because it freezes solid and can damage fabric or irritate skin.
Assemble PCM Sachets
Phase change materials maintain consistent cool temperatures without sudden cold shocks. Melt paraffin wax in a double boiler and pour it into heat-safe sealable pouches or small fabric sachets lined with food-grade plastic. Let cool and solidify, then freeze for four hours before inserting into pockets. Paraffin wax melts at 20 to 30°C, providing gentle cooling that lasts longer than standard gel packs.
Install Water Circulation Grid
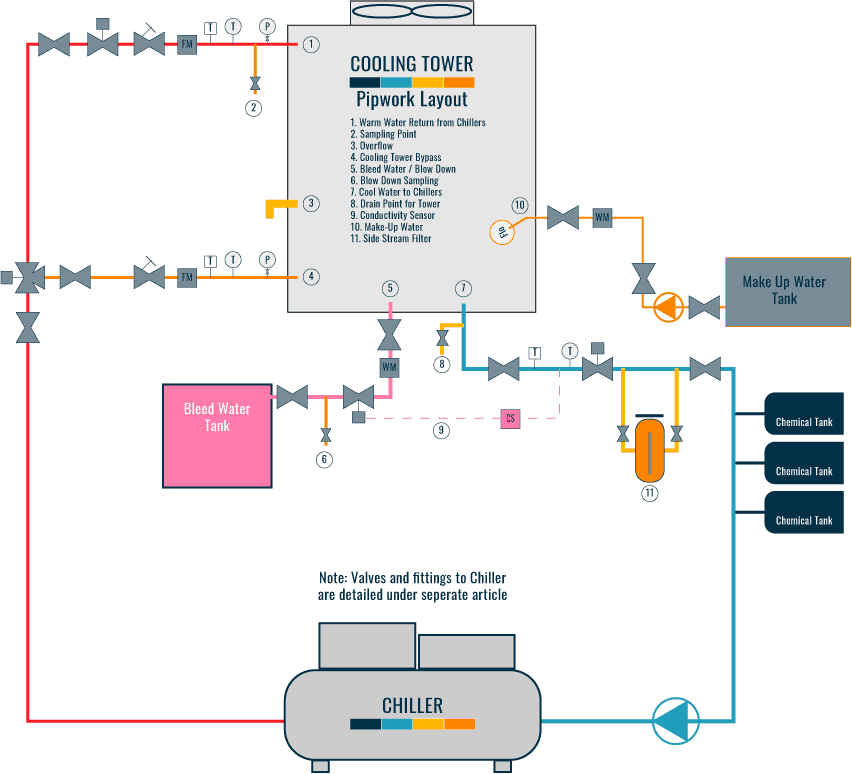
For continuous overnight cooling, embed tubing with a recirculating pump. Lay ¼-inch food-grade silicone tubing in a grid pattern across the blanket interior, sewing channels or using fabric tunnels to hold it in place. Connect one end to a 12V submersible aquarium pump and the other to a return line in an insulated cooler reservoir filled with chilled water. Power the pump to circulate water continuously, absorbing body heat throughout the night.
Safety: Always add a waterproof PUL layer between tubing and skin to prevent leaks from damaging your mattress or flooring.
Construct the Blanket: Step-by-Step
Follow these steps to assemble a durable, functional cooling blanket that performs reliably.
Measure and Cut Fabric
Determine your desired size based on intended use. Personal sizes around 50×60 inches work well for naps and travel, twin sizes measure 66×90 inches, and full or queen sizes reach 80×90 inches. Cut two identical pieces of your chosen fabric, adding one inch of seam allowance on all sides. Pre-wash fabric to prevent shrinkage after assembly.
Sew Insert Pockets
Add pockets for gel, PCM, or removable cooling panels. Place one fabric piece right side up and mark a grid of 6×6 inch squares spaced two inches apart. Use a straight or zigzag stitch to sew along the lines, leaving one edge open per pocket. Reinforce corners with backstitching to prevent tearing during insert removal and replacement.
Avoid: Overcrowding pockets because too many reduce flexibility and create uncomfortable pressure points.
Add Functional Layers
Enhance performance with optional internal layers. Place a waterproof PUL lining between outer and inner fabric if using liquid-based inserts to prevent leaks. Insert a reflective Mylar sheet with the shiny side toward the body to reflect radiant heat. Add a moisture-wicking liner like Coolmax or bamboo fleece between layers to pull sweat away from skin for faster evaporation.
Assemble and Sew the Blanket
Join all layers into a finished cover. Stack layers with right sides together and pin edges to prevent shifting. Sew around all four sides with a ½-inch seam, leaving a six-inch gap on one side for turning. Turn right side out using a blunt tool to push out corners, then fold raw edges of the gap inward and hand-stitch closed. Topstitch ¼ inch from the edge all around to flatten seams and reinforce structure.
Upgrade: Install a zipper or Velcro strip along one edge before final sewing to allow insert removal for washing.
Optimize Cooling Performance
Maximize your blanket’s effectiveness with smart enhancements that improve functionality and convenience.
Use Removable Inserts
Design modular cooling panels that swap or wash easily. Sew zippered compartments instead of fixed pockets and create multiple insert sets so one can freeze while another remains in use. Label packs for easy rotation throughout the night.
Create Dual-Sided Design
Make a two-in-one blanket for different temperature needs. Use bamboo or Tencel on the summer side and lightweight cotton on the milder night side. Sew them back-to-back with reversible binding for year-round versatility.
Add Smart Cooling Automation
Connect your water pump to a mechanical timer set to run from 8 PM to 6 AM for automated cooling. Use a thermostat-controlled outlet to activate cooling only when room temperature exceeds 75°F, saving energy while ensuring comfort when needed.
Enhance Airflow
Improve breathability with structural tweaks. Use raised stitching or 3D mesh spacers to create air channels. Add perforated fabric strips along edges for ventilation. Pair with a ceiling fan or bed fan for improved convective cooling.
Maintain and Care for Your Cooling Blanket
Proper upkeep ensures hygiene, safety, and lasting performance throughout the lifespan of your DIY cooling blanket.
Clean Safely
Always remove inserts before washing. Machine wash fabric layers on cold gentle cycle using mild detergent without bleach or fabric softeners. Air dry or tumble dry on low heat. Never submerge pumps, wires, or electronic components in water.
Warning: High heat can melt PUL lining or warp gel packs, rendering them unusable.
Inspect Regularly
Check for wear and potential hazards. Examine gel and PCM packs weekly for leaks, cloudiness, or swelling. Flush water system tubing monthly with vinegar solution to prevent mold growth. Wipe down pumps and reservoirs after each use.
Store Properly
Extend lifespan with correct storage. Keep fabric layers loosely rolled, avoiding sharp folds that weaken seams. Store gel and PCM packs in the freezer in a sealed container. Keep tubing disconnected and drained to prevent cracking.
Refresh Cooling Effect
Boost performance before each use. Re-freeze gel or PCM packs before bedtime. For fabric-only blankets, spritz lightly with water without soaking. Chill the blanket in the refrigerator for 30 minutes before use for non-electric models.
Avoid Common DIY Mistakes
Learning from others’ errors helps ensure your cooling blanket performs well and lasts long.
Overfilling Pockets
Packs should fit loosely because overstuffed pockets create pressure points and reduce comfort. Cut packs slightly smaller than pocket size, such as 5.5×5.5 inches for 6×6 inch pockets.
Using Pure Water in Gel Packs
Pure water freezes solid and can damage fabric or cause skin irritation. Always mix with rubbing alcohol in a 3:1 ratio for a slushy, flexible chill that conforms to your body.
Skipping the Waterproof Layer
Leaks from gel packs or tubing can ruin mattresses or flooring. Always include a PUL or vinyl barrier between cooling elements and outer fabric.
Direct Skin Contact with Frozen Packs
Frozen packs can cause cold burns or discomfort, especially for sensitive individuals. Wrap packs in a thin cotton liner or ensure fabric pockets provide adequate insulation.
Real-World Tips from DIY Cooling Blanket Users
Insights from people who have built and used their own cooling blankets provide valuable practical knowledge.
A twin-sized bamboo blanket with 16 gel packs lasts approximately three hours before needing backup frozen packs swapped in. Water circulation systems provide all-night cooling, though running the pump on a timer saves power while maintaining comfort. PCM blankets work particularly well during menopause because they don’t feel icy, just consistently cool. Dampening the bamboo side before bed creates cooling similar to a wet towel without soaking the bed.
Pro Tip: Combine your cooling blanket with chilled pillows and lightweight sheets for full-body relief during hot nights.
Alternatives If DIY Isn’t for You
Not everyone wants to sew their own cooling blanket. Several alternatives offer varying levels of cooling performance.
Cooling Mattress Pads
Gel-infused or electric pads fit over your mattress and provide even coverage with machine-washable covers. Expect to pay $150 or more and accept limited portability.
Bed Fans
Under-blanket or overhead fans circulate air for affordable, easy setup. Consider the noise factor and remember they cool less targeted areas.
Cooling Pillows
Gel or ventilated designs cool your head and neck immediately. They prove portable and provide quick relief but only address upper body temperature.
Moisture-Wicking Sleepwear
Bamboo or Coolmax pajamas enhance evaporative cooling when worn under any blanket. They complement rather than replace a full cooling blanket.
Frequently Asked Questions About Making a Cooling Blanket
How long does a DIY cooling blanket stay cool?
Gel packs provide 2 to 4 hours of cooling, while PCM packs last 3 to 5 hours. Water circulation systems cool continuously as long as the pump runs and water stays chilled. Fabric-only blankets provide ongoing evaporative cooling, especially when slightly dampened.
Can I use a cooling blanket for fever reduction?
Yes, a cooling blanket can help reduce body temperature during fever. Avoid direct contact with frozen packs and use a fabric barrier. Consult a doctor for medical use, particularly for children or elderly individuals.
Is it safe to sleep with a cooling blanket all night?
Yes, if cooling remains gentle. Water and evaporative systems prove safest for all-night use. Gel packs should be wrapped in fabric to prevent overcooling and discomfort.
What is the best fabric for a cooling blanket?
Bamboo and Tencel outperform cotton and microfiber in breathability and moisture control. Both wick sweat effectively while remaining cool to the touch.
Can I wash my DIY cooling blanket?
Yes, after removing all inserts. Machine wash on cold using mild detergent and air dry or tumble dry on low heat. Never wash electronic components like pumps or wiring.
Key Takeaways for DIY Cooling Blanket Success
Creating a DIY cooling blanket delivers customizable, cost-effective relief from hot nights. Choose your cooling method based on how long you need relief and whether you prefer active or passive systems. Bamboo and Tencel fabrics provide the best breathability and moisture management. Gel packs offer quick, affordable cooling, while water circulation systems provide continuous all-night comfort. Always include a waterproof layer when using liquid inserts and wrap frozen packs before direct skin contact.
With basic sewing skills and accessible materials, anyone can build a high-performance cooling blanket for under $50. The result: cooler nights, deeper sleep, and the satisfaction of creating something useful with your own hands.

