
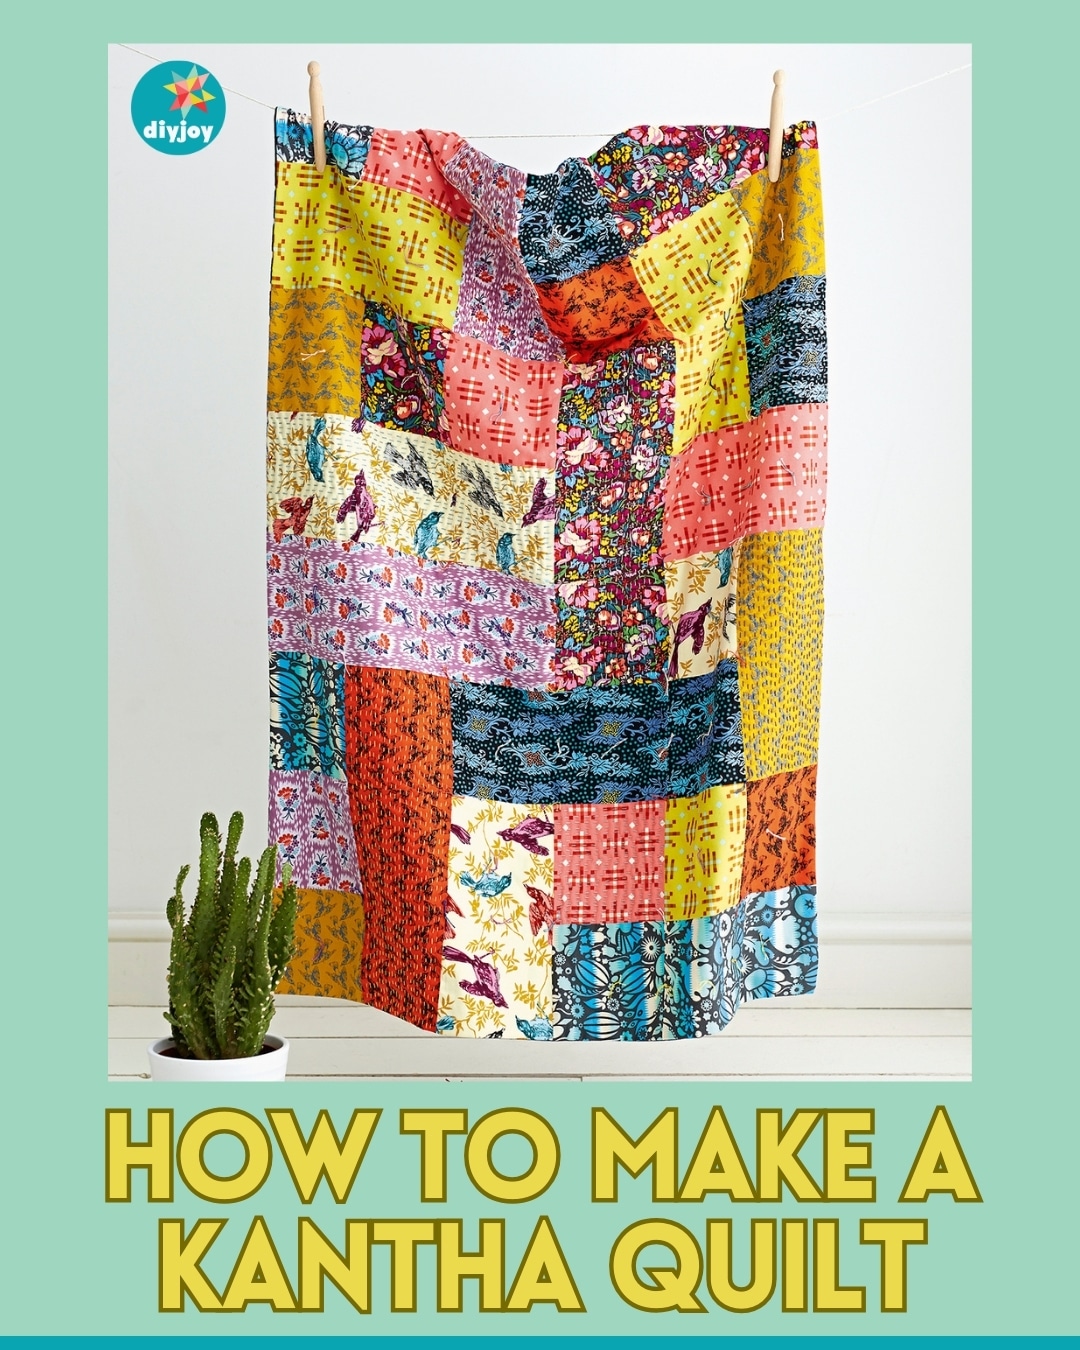
You’ve spotted them on beds, sofas, and gallery walls: soft, drapey quilts covered in rhythmic lines of hand stitching that seem to pulse across vibrant patchwork. These are kantha quilts, born from necessity and elevated by artistry. If you’ve wondered how to make a kantha quilt, you’re stepping into a centuries-old tradition rooted in storytelling, sustainability, and soulful stitching.
Kantha quilting began in rural Bengal, where women transformed old saris into warm, layered textiles using only a needle and thread. No batting, no perfection, just layers of cotton stitched together with bold running stitches. Today, you can craft your own kantha quilt using modern fabrics or scrap textiles, blending heritage with personal expression. This guide walks you through every step, from choosing fabric to tying off the final knot.
Discover the Roots of Kantha Quilting
Trace the Tradition Back to Bengal
Kantha is the oldest form of quilting in the Bengal region, encompassing parts of modern Bangladesh and West Bengal, India. The word “kantha” literally means “rags” or “patched cloth,” reflecting its humble origins as a method of repurposing worn-out textiles. Historically, women gathered old, handwoven cotton saris that were no longer wearable and layered them into functional bedspreads, wraps, and cushions.
Learn the Community and Storytelling Roots
Traditionally, women in small villages gathered to sew these quilts together, especially during wedding seasons. Over time, the craft evolved from purely functional layering into a medium for storytelling. Makers began embroidering scenes, motifs, and narratives onto plain white muslin to commemorate births, weddings, and seasonal events. Around the 1970s, kantha gained popularity in Western markets, leading to simplified modern versions that focus on running stitch texture rather than detailed narrative embroidery.
Embrace the Philosophy of Imperfection
Unlike precise Western quilting standards, kantha celebrates an organic, charming, and imperfect quality. The running stitch is intentionally large, soft, and irregular. No two quilts are alike due to the raw, unplanned nature of the stitching. This embrace of imperfection is the soul of the craft.
Gather Authentic Materials

Source Repurposed Cotton Layers
Traditional kantha quilts rely on 4 to 6 layers of cotton fabric, historically from worn-out saris or old sheets. These layers replace batting, creating warmth through density. For an authentic feel, start with pre-loved cotton garments, vintage linens, or lightweight bedsheets. Avoid synthetic blends; they resist hand stitching and lack the soft drape kantha is known for.
Cut your base layers slightly larger than your desired finished size. For a throw, use pieces around 31″ x 41″. Choose solid colors or subtle prints for backing layers to let the top design shine.
Choose Chunky Embroidery Thread
The signature texture of kantha comes from Perle Cotton No. 8 or No. 12, or Aurifil 12 wt cotton floss. These thick threads create visible, raised lines that define the quilt’s character. Unlike fine embroidery floss, they are designed to stand out.
Pick contrasting colors to highlight your stitching. Dark thread on light fabric, or bright against neutral, works beautifully. Many makers switch colors mid-stitch for playful effect. Stock up on multiple shades because you will likely use several across one quilt.
Prepare Essential Hand-Sewing Tools
You do not need a sewing machine, but you do need the right hand-sewing kit:
- A sharp hand needle (size 5 to 7) to pierce multiple layers
- Rubber thimbles or needle grips for pulling thread without strain
- Scissors, pins, and weights (like books) to hold layers flat
- Heat-erasable pen for marking guide lines (optional)
Skip hoops. They restrict movement on large pieces. Kantha is meant to flow freely under your fingers.
Cut and Assemble the Quilt Top
Choose Your Cutting Approach
There are two main approaches to building a kantha quilt top:
- Uniform Rectangles: Cut pieces at 5.5″ x 11″ from nine different cotton prints for structured patchwork with rhythm.
- Freeform Scraps: Cut random squares, rectangles, or irregular shapes. Raw edges are part of the charm and do not need finishing.
Aim for 27 to 30 pieces for a small throw around 52″ x 70″. Larger quilts require more units.
Piece Blocks into Organic Rows
Build the top in this order:
- Sew two 5.5″ squares together to form a rectangle. Press the seam open.
- Attach a 5.5″ x 11″ rectangle to complete a 10.5″ block.
- Make 12 identical blocks.
Arrange blocks into four rows of three. Sew within rows first, then join the rows. Rotate blocks randomly so no pattern emerges. This creates the chaotic, puzzle-like look traditional to modern kantha.
Press the entire top well before moving to layering.
Layer and Baste for Stability
Stack Backing, Middle Layers, and Top
Lay your layers in this order:
- Backing fabric (right side down)
- Middle layers (2 to 4 extra cotton sheets or muslin)
- Quilt top (right side up)
Smooth each layer thoroughly. Use weights, like heavy books, on all four corners and along edges to prevent shifting. This mimics the traditional method of weighting fabric during communal stitching.
Secure Layers Without Batting
Since kantha uses no batting, basting must hold multiple cotton layers firmly. Choose from these methods:
- Safety pins every 3 to 4 inches across the surface
- Basting spray between layers for a seamless bond
- Fabric glue to tack down individual patches before stitching
Avoid leaving long-term pins in a stored quilt sandwich. Rubber grips can degrade fabric over time.
Master the Kantha Running Stitch
Stitch with a Gathered Needle Technique
The heart of kantha is the running stitch, worked in a stab-and-pull motion. The secret to speed and texture is gathering multiple stitches on the needle before pulling. Here’s how:
- Push the needle through all layers.
- Slide it forward 1/4″ to 1/2″, then back through.
- Repeat, gathering 3 to 5 stitches, then pull thread through gently.
This creates a slightly wavy, organic line that lifts the fabric surface. Do not aim for uniformity. Varied stitch lengths are part of the beauty.
Vary Direction and Color Freely
Traditional kantha stitching follows no strict grid. Let your hand roam in any of these directions:
- Horizontally across rows
- Vertically through columns
- Diagonally for dynamic movement
Switch thread colors mid-row. Use red on one patch, then blue on the next. This random color play enhances visual depth and keeps stitching exciting.
Avoid Tight Pulling and Knots
Pull threads just enough to lie flat. Never pull taut. Tight stitches pucker fabric and distort the drape.
To start, knot the thread end and hide it between layers when turning later, or weave in the tail for 1″ and stitch over it. To finish, run the thread back through 3 to 4 stitches and trim close to fabric. In “false back” methods, tie ends between layers and trim flush.
Finish with Binding or Hand Hem
Bind Edges with Printed Fabric Strip
For a polished edge, cut a 2.5″-wide binding strip from leftover print fabric. Join strips diagonally to span all four sides. Attach in this order:
- Align raw edges of binding with quilt edge.
- Sew with a 1/4″ seam allowance.
- Miter corners by folding at 45°.
- Fold binding to back and hand-stitch down with invisible ladder stitch.
Choose a print that echoes the top’s palette. This frames the quilt like a painted border.
Hand-Hem for a Seamless Look
Want the stitching to flow right to the edge? Hand-hem instead of binding:
- Fold outer edge 1/4″, then again 1/4″.
- Use matching thread to slip-stitch the fold to the back.
- Change thread color as you move around the quilt to blend with adjacent fabrics.
This creates a floating effect where the quilt appears unframed, like a woven tapestry.
Add Texture with Tying and Pressing
Reinforce with Decorative Ties
Even with dense stitching, some areas may feel loose. Tie layers together at intersections or centers of large fabric patches. Here’s how:
- Cut 12″ of Perle cotton and thread both ends into one needle.
- Push through front to back, then up again nearby.
- Tie a square knot on the surface.
- Trim ends to 1/2″.
Space ties every 6 to 8 inches in open areas. Alternate colors for a dotted accent pattern.
Press for Soft Drape and Final Shape
After all stitching and tying, give the quilt a final press:
- Use a hot iron with a pressing cloth.
- Focus on seams and binding to flatten and set shape.
- Hang or lay flat to cool, which sets the drape.
A well-pressed kantha drapes like a shawl, not stiff like a traditional quilt. That fluid movement is the mark of authenticity.
Adapt Tradition for Modern Projects
Scale Down for Placemats or Pillows
Kantha is not just for bed covers. Try smaller projects with these dimensions:
- Placemats: 12″ x 18″ with 3 to 5 fabric layers
- Pillow covers: 16″ x 16″ stitched in crisscross lines
- Wall hangings: Bold prints and dense stitching as textile art
Smaller sizes mean faster completion. A placemat can be stitched in three evenings.
Try the “False Back” Shortcut
Speed up finishing with the false back method:
- Layer backing, middle layers, and top, but leave a 4″ gap in the backing seam.
- Stitch running lines across the surface.
- Snip corners and turn right side out through the gap.
- Press sharply.
- Close the gap with ladder stitch.
This hides all knots and raw edges, eliminating the need for binding.
Embrace Imperfection and Storytelling
Let Irregularity Be Your Guide
Forget precision. In kantha, wandering lines, uneven spacing, and visible thread tails are features, not flaws. The craft celebrates the human hand, and each stitch tells of time, care, and presence. If your lines drift or your knots show, smile. You are doing it right.
Tell a Story with Stitches
Traditional kantha quilts narrated life events like births, weddings, and seasons. You can too:
- Embroider a small motif (a bird, flower, or moon) with backstitch
- Fill around it with running stitches
- Use thread colors that symbolize memory, like blue for calm or red for joy
Or let the patchwork itself tell the story. Each scrap can be a piece of old clothing, a gift, or a remnant from another project.
Frequently Asked Questions About How to Make a Kantha Quilt
What is the best fabric for a traditional kantha quilt?
The best fabric for a traditional kantha quilt is worn-out cotton saris or old cotton sheets. Traditional quilts use approximately seven worn-out white saris layered together. Modern makers can substitute cotton prints, fat quarters, or pre-loved garments. Avoid synthetic blends because they resist hand stitching and lack the soft drape kantha is known for.
Do I need batting for a kantha quilt?
No, you do not need batting for a kantha quilt. Traditional kantha uses 4 to 6 layers of fabric instead of batting, creating warmth through density rather than added insulation. This results in a drapey, fluid finish distinct from standard Western quilts. Some modern tutorials suggest batting for structure, but purists emphasize fabric layers only.
What thread should I use for kantha stitching?
Use Perle Cotton No. 8 or No. 12, or Aurifil 12 wt cotton floss. These thick threads create the visible, raised lines that define kantha’s character. Choose contrasting colors to highlight your stitching, and feel free to switch colors mid-stitch for playful effect.
How long does it take to make a kantha quilt?
The time varies by size and pace. One documented project involved 128 rows of quilting completed over several nights. A smaller placemat-sized project can take three evenings of evening stitching. The repetitive motion makes it meditative and accessible, even while watching shows or socializing.
Can beginners make a kantha quilt?
Yes, beginners can absolutely make a kantha quilt. The style is forgiving and does not demand perfection. Irregular stitch lengths and wandering lines are features, not flaws. Use rubber needle grips to help pull thread through thick layers, and consider starting with a small placemat project to build confidence.
What is the “false back” method in kantha quilting?
The false back method is a finishing shortcut where you layer backing and top with a gap in the backing seam, stitch running lines across the surface, then turn the quilt right side out through the gap. This hides all knots and raw edges between layers, eliminating the need for binding and speeding up the process.
Key Takeaways for Making Your First Kantha Quilt
Making a kantha quilt is more than sewing fabric. It is an act of mindfulness, memory, and making do with what you have. From selecting worn cottons to stitching bold, wandering lines, every step honors a tradition rooted in resourcefulness and beauty. The three most important things to remember: use multiple cotton layers instead of batting, stitch with thick contrasting thread in a relaxed running pattern, and embrace imperfection as the heart of the craft.
Whether you create a full-sized throw or a simple placemat, your kantha will carry not just warmth but the quiet rhythm of your own hands at work. Start small, stitch often, and let the imperfections speak. Gather your materials today, choose a few fabrics that speak to you, and begin your first row of stitches.

