
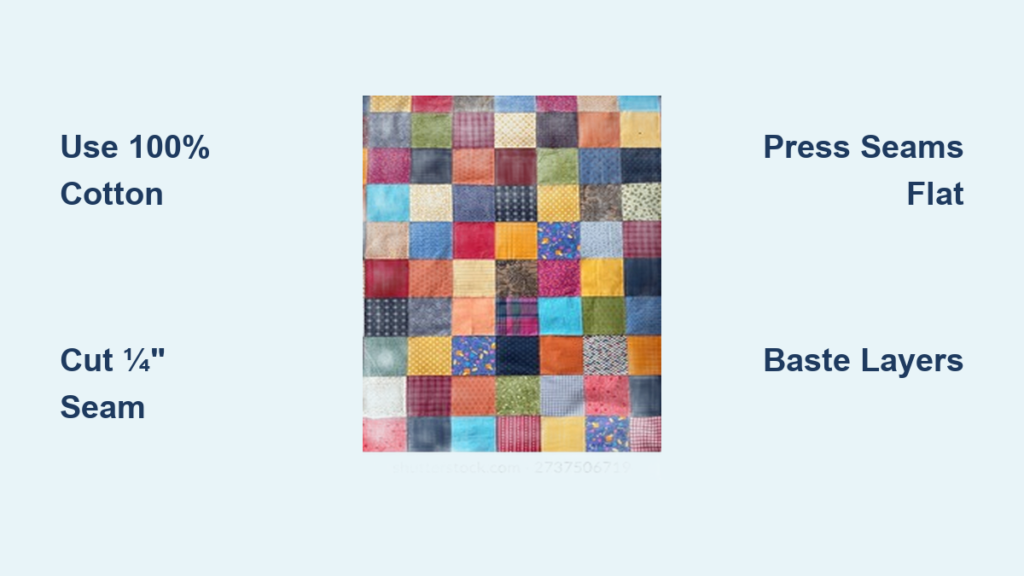
There’s something deeply satisfying about wrapping yourself in a handmade patchwork blanket. Each square tells a story, every seam carries intention. Whether you’re a beginner with a sewing machine or an experienced crafter diving into quilting, making a patchwork blanket is an accessible, rewarding project that blends creativity and practicality. This guide walks you through every step from choosing fabrics and planning your layout to assembling the quilt top, layering, quilting, and finishing with a clean edge.
No prior quilting mastery is needed. With just a few essential tools, 100% cotton fabric, and a consistent ¼” seam allowance, you can build a quilt that lasts for years and becomes a treasured keepsake.
Choose Your Fabric and Tools

Selecting the right materials sets you up for success from the start. Quality fabrics and proper tools make every step easier and produce better results.
Pick Quality Cotton Fabric
Start with 100% cotton quilting fabric. It’s stable, easy to cut, and feeds smoothly through sewing machines. Cotton shrinks predictably and accepts stitching well, which reduces puckering or stretching. Avoid blends or stretchy fabrics for your first project.
If you’re new, consider using precut fabric packs like charm squares (5″ × 5″) or layer cakes (10″ × 10″). These are color-coordinated, save cutting time, and are ideal for baby or lap quilts. For custom designs, buy fat quarters or yardage in complementary prints and solids.
Pro Tip: Do not pre-wash precut squares. They can fray and distort. For regular fabric, washing is optional. Use Shout Color Catcher sheets in the first wash if you’re concerned about bleeding.
Gather Essential Tools
You do not need a fancy setup to make a quilt, but the right tools ensure accuracy and ease. Here is what to collect:
A rotary cutter with self-healing mat and acrylic ruler provides precise, straight cuts. Your sewing machine must handle a ¼” seam and accommodate a walking foot, which prevents fabric layers from shifting during quilting. An iron and ironing board are essential since pressing seams flat is critical for alignment. A design wall helps you visualize the layout. Safety pins or basting spray hold layers together before quilting. Keep scissors, pins, and a seam ripper sharp and handy.
Safety Note: Always close your rotary cutter when not in use.
Plan Your Quilt Layout
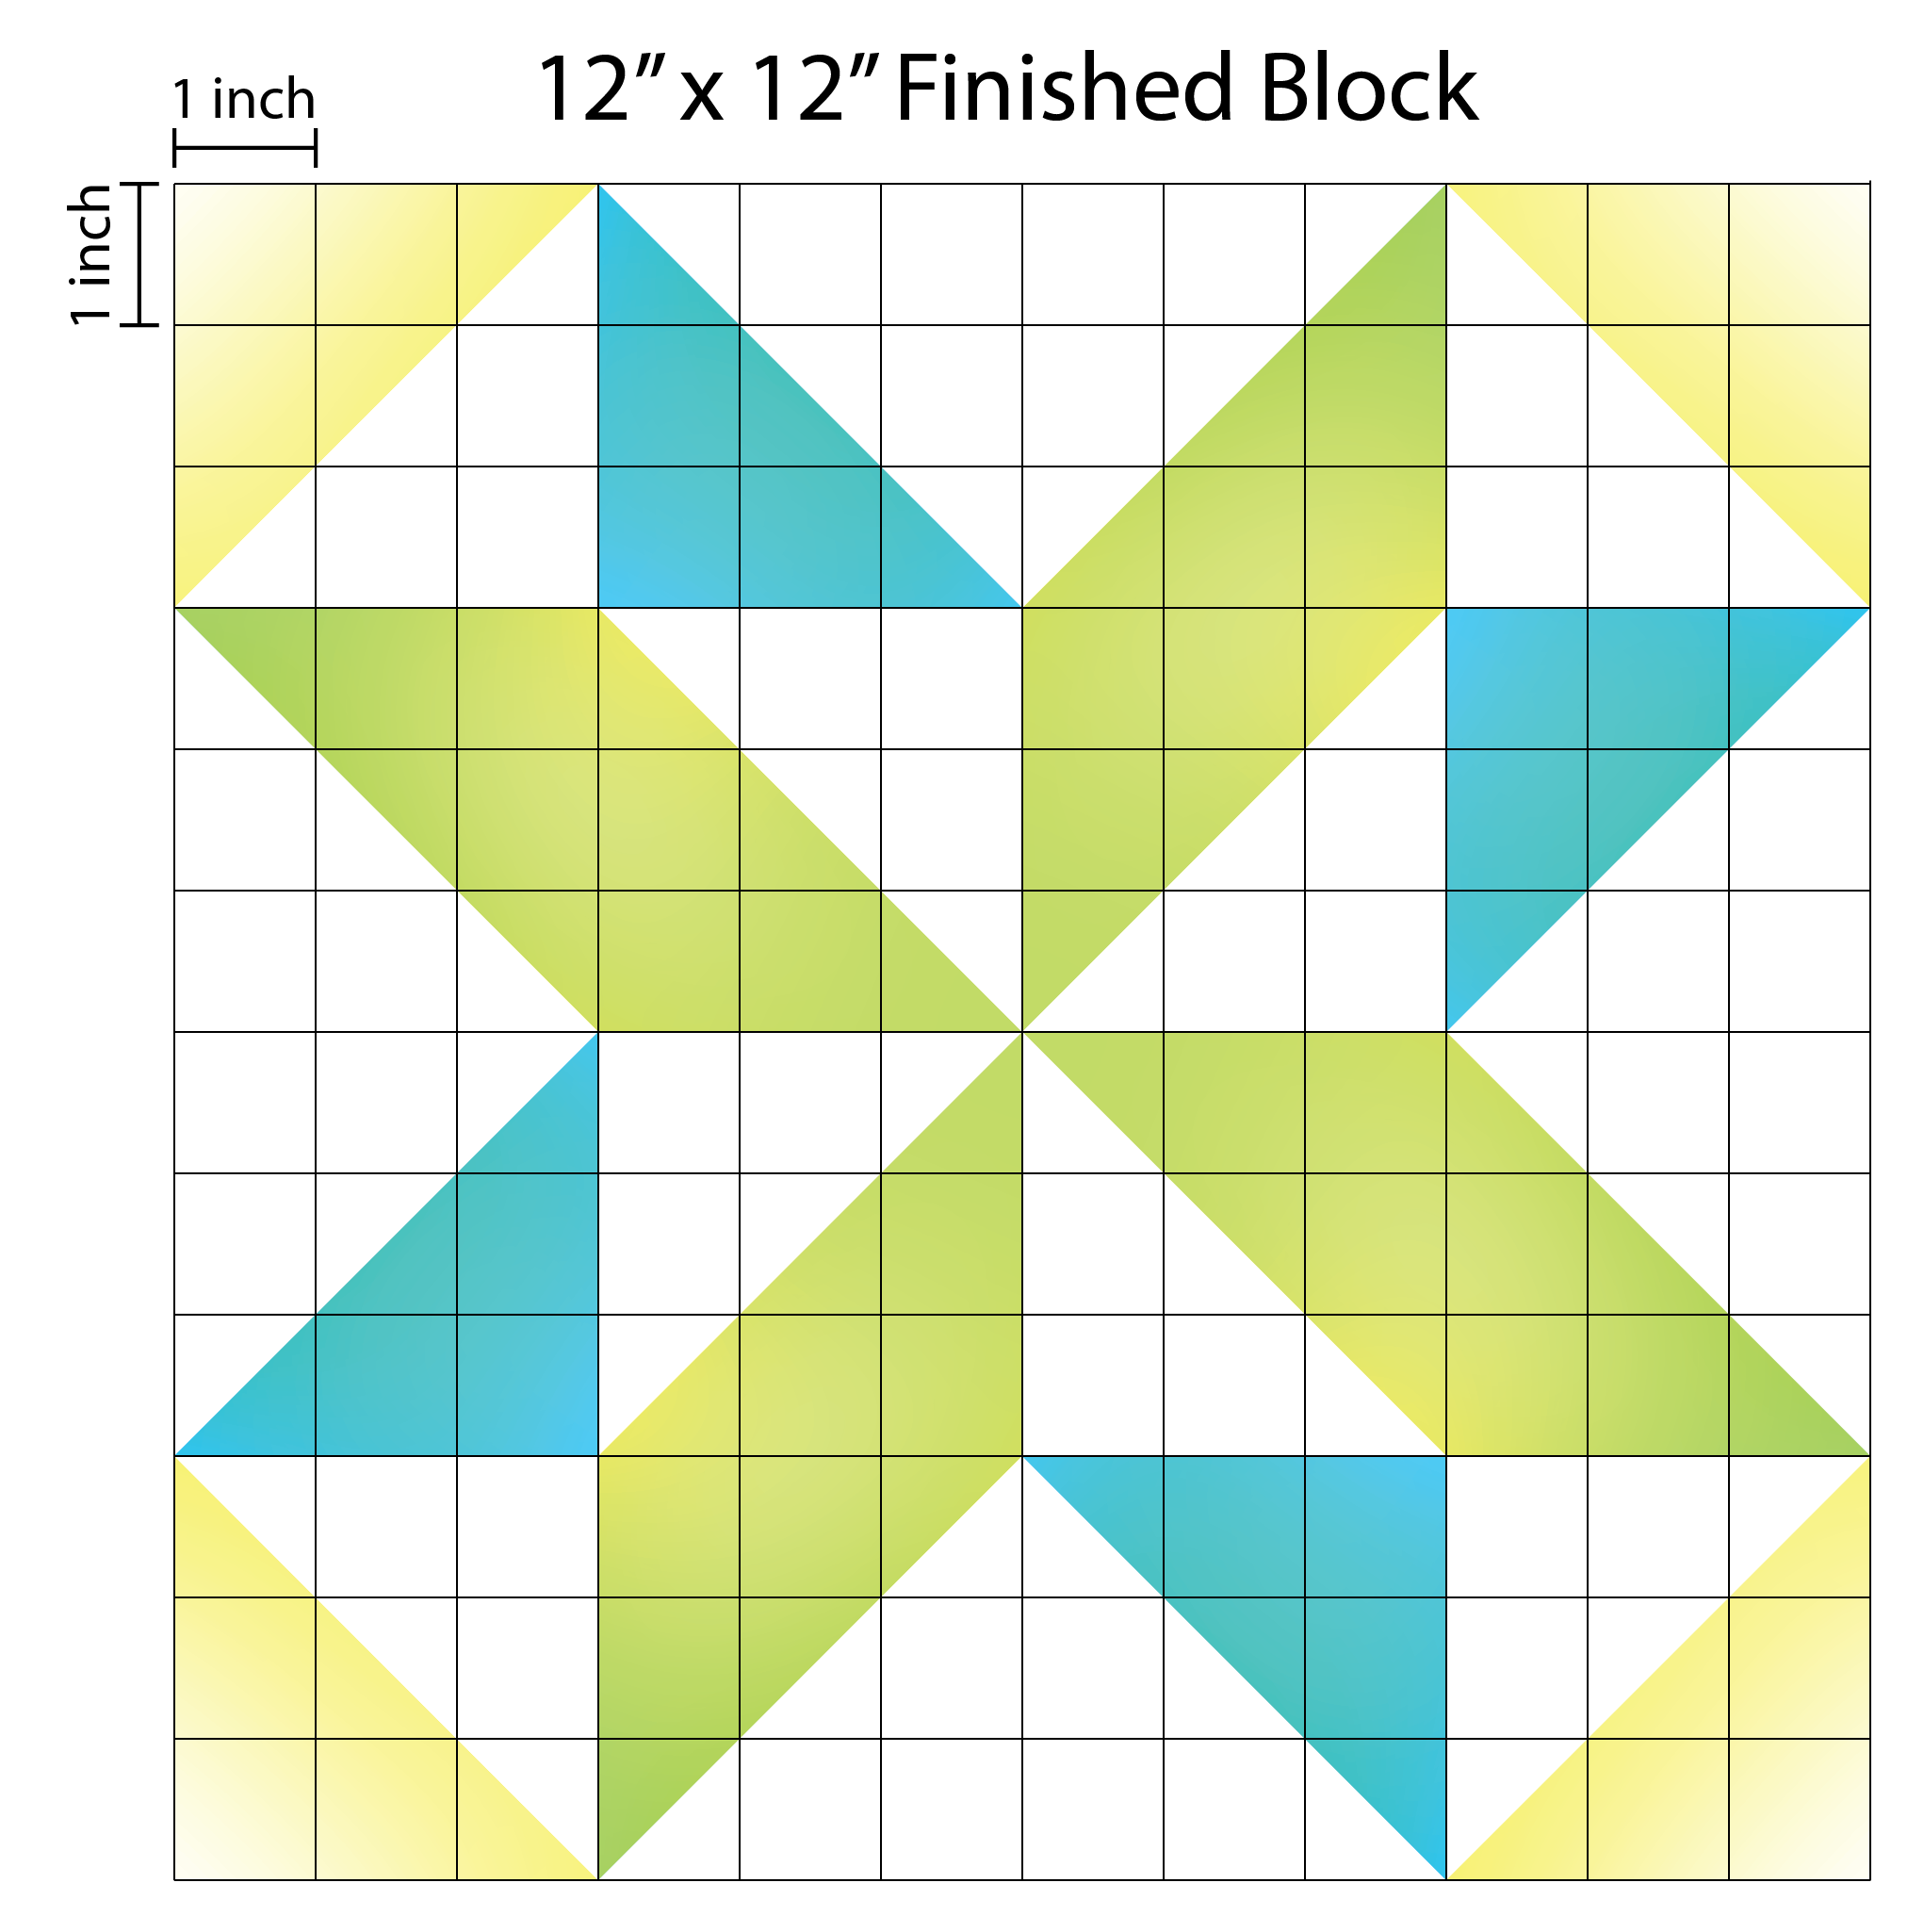
A well-planned layout prevents costly mistakes and ensures your finished blanket looks cohesive and professional.
Decide on Size and Grid
Choose your quilt size based on its purpose:
Baby quilts measure approximately 40″ × 40″ and work well with a 9×9 grid of 4½” finished blocks. Lap quilts at 51″ × 60″ use a 6×7 grid of 9½” blocks. Throw quilts at 60″ × 72″ typically follow an 8×8 grid of 9″ blocks. Twin quilts at 68″ × 86″ require a custom grid.
Use graph paper or a digital planner to sketch your design before cutting any fabric.
Select Block Size and Pattern
The most beginner-friendly layout is a uniform grid of same-sized blocks, often called a “one-patch” design. This approach is fast, forgiving, and perfect for showcasing fun prints.
Want more visual interest? Try mixing large blocks with four-patch units. Cut four 2.5″ squares, sew them into pairs, and press seams in opposite directions so they nest perfectly when joined. These units finish the same size as larger blocks.
Expert Move: Take a photo of your final layout with your phone before sewing. Fabric squares look alike fast, and this reference saves confusion.
Cut Fabric Accurately
Precision cutting prevents misaligned blocks and ensures all pieces fit together properly.
Use a Rotary Cutter System
Follow these steps for accurate cuts. First, straighten the fabric edge along the grainline. Second, cut strips at your desired width. Third, cut squares crosswise from the strip. Use a thin-lined ruler for clarity. Mark your sewing machine’s ¼” seam with painter’s tape for consistent seam allowance.
Cut Multiple Layers at Once
Fold fabric neatly and cut 4 to 6 layers simultaneously to save time. This works best for large, repetitive blocks. Avoid overstacking because too many layers reduce accuracy.
Make Four-Patch Units
To add texture without complexity, cut four 2.5″ squares per unit. Sew two pairs with ¼” seams. Press one pair’s seam left, the other right. Join pairs so seams nest perfectly. Press the final seam open or to one side.
Assemble the Quilt Top
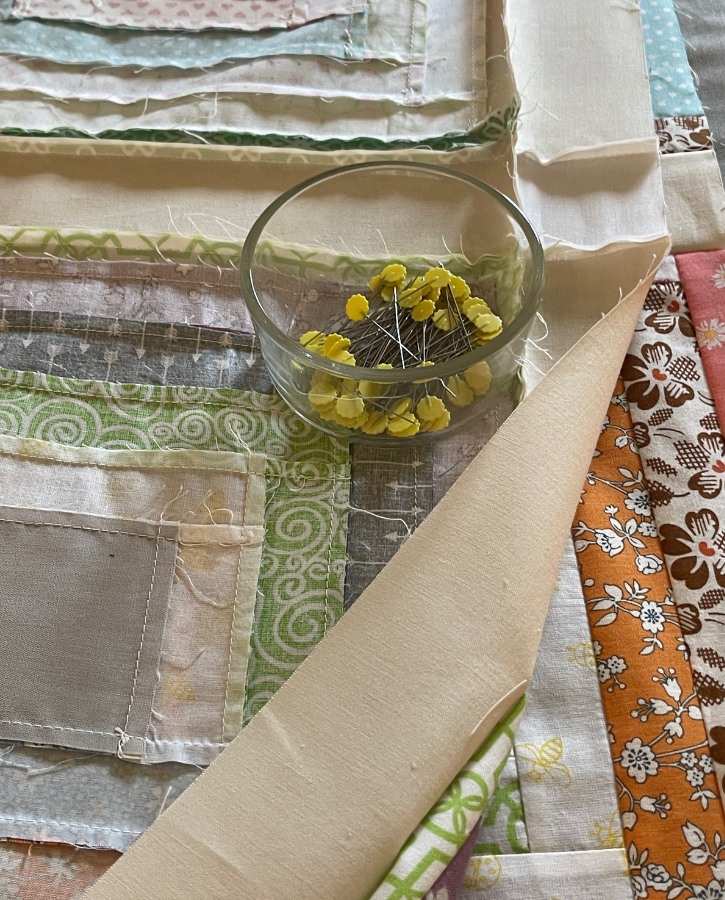
Sewing blocks into rows and then joining rows requires patience and attention to detail.
Sew and Press Rows
Label your rows (Row 1, Row 2, and so on) to keep order. Chain piece if desired by sewing blocks continuously without cutting threads between them. Use a ¼” seam and press after each seam.
Press odd rows to the left and even rows to the right. This alternating direction allows seams to nest when you join rows together.
Join Rows Carefully
Place two rows right sides together. Pin at seam intersections to prevent shifting. Sew with a ¼” seam. Press seams in one direction, such as toward the center.
Work in Stages: Sew rows first, then join pairs, then sew halves together, and finally complete the top.
Layer and Baste the Quilt
The quilt sandwich consists of three layers that must be secured before quilting.
Build the Quilt Sandwich
Lay the backing fabric face down on a large table or floor. Smooth batting on top. Place the quilt top face up. Ensure all three layers extend 2 to 4 inches beyond the top on all sides.
All layers should be flat, centered, and free of wrinkles.
Baste Layers Together
Choose one method to hold layers together. Pin basting uses curved safety pins every 3 to 4 inches in a grid pattern. Spray basting applies adhesive between layers and works well for large quilts. Thread basting uses hand-sewn long stitches.
Work from center outward, rolling the quilt as you go to manage bulk.
Quilt the Layers
Quilting sews through all three layers to secure them permanently.
Machine Quilt with a Walking Foot
Most beginners use machine quilting with a walking foot for even feeding. Popular stitch patterns include stitch-in-the-ditch (sewing along seam lines for nearly invisible results), grid quilting (stitching ¼” out from each seam for a structured look), echo quilting (curving around blocks for a soft effect), and serpentine or meandering stitch (wavy lines that add movement).
Set your machine to stitch length 3 to 4 and use light gray thread for versatility.
Try Hand Quilting or Tying
For a rustic or no-batting blanket, tying is fast and cozy. Thread a tapestry needle with pearl cotton or embroidery floss. Insert from front to back through a seam. Leave a 3 to 4 inch tail, then backstitch in the same hole. Move 4 to 6 inches to the next spot and repeat without cutting the thread. Cut the thread midway between ties and tie a square knot (right over left, then left over right). Trim tails to ½ inch.
Tie on seams because they are less noticeable and more durable.
Finish with Binding or Edge Stitching
The final finish protects raw edges and gives your blanket a polished look.
Apply Double-Fold Binding
Trim excess batting and backing to match the quilt top. Cut 2½ inch strips from coordinating or contrasting fabric. Join strips diagonally to reduce bulk. Press in half lengthwise with wrong sides together. Sew to the front with a ¼” seam. Fold to the back and hand-stitch or machine-stitch down. Miter corners for crisp 90 degree edges.
Contrasting binding (like bright orange on neutrals) adds a bold finishing touch.
Try Reversible Topstitch Finish
For a soft, unquilted blanket, cut backing 1 inch larger than the quilt top. Place right sides together. Pin around edges and leave an 8 to 10 inch opening. Sew ¼ to 3/8 inch seam. Trim corners and clip curves. Turn right side out and poke out corners. Press flat. Topstitch ⅛ inch from the edge, including the opening.
Use a walking foot and backstitch to hide knots.
Customize Your Design
Making a patchwork blanket allows endless creative expression.
Create Themed Quilts
Make it personal with themed fabrics. Sports fans can use team colors and logos. Nursery themes work well with mermaids, animals, or music prints. Holidays like 4th of July or Christmas offer festive options.
A themed quilt makes a heartfelt gift for baby showers, weddings, or retirements.
Mix Panels and Real Blocks
Use a cheater panel (pre-printed fabric that looks pieced) to save time. Cut it into blocks to match your layout and mix with real patchwork. Trim panels to 9″ × 9″ or 5″ × 5″ to blend with precuts.
Go Scrap Style
Scrap quilts use leftover fabric, which is perfect for using your stash. Mix prints and solids. Mix lights and darks. Mix large and small scales.
Busy patterns hide minor imperfections, which makes them ideal for beginners.
Prevent Common Mistakes
Knowing common problems helps you avoid frustration during your project.
Fix Misaligned Blocks
If seams do not match, press seams in opposite directions (left/right alternation). Pin at intersections before sewing rows. Check your seam allowance to ensure it is consistently ¼”.
Measure at the needle entry point, not the edge of the foot.
Stop Puckering and Stretching
Do not pull fabric. Let the machine feed it. Use a walking foot for thick or slippery layers. Reduce sewing speed on curves or corners.
Press, do not iron. Sliding the iron distorts fabric.
Avoid Thread Nests
If threads tangle underneath, re-thread the machine. Check bobbin tension. Use quality thread (cotton or polyester).
Maintain and Enjoy Your Blanket
Proper care extends the life of your handmade creation.
Wash Before Gifting
Wash the finished quilt to soften the fabric, check for color bleeding, and pre-shrink for longevity. Use cold water and mild detergent. Air dry or tumble dry low.
Test first: Wash a sample swatch if using unknown fabrics.
Store Properly
Fold and store in a cotton bag. Avoid plastic. Rotate folds occasionally to prevent crease damage. Air out in sunlight once a year to prevent mustiness.
Never hang a quilt long-term because the fabric can stretch.
Frequently Asked Questions About Making a Patchwork Blanket
What is the best fabric for a beginner patchwork blanket?
100% cotton quilting fabric is best for beginners. It cuts cleanly, sews smoothly, and shrinks predictably. Precut charm squares or layer cakes save time and ensure color coordination.
How long does it take to make a patchwork blanket?
A simple baby quilt takes 6 to 10 hours for beginners. A throw-size quilt may take 15 to 20 hours. Experienced quilters can complete projects faster, especially when using precuts.
Do I need a special sewing machine for quilting?
No special machine is required, but helpful features include a ¼” quilting foot, a walking foot, adjustable stitch length, and adequate throat space for bulky layers.
Can I make a patchwork blanket without quilting?
Yes. You can create a reversible topstitched blanket without batting or traditional quilting. This produces a soft, cozy blanket perfect for everyday use.
How do I choose colors for my patchwork blanket?
Select a primary print and complement it with solid colors. Use a color wheel for guidance, or choose precut packs that coordinate automatically. Consider the recipient’s preferences for themed quilts.
What is the easiest patchwork pattern for beginners?
A uniform grid of same-sized squares is the easiest pattern. Also called “one-patch,” this design requires no complicated cutting or matching and works well with precut fabrics.
Key Takeaways for Creating Your First Patchwork Blanket
Making a patchwork blanket is more than a craft project. It is a way to preserve memories, express creativity, and give meaningful gifts that last for years.
Start with quality 100% cotton fabric and precut squares to simplify your first project. Use a consistent ¼” seam allowance throughout and press every seam carefully. Take a photo of your layout before sewing to avoid confusion. Choose a simple uniform grid pattern to build confidence.
The goal is not perfection. It is creating something beautiful, meaningful, and uniquely yours. With the right tools, a steady seam, and a little patience, you can craft a heirloom that warms more than just bodies.
Happy quilting!

