
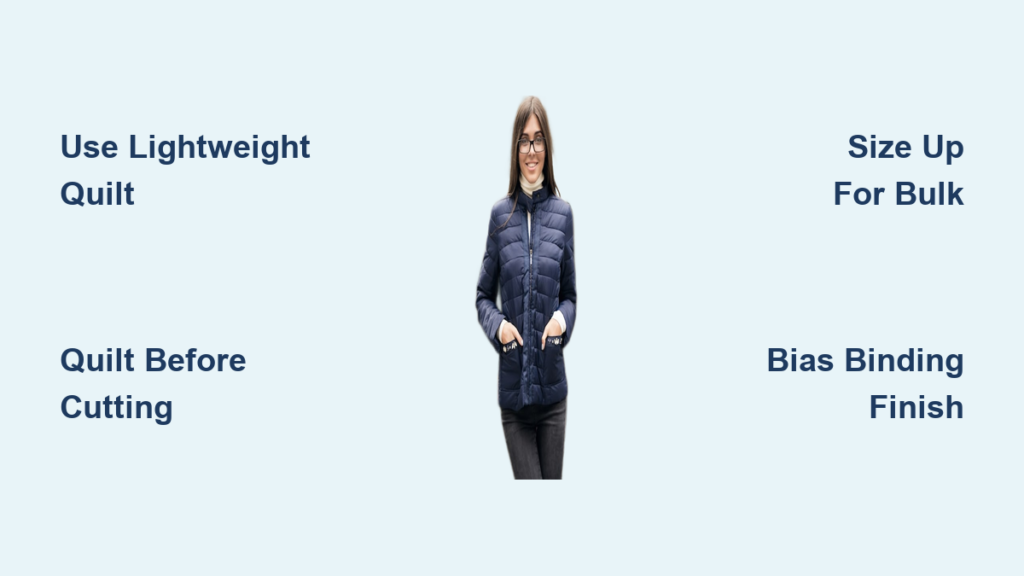
You’ve found a beautiful vintage quilt at a thrift store or inherited one from a relative, and instead of letting it gather dust, you want to wear it. Making a quilt jacket transforms sentimental or surplus fabric into a functional, stylish coat that is uniquely yours. This guide walks you through every step of how to make a quilt jacket, whether you are repurposing an old quilt, using pre-quilted fabric, or building your own quilted sandwich from scratch.
A quilt jacket blends garment construction with quilting techniques, creating warm, textured outerwear with personality. Done right, it is wearable art. Done wrong, it can be bulky, stiff, or misshapen. The key is choosing the right materials, pattern, and techniques that account for thickness and drape. Over a weekend, for under $50, you can create a one-of-a-kind piece rivaling boutique prices.
Choose the Right Quilt Fabric for Your Jacket
Pick Lightweight, Washed Quilts
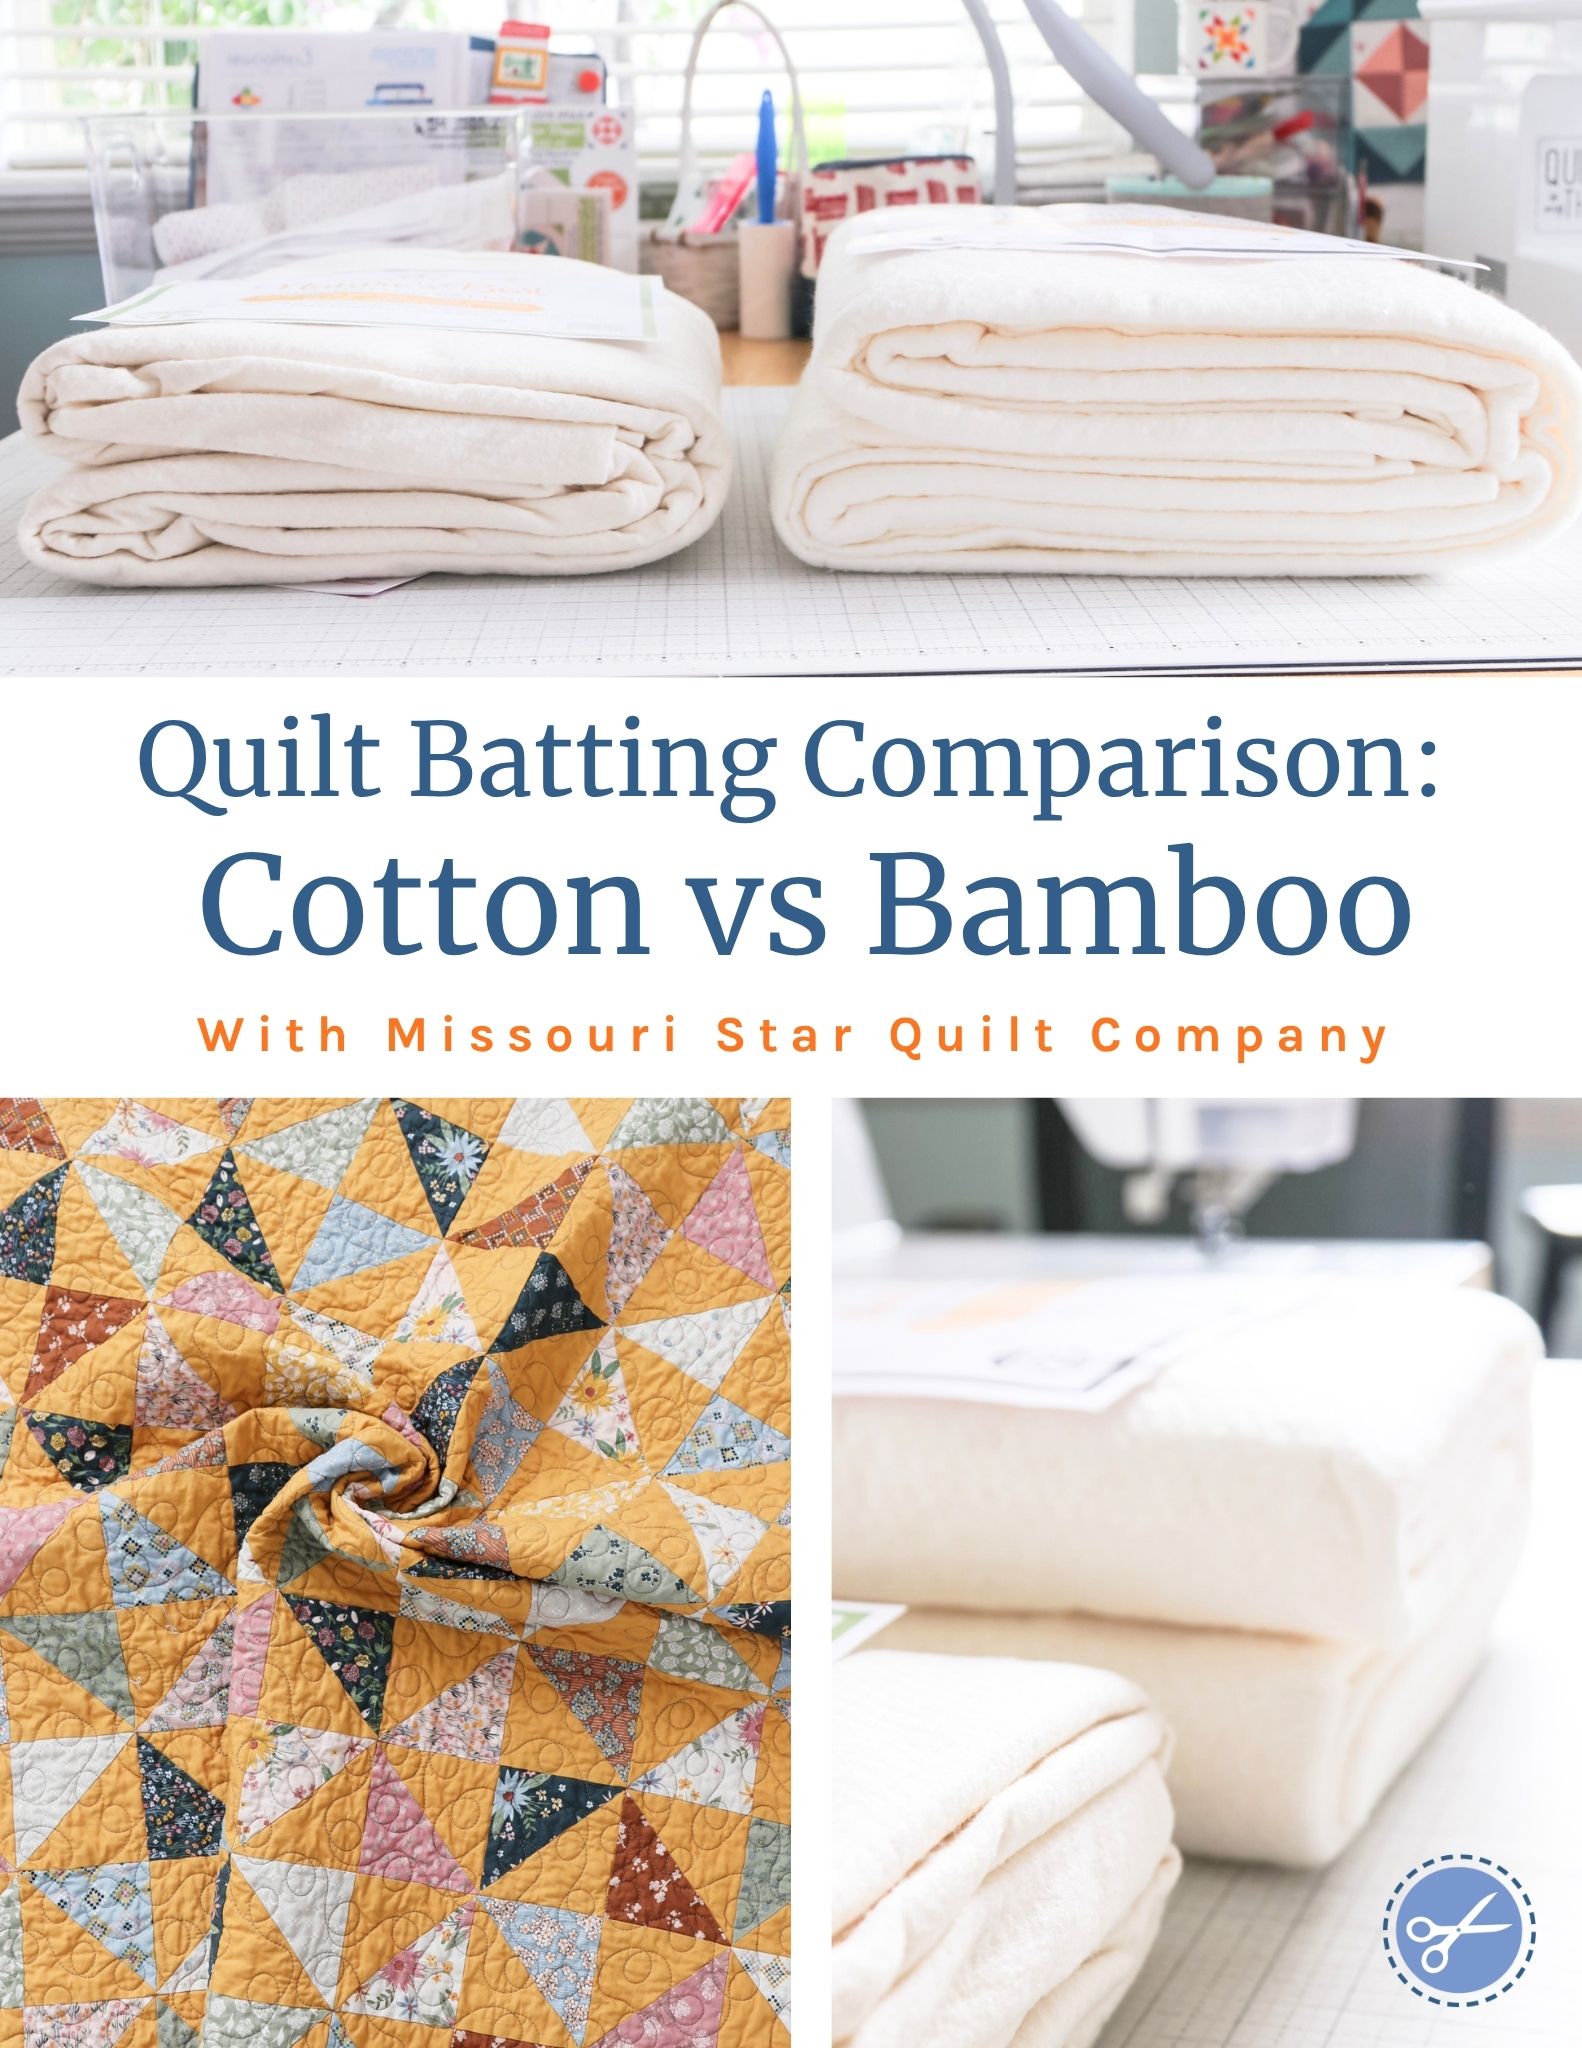
Start with a quilt that is light enough to drape like clothing. Heavy antique quilts with dense cotton batting often stand away from the body and resist sewing. Instead, look for quilts with minimal or low-loft batting, especially cotton or silk. Wash and dry your quilt before cutting to prevent shrinkage later. Vintage finds may carry odors or dirt, and washing removes these while pre-shrinking the layers so your jacket will not distort after completion.
Avoid quilts with loose fibers or degraded stitching. Test durability by gently pulling seams. If threads snap or batting pokes through, the fabric may not withstand wear. If using a damaged quilt, plan to cut around weak spots or reinforce areas with patches.
Source Smartly: Thrift Stores and Repurposed Textiles
Thrift stores, estate sales, and online marketplaces are goldmines for affordable quilt tops and vintage coverlets. Look beyond “perfect” pieces. Stained or torn quilts often sell cheaply and can be cut to avoid flaws. Unfinished quilt tops are ideal because they offer design flexibility without the wear of decades.
You do not need a full bed-sized quilt. Combine smaller items like pillow shams, baby quilts, or dresser scarves into a patchwork yardage. Match colors and themes for cohesion. For example, pink rose motifs on white can be paired with vintage calico shams to create a feminine, coordinated coat.
Understand Batting Types and Their Impact
The batting inside your quilt affects warmth, weight, and sewability:
– Cotton batting flattens with washing and is easiest for beginners
– Silk batting adds puffiness and warmth but often has scrim (a stabilizing mesh) that helps hold layers together
– Wool batting is warm and breathable but heavier, and pairs best with sturdy outer fabrics
– Avoid quilts with loose fiber batting unless fully enclosed in tightly woven fabric, as fibers may migrate through seams over time
If making your own quilt sandwich, pre-wash and soak batting to pre-shrink it. This prevents distortion after garment assembly.
Select a Simple, Loose-Fitting Pattern
Avoid Fitted Styles and Go Loose and Flowy
Fitted patterns do not work for quilt jackets. The added bulk of three fabric layers (top, batting, lining) turns a size Medium into a tight squeeze. Always choose loose silhouettes such as raglan sleeves, wrap styles, ruanas, or bomber shapes. These styles drape naturally, allow room for layering, and minimize complex tailoring.
Recommended beginner-friendly patterns include:
– Tamarack Jacket (Grainline Studio), a hip-length design with raglan sleeves
– Sapporo or Nova (Paper Cut Patterns), featuring minimal seams and built-in pockets
– New Look 6047, a raglan sleeve design that is easy to modify
– Adeline Biker Jacket, a modern cropped bomber style
Size Up and Test with a Muslin
Even loose patterns may run small. Measure a jacket you already own and compare it to the pattern’s finished garment measurements, not the body size chart. You will likely need to size up by one or two sizes to accommodate both the quilt’s thickness and winter layers underneath.
Before cutting your precious quilt, make a test version (muslin) using inexpensive fabric. This reveals fit issues, armhole tightness, or collar gaps. It is the best way to avoid irreversible mistakes when learning how to make a quilt jacket.
Handle PDF Patterns Carefully
Many quilt jacket patterns are digital PDFs. When printing, select only your size layer. Printing multiple sizes distorts seam alignment. Tape sheets together carefully, or take the file to a print shop for large-format output. Misaligned armholes or collars are often due to incorrect printing, not pattern flaws.
Quilt Before You Cut and Never After
Build the Quilt Sandwich Correctly
If you are assembling your own quilted fabric, follow this layering order:
1. Lining fabric (wrong side up)
2. Batting (centered on top)
3. Quilt top or outer fabric (right side up)
This creates a sandwich ready for basting and quilting. Use temporary spray adhesive or safety pins to hold layers together. Spray basting grips better than pins and washes out completely.
Always Quilt First, Then Cut
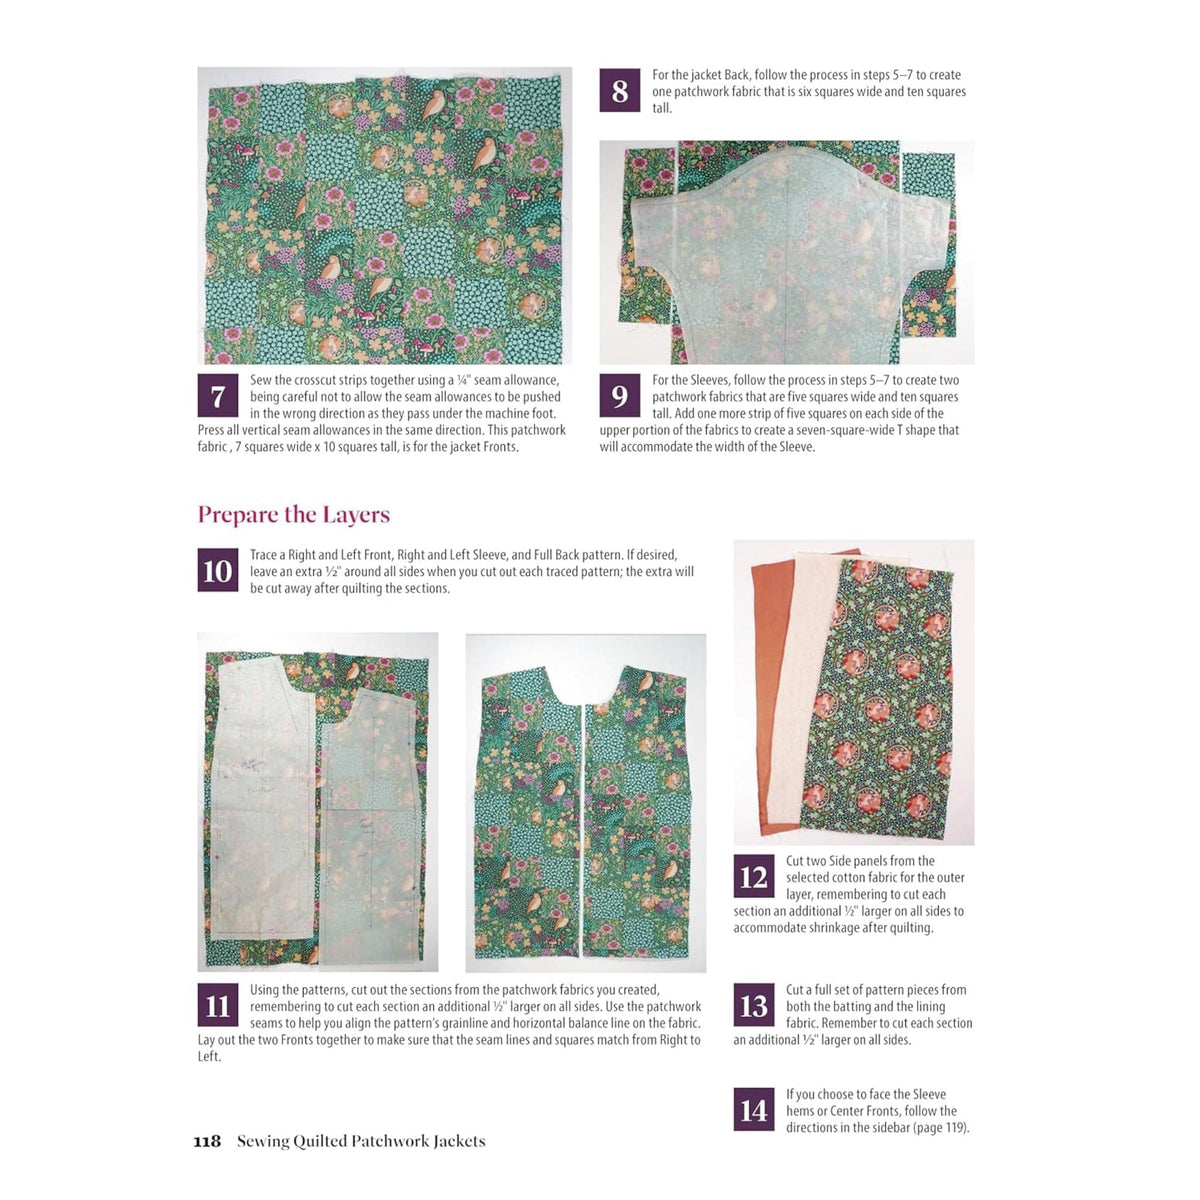
Never cut pattern pieces before quilting. Quilting causes fabric to shrink and pull, a phenomenon known as draw-up. If you cut pieces to size first, they will end up too small after stitching.
Instead:
1. Cut quilt top, batting, and lining larger than needed (add 1 to 2 inches around all edges)
2. Baste and quilt the full sandwich
3. Trim down to exact pattern size after quilting
This ensures accurate, full-sized pieces for your quilt jacket.
Use a Walking Foot and Center-Out Stitching
A walking foot on your sewing machine is essential. It feeds thick layers evenly, preventing shifting or skipped stitches. For straight-line quilting such as grids or diamonds, mark lines with chalk or painter’s tape. Start stitching from the center and work outward. This pushes excess fabric to the sides, avoiding pleats.
Roll unsewn sections into “burritos” on either side of the presser foot to manage bulk. Reduce presser foot pressure if your machine allows, so the thick sandwich can glide smoothly.
Cut and Assemble the Quilt Jacket
Increase Seam Allowances for Bulk
Standard half-inch seam allowances are too narrow for quilted fabric. Use five-eighths to three-quarter inch to give yourself room for accuracy and seam finishing. After sewing, press seams open rather than to one side to reduce bulk. This is critical at shoulders, sides, and sleeves.
Use pattern notches to match design elements across seams. For example, if your quilt has a Churn Dash block, align seams so the pattern flows continuously.
Sew Shoulders, Sleeves, and Sides
Follow this assembly order:
1. Shoulder seams: Pin front and back pieces right sides together and sew
2. Sleeve side seams: Sew from wrist to armpit, finish edges with zig-zag or serger, then press open
3. Insert sleeves: Match sleeve cap to armhole, easing in fullness, pin at notches, and sew
4. Side seams: Sew from underarm to hem, matching any design lines
If your pattern includes a lining separate from the quilt sandwich, assemble it the same way and attach later.
Install Pockets Before Attaching Shells
Work on flat pieces while you can. Common pocket types include:
– Welt pockets: Use interfacing such as QuiltSmart to simplify construction, sew on lines, cut slits, fold, and reinforce
– Seam pockets: Built into side seams with minimal bulk and easy installation
– Patch pockets: Make quilted rectangles with lining, leave a gap, turn right side out, press, topstitch, and attach to the jacket front
Align pockets symmetrically. Sometimes placing them slightly angled flatters the hip.
Finish Edges Like a Pro

Use Bias Binding Instead of Facings
Facings add weight and stiffness, especially with thick quilting. Bias binding is the preferred finish for quilt jackets because it lies flat, reduces bulk, and adds a pop of color.
To apply bias binding:
1. Cut bias strips (2.5 inches wide) from coordinating fabric
2. Sew to raw edge with right sides together
3. Fold over to the back and topstitch in place
4. Miter corners for crisp edges
Use vintage prints or solids that complement your quilt. One maker chose blue-violet calico over black-and-white check because it echoed the quilt’s palette and provided enough yardage.
Encase Seams with Hong Kong Finish
For unlined or partially lined jackets, finish internal seams with Hong Kong binding. Cut 1.25-inch bias strips, sew to the seam allowance, fold to the back, and stitch down. This creates a clean, durable interior and prevents fraying.
Alternative seam finishes include:
– Serging or zig-zag stitching for fully lined coats
– Flat-felled seams for strength and reversibility (though bulkier)
– Eyelet lace covering to hide open seams with decorative lace for a unique interior
Add Collars and Closures
Ruffled or oversized collars like those on the Joni Jacket add flair but may not fit perfectly. If the collar is too short for the neckline, add small pleats at the front edges to ease the difference.
Closures should be secure but not overpower the design:
– Snap tape provides an invisible, strong, hidden closure
– Fabric-covered buttons match the quilt’s style
– Zippers (12 to 14 inches) add a modern touch
– Ties or bows can be made from bias strips by folding, sewing, clipping corners, turning, and attaching
Adapt for Damaged or Vintage Quilts
Cut Around Damage and Patch Smartly
Old quilts often have stains, tears, or thin spots. Cut pattern pieces to avoid damaged areas. Use leftover scraps to patch holes or create contrast sleeves.
For small holes, hand-embroider over the area with matching thread to stabilize and decorate. French knots or satin stitch can turn flaws into features.
Combine Quilts and Textiles Creatively
If one quilt is not enough, mix materials. Use a vintage quilt for the body and quilted pillow shams for sleeves. Or pair a baby quilt front with solid cotton backing. Ensure all fabrics have similar weight and drape to maintain balance.
Unsuccessful art quilt backgrounds make excellent jacket fronts, transforming mistakes into wearable art.
Try the No-Pattern Wrap Method
For a quick, casual jacket:
1. Measure a favorite wrap for length and width
2. Cut two large rectangles (front and back) from your quilt
3. Join at shoulders
4. Cut a neck opening and shape sides into kimono-style sleeves
5. Finish edges with binding
Use existing quilt borders for hems and front edges to minimize finishing work.
Troubleshoot Common Quilt Jacket Problems
Fix Tight or Bulky Jackets
If your jacket feels restrictive, consider these common causes:
– You used a fitted pattern; switch to loose, raglan, or wrap styles
– You did not size up; always go one or two sizes larger
– Seams are pressed to one side; press open and finish with Hong Kong binding
Prevent Shrunken or Wrinkled Quilting
Avoid these frequent mistakes:
– Cutting before quilting always leads to undersized pieces
– Wrinkles in quilted fabric come from stitching from the edge inward
– PDF printing errors happen when multiple layers are selected
Handle Fraying and Smells
Address vintage quilt issues with these solutions:
– Fraying edges require stabilization with machine stitching or bias binding coverage
– A musty smell when ironing means the quilt was not pre-washed
Tools and Maintenance Tips
Use the Right Equipment
Essential tools for making a quilt jacket include:
– A walking foot for even feeding during quilting
– Size 12 or 14 needles to penetrate thick layers without breaking
– A sharp rotary cutter for clean cuts through quilt sandwiches
– Wonder clips to hold layers without distorting
– Sticky gloves to improve grip during free-motion quilting
Care for Your Finished Quilt Jacket
Keep your jacket looking great with these practices:
– Wash gently using cold water, mild detergent, and low heat drying
– Store hanging to prevent creasing, especially for heavy vintage quilts
– Repair early by patching new wear with scraps or embroidery
– Use strong polyester thread, which holds up better than cotton over time
Frequently Asked Questions About Quilt Jackets
What is the best type of quilt to use for a quilt jacket?
Lightweight quilts with minimal or low-loft batting work best. Cotton or silk batting is ideal because heavy quilts create bulky, stiff garments that stand away from the body like armor.
Can beginners learn how to make a quilt jacket?
Yes, beginners can succeed by choosing loose-fitting patterns like raglan or wrap styles, using pre-quilted fabrics, and making a muslin test version before cutting the final quilt.
How much does it cost to make a quilt jacket?
A quilt jacket can cost as little as $33 total, including a thrifted quilt, pattern, lining fabric, bias tape, and thread. This makes it far more affordable than buying artisanal quilted outerwear.
Should I wash a vintage quilt before cutting it?
Always wash and dry vintage quilts before cutting. This removes odors and dirt, prevents post-construction shrinkage, and reveals any weak spots or damage that need workarounds.
What sewing machine foot is best for quilting a jacket?
A walking foot is essential for quilting thick layers. It feeds all three layers evenly through the machine, preventing shifting, pleats, and skipped stitches during construction.
How do I prevent my quilt jacket from being too bulky?
Choose loose patterns, size up one or two sizes, use five-eighths to three-quarter inch seam allowances, and press seams open. Bias binding finishes also reduce bulk compared to facings.
Key Takeaways for Making Your Own Quilt Jacket
Learning how to make a quilt jacket successfully comes down to three core principles. First, always choose lightweight quilts with low-loft batting and pre-wash them before any cutting begins. Second, select loose-fitting patterns and size up to accommodate the bulk of three fabric layers. Third, quilt before you cut pattern pieces, then finish edges with bias binding for a professional, wearable result.
Your next step is to gather your materials and make a muslin test version using inexpensive fabric. This simple precaution will save your precious quilt from irreversible cutting mistakes. Once your test fit is dialed in, you can confidently transform a flat quilt into a warm, unique, story-filled jacket that will become a staple in your wardrobe for years to come.

