
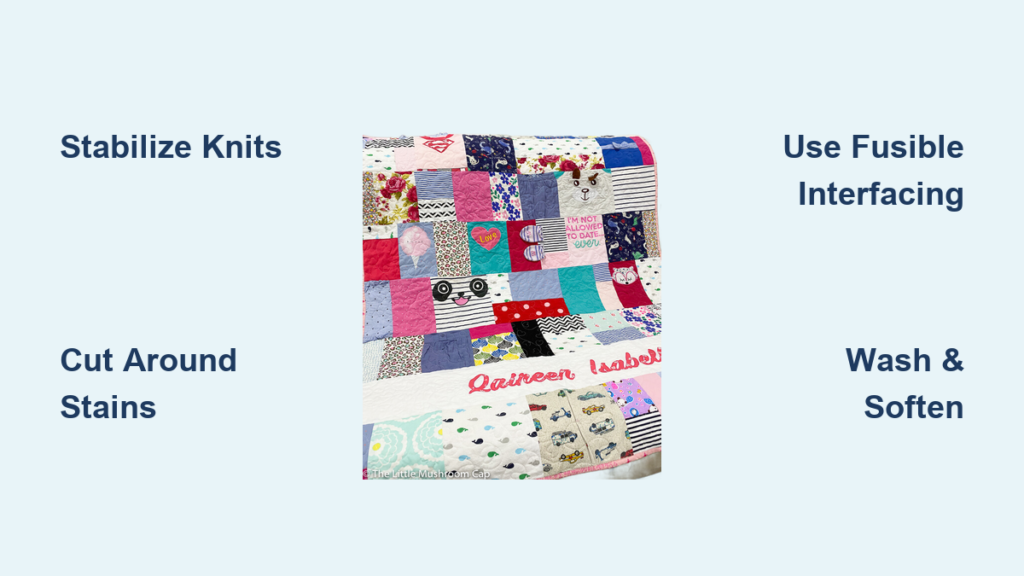
You have a drawer (or maybe a whole closet) overflowing with tiny onesies, footie pajamas, and baby hats that hold precious memories. Letting them gather dust or handing them off to someone who might not treasure them feels wrong. Turning them into a quilt gives those fleeting moments a permanent, huggable form you can wrap around your child for decades.
This guide walks you through every step of creating a memory quilt from baby clothes, from selecting garments to binding the final edges. You will learn which fabrics work best, how to stabilize stretchy knits, and simple sewing techniques that produce a soft, washable heirloom. No advanced sewing skills required, just patience and a willingness to follow clear instructions.
Choose the Right Baby Clothes for Quilting

Pick Durable, Washable Fabrics
Not every baby garment belongs in a functional quilt. Focus on items made from cotton, cotton blends, or sturdy knits. These hold up best to cutting, sewing, and repeated washing. Onesies, t-shirts, bibs, and pajamas are ideal candidates. Save delicate items like lace dresses or hand-embroidered pieces for display-only quilts, since fragile fabrics can tear during sewing or wear out quickly with use.
Cut Around Stains and Save the Best Pieces
Stains do not have to disqualify a garment. As long as you can salvage a clean, solid rectangle of fabric, the piece is usable. Prioritize items with fun prints, sentimental value, or unique details. One garbage bag of baby clothes is usually enough for a throw-sized quilt, so be selective. Keep the most meaningful pieces and let go of duplicates or less memorable basics.
Remove Hardware Before Cutting
Zippers, snaps, and buttons must be addressed before you start cutting. For buttons you want to keep, cut the fabric so the button sits at least ¾ inch from the edge. That gives you room for a ¼-inch seam allowance plus a clean trim. For zippers, either cut them out completely or use only the back panel of the garment where the zipper is not present.
Gather Your Tools and Materials
Essential Sewing and Cutting Supplies
You will need a sewing machine (a walking foot is highly recommended for knits), a rotary cutter, a self-healing cutting mat, and an acrylic quilter’s ruler. Expect to go through multiple rotary blades because interfacing dulls them fast. Other must-haves include an iron and ironing board, pins, safety pins, a seam ripper, and extra machine needles.
Backing, Batting, and Stabilizers
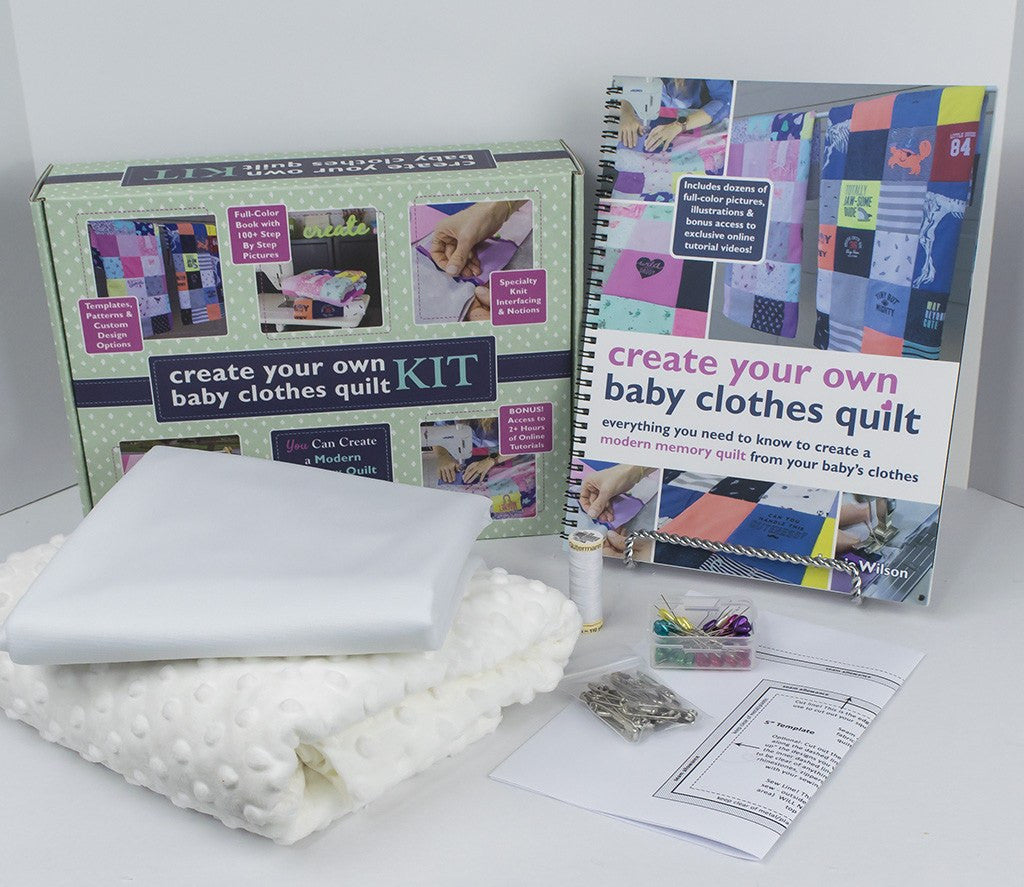
Three core materials form the foundation of your quilt: fusible interfacing (Pellon 905F works well), thick needle-punched cotton batting (such as Quilter’s Dream Cotton in Deluxe thickness), and backing fabric. Cotton flannel, fleece, minky, or repurposed sheets all work as backing. Thick batting is critical because it stabilizes stretchy knits and allows quilting lines to be spaced up to 8 inches apart.
Prepare and Stabilize the Fabric

Why Stabilization Is Non-Negotiable
Baby clothes are usually made from stretchy knit fabric. If you sew them without stabilizing, the pieces will warp, pucker, and distort during quilting. The result is a lumpy, misshapen blanket. Every piece must be stabilized using fusible interfacing or foundation strips to lock the stretch in place.
Use Fusible Interfacing for Crisp Squares
Cut fusible interfacing to your final square size, such as 5.5 inches. Iron the bumpy side of the interfacing onto the wrong side of the fabric. This locks the stretch in place and gives each square a crisp, stable feel. Once fused, trim the fabric to a perfect square using a rotary cutter and ruler.
Try Foundation Strips for Easier Piecing
An alternative method uses foundation strips made from cotton flannel or a bedsheet. Cut the strips to match the width of your fabric pieces (around 5 inches wide). Lay your baby clothes on the strip, overlapping by ½ inch, then sew them down with a walking foot. This method is forgiving and great for beginners. The foundation adds structure and prevents stretching.
Plan Your Quilt Layout
Decide on Size and Shape
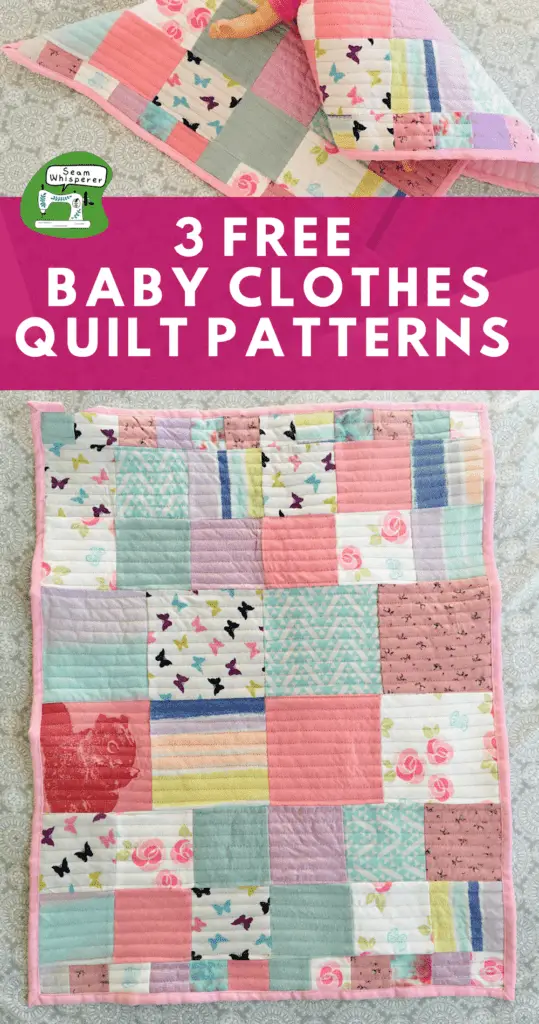
Think about how the quilt will be used. A 36-inch square works well as a stroller or crib blanket. A 42-inch square makes a generous keepsake or throw. If you use a 7×7 grid of 5.5-inch squares, your quilt top will measure about 42 inches after seam allowances. Measure early to estimate how many clothes you will need.
Sort by Color and Pattern
Lay out all your stabilized pieces on the floor or a large table. Group them by color (pinks, blues, yellows, neutrals) or by theme (holidays, animals, solids). This helps you see the overall palette and decide which pieces to include or remove. A cohesive color scheme creates a more polished look, even with mixed patterns.
Choose Between Small or Large Blocks
Small blocks (4 to 6 inches) create a unified, timeless look that emphasizes fabric patterns. They work well when you have many clothes to include. Large blocks (8 to 12 inches) highlight full outfits or special garments like a first Halloween costume. Both styles are valid. Pick based on your favorite pieces and the effect you want.
Cut and Piece the Quilt Top
Rough Cut First, Then Trim After Stabilizing
Start by slicing off arms, neckbands, and snaps from each garment to get large fabric rectangles. Do not aim for perfection at this stage. Just make sure each piece is bigger than your final square size. Once stabilized with interfacing, use a rotary cutter, self-healing mat, and acrylic ruler to trim each piece to exact dimensions.
Sew Squares into Columns
Arrange your squares into vertical columns on a flat surface. Pin two squares together with right sides facing, and sew with a ¼-inch seam allowance. Use the edge of your sewing machine’s foot as a guide so you do not need to draw lines. Sew slowly to keep seams straight. Repeat until each column is complete.
Join Columns with Matching Seams
Pin columns together, aligning every seam intersection with a pin. This ensures squares line up perfectly. Sew with a ¼-inch seam from left to right. Press seams open or to one side. Open seams reduce bulk and help the quilt lie flat.
Assemble the Quilt Sandwich

Layer Backing, Batting, and Top
Lay the backing fabric (wrong side up) on the floor. Tape the edges down to keep it taut. Place batting on top. It should be 2 to 3 inches larger than the quilt top. Finally, lay the quilt top (right side up) over the batting.
Secure Layers with Spray or Pins
Use temporary spray adhesive: fold back half the top, spray the batting, press the backing down, then repeat for the other half. Or pin every 4 to 6 inches with safety pins. Walk over the sandwich in clean socks to settle the layers and prevent shifting.
Quilt with Confidence
Pick a Simple Stitch Pattern
Beginners should stick to straight lines or diamonds. Use thin painter’s tape to mark stitching lines corner to corner. Place the tape ¼ inch away from your intended stitch line so you can sew right next to it. Avoid wide tape because it is harder to judge accuracy.
Stitch in the Ditch for Hidden Seams
Another option is to sew directly over the seams between squares. This “stitch in the ditch” method hides the thread and adds stability without visible lines. It is great for a clean, minimalist look.
Roll, Don’t Cram the Bulk
As you quilt, roll the excess fabric on each side instead of stuffing it under the machine arm. This prevents pulling and keeps the layers smooth. Change needles often because thick batting and multiple layers can snap them, especially during binding.
Bind the Edges Neatly
Trim for a Clean Finish
Use a rotary cutter to square up the quilt. Trim batting and backing so they align with the quilt top. If using a fold-over binding, leave 1.25 inches of backing beyond the edge.
Use Fold-Over or Separate Binding
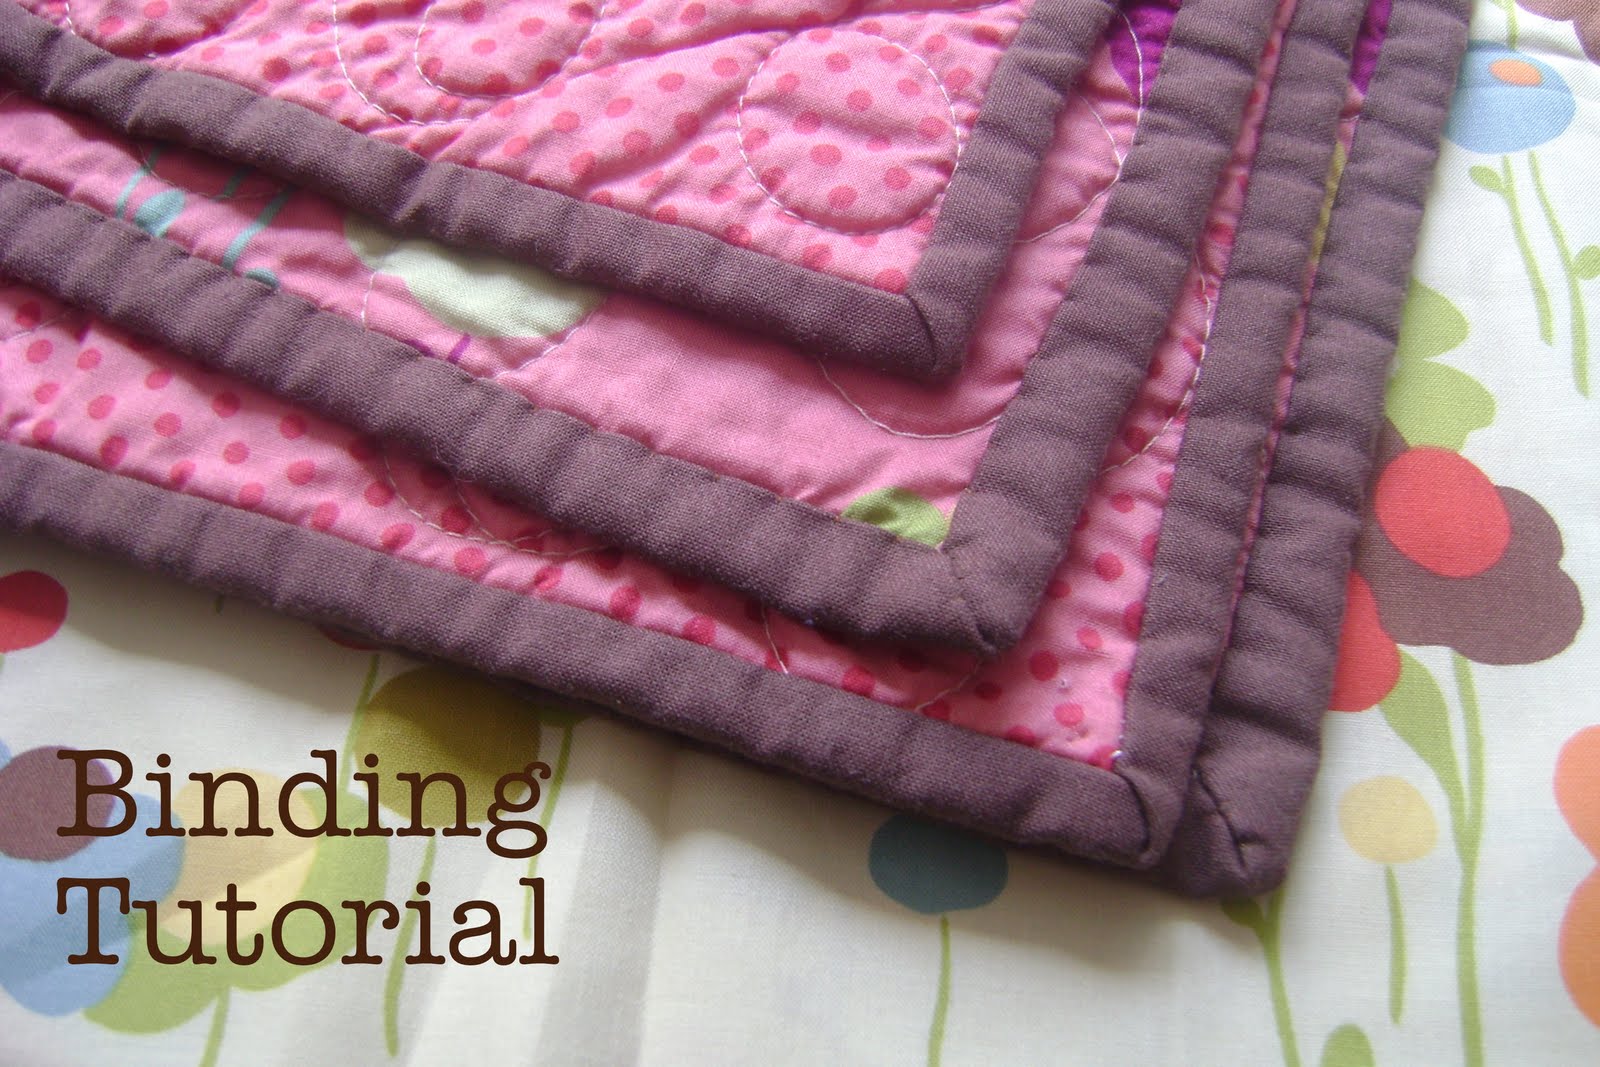
For a quick finish, fold the excess backing to the front, fold it over again, and stitch down. This self-binding method uses the backing as the edging. For a more traditional look, cut binding strips from coordinating fabric, sew them to the front, miter the corners, and hand-stitch or machine-stitch to the back.
Expect Needle Breakage
Binding is the thickest part of the quilt. You are sewing through top, batting, backing, and folded binding. Have extra needles on hand. Breakage is common but normal.
Finish and Care for Your Quilt
Wash to Soften and Set
Wash the finished quilt to remove spray adhesive residue and soften the fabric. Use mild detergent and cold water. Dry on low heat or air dry. The quilt will get softer with every wash.
Add a Personal Label
Attach a label to the back with the baby’s name, birth date, and a short note like “Made from clothes worn in your first year.” Use fabric paint, embroidery, or a printed fabric tag. It turns your quilt into a true heirloom.
Store or Gift with Love
If you are not gifting immediately, store the quilt in a cotton bag. Never use plastic, which can trap moisture. This quilt is not just a blanket. It is a living memory that will carry warmth far beyond its stitches.
Frequently Asked Questions About Making a Quilt from Baby Clothes
How many baby clothes do I need to make a quilt?
A garbage bag full of baby clothes is typically enough for a throw-sized quilt. For a 42-inch square using 5.5-inch squares in a 7×7 grid, you will need roughly 49 squares. One onesie usually provides one or two usable squares after cutting around stains and hardware.
What is the best stabilizer for stretchy baby clothes?
Fusible interfacing like Pellon 905F is the most popular choice. It locks the stretch in place and gives each square a crisp feel. Foundation strips made from cotton flannel or bedsheets are a good alternative, especially for beginners who want a more forgiving piecing method.
Can I wash a quilt made from baby clothes?
Yes. Wash the finished quilt in cold water with mild detergent and dry on low heat or air dry. The quilt will soften with every wash. Avoid using hot water or harsh detergents, which can damage delicate vintage fabrics or cause colors to fade.
How long does it take to make a baby clothes quilt?
Most beginners complete a throw-sized quilt in 15 to 25 hours spread over several weekends. The cutting and stabilization phase takes the most time because of the precision required. Actual sewing is faster once you get into a rhythm.
What size quilt should I make for a keepsake?
A 36-inch square works well for a crib or stroller. A 42-inch square is a generous keepsake size that works as a throw or nursery blanket. Larger quilts (48 inches or more) are more useful as the child grows but require more clothes and time.
Can I include items other than clothes in the quilt?
Yes. You can incorporate receiving blankets, burp cloths, bibs, baby hats, and even small loveys. Just make sure each item is washable and durable enough for a functional quilt. Delicate items like lace dresses are better suited for display-only quilts.
Key Takeaways for Creating a Baby Clothes Memory Quilt
Stabilization is the single most important step. Without fusible interfacing or foundation strips, your knit fabrics will stretch and distort during quilting. Invest in thick cotton batting because it provides structure and reduces the number of quilting lines needed.
Select your garments with intention. Cut around stains, remove hardware, and prioritize pieces with sentimental value. A cohesive color palette and consistent block size (4 to 6 inches works well) will give your quilt a polished, timeless look.
Finish with care. Bind the edges neatly, wash the quilt to soften it, and add a personal label. Whether you keep it, gift it, or pass it down, this quilt will carry the warmth of those early years for generations to come.

