
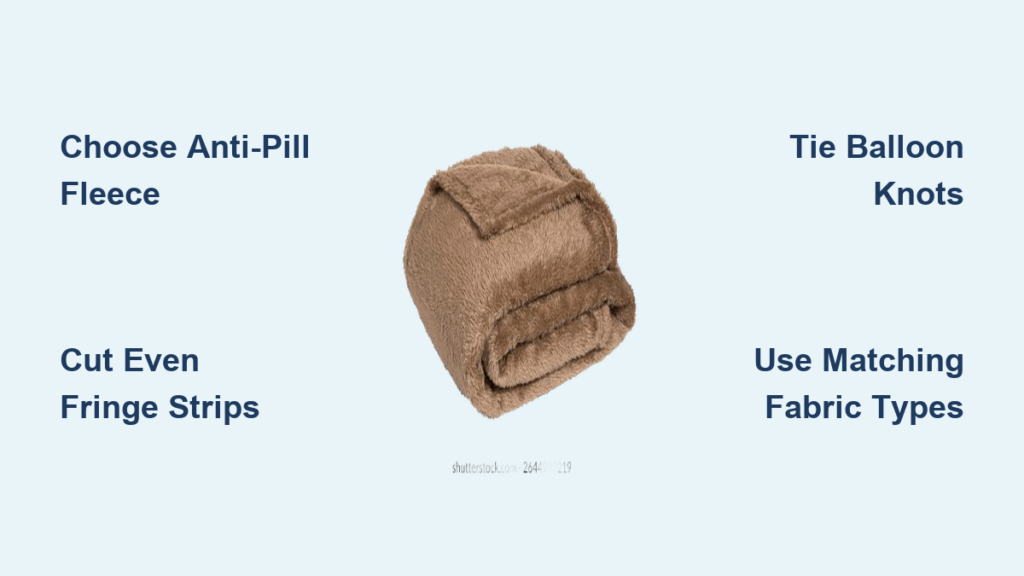
If you’ve ever wondered how to make a fleece blanket, you’re in luck. This soft, cozy project is perfect for beginners and craft experts alike. Whether you’re making a handmade gift, a comforting throw for your couch, or a personalized keepsake, a fleece blanket is warm, durable, and easy to create with or without a sewing machine. The best part is that fleece doesn’t fray, so no-sew methods like tying or knotting the edges work beautifully. And if you prefer a polished look, sewing gives your blanket a clean, long-lasting finish.
In this guide, you’ll learn step-by-step instructions for every method. We cover fabric selection, cutting techniques, knotting styles, and care tips so you can make a blanket that’s not only beautiful but built to last. Whether you’re crafting with kids or creating a gift for a loved one, you’ll be done in as little as 30 minutes to a few hours. Let’s get started.
Choosing the Best Fleece Fabric for Your Blanket
Selecting the right fleece is the first step to a successful blanket. The fabric you choose affects warmth, durability, and how well knots hold.
Pick Anti-Pill or Blizzard Fleece
For the best results, use Anti-Pill fleece. It is extremely soft, resists pilling after washing, and holds up well to frequent use. This makes it ideal for gifts and blankets that get lots of snuggle time. Blizzard fleece is a budget-friendly alternative that is denser and warmer, though it may pill over time. Avoid plush, velvet, or Heavenly fleece for no-sew projects. These fabrics have loose fibers that shed when cut and do not hold knots securely.
Test Fabric Before Buying
Rub your fingers along the raw edge of the fleece before purchasing. If fibers flake off or shed, the fabric is not suitable for a tie blanket. This shedding means the fabric won’t hold knots securely. Save such fleece for sewn blankets where edges are enclosed.
Never Mix Fleece Types
Never pair Anti-Pill with Blizzard or Luxe fleece in the same blanket. Different fabrics stretch and wear unevenly, leading to warped edges and distortion after washing. Stick with two matching pieces of the same type for a clean, professional look.
Calculating How Much Fleece You Need
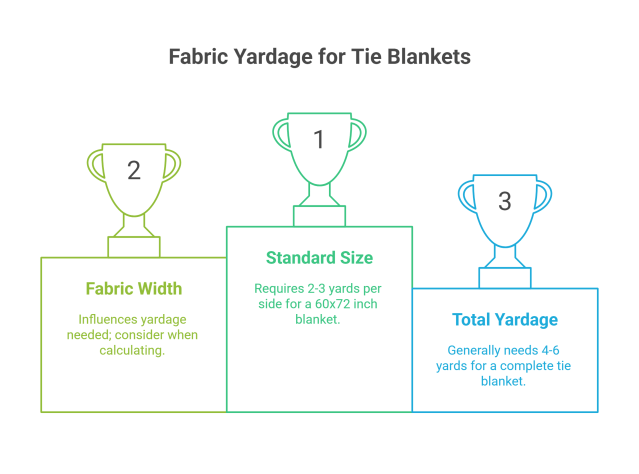
Fleece comes in standard widths of 54 to 60 inches, so sizing depends on length. You will need two identical pieces for a double-layer blanket.
| Blanket Size | Fabric per Layer | Total Fabric Needed | Approximate Finished Size |
|---|---|---|---|
| Baby/Toddler | 1 yard | 2 yards | 36″ × 54″ |
| Child | 1.5 yards | 3 yards | 54″ × 60″ |
| Adult Throw | 2 yards | 4 yards | 72″ × 60″ |
The final blanket will be 4 to 12 inches smaller than the original fabric due to fringe and knots. Shop sales at craft stores like Jo-Ann Fabric or Walmart for buy-one-get-one deals, especially during fall and winter. A child-sized blanket can cost as little as $10 to $15 total when on sale.
Preparing Fleece Before Cutting
Proper preparation ensures your blanket turns out straight and even.
Remove Selvage Edges
The selvage is the tight, perforated edge along the sides of the fabric. Cut it off before assembly because it behaves differently than the rest of the fabric and can cause puckering or uneven edges.
Align and Square Up Layers
For no-sew blankets, lay the bottom layer right side up, then place the top layer right side up on top. Smooth out wrinkles and align edges as closely as possible. For sewn blankets, place both layers right sides together. Use fabric weights, pins, or Wonder Clips to hold the fabric in place while cutting.
Cut Both Layers Together
Use sharp scissors or a rotary cutter and cutting mat to cut both layers at once. This ensures identical size and straight edges. Work on a large table or floor to prevent shifting.
Cutting Fringe for a Tie Blanket
Even, consistent fringe is the key to a professional-looking finished blanket.
Cut Corner Squares First
Cut a 5-inch by 5-inch square from each corner. This reduces bulk and helps the fringe lay flat. For shorter fringe, use 4-inch squares. For longer fringe, up to 7 inches works well.
Cut Even Fringe Strips
Make 5-inch-long cuts spaced 1 inch apart along all four edges. Cut through both layers at once. Use a ruler, yardstick, or cardboard template to keep strips consistent. Strip width of 1 inch is easiest to tie. The minimum fringe length should be 4 inches. Shorter strips are difficult to knot.
Use a Template for Speed
Create a cardboard template with 1-inch gaps and 5-inch depth cuts to speed up fringe cutting. This ensures consistent strips and saves time on larger blankets.
Tying a No-Sew Fleece Blanket
The balloon knot is the most popular and beginner-friendly method for finishing a tie blanket.
Master the Balloon Knot
Pick up one pair of fringe strips from both layers. Wrap them around your index finger. Push the end through the loop and pull tight, like tying a balloon. Slide the knot up to the blanket edge. This creates a flat, secure knot that shows off the contrast of the bottom fabric.
Try Alternative Knots
The twist-and-pull knot gives a neater look. Twist the two layers together, pull the twisted end back through itself, and tighten. For longer visible tails, use a square knot. Separate the top and bottom strips and tie them like shoelaces with a double knot.
Create an Alternating Pattern
Tie every other fringe, then flip the blanket and tie the remaining strips. This creates a perfect alternating pattern that showcases both fabrics. Never skip strips, as gaps weaken the edge.
Creating Alternative Edge Styles
Beyond the standard knot, there are several creative ways to finish your blanket edges.
Braid the Edges
For a thick, textured border, cut 2 to 3-inch-wide strips that are 6 to 8 inches long. At one end, divide the fringe into three sections and braid them together. Tie off with a knot and continue braiding along the edge. This method is reversible and durable but takes 2 to 3 hours.
Make a Bow Edge
Cut 5-inch fringe strips. Tie each pair into a small bow. Fluff and adjust for a uniform look. This style is ideal for baby blankets or girls’ gifts. Use contrasting fabric to make the bows pop.
Try Fringed-Only Design
Skip tying entirely. Apply masking tape 1 to 5 inches from the edge. Cut up to the tape and remove it. Customize with pointed tips by folding the strip and cutting a triangle, or dovetails by cutting a small V at the end. This minimalist look is great for travel blankets or quick projects.
Sewing a Professional Fleece Blanket

Sewn blankets offer a clean, durable edge and are perfect for heirloom-quality gifts.
Use the Right Sewing Machine Setup
Fleece is easy to sew but needs proper tools. Use an 80/12 ballpoint or stretch needle. Use 100% polyester thread to match the fabric’s stretch. Wonder Clips prevent slipping better than pins. Set your stitch length to 4.0 for straight stitching. Avoid short stitch lengths because they are hard to unpick and can damage fabric.
Choose Correct Stitch Types
For strong, stretchy seams, use a two-step zigzag with width 7.0 and length 2.0. For a decorative edge, use an overcast or blanket stitch with width 7.0 and length 5.0. For simple topstitching, use a straight stitch with length 4.0.
Test on Scraps First
Always test your settings on scrap fleece before starting the main project. This prevents mistakes on the finished blanket and helps you feel confident in your machine’s performance.
Making a Single-Layer Sewn Blanket
A single-layer sewn blanket is quick, lightweight, and perfect for travel or airplane use.
Quick Construction Steps
Cut one piece of fleece to your desired size, typically 54 by 60 inches. Trim selvage edges. Mark and cut 1 to 3 inches of fringe using masking tape as a guide. Fold and pin the two long edges to prevent stretching. Sew along the folded edge with a 1/4-inch seam using your chosen stitch type.
When to Use This Method
This method creates a light, reversible fringe blanket great for on-the-go use. It works well for kids, travel blankets, or lightweight throws.
Crafting a Double-Layer Reversible Blanket
A double-layer sewn blanket is warmer, more luxurious, and makes a beautiful heirloom gift.
Step-by-Step Construction
Place two fleece pieces right sides together. Pin or clip all edges. Cut 3 to 5-inch squares from each corner. Apply masking tape 1 inch from the edge and cut fringe up to the tape. Sew around the perimeter with a 1-inch seam allowance, backstitching at start and end. Trim excess fabric close to the stitching. Clip corners diagonally to reduce bulk. Turn right side out through a 6 to 7-inch opening. Use a chopstick or pen to push out corners. Fold raw edges inward and close the opening with a ladder stitch. Topstitch 1/4-inch around the entire edge for a clean finish.
Why This Method Lasts Longer
This technique creates a plush, reversible blanket with enclosed seams. It holds up beautifully to repeated washing and frequent use, making it ideal for gifts.
Customizing Your Fleece Blanket Design
Personalize your blanket with creative design choices.
Pair Colors and Prints Effectively
Solid plus pattern combinations work beautifully. Try a dinosaur print top with a solid green bottom. For holidays, use red and white or snowflake prints. Team spirit blankets use sports colors or logos. For gender-neutral options, choose geometric shapes, nature themes, or neutral solids.
Create a Framed Effect
Cut the top layer 2 inches smaller on all sides and center it on the base. When tied, this creates a bordered look with a modern design aesthetic.
Shape the Fringe
Pointed tips are made by folding the strip in half lengthwise and cutting a triangle. Dovetails are created by cutting a small V at the end. Rounded edges are achieved by cutting an arc instead of square corners.
Caring for Your Fleece Blanket
Proper care keeps your blanket soft and pill-free for years.
Wash the Right Way
Machine wash in cold or warm water on the gentle cycle. Never use bleach, as it damages fibers. Avoid fabric softener because it coats fibers and reduces warmth. Skip dryer sheets, which leave residue and reduce loft.
Dry Without Damage
Lay flat to dry for the best results. If using a dryer, tumble dry on low for 10 to 15 minutes, then remove promptly. Do not over-dry, as this causes pilling.
Maintain Over Time
Tied blankets may loosen slightly over time. Retie any loose knots as needed. Sewn blankets maintain their integrity better with frequent use.
Troubleshooting Common Fleece Blanket Problems
Know how to handle issues that arise during or after making your blanket.
Fabric Shifts During Cutting
Use fabric weights or clips and cut on a non-slip mat. Pin the layers together if needed to prevent movement.
Fringe Strips Are Uneven
Use a cardboard template with 1-inch gaps and 5-inch depth. Minor variations won’t show once the fringe is tied.
Knots Are Too Loose
Pull each knot tight and slide it up to the edge. Use double knots or square knots for extra security.
Sewing Puckers
Use a longer stitch length, polyester thread, and Wonder Clips. A walking foot helps prevent stretching during sewing.
Bulk at Corners
Cut 5-inch corner squares properly. In sewn blankets, clip corners diagonally after sewing to reduce bulk.
Frequently Asked Questions About Making a Fleece Blanket
What type of fleece is best for a tie blanket?
Anti-Pill fleece is the best choice for tie blankets. It is soft, durable, and resists pilling after washing. It holds knots securely and maintains its appearance through many washes.
How long does it take to make a fleece blanket?
A tied blanket takes 1 to 2.5 hours depending on size. A sewn blanket takes 1 to 3 hours. A fringed-only design is the fastest, taking just 30 to 60 minutes.
Is making a fleece blanket difficult?
No, fleece blankets are beginner-friendly. The no-sew tied method requires only scissors and a ruler. Sewn methods need a basic sewing machine but are still approachable for beginners.
Can I wash a fleece blanket in the washing machine?
Yes, fleece blankets are machine washable. Use cold or warm water on the gentle cycle. Avoid bleach, fabric softener, and dryer sheets to preserve the fabric’s softness and prevent pilling.
What is the easiest knot for a fleece blanket?
The balloon knot is the easiest and most popular. It lies flat, is secure, and shows off the contrasting fabric layers. It is simple to learn and works well for all skill levels.
Can I use different types of fleece together?
No, never mix fleece types in one blanket. Anti-Pill, Blizzard, and Luxe fleece stretch and wear differently. Mixing them causes uneven edges and distortion after washing. Always use matching pieces of the same type.
Key Takeaways for Making Your Own Fleece Blanket
Making a fleece blanket is one of the easiest and most rewarding DIY projects available. Whether you tie, braid, or sew, you will create a soft, warm, and personalized blanket in just a few hours. Choose Anti-Pill fleece for the best results, cut even fringe using a template, and use secure knots or stitches for a finished product that lasts.
Start with a tied blanket if you are a beginner. It requires no special equipment and produces beautiful results quickly. Move on to sewn blankets for a more polished, durable edge. Whatever method you choose, your handmade blanket will provide years of comfort and coziness.
Now that you know how to make a fleece blanket, grab your fabric and start crafting. Pick a fun print, follow the steps, and enjoy the satisfaction of creating something warm and personal with your own hands.

