
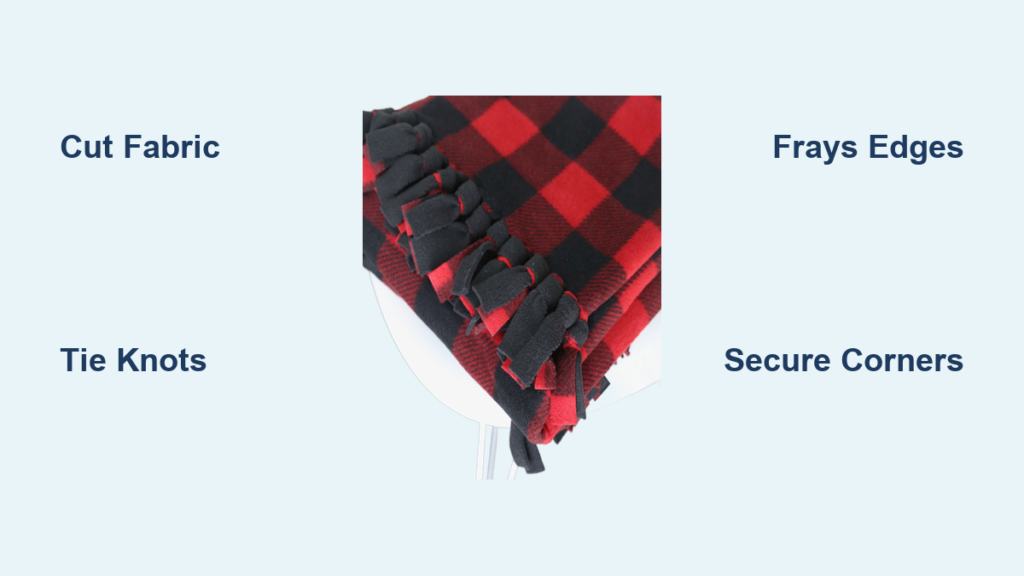
Nothing beats the cozy comfort of a soft, handmade blanket, especially when you can create one without touching a needle or thread. Whether you are a complete beginner, crafting with kids, or searching for a quick and meaningful gift idea, learning how to make a no-sew blanket opens up a world of creative possibilities. These projects rely on simple techniques like tying, fraying, folding, or braiding to produce beautiful, durable blankets in just a few hours. With basic materials costing under $20 and no special equipment required, anyone can master this satisfying craft. This guide walks you through every method, material choice, and pro tip you need to create a personalized no-sew blanket for gifts, home decor, or charity projects.
Choose the Right No-Sew Blanket Style for Your Skill Level
Not all no-sew blankets are created equal, and selecting the right style depends on your experience, time available, and the look you want to achieve.
Popular No-Sew Blanket Types
The double layer fleece tie blanket remains the most popular choice for beginners because it is fast, forgiving, and produces a cozy result. The flannel fringe blanket offers a rustic, lived-in aesthetic that works beautifully for home throws. If you prefer a modern, polished look, the no-knot folded fringe technique creates clean edges without visible knots. Braided edge blankets provide a high-end woven appearance but require more patience and skill. For wearable options, blanket scarves combine function with warmth, while arm-knitted chunky blankets deliver ultra-cozy texture using only your hands and thick yarn.
Match Your Project to Its Purpose
Consider who will use the blanket when selecting your method. For babies and young children, soft anti-pill fleece in bright colors performs best and washes beautifully. Elderly or ill recipients appreciate lightweight fleece that is easy to handle and launder. Home decor projects benefit from flannel fringe or braided edges that add visual interest. Charity and fundraiser projects work best with the quick double-layer fleece method, which allows you to complete multiple blankets in a single session.
Select the Best Fabric for Your No-Sew Blanket Project
The fabric you choose directly impacts the final look, durability, and feel of your blanket, making this decision crucial to your project’s success.
Why Fleece Is the Top Choice
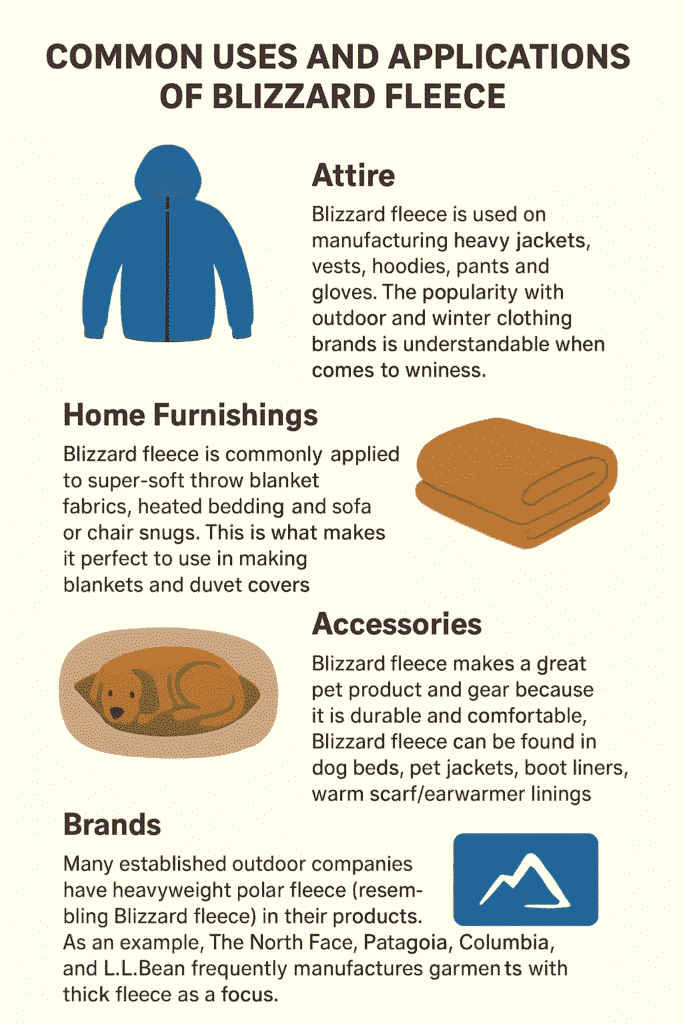
Fleece dominates no-sew blanket projects for good reasons. It does not fray, holds knots securely, and provides excellent warmth without weight. Anti-pill fleece costs between $8 and $12 per yard and maintains its smooth appearance for 2 to 5 years, making it ideal for gifts and long-term use. Blizzard fleece costs only $5 to $8 per yard but pills more quickly, so it works better for children’s projects or short-term use.
Pro Tip: Shop BOGO sales at Jo-Ann Fabrics or Walmart to cut material costs in half. A child-sized blanket can cost as little as $10.
Avoid mixing anti-pill and blizzard fleece in the same blanket because they stretch and wear differently, causing uneven tension and premature wear.
When to Choose Flannel
Flannel excels for fringe-style blankets that rely on controlled fraying for their rustic appearance. Always select unwashed plaid flannel because the pattern guides your cutting and the tight weave loosens naturally over time for that soft, frayed look. Do not pre-wash flannel before starting your project, as this tightens the weave and prevents proper fraying.
Alternative Materials to Explore
Minky or sherpa adds luxurious texture when used as one side of a double-layer blanket. Thick arm-knitting yarn creates chunky, tactile blankets using only your hands. Old t-shirts can be repurposed into no-sew rag blankets or totes. Mixing textures like fleece with minky produces unique, multi-sensory results.
Gather Essential Tools for No-Sew Blanket Making

You do not need expensive equipment, but having the right tools makes every step easier and produces better results.
Must-Have Cutting Supplies
Sharp fabric scissors deliver clean cuts that prevent jagged edges from marring your finished blanket. A rotary cutter paired with a self-healing mat speeds up cutting and ensures precise straight lines, which is especially valuable when cutting fringe. A clear acrylic ruler helps you maintain uniform 1-inch spacing around all edges. A tape measure verifies fabric dimensions before you begin cutting, and fabric chalk or a water-soluble marker optionally marks cutting lines.
Pro Tip: Create a cardboard template measuring 1 inch by 5 inches to trace around when cutting fringe. This ensures consistent strip size throughout your project.
Optional but Helpful Supplies
Fabric glue like Fabri-Tac secures flannel fringe or holds flipped edges in place. Clear nail polish serves as an alternative to glue for sealing flannel threads. Polyfil stuffing enables no-sew pillows or floor cushions to accompany your blanket. Iron-on patches, fabric paint, and ribbon add personalized decorative touches after completion.
Create a Double Layer Fleece Tie Blanket (Beginner-Friendly)
The double layer fleece tie blanket represents the easiest and most popular no-sew method, perfect for first-time crafters.
Cut Your Fabric to the Right Size
Select fabric amounts based on your desired finished size. One yard per layer produces approximately a 36-by-36-inch baby blanket. One and a half yards creates roughly a 54-by-54-inch child-sized blanket. Two yards yield an adult throw around 60 by 72 inches. Remember that final dimensions will be 4 to 10 inches smaller due to fringe and knotting.
- Lay the bottom layer with the wrong side facing up and the top layer with the right side facing up.
- Align the layers perfectly and pin or clip the corners to prevent shifting during cutting.
- Trim both layers simultaneously to remove selvage edges and create straight, even sides.
Cut Corners and Fringe Strips
Cut out 5-by-5-inch or 7-by-7-inch squares from each corner. This prevents bulky knots and creates a clean edge. Cut 1-inch-wide, 5-inch-deep vertical strips around all remaining edges, cutting through both layers at once and spacing them 1 inch apart.
Pro Tip: Use a rotary cutter and ruler for speed and precision. A cardboard template ensures consistency across all strips.
Tie Secure Knots
The balloon knot, also called a lark’s head or cow hitch, produces a flat, decorative knot that showcases the bottom fabric. To create it, hold one strip from the top layer and one from the bottom layer. Loop them around your finger, push the free end through the loop, and pull tight. The square knot offers an easier alternative for children. Tie right over left, then left over right, and pull firmly.
Efficiency Hack: Tie every other fringe strip on one side, then flip the blanket and tie the alternating strips from the back. This reduces wrist strain and ensures even tension across the entire blanket.
Never skip any fringe strips because tying every one keeps the blanket strong and prevents unraveling.
Finish and Inspect
Check that all knots are tight and complete. Gently tug several knots to test their strength. Trim any uneven ends if desired, then shake out and fluff the blanket for a finished appearance.
Make a Flannel Fringe Blanket Without Knots
This technique produces a lightweight, rustic throw with intentionally frayed edges that soften further with washing.
Prepare Your Flannel
Purchase 2 yards of unwashed plaid flannel. Cut straight across both short ends, but leave the selvages intact on the long sides because they will not fray and act as finished edges.
Create the Frayed Fringe
Use a pin or seam ripper to snag one horizontal thread at a cut end. Gently pull across the width of the fabric; the thread will unravel a clean line. Repeat this process every 1/8 inch until the fringe reaches 1.5 to 2 inches in length. Repeat on the opposite end.
Time-Saver: This step takes 30 to 60 minutes per end, making it perfect for multitasking while watching television.
Seal the Fringe for Durability
Raw flannel can over-fray during washing. Apply a thin line of fabric glue like Fabri-Tac below the fringe area and let it dry for 24 hours. Alternatively, dab clear nail polish lightly on the edge threads and allow it to dry for 24 hours.
Try Modern No-Knot Fleece Blanket Techniques
If you prefer a clean, professional look without visible knots, these techniques deliver polished results.
Folded-Fringe Method
Cut 1-inch-wide, 5-inch-deep fringe around the edge of your fleece. Fold each strip inward and tuck it between the two layers. Press or glue the layers together to secure. Using contrasting prints makes the folded edge highlight the color change beautifully.
Flipped-Fringe Technique
Cut fringe on one fleece sheet, then flip each strip to the back side. Press or glue them in place for a seamless, professional finish. This method works especially well for pet beds, car blankets, and minimalist home decor.
Pro Tip: Use fabric glue like Fabri-Tac for extra hold, particularly on blankets that will see heavy use.
Add Advanced Details Like Braided Edges or Blanket Scarves
Create a Braided Edge
For a high-end woven appearance, cut interlocking strips rather than straight fringe. Group three adjacent strips together and braid them tightly, continuing around the entire perimeter. This technique rates as moderate to advanced difficulty and works beautifully for gift blankets and wedding favors.
Make a No-Sew Blanket Scarf
Cut an 18-by-72-inch rectangle of fleece. Cut 1-inch-wide, 5-inch-deep fringe on both short ends. Tie or braid the fringe to create decorative ends. Wear the result as a long scarf or wrap it like a shawl for wearable warmth perfect for travelers and outdoor events.
Craft a Chunky Arm-Knitted Blanket
No needles are required for this ultra-cozy project that uses thick yarn and your arms.
Arm-Knitting Basics
You will need 3 to 5 skeins of arm-knitting yarn, costing $10 to $20 each. To cast on, wrap yarn around both arms to form an initial loop. To knit, pull the lower loop over the upper loop on each arm. Repeat row by row until you reach your desired size. To bind off, thread the yarn tail through the last loop and pull tight.
Time Required: Expect to spend 2 to 4 hours completing one blanket. Each blanket uses approximately 3 to 5 skeins of yarn.
The result is an ultra-cozy, chunky texture perfect for winter comfort.
Customize Your No-Sew Blanket Design
Mix Colors and Patterns Strategically
High-contrast color combinations like navy and cream or black and white make knots pop visually. Small or all-over patterns work better than large images that get lost in the fringe. Designing both sides attractively means flipping the blanket reveals a fresh look.
Add Personal Touches
Iron-on letters spell out names or initials. Fabric paint creates custom designs or messages. Ribbon or pom-poms add decorative flair along edges. Themed fabrics work well for holidays, sports teams, or awareness causes like pink for breast cancer or blue for autism.
Care for and Maintain Your No-Sew Blanket
Washing Instructions
Machine wash your blanket in cold water on the gentle cycle using mild detergent. Avoid fabric softener because it can reduce softness over time. Never use bleach, which damages the fibers.
Drying and Storage
Tumble dry on low heat or air dry to prevent shrinkage and fiber damage. High heat can melt fleece fibers. Store your blanket loosely folded or laid flat, avoiding tight compression that crushes the loft and softness.
Fix Common No-Sew Blanket Problems
Uneven edges typically result from layers shifting during cutting, so always cut both layers together after aligning them perfectly. Loose or slipping knots occur from incomplete tying or poor tension, so use the balloon knot and pull firmly on each one. Bulky corners happen when you forget to cut out corner squares, so always remove 5-by-5-inch or 7-by-7-inch squares before fringing. Flannel that will not fray usually means the fabric was pre-washed, so always start with fresh, unwashed flannel and pull threads gently with a pin.
Frequently Asked Questions About How to Make a No-Sew Blanket
What materials do I need to make a no-sew blanket?
You need fabric (fleece or flannel), sharp scissors, a ruler or tape measure, and optionally a rotary cutter with a self-healing mat. Fabric glue and a cardboard template for standardizing fringe size are helpful but not required.
How long does it take to make a no-sew blanket?
A double layer fleece tie blanket takes 1 to 2 hours for beginners. Flannel fringe blankets require 2 to 4 hours due to the time-intensive fraying process. Arm-knitted chunky blankets take 2 to 4 hours.
Can children participate in making no-sew blankets?
Yes, children ages 8 and up can successfully make tie blankets with adult supervision. The square knot is easier for young children to learn than the balloon knot.
How do I prevent my fleece blanket from pilling?
Choose anti-pill fleece instead of blizzard fleece for better pilling resistance. Anti-pill fleece maintains its smooth appearance for 2 to 5 years compared to 1 to 2 years for blizzard fleece.
Are no-sew blankets durable enough for everyday use?
When made with anti-pill fleece and properly tied, these blankets last 4 to 5 years with moderate use. Always tie every fringe strip and use the balloon knot for the most secure hold.
Key Takeaways for Making a No-Sew Blanket
Making a no-sew blanket is an accessible, rewarding project that requires no sewing experience, no special equipment, and minimal investment. Choose anti-pill fleece for durability, follow the step-by-step tying process carefully, and always tie every fringe strip to ensure your blanket holds together through years of use. Whether you create a cozy fleece tie blanket for a gift, a rustic flannel throw for your home, or a chunky arm-knitted masterpiece for winter warmth, the result is a handmade treasure that provides comfort and care. Start with the beginner-friendly double layer fleece tie method, then explore more advanced techniques as your skills grow.

