
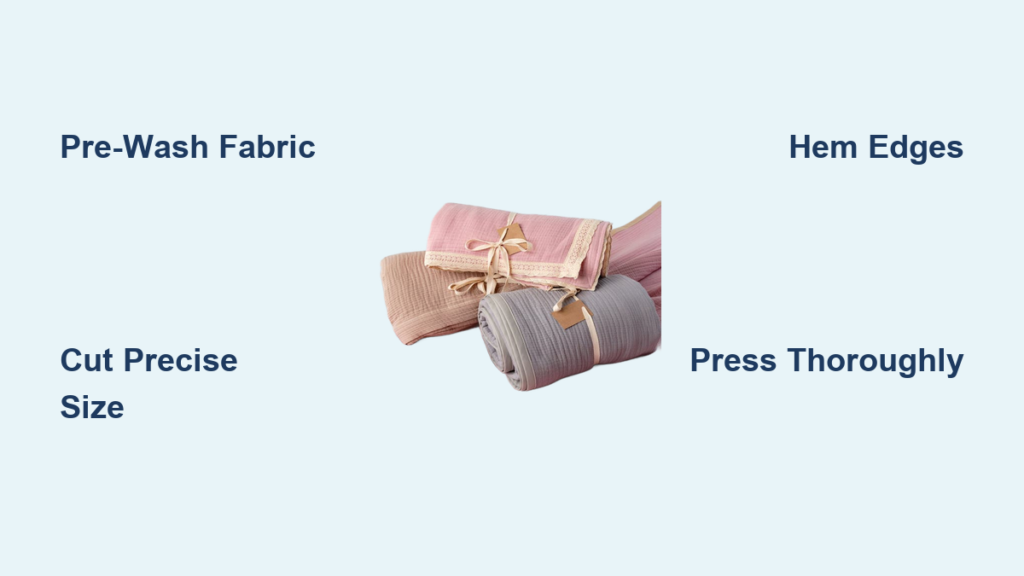
You’ve probably seen those soft, breathable muslin blankets draped over strollers or wrapped around newborns at the hospital. They feel impossibly soft, have that signature crinkly texture, and make perfect swaddles for babies. The good news? You can make one yourself at home in under two hours with just a few basic supplies. This guide walks you through choosing the right fabric, cutting it precisely, and finishing edges cleanly using three different construction methods.
By the end, you’ll know exactly how to create a professional-quality muslin blanket that rivals store-bought versions like Aden + Anais, whether you want a simple hemmed swaddle or a quilted heirloom. Let’s get started.
Choose the Right Fabric for Your Blanket
Cotton gauze is the go-to fabric for soft, breathable baby blankets. It is lightweight and slightly stretchy, with a loosely woven construction featuring two or more layers for airiness. The fabric softens dramatically after two to three washes, though it feels crisp or slightly scratchy when new. True muslin fabric, by contrast, is plain-woven and often coarser, used mainly for sewing prototypes or quilting. It has less drape and absorbency than cotton gauze.
Look for 100 percent cotton gauze online or at fabric stores like Joann or Amazon. Avoid polyester blends because they do not breathe as well. Always pre-wash your fabric before cutting to prevent post-project shrinkage and puckering. Use mild detergent and skip the bleach or fabric softener. Iron the fabric flat after drying for clean, accurate cuts.
Cut Fabric to the Right Size

Standard blanket dimensions vary based on your needs. A preemie size requires 30 inches by 30 inches and about one yard of fabric. Small swaddles measure 36 inches by 36 inches and need 1.25 yards. Standard swaddles are 43 inches by 50 inches and require 1.5 yards. Square blankets at 49 inches by 49 inches need two yards for two layers. Large or toddler blankets at 50 inches by 50 inches or larger require 2.5 or more yards.
Most cotton gauze is 52 inches wide, which is enough for one large blanket per cut. Always remove the selvages, which are those tight woven edges on both sides of the fabric, to prevent tension issues after washing. Use a rotary cutter, self-healing mat, and ruler for straight, accurate cuts. If you prefer fabric scissors, make sure they are sharp and dedicated to fabric only. Measure twice and cut once to ensure your corners are square.
Pick Your Construction Method

Three main techniques let you build a muslin blanket from quick and simple to structured and heirloom quality. The hemmed swaddle method works best for lightweight swaddles, burp cloths, or tummy time mats. It takes one to 1.5 hours and suits beginners. The enclosed seam method creates reversible, slightly puffy blankets and takes one to two hours. The quilted sandwich method builds warm, durable quilts and takes three to five hours, making it best for intermediate sewers.
Choose the method that fits your tools, time, and intended use.
Make a Hemmed Swaddle Blanket
This beginner-friendly method produces breathable swaddles quickly. Cut one 43 by 50 inch piece of pre-washed cotton gauze. Fold half an inch toward the wrong side on one edge and press with a hot iron. Fold again half an inch to enclose the raw edge completely and press. Repeat for all four sides.
Why press? Ironing creates a crisp fold that stays in place during sewing, giving you professional-looking results.
Sew close to the inner folded edge using a straight stitch with 2.5 millimeter stitch length. Backstitch at the start and end of each side for reinforcement. At corners, stop with the needle down, pivot, and continue sewing. Avoid sewing too close to the outer edge because this weakens the hem.
After sewing, trim loose threads and wash the blanket again. The result is a crinkled, ultra-soft blanket perfect for newborns. No batting or lining is needed, making this method fast and fully reversible.
Try the Enclosed Seam Method
This technique creates a slightly puffy, soft blanket with no raw edges visible. Cut two 49 by 49 inch squares for the front and back. Optional middle layers include cotton batting, flannel, or extra gauze for added warmth.
Place the front and back fabrics right sides facing together. If using a middle layer, place it on top of the back piece so it gets sandwiched when turned. Pin or clip every three to four inches.
Sew around all four sides using a half-inch seam allowance. Leave a six to eight inch gap on one side for turning. Backstitch at both ends of the gap.
Turn the blanket right side out through the gap. Use a chopstick or turning tool to push out the corners. Press the entire blanket flat, then fold in the seam allowance at the gap and press.
Close the gap using a hand-sewn invisible ladder stitch for a seamless finish, or machine-sew a quarter inch from the edge for durability. Then topstitch half an inch from the edge around the entire perimeter to secure the inner layers and add a polished look.
The result is a soft, drapey blanket ideal for strollers, car seats, or gifts.
Build a Quilted Sandwich Blanket
This method works best for heirloom quilts or cold-weather use. Prepare three layers: a 49 by 49 inch top fabric (right side up), a 46 inch or larger square batting, and a 49 by 49 inch bottom fabric (right side down). Remove selvages from all pieces.
Lay the bottom fabric flat with the right side down. Center the batting on top, smoothing out any wrinkles. Add the top fabric with the right side up, aligning all edges precisely.
Baste the layers together starting from the center and working outward. Insert safety pins every three to four inches to prevent shifting while quilting.
Mark four to five vertical quilting lines spaced evenly, about eight to ten inches apart. Sew from the center outward to avoid bunching. Use a walking foot or guide foot for even stitching. If you do not have a walking foot, place tissue paper under the fabric to reduce drag.
Trim excess batting and fabric with a rotary cutter. Apply double-fold bias tape by aligning the raw edge of the tape with the raw edge of the quilt and sewing along the inner fold. Fold the binding to the back and pin securely, then sew from the front, catching the back edge in the stitched-in-the-ditch style.
Wash the finished quilt in warm water with mild detergent. Tumble dry low or air dry. The result is a warm, textured quilt that softens beautifully over time.
Customize Your Blanket
Mix colors and prints to create unique combinations. Pair solids with patterns, such as an animal print front with a gray back. Use neutral tones for gender-neutral gifts. Try organic cotton for eco-friendly options.
Add personal touches like embroidering the baby’s name or birth date before final stitching. Use contrasting thread for decorative topstitching. Create matching sets including the blanket, burp cloths, and a lovey.
Save your scraps for mini projects like lovey tags, doll blankets, teething toys with food-safe silicone rings, or coordinating hair bows and bibs.
Care for Your Muslin Blanket
Wash your blanket in cold or warm water with mild detergent. Tumble dry on low heat or hang dry. Iron on the cotton setting if desired, though the crinkled look is part of the charm. Avoid bleach and fabric softener because they reduce absorbency and degrade fibers over time.
Expect the fabric to soften significantly after two to three washes. New gauze feels crisp, which is completely normal. After washing, it becomes snuggly soft and develops that coveted crinkly texture. Many parents say homemade blankets feel better than expensive branded versions.
With proper care, your blanket will withstand hundreds of washes and can be passed down to second or third children. Gentle fading and softening are signs of use, not wear.
Troubleshoot Common Problems
If your hem puckers, the cause is likely uneven pressing or incorrect machine tension. Fix this by pressing hems thoroughly and adjusting the upper thread tension slightly looser. If corners unravel, you probably did not backstitch enough. Reinforce corners with two to three backstitches or a small zigzag stitch.
If the fabric stretches out of shape, you may be pulling it while cutting or sewing. Cut on the grain and support the fabric weight while sewing. If layers shift in your quilt, you did not baste enough. Add more safety pins and always baste from the center outward.
Save Money by Making Your Own
DIY blankets cost six to twelve dollars each versus 15 to 30 dollars for branded versions like Aden + Anais. You save 30 to 60 percent by making your own, and you get a one-of-a-kind result with full control over fabric choice and custom sizes.
Buy 2.5 yards of fabric to make two 43 by 50 inch blankets at once, maximizing your value. Use Joann Fabrics with their frequent 40 to 50 percent off coupons, Amazon for fast shipping, or specialty online shops for organic or imported options.
Who Should Make a Muslin Blanket
Expectant parents benefit from making a practical set for newborn care, including swaddles, burp cloths, and crib liners. Beginner sewers build confidence with straight seams and simple hems, and the forgiving fabric hides minor imperfections.
Eco-conscious crafters appreciate the reusable alternative to disposable items, reducing plastic packaging and carbon footprint. Gift makers love creating personalized baby shower presents with lasting meaning. Include a care tag with the date made for a thoughtful touch.
Final Tips for Success
The iron is your best tool. Better pressing leads to better sewing, so press at every stage. Use sharp needles, size 70/10 or 80/12, for clean stitches through multiple layers. Label handmade blankets with care instructions and the date made before gifting.
You do not need fancy equipment. A sewing machine, iron, and cotton gauze are all it takes to create a beautiful, functional muslin blanket.
Frequently Asked Questions About Making Muslin Blankets
What is the best fabric for a muslin blanket?
Cotton gauze is the best fabric for muslin blankets. It is lightweight, breathable, and becomes buttery soft after two to three washes. Avoid true muslin fabric, which is stiffer and less absorbent.
How much fabric do I need for a standard swaddle blanket?
A standard swaddle blanket sized 43 by 50 inches requires 1.5 yards of 52-inch wide cotton gauze. For two blankets, buy 2.5 yards.
Do I need to pre-wash the fabric before making a blanket?
Yes, always pre-wash fabric before cutting. This prevents shrinkage and puckering after the first wash. Use mild detergent and skip bleach or fabric softener.
How long does it take to make a muslin blanket?
A simple hemmed swaddle takes one to 1.5 hours. An enclosed seam blanket takes one to two hours. A quilted sandwich blanket takes three to five hours, depending on your experience level.
How do I make my muslin blanket softer?
Muslin blankets naturally soften after two to three washes. The initial crispness is normal. Wash in warm water with mild detergent and tumble dry low to accelerate the softening process.
Key Takeaways for Making Your Own Muslin Blanket
Making a muslin blanket is one of the most rewarding beginner sewing projects you can tackle. Using cotton gauze, you can create a soft, breathable, and durable blanket perfect for swaddling, tummy time, or gifting, all for half the retail price.
With three methods to choose from, you can match the project to your skill level and needs. Whether you want a quick hemmed swaddle or a warm quilted heirloom, the process is simple, customizable, and deeply satisfying. The fabric gets better with every wash, developing that buttery-soft crinkle babies love.
So grab your fabric, fire up the iron, and start sewing. In less than two hours, you will have a beautiful, functional muslin blanket that rivals any store-bought version, with the pride of knowing you made it yourself.

