
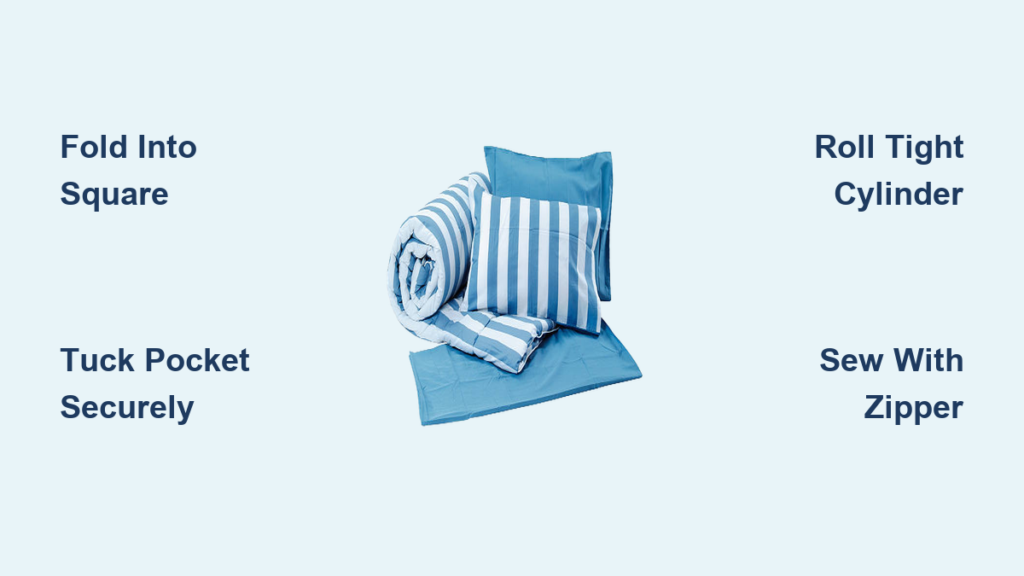
You don’t need fancy materials or sewing skills to turn a blanket into a cozy pillow. Whether you’re in a dorm, traveling, or just want a stylish living room accent, making a pillow out of a blanket is a quick, budget-friendly solution. With no tools required for most methods, you can create a soft, supportive pillow in under five minutes, perfect for temporary use or long-term décor. This guide covers six proven techniques, from simple folds to sewn covers, so you can choose the best method based on your blanket type, skill level, and intended use.
Simple Square Fold: No-Sew Method
Create a compact, clean-looking pillow using only folds without any cutting or sewing required.
Fold Blanket into a Square
This technique works best with medium-weight throws like fleece or cotton. Lay your throw blanket face-up on a smooth surface and smooth out any wrinkles. Bring one long edge toward the center, covering about one-third of the width, then repeat with the opposite side so both meet in the middle. Fold one short end halfway toward the center, then fold the other end to meet it. Open the inner layer at one end to form a pocket, then grasp the folded edge from the opposite end and tuck it inside.
You now have a 12 to 18 inch square pillow that holds its shape through tension and tucking. This method takes under two minutes and is fully reversible, so you can unfold it to use as a blanket again whenever needed.
Why This Method Works
This folding technique relies on the natural tension created by the layered folds. The pocket tuck method locks everything in place, preventing the pillow from unraveling during use. It’s ideal for guest rooms, photo styling, or any temporary seating need. The simplicity makes it popular in college dorms and military housing where quick, temporary solutions are valued.
Structured Square Fold with Pocket Tuck
Achieve a polished, professional look with crisp edges and a seamless finish using this advanced folding technique.
Create a Neat Tuck Closure
Start by placing your blanket with the decorative side facing down to hide raw edges in the final product. Fold one short edge about one-quarter of the way under itself to create a hidden pocket. Fold each long edge inward by one-third until they meet in the center. One end will now have a square-shaped flap, which is the folded-under section serving as your pocket.
Take the opposite end and fold it toward the pocket end in even quarters. Turn the entire piece over and reach into the pocket, then turn it inside out and stretch it over the folded section to encase everything cleanly.
The result is a crisp 15 to 20 inch square with no loose ends or risk of unraveling. This method is ideal for thicker blankets like cable-knit throws where bulk needs to be contained. Align your folds precisely using the weave or pattern as a guide for straight lines.
Cylindrical Bolster Pillow Technique
Make a supportive, modern-looking bolster pillow perfect for backrests or floor lounging.
Roll Into a Tight Cylinder
Position your blanket with the decorative side facing down to ensure the finished look is clean. Fold one short edge about one-quarter of the width to create a hidden pocket. Bring both long edges to the middle, overlapping slightly if needed, to form a narrow rectangle with a square pocket at one end.
Starting from the end without the pocket, roll the blanket tightly toward the pocketed end. Use a tighter roll for firmer support or a looser roll for a plush, soft feel. Insert your hands into the pocket flap, turn it inside out, and stretch it over the rolled section to secure everything in place.
This cylindrical pillow works wonderfully as back support on couches or beds, as a lumbar pillow for travel, or as a stylish floor decor element in minimalist spaces. The rolling tightness gives you control over the firmness and thickness of the final bolster.
Knot Pillow for Decorative Style
Turn your blanket into a sculptural, boho-chic accent with this decorative knot technique.
Tie a Secure Pillow Knot
Begin at each long edge and roll inward toward the center, stopping when both rolls meet in the middle. This creates two thick tubes that form the foundation of your knot. Cross one roll over the other, then pass one end through the loop to form a knot, similar to tying a shoe but with thicker material.
Pull to tighten for a compact look or leave loose for a fluffy, voluminous appearance. Push both ends under the knot to create a rounded, pillow-like shape.
This method works best with lightweight to medium fabrics like cotton, fleece, or acrylic. It’s highly popular on Pinterest and Instagram for room styling because it creates a unique sculptural element. However, avoid using this in high-traffic areas since the knot may loosen with movement over time.
Sewn Pillow Cover from Throw Blanket

Transform a blanket into a durable, washable pillow case that lasts for years with this sewing method.
Cut and Sew Two Pillow Cases
Start with a standard 50 by 60 inch throw blanket. Fold it in half along the 60-inch side to create a 50 by 30 inch rectangle, then fold again to create a 25 by 30 inch quadruple layer. Unfold and cut along the original fold line to separate into two equal pieces.
Finish all edges by folding raw edges in by one-half inch, pinning them in place, and sewing around the perimeter with a straight stitch. Backstitch at the start and end for strength. Slide in an 18 by 18 inch pillow insert for a snug, plush fit.
You can customize the closure by adding velcro, ties, or an envelope closure for removable inserts. If you want decoration, apply dimensional paint in dots, swirls, or geometric patterns and let it dry overnight before use.
Sewn Afghan Pillow: Crochet and Knit Upgrades
Upcycle a beloved knit or crochet blanket into a high-value decorative floor pillow with professional finishing.
Cut and Finish Panels
For a 24-inch square insert, cut two 25 by 25 inch squares, adding one-half inch seam allowance per side. Choose intact sections and avoid damaged areas, or mend any holes with matching yarn before cutting.
Finish edges immediately to prevent unraveling, which is critical for knit fabrics. Use a serger for the cleanest finish, or use a zig-zag stitch as an alternative. This step is never optional with knits or crochets.
Install a Durable Zipper
Place your panels right sides together along one edge where the zipper will go. Attach the zipper using a zipper foot, sewing one side of the zipper tape to the first panel, then flipping and sewing the other side. Use a standard 14 to 18 inch zipper since invisible zippers often jam with thick yarn.
With the zipper half-open, sew the remaining three sides with one-half inch seam allowance. Turn right side out, using a chopstick to push out corners gently, then insert your 24-inch pillow form and zip closed.
The result is a washable, durable pillow with sentimental value, perfect for heirloom blankets or baby afghans. It looks store-bought with the right finishing techniques.
Quillow: Hybrid Blanket-Pillow Design
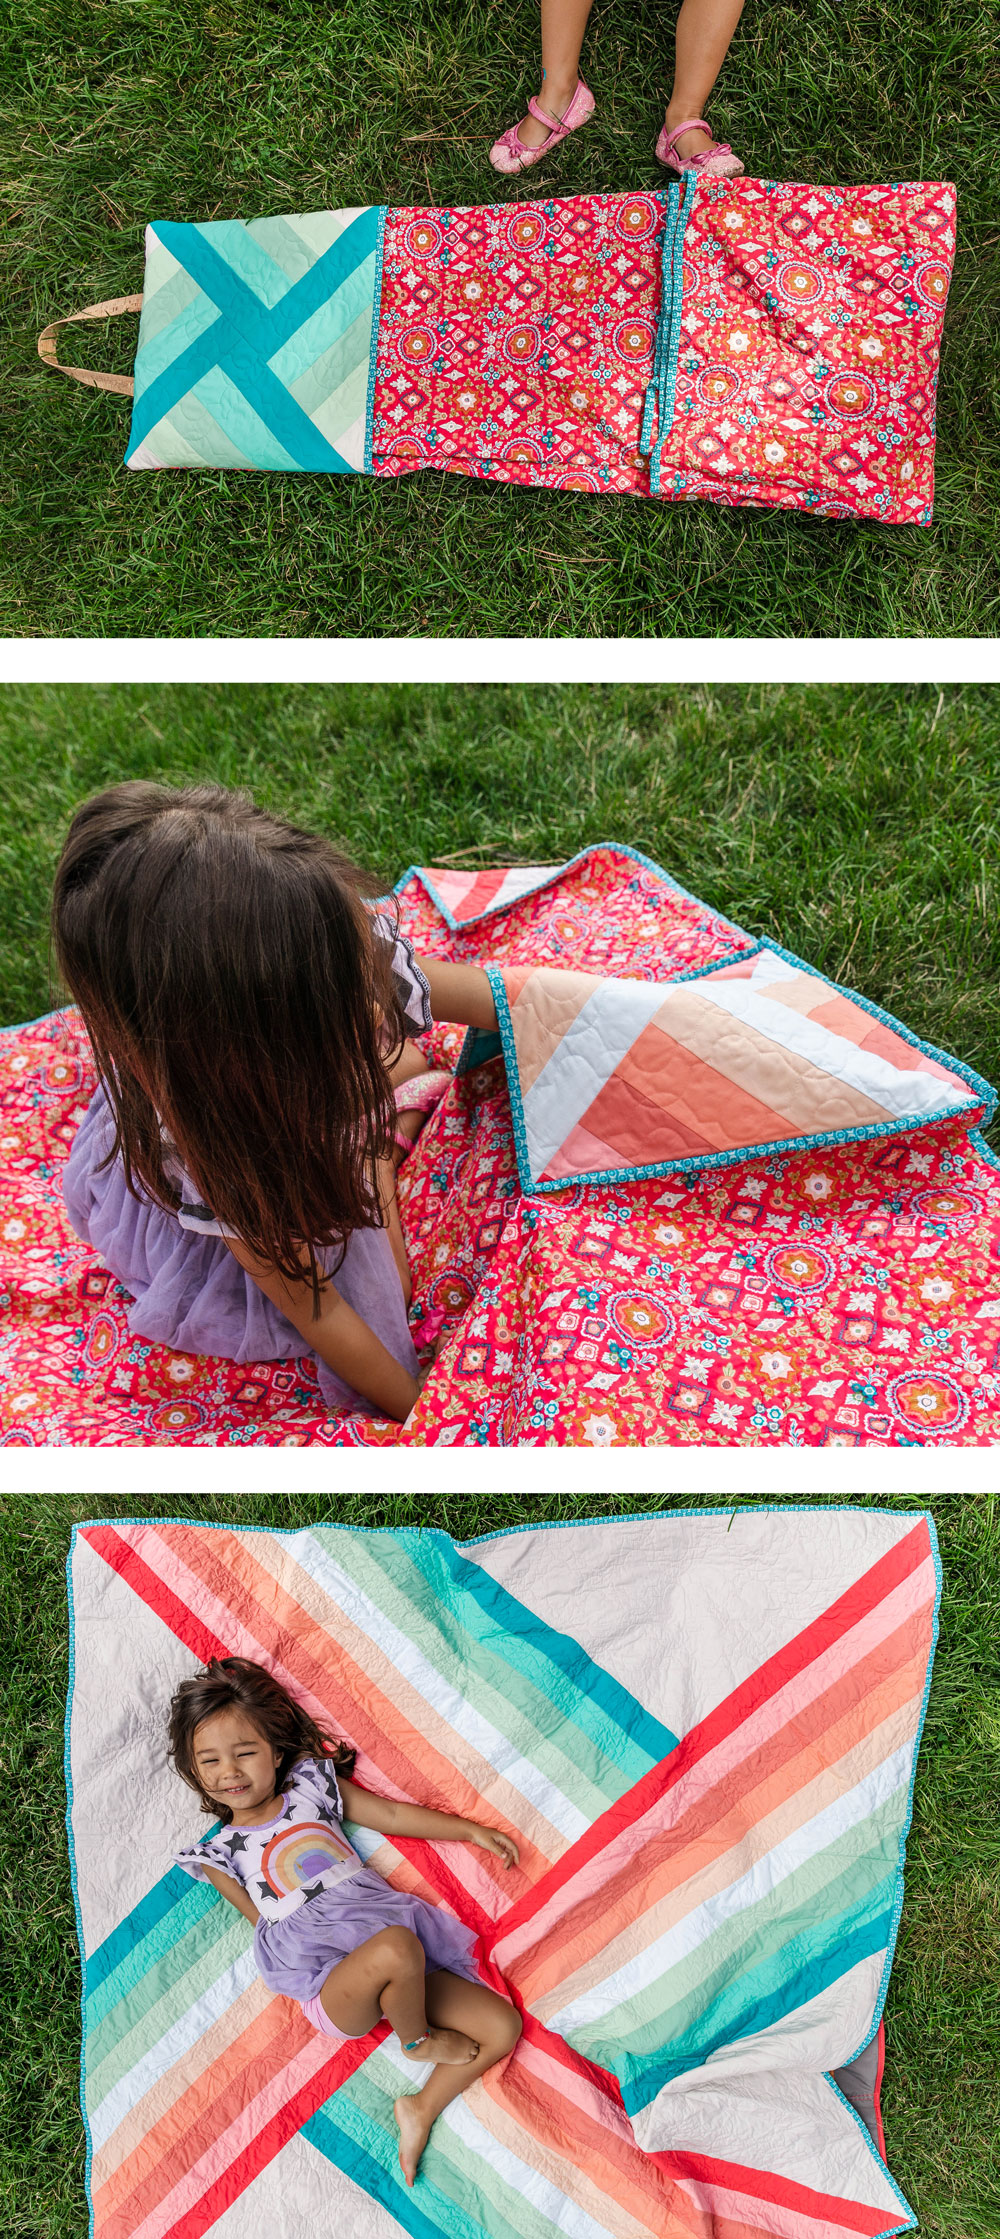
Create a two-in-one blanket and pillow for dorms, kids’ rooms, or RV travel with this clever hybrid design.
Add a Built-In Pocket
Sew a fabric pocket sized approximately 8 by 12 inches from sturdy fabric. Attach it to one corner of your blanket with the opening facing inward. Fold your blanket into thirds, then insert the folded end into the pocket to form a self-contained pillow.
Use heavy-duty thread and double-stitch seams for durability since this item will see regular use. The pocket should be slightly smaller than the folded blanket to ensure a snug fit.
Quillows offer dual function as both blanket and pillow while saving space, making them ideal for small rooms. You can buy them commercially or easily make your own with basic sewing skills.
Choosing the Right Blanket Type
Match your method to your fabric for the best results in both appearance and durability.
Fleece or cotton throws work best for folding or simple sewing because they resist fraying and are easy to handle. Wool or heavy blankets excel with cylindrical or knot rolls since their stiff fabric holds shape well. Furry or pile fabrics are best for sewing only because the texture hides seams, but work in bright light since pins are hard to see. Crochet or knit afghans require sewn pillow construction with edge finishing to prevent unraveling.
Size and Fit Guidelines
Get the proportions right every time with these standardized measurements.
For an 18 by 18 inch insert, cut a 19 by 19 inch cover. For a 24 by 24 inch insert, cut a 25 by 25 inch cover. Always use one-half inch seam allowance per side. Choose an insert one inch smaller than the cover for easier insertion and a softer look.
A standard 50 by 60 inch throw yields two 25 by 30 inch cases perfect for 18 by 18 inch inserts.
Decorative Touches and Styling
Elevate your pillow from functional to fabulous with these creative enhancements.
Add dimensional paint to create dots, swirls, or geometric patterns on sewn cases, letting designs dry overnight before use. Play with texture by pairing nubby knits with smooth inserts or mixing solids and patterns in layered arrangements. Embrace imperfections in handmade afghans since slight irregularities add character in boho or cottage styles.
Troubleshooting Common Issues
Fix problems before they ruin your project with these proven solutions.
If your fabric won’t stay folded, use the pocket tuck method which locks folds in place securely. If the pillow insert feels too tight, switch to an insert one inch smaller than the cover. If edges are unraveling, finish them immediately with a serger, zig-zag stitch, or hand-sewn blanket stitch. If a zipper won’t close, use a standard zipper instead of an invisible one since thick yarns jam delicate zippers. If your sewing machine struggles with bulk, use a walking foot, reduce presser pressure, and sew slowly.
Care and Maintenance Tips
Keep your blanket pillow looking great with proper cleaning and storage practices.
Spot clean whenever possible to preserve the structure. Always remove the insert before washing to prevent clumping. Machine wash cold on gentle cycle only if the fabric allows, then air dry flat to prevent stretching or shrinking. Never hang knitted or crocheted items to dry.
Store your pillow flat or rolled to maintain its shape, avoiding compressed storage which flattens the loft over time.
Frequently Asked Questions About Making a Pillow Out of a Blanket
Can I make a pillow out of any type of blanket?
Yes, but different blanket types work better with different methods. Fleece and cotton are versatile and work with most techniques. Wool holds shape well for rolled styles. Furry fabrics require sewing. Crochet and knit blankets need sewn covers with finished edges to prevent unraveling.
How long does it take to make a pillow from a blanket?
Folding methods take 2 to 5 minutes with no tools required. Sewn pillow covers take 20 to 30 minutes. More complex projects like afghan pillows with zippers take 30 to 45 minutes. The quillow hybrid takes about an hour for DIY construction.
Is the finished pillow washable?
It depends on the method. Folding techniques are not washable since they would come apart. Sewn pillow covers are fully washable, but always remove the insert before washing and follow the fabric’s care instructions. Air drying is recommended for knit and crochet covers.
What size pillow insert should I use?
For a standard 50 by 60 inch throw blanket converted into pillow cases, use 18 by 18 inch inserts. For larger afghan or floor pillows, use 24 by 24 inch inserts. Always choose an insert one inch smaller than your cover for easier insertion and a softer appearance.
Can I use a weighted blanket to make a pillow?
Weighted blankets are typically too heavy and stiff for folding methods. However, you can cut and sew a weighted blanket into a pillow cover if the fabric allows, though the weight may cause stress on seams over time. Consider using a smaller section of the blanket for better durability.
How do I prevent my knot pillow from coming undone?
Tighten the knot firmly after creation and periodically check it during use. For lightweight fabrics, the knot naturally holds well. For heavier fabrics, you might need to secure with a few hidden stitches. Avoid using knot pillows in high-traffic areas where movement causes loosening.
Key Takeaways for Making Pillows from Blankets

Making a pillow out of a blanket offers endless possibilities regardless of your skill level. Folding methods like the simple square fold, structured square, cylindrical bolster, and knot pillow provide quick, reversible solutions perfect for travel, dorm rooms, or temporary décor. These require no tools and can be completed in under five minutes. Sewn methods create permanent, washable pillow covers that transform throws or sentimental afghans into durable home accents. The pocket tuck technique is essential for multiple folding methods and takes just one practice session to master. Always match your blanket type to the appropriate method for the best results, and remember that precision in folding and stitching produces professional-looking finished pieces. Start with what you have, whether it’s a simple fleece throw or a beloved hand-crochet afghan, and create your next cozy accent today.

