
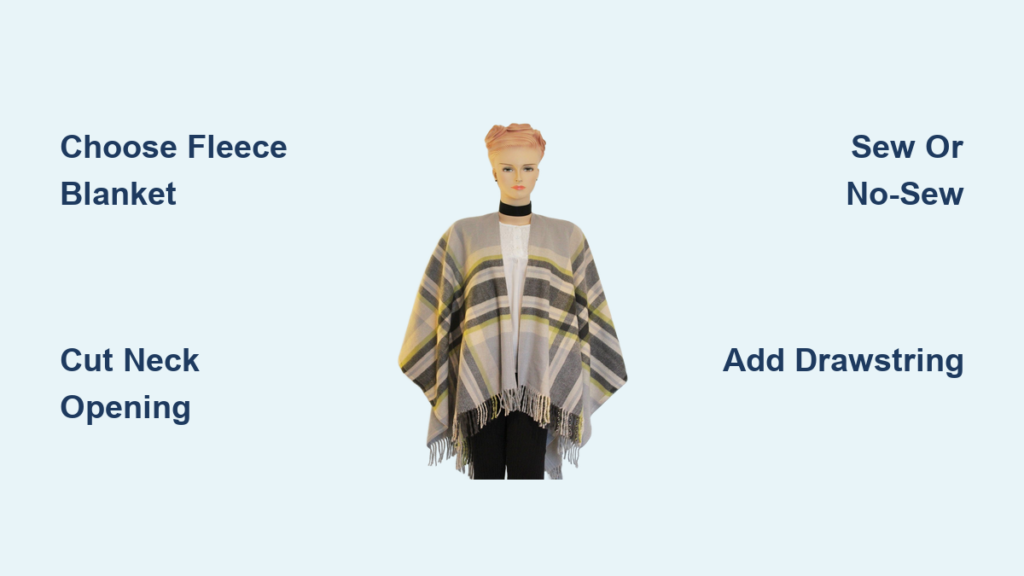
There’s nothing quite like wrapping yourself in warmth and style, especially when you have created it yourself. If you have ever looked at a cozy blanket and thought, “I wish I could wear this,” you are not alone. Making a poncho from a blanket is a simple, satisfying DIY project that transforms soft fabric into a functional, fashionable garment. Whether you are using an old thrifted throw, a plush fleece, or a hand-me-down quilt, turning it into a poncho takes minimal time, tools, and sewing skills. Some versions can be completed in under five minutes with no sewing at all.
This guide walks you through every step: choosing the right blanket, measuring for the perfect fit, cutting the neckline, and finishing with style. You will learn how to create sewn, no-sew, and hooded versions, with tips for adding drawstrings, turtlenecks, pockets, and decorative touches. By the end, you will have a wearable blanket perfect for lounging, camping, traveling, or gifting.
Choose the Right Blanket for Your Poncho
Not every blanket makes a good poncho. Some fray badly, others are too stiff or heavy, and picking the right one ensures comfort, durability, and ease of construction.
Best Fabric Types for Poncho Projects
Fleece is the top choice for beginners. It is soft, warm, and does not fray when cut, meaning you can skip hemming entirely. It drapes well and comes in wide widths, often 60 inches, making it ideal for adult-sized ponchos. Flannel and sherpa are also great for warmth, though flannel may need finished edges to prevent unraveling.
Wool blankets offer excellent insulation for outdoor wear but require more care when sewing due to thickness. Quilted cotton works for lightweight, reversible ponchos but may need zigzag stitching or pinking shears to stop fraying.
For zero-waste crafting, consider repurposed blankets such as old afghans, baby quilts, or thrifted throws. Just ensure the fabric is large enough, minimum 40 inches by 40 inches, and free of stains or thinning areas.
Minimum Dimensions for a Functional Poncho
The size of your blanket directly determines the final fit. Use these guidelines to select the right dimensions for your project.
For children, a 20-inch by 20-inch to 24-inch by 24-inch square works well. For adults, aim for at least 48 inches by 60 inches. For a tall or oversized fit, use 50 inches or more in width and 72 inches or more in length.
If you are purchasing fabric instead of using a pre-made blanket, 1.5 yards of 60-inch-wide fleece is the gold standard for adult ponchos.
Pro Tip: Pre-wash your fabric if mixing materials or planning frequent washing. This prevents shrinkage later.
Cut the Perfect Neck Opening

The neck hole is the most critical cut. It should be large enough to slip over your head comfortably but not so big that it slips off your shoulders.
Mark the Neck Position Correctly
Fold your blanket in half widthwise, forming a rectangle with the top edge doubled. The center fold marks the middle of your back. This is where you will place the neck opening.
Choose Your Preferred Neck Shape
There are several neckline options to consider based on your style preference and skill level.
An oval or circular neck opening measures 7 to 8 inches wide and 3 to 4 inches deep. This is the most common and flattering option for most body types. A square or rectangular neck opening measures 6 inches by 6 inches to 8 inches by 8 inches for a boxy, modern look. A concave curve involves drawing an inward arc from 1.5 inches in from each top corner, creating a soft, draped fit.
Use chalk or a water-soluble pen to draw the shape. Test it first by holding the folded blanket up to your body and checking if the opening clears your head easily.
Warning: Do not cut too small. A 6-inch hole might seem safe, but it can make the poncho hard to put on, especially with thick fabric. Start with 7 to 8 inches wide.
Cut and Finish the Raw Edges
Cut along your marked line with sharp fabric scissors. For fleece or no-fray fabrics, you can leave the edges raw and you are done. For cotton, wool, or flannel, reinforce the edges with one of these methods.
Use a zigzag stitch around the entire edge to prevent unraveling. Use pinking shears to reduce fraying along the cut line. Apply bias tape binding for a polished, professional finish.
Expert Note: Clip small notches into curved seams, especially ovals, so the fabric lies flat when worn.
Create a Sewn Poncho for Durability
A sewn poncho lasts longer, holds its shape better, and allows for custom details like pockets and linings.
Fold and Sew the Side Seams
Lay the blanket flat and fold it in half vertically, so the neck opening is at the top center. Pin or clip the two side edges together.
Sew down both sides using a straight stitch and 3/8-inch seam allowance. Backstitch at the start and end for strength. Stop sewing about 12 to 18 inches from the bottom if you want arm slits for sleeveless movement. For full coverage, sew all the way down to the hem.
Optional: Use a walking foot on your sewing machine to handle thick or stretchy layers without puckering.
Turn Right Side Out and Press
Reach through the neck hole and pull the poncho right side out. Gently push out the corners with a blunt tool like a chopstick. Press the seams flat with an iron. Use low heat and a pressing cloth for synthetic fabrics to avoid melting.
Finish the Neckline Professionally
For a clean, polished look, choose one of these finishing methods.
Fold and stitch by folding the raw edge inward half an inch and topstitching around the neck. Apply bias tape by cutting tape to fit, pinning it to the raw edge, and stitching in place. Fold to the inside and hand-stitch or topstitch for a finished back. Create a faced neckline by using a matching fabric strip to cover the raw edge from behind.
Make a No-Sew Poncho in Minutes
No machine? No problem. The no-sew poncho is perfect for kids, beginners, or last-minute projects.
Create the Drawstring Casing
Fold the top edge of the blanket down 2 to 3 inches to form a tunnel for a cord. This fold acts as a temporary neckline casing.
Secure it with fabric tape hidden inside the fold, or use safety pins placed at intervals, or apply iron-on hem tape for a semi-permanent hold.
Note: This method only works with non-fraying fabrics like fleece or bonded polyester.
Thread the Drawstring for Adjustable Fit
Cut a 72 to 96-inch ribbon, shoelace, or yarn. Attach a safety pin to one end and thread it through the folded casing. Tie the ends together at the back to gather the neckline for a snug fit.
You can adjust the tightness anytime, perfect for different hairstyles or layering.
Bonus: Remove the cord and unfold the top for a loose, open drape. This version is fully reversible and reconfigurable.
Add Fringe or Tassels for Style
Cut half-inch vertical slits along the bottom and side edges, 1 to 2 inches deep. Tie adjacent strips into knots to create fringe or tassels. This adds texture and bohemian flair, ideal for beach cover-ups or festival wear.
Add a Hood for Extra Warmth

A hood turns your poncho into a winter-ready outer layer, great for camping, hiking, or cold mornings.
Draft a Simple Hood Pattern
On paper or directly on fabric, draw a hood shape with these measurements. The front width should be half your neck opening, for example 4 inches for an 8-inch neck. The back height should be 16 to 18 inches from base to crown. The sides should have gentle curves, avoiding sharp angles. Add half-inch seam allowance all around.
Cut and Attach the Hood
Cut two identical hood pieces by placing fabric on fold to get symmetry. Sew the curved back edge, then turn right side out.
Pin the hood to the back neckline, aligning the center seam with the center of the poncho. Sew the raw edges together, then fold the second layer over and stitch in the ditch to hide the seam.
Result: A seamless, professional hood that lies flat and covers your head fully.
Customize Your Poncho With Personal Flair

Make it uniquely yours with functional and decorative upgrades.
Add a Warm Turtleneck
Cut a 4 to 6-inch wide strip from leftover fabric, long enough to match your neck circumference minus 1 inch. Fold it in half lengthwise, sew the ends into a loop, then pin it over the neck opening. Sew around the entire edge to attach.
For extra warmth, double the strip or use sherpa-lined fabric.
Install Handy Pockets
Cut a triangle or rectangle from the same or contrasting fabric. Pin it to the front, 4 to 6 inches below the neckline. Sew around the edges with a quarter-inch seam, leaving the top open. Reinforce corners with bar tacks.
Pro Tip: Use patch pockets for a casual look or inset pockets for a sleeker finish.
Attach a Belt or Sash
Cut a 2-inch by 36-inch fabric strip or use ribbon. Sew belt loops at the side seams, or tie the sash directly around the waist to define your silhouette.
Add D-rings for adjustable cinching, perfect for windy days.
Choose Closure Options for Better Fit
Keep the front closed in cold weather with simple, functional closures.
Add Buttons or Snaps
Sew a button on one front flap. For fleece, push it through a small slit, no buttonhole needed. On woven fabrics, stitch a proper buttonhole. Use large, decorative buttons for visual impact.
Use Toggles or Magnetic Snaps
Leather toggles or magnetic closures are stylish and easy to use. Attach with strong thread or rivets for durability.
Create Tie Cords
Sew small fabric loops at the front corners. Thread cords through for a cardigan-style closure, ideal for nursing covers or pet carriers.
Care and Longevity Tips for Your Poncho
Keep your poncho looking great with proper maintenance.
Follow Correct Washing Instructions
Machine wash cold with mild detergent. Avoid bleach or fabric softener, as they degrade fibers. Tumble dry low or air dry, especially for fleece and wool.
Warning: High heat can melt synthetic fibers or shrink wool.
Store and Repair Properly
Fold or roll the poncho for storage. Do not hang it long-term as this can stretch the shoulders. Store in a dry place and use cedar blocks for wool to deter moths.
Re-stitch loose seams immediately. Replace worn drawstrings or buttons as needed. With proper care, a fleece poncho can last 3 to 5 years of regular use.
Sewn vs. No-Sew: Which Method Is Right for You
| Feature | Sewn Poncho | No-Sew Poncho |
|---|---|---|
| Durability | High | Low to moderate |
| Time Required | 30 to 60 minutes | 1 to 10 minutes |
| Tools Needed | Sewing machine or needle | Scissors, tape, cord |
| Best For | Gifts, long-term wear | Kids, quick projects, travel |
| Adjustability | Fixed fit unless drawstring added | Highly adjustable |
Final Advice: Try the no-sew version first to test fit and design. Then make a sewn one if you love it.
Frequently Asked Questions About Making a Poncho from a Blanket
What is the best fabric to use for a no-sew poncho?
Fleece is the best fabric for no-sew ponchos because it does not fray when cut. This eliminates the need for hemming or finishing edges. Other good options include bonded polyester and sherpa, as these materials hold up well without stitching.
How do I determine the correct neck opening size?
The neck opening should measure 7 to 8 inches wide for most adults. This size allows the poncho to slip over your head easily while staying secure on your shoulders. For children, reduce the opening to 5 to 6 inches. When in doubt, cut larger first, as you can always trim more fabric.
Can I make a poncho from a blanket without any sewing?
Yes, you can create a fully functional no-sew poncho using fleece or another non-fraying fabric. Simply fold the top edge to create a casing, secure it with tape or safety pins, and thread a drawstring through. This method takes 1 to 10 minutes and requires only scissors and a cord.
How do I prevent the fabric from fraying after cutting?
For fabrics that fray like cotton or flannel, use pinking shears to reduce unraveling, apply a zigzag stitch along the edges, or bind the edges with bias tape. Fleece and synthetic blends do not require this step.
What size blanket do I need for an adult poncho?
A blanket measuring at least 48 inches by 60 inches works well for most adults. If you are taller or prefer an oversized fit, use 50 inches or more in width and 72 inches or more in length. For children, a 20-inch by 20-inch to 24-inch by 24-inch square is sufficient.
Final Thoughts on Making a Poncho from a Blanket
A poncho made from a blanket is more than a garment. It is a wearable hug, a statement of creativity, and a testament to sustainable style. With the right fabric, a few simple cuts, and maybe a few stitches, you have a versatile piece that keeps you warm, comfortable, and uniquely you.
The key to success is starting with the right materials. Choose fleece or another non-fraying fabric for the easiest experience, and always cut the neck opening slightly larger than you think you need. Test the fit before committing to any finishing method, and do not be afraid to experiment with customization options like pockets, hoods, or decorative trim.
Whether you are crafting for fun, function, or fashion, this project proves that sometimes the coziest things in life are the ones you make yourself. Grab that unused blanket and transform it into your next favorite cozy layer today.

