
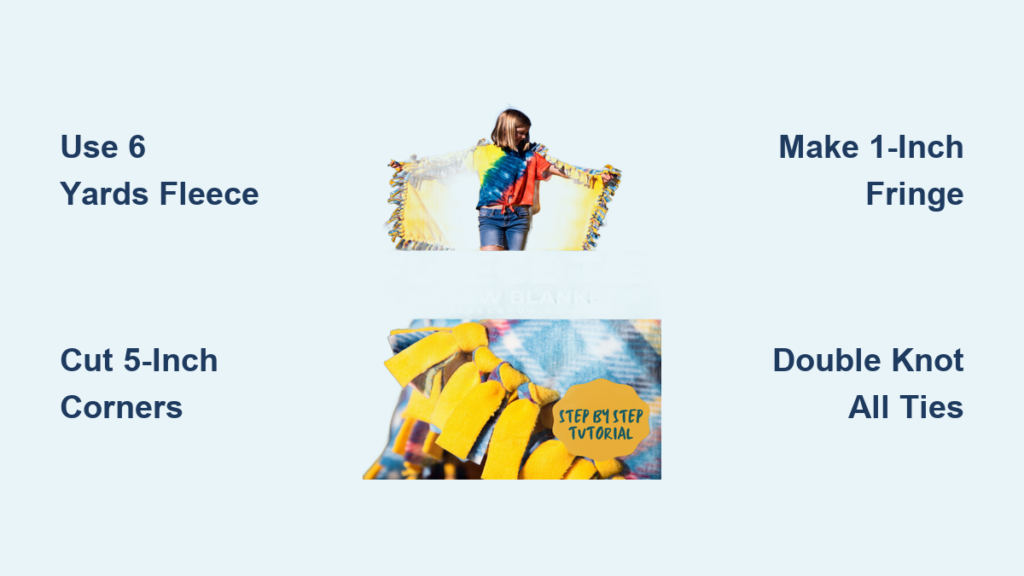
Nothing beats the cozy comfort of a soft, handmade tie blanket, especially when it drapes perfectly over a queen bed or wraps two people in warmth on the couch. If you’ve ever wondered how to make a queen size tie blanket, this beginner-friendly guide walks you through every step. Using just two layers of fleece, sharp scissors, and basic supplies, you can create a durable, washable blanket in under three hours without any sewing experience.
In this complete tutorial, you’ll learn exactly how much fabric to buy, the proper fringe dimensions for full coverage, and pro techniques to avoid common mistakes. Whether you’re making a gift for a loved one, a cozy throw for your own home, or a donation blanket for charity, this step-by-step walkthrough ensures your finished blanket measures at least 60″ × 80″ with soft, secure knots that last for years.
Choose the Right Fleece Fabric for Your Blanket
Select the Best Fleece Type
Not all fleece works equally well for tie blankets. Polar fleece and anti-pill fleece are the top choices because they stay soft, resist fraying when cut, and hold up beautifully after washing. Anti-pill fleece specifically prevents those annoying little balls from forming on the surface over time, making it ideal for blankets that get regular use.
Avoid thick sherpa, plush, or super-textured fleece varieties. These bulk up too much at the knots, making them difficult to tie and uncomfortable to lie on. Budget-friendly blizzard fleece works well if you prefer a nubby texture, just make sure the nubby side faces outward as the right side.
Premium options like Cuddle fabric (Minky) offer luxurious softness but cost more at $10-12 per yard. For a queen size project using 6 yards total, expect to spend $30-72 on fabric depending on quality.
Calculate How Much Fleece You Need
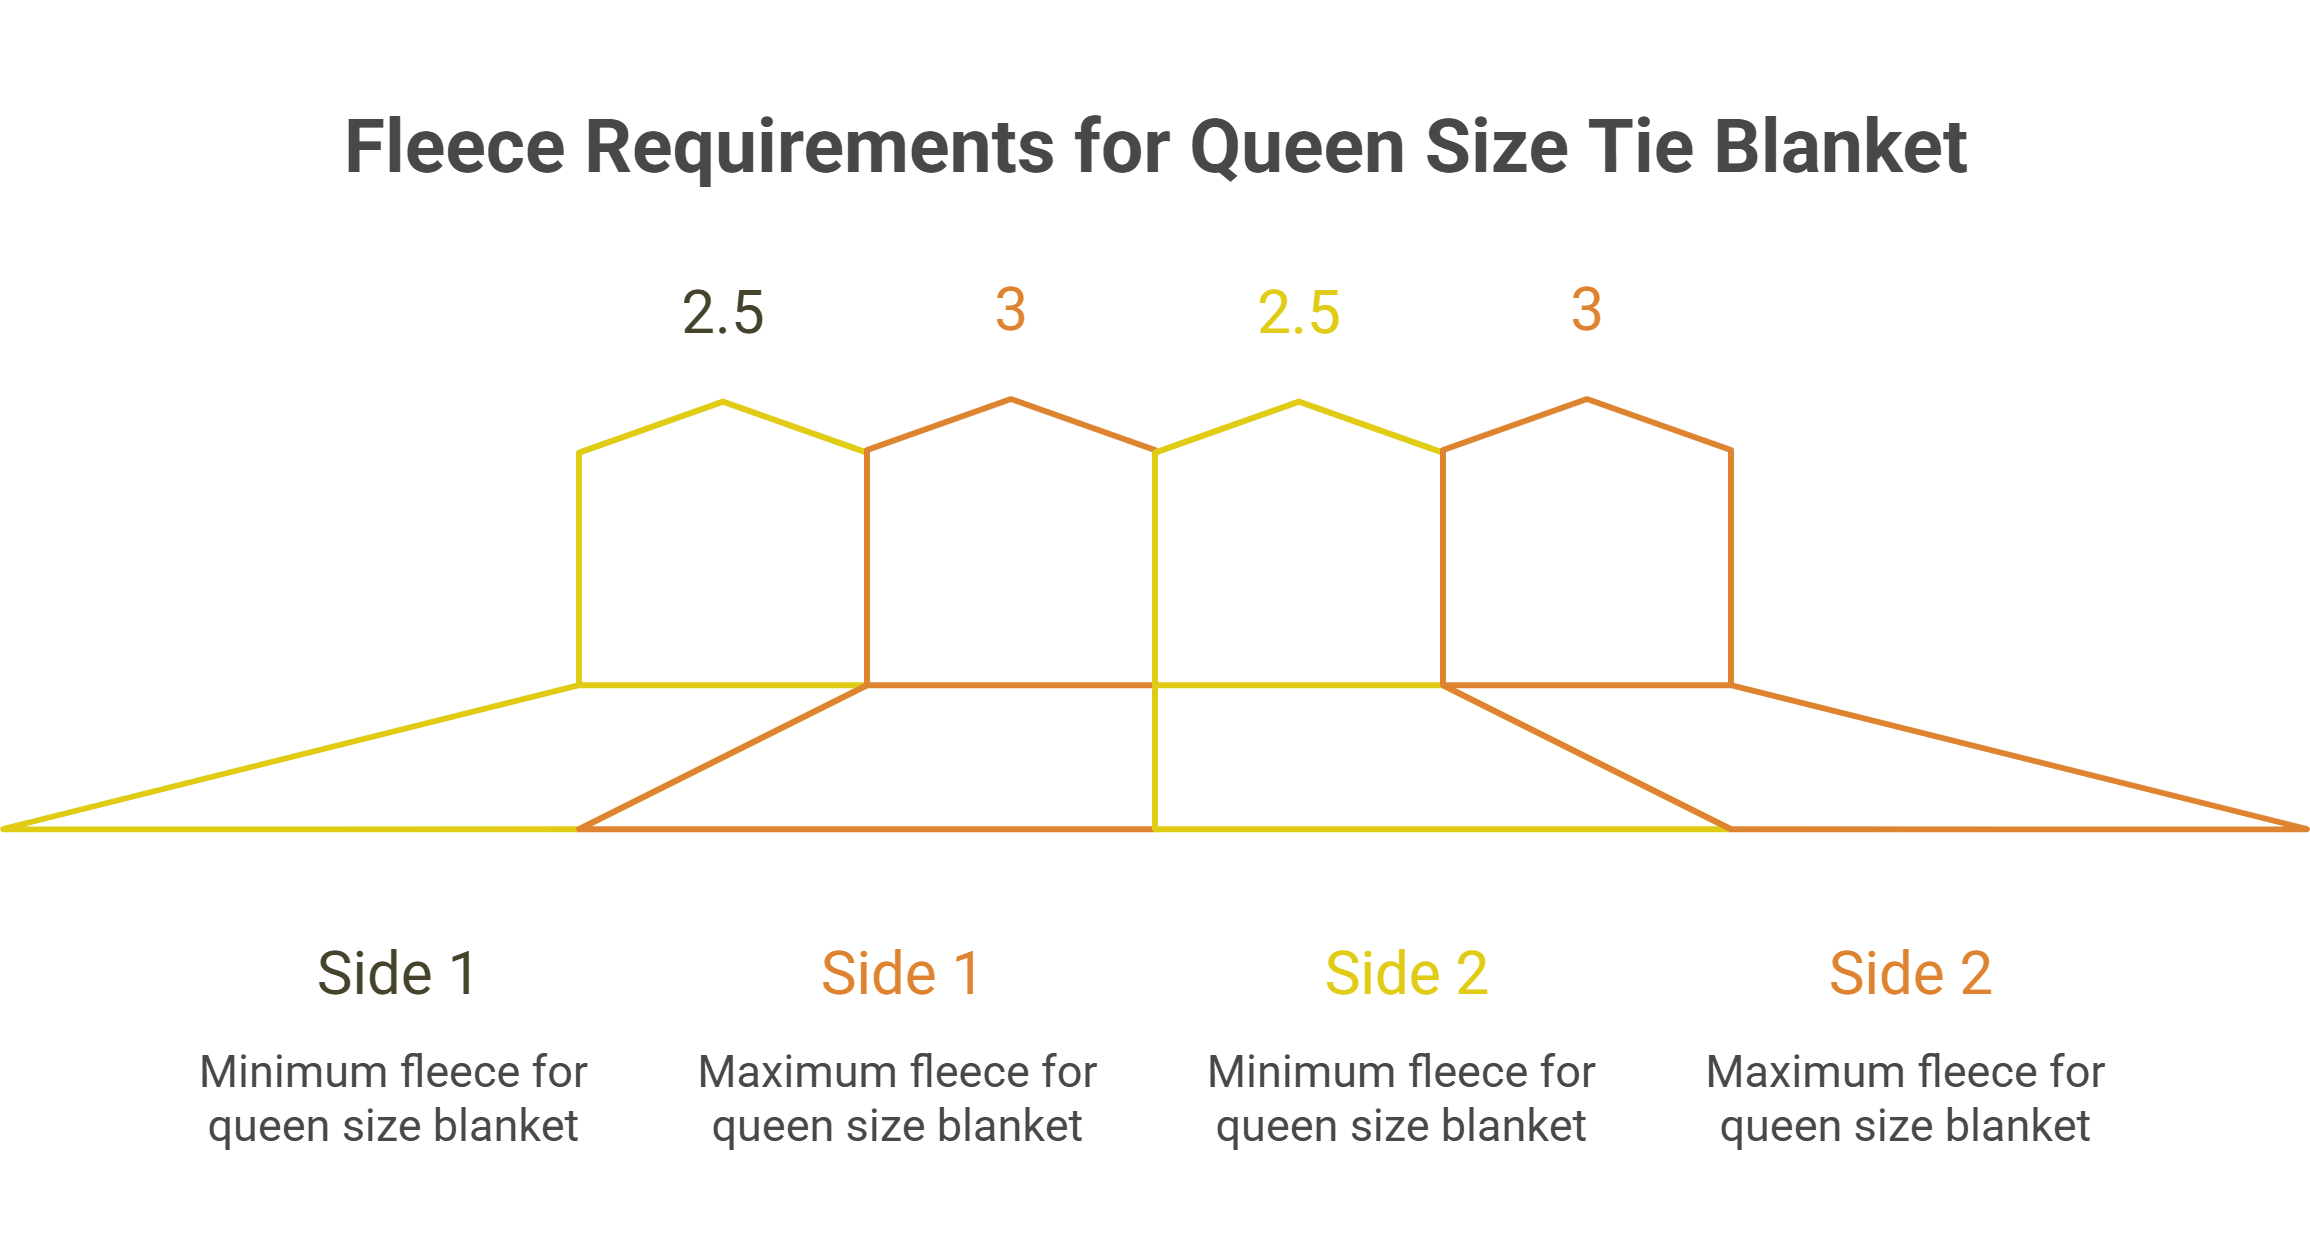
Getting the fabric amount right is crucial for achieving true queen size coverage. Standard fleece comes 58-60 inches wide, and you need 3 yards per layer to reach approximately 108 inches in length. After tying pulls the edges inward by about 10-12 inches total, your finished blanket will be around 60″ × 96″, perfect for draping over a queen mattress with nice overhang on all sides.
The math is simple: buy 2 pieces of 3-yard fleece, totaling 6 yards for the entire project. Using only 2 yards per layer (4 yards total) leaves you with a finished size around 72 inches long, which falls short of proper queen coverage. Don’t skimp on fabric if you want full bed coverage.
Pick Coordinating Colors and Patterns
Choose two complementary fabrics that create visual interest when tied together. A solid color paired with a fun print (think gray with dinosaur pattern or navy with stars) offers nice contrast. Matching ombre shades create a gradient effect, while holiday-themed combinations work perfectly for seasonal gifts.
Place your two layers with right sides facing outward during construction, meaning the pattern-visible sides are what you’ll see when the blanket is finished. The wrong sides will touch each other in the middle.
Prepare Your Workspace and Cutting Tools
Gather Essential Supplies
Having the right tools makes this project much easier and produces cleaner results. You’ll need sharp fabric scissors for cutting through both layers cleanly, though a rotary cutter with a self-healing mat and acrylic ruler speeds up the process significantly. A measuring tape or yardstick helps verify dimensions, while washable fabric markers or masking tape mark your cut lines.
A cardboard template sized 1″ × 5″ creates perfectly uniform fringe strips if you want consistent results. Fabric clips or pins hold layers together if they shift during cutting, though working on a non-slip surface like a carpeted floor helps prevent this naturally.
Budget for these one-time tool costs: scissors ($10-25), rotary cutter ($15-25), cutting mat ($20-40), and ruler ($10-20). These tools last for many projects, making future blankets even cheaper to create.
Set Up a Stable Cutting Area
Lay both fabric pieces on a clean, flat surface large enough to accommodate the full 60″ × 108″ rectangle. A hardwood floor works well, or use a large table with a cutting mat on top. Avoid uneven or soft surfaces that cause the layers to shift while cutting.
Smooth out any wrinkles or bubbles before proceeding, as these misalign the layers and create uneven edges. Having a helper hold one side while you align the other makes this much easier.
Cut and Prepare the Fabric Layers
Trim Away Selvage Edges and Square Up
Fleece has tight, finished edges called selvages that can curl or pucker if left on. Cut these off first to ensure smooth, even edges around your entire blanket. Then use your ruler and cutting tools to trim all four sides perfectly straight, cutting through both layers simultaneously to maintain alignment.
The goal is a clean 60″ × 108″ rectangle. Measure diagonally from corner to corner to check for skewing. Both diagonal measurements should be equal. If they differ, your rectangle is trapezoidal and needs additional trimming until perfectly square.
Remove Corner Squares for Neat Edges
Before cutting fringe, remove bulk from each corner by cutting out a 5″ × 5″ square. Measure 5 inches along both edges from each corner, mark the square, and cut it out through both layers. This step prevents thick, lumpy corners after tying and creates a much more professional finish.
The rule is simple: corner square size equals your fringe depth. If you prefer 4″ fringe, cut 4″ squares. For 6″ fringe (less common), cut 6″ squares. Five-inch squares with five-inch fringe work best for queen size blankets.
Cut Uniform Fringe Strips
Mark and Cut Even Fringe Lines
Now create the fringe that you’ll tie together. Standard specifications call for 1″ spacing between cuts and 5″ depth from the edge toward the center. This creates strips wide enough to tie easily but narrow enough to look neat.
Use your template or mark dots every 1 inch along the edge, then draw a line 5″ from the edge to cut up to. Work clockwise around the entire blanket, cutting through both layers at once. Keep cuts straight and perpendicular to the edge, never diagonal.
The narrower your spacing, the more knots and more durable the blanket. Three-quarter inch spacing is harder to tie but creates a denser finished product. One and a half inch spacing makes a bolder look but uses less fabric and creates more gaps.
Avoid Common Cutting Mistakes
Always cut straight and perpendicular, never at an angle. Use sharp tools throughout dull blades cause jagged, uneven edges that look messy when tied. Cut both layers together to ensure perfect alignment, and count your strips as you go to avoid accidentally skipping any.
Tie the Fringe Securely
Master the Double Knot Technique
The double knot (also called a square knot) provides the most secure hold. Take one fringe strip from the top layer and one from the bottom layer, bring them together, and tie a simple overhand knot. Follow with a second knot exactly like tying a shoelace, then pull tightly and slide the knot right down to the fabric edge.
This double knot prevents unraveling even after many washes. Single knots come loose over time, especially at high-stress areas like corners. Always double knot every fringe, and consider using an extra knot at corners and the center of the blanket where stress concentrates.
Try the Twist-and-Pull Method for Neater Knots
For a flatter, more professional-looking knot, try the twist-and-pull technique. Hold both strips together, twist once, then loop the twisted end back through itself like tying a shoe. Pull tight for a compact knot with less bulk.
This method creates a cleaner appearance preferred by experienced crafters, though the double knot is easier for beginners and children. Many crafters use double knots for durability in high-stress areas and twist-and-pull for the rest.
Follow Best Practices for Strong Results
Work one side at a time, moving clockwise around the blanket. Never skip any strips, as gaps weaken the structure and look uneven. Pull every knot tight and slide it close to the edge for a uniform appearance.
Enlist help if possible this project is wonderful for kids to assist with, and having an extra pair of hands speeds up the tying significantly. Consider alternating color tying for a unique visual effect: tie every other fringe, flip the blanket, then tie the remaining ones.
Alternative Method: Side-by-Side Strip Construction
Build a Lightweight Single-Layer Blanket
If you want a lighter, more breathable blanket or want to avoid bulk, try the side-by-side strip method. Cut each 3-yard piece of fleece in half lengthwise, giving you four strips approximately 18-20 inches wide by 108 inches long.
Arrange these strips side-by-side in your desired pattern (solid-print-solid-print, for example), aligning one end evenly and trimming the other to match. Cut 1″ fringe along the long edges of each strip, then tie corresponding edges together using double knots across the entire length.
This creates a 60-70 inch wide by 96 inch long single-layer blanket, perfect for draping and sharing. It takes roughly one hour to complete and requires only scissors.
Finish and Care for Your Blanket
Final Touches Before Use
After tying all the fringe, give your blanket a good shake and fluff to loosen any fibers and distribute the knots evenly. Inspect closely for any missed strips or loose knots, retying as needed. Trim any particularly uneven fringe if necessary, though this is rare with proper template use.
Your blanket is now ready to use. The front shows neat, coordinated knots while the back reveals subtle contrast between the two fabric layers. The edges feature soft, secure fringe with no raw or unfinished appearance.
Wash and Maintain Properly
Fleece doesn’t shrink, so no pre-washing is needed. Machine wash in cold water on gentle cycle with minimal detergent. Skip the bleach and fabric softener, as these damage fleece fibers over time. Tumble dry on low heat or air dry, as high heat can melt or pill the fleece.
Store your blanket folded or laid flat rather than hanging, which stretches the knotted edges. With anti-pill fleece and proper care, your blanket lasts 2-5 years or longer.
Avoid Common Tie Blanket Mistakes
| Issue | Prevention |
|---|---|
| Uneven edges | Cut both layers together; verify diagonal measurements |
| Hard to tie | Use thin-to-medium fleece; avoid sherpa or plush |
| Loose knots | Always double knot; pull tight and slide to base |
| Gaps in fringe | Keep spacing at 1″ or less; count strips as you go |
| Pilling after washing | Choose anti-pill fleece; wash gently |
| Curling fabric | Iron lightly on low heat with cloth barrier |
| Knots coming undone | Double knot especially at corners and center |
Reinforce the center and corners specifically, as these areas endure the most stress from regular use and washing.
Customize Your Queen Size Tie Blanket
Popular Design Ideas
Themed blankets make wonderful gifts for specific recipients. Consider holiday colors (red and white for Christmas), sports team patterns, animal prints for kids, or gender-reveal colors for baby showers. Gradient effects work beautifully using ombre or light-to-dark pairings.
Personalize further with iron-on letters, patches, or appliques after construction. These additions transform a simple craft project into a cherished, meaningful gift.
Scale to Other Sizes
The same techniques work for any size blanket. Use 1 yard per layer for baby size (36″ × 36″), 1.5 yards for child (54″ × 54″), 2 yards for throw (72″ × 72″), and 3.5-4 yards for king size (70″ × 100″ or larger). Simply adjust fabric quantity while following all other steps.
Frequently Asked Questions About Queen Size Tie Blankets
How much fabric do I need for a queen size tie blanket?
You need 6 yards total: 2 pieces of 3-yard fleece, each 60 inches wide. This gives you a finished size of approximately 60″ × 96″ after tying, which provides full coverage over a queen mattress with comfortable overhang.
What is the best fleece for tie blankets?
Anti-pill fleece offers the best durability, resisting those annoying little balls that form on inferior fleece after washing. Polar fleece is the most common choice, widely available and affordable. For a premium result, Cuddle (Minky) fabric provides luxurious softness but costs more.
How long does it take to make a queen size tie blanket?
Most people complete a queen size tie blanket in 1.5 to 3 hours. The cutting phase takes 30-60 minutes, and tying takes 60-120 minutes. Experience, proper tools (rotary cutter versus scissors), and whether you have help all affect the timeline.
Do I need to sew a tie blanket?
No, tie blankets require zero sewing. The fringe tying method holds both fabric layers together securely. This makes the project perfect for beginners, children, and anyone without sewing experience.
How do I keep tie blanket knots from coming loose?
Always use double knots and pull them tight, sliding each knot right down to the fabric edge. Reinforce corners and the center with extra knots, as these areas experience the most stress. Using the double knot method prevents unraveling even after many washes.
Key Takeaways for Making Your Queen Size Tie Blanket
Creating a beautiful, durable queen size tie blanket comes down to three essential steps. First, invest in quality anti-pill or polar fleece and buy the correct amount: 6 yards total (3 yards per layer) ensures proper coverage after tying pulls the edges inward. Second, cut precisely by removing selvage edges, squaring up the rectangle, cutting corner squares, and creating uniform 1″ spaced, 5″ deep fringe. Third, tie securely using double knots at every fringe, pulling tight and sliding each knot to the base.
Your finished blanket should measure at least 60″ × 80″ and provide years of cozy comfort with proper care. This project costs significantly less than store-bought alternatives (typically $50-100 versus $70-120), lets you customize every detail, and makes a thoughtful handmade gift or charitable donation. Start with your two favorite coordinating fabrics, set aside a few hours, and enjoy the satisfaction of creating something warm and lasting with your own hands.

