
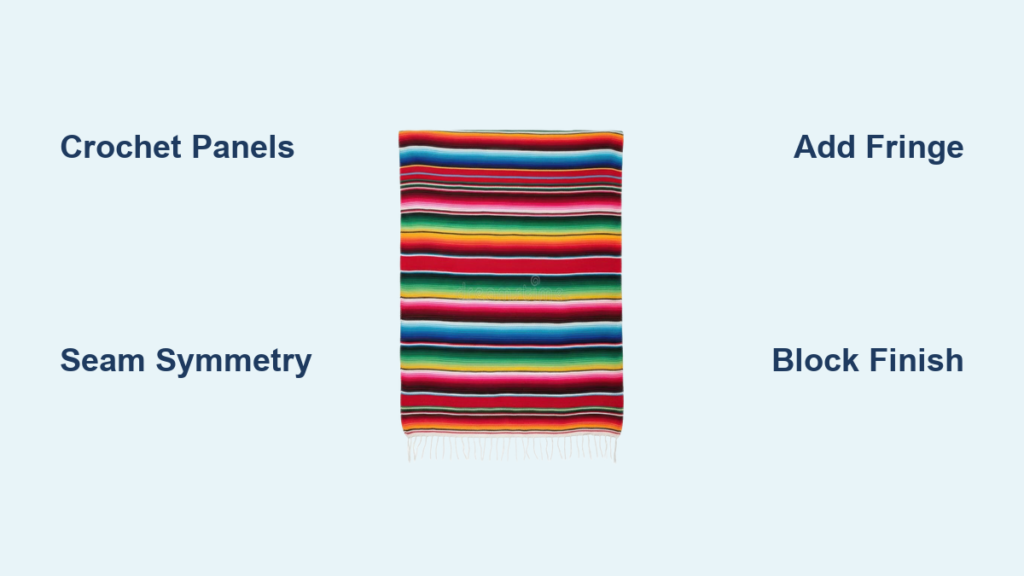
You’ve seen the bold stripes, vibrant colors, and fringed edges of a traditional serape blanket draping over a chair or adding cultural flair to a room. Now you want to make one yourself. Whether you’re a crocheter, knitter, weaver, or craft enthusiast, making a serape blanket is more accessible than you think. This guide walks you through every method, from beginner-friendly paper crafts to authentic loom weaving, so you can create a piece that reflects both skill and style.
The serape is a Mexican textile known for its mirrored geometric patterns, high-contrast colors, and fringed ends. Originally worn as a poncho or saddle blanket, it has become a beloved home decor and fashion item. You do not need to be an expert to make one. With the right materials and method, you can craft a serape that captures its vibrant spirit, whether full-sized, miniature, or purely decorative.
Choose Your Serape Method Based on Skill Level
Best Techniques for Each Experience Level
Not every serape is made the same. Your best approach depends on your tools, time, and experience. Here is what fits your level.
For beginners, try the paper serape or miniature one twenty-fourth scale model. Intermediate crafters can go for crocheted panels or knit throws. Advanced artisans can use traditional loom weaving. DIY decorators can repurpose pre-made serape fabric.
Each method delivers authentic visual impact, just with different tools and timelines.
Compare Time and Skill Requirements
| Method | Best For | Time | Skill Level |
|---|---|---|---|
| Crocheted Panels | Symmetry, texture | 15 to 25 hours | Intermediate |
| Crochet plus Weave | Reversible design | 10 to 15 hours | Intermediate |
| Hand Knitting | Full-sized throws | 20 plus hours | Intermediate |
| Loom Weaving | Authentic look | Weeks | Advanced |
| Miniature Model | Dioramas, gifts | 1 to 2 hours | Beginner |
| Paper Craft | Kids, classrooms | 30 minutes | Beginner |
Pick based on your goal: wearable warmth, home decor, or cultural display.
Gather Materials and Choose the Right Yarn

Fiber Types for Your Serape Project
Your yarn choice shapes the blanket’s feel, durability, and look. Wool provides warmth and a rustic, traditional feel. Cotton is lightweight and breathable. Acrylic blends offer softness, washability, and budget-friendly options. Embroidery floss works perfectly for tiny models.
For most modern serapes, super bulky yarn weight six works best, especially Lion Brand Wool Ease Thick and Quick. It is eighty percent acrylic and twenty percent wool, machine washable, soft, and holds color well.
Authentic Color Palettes for Serape Stripes
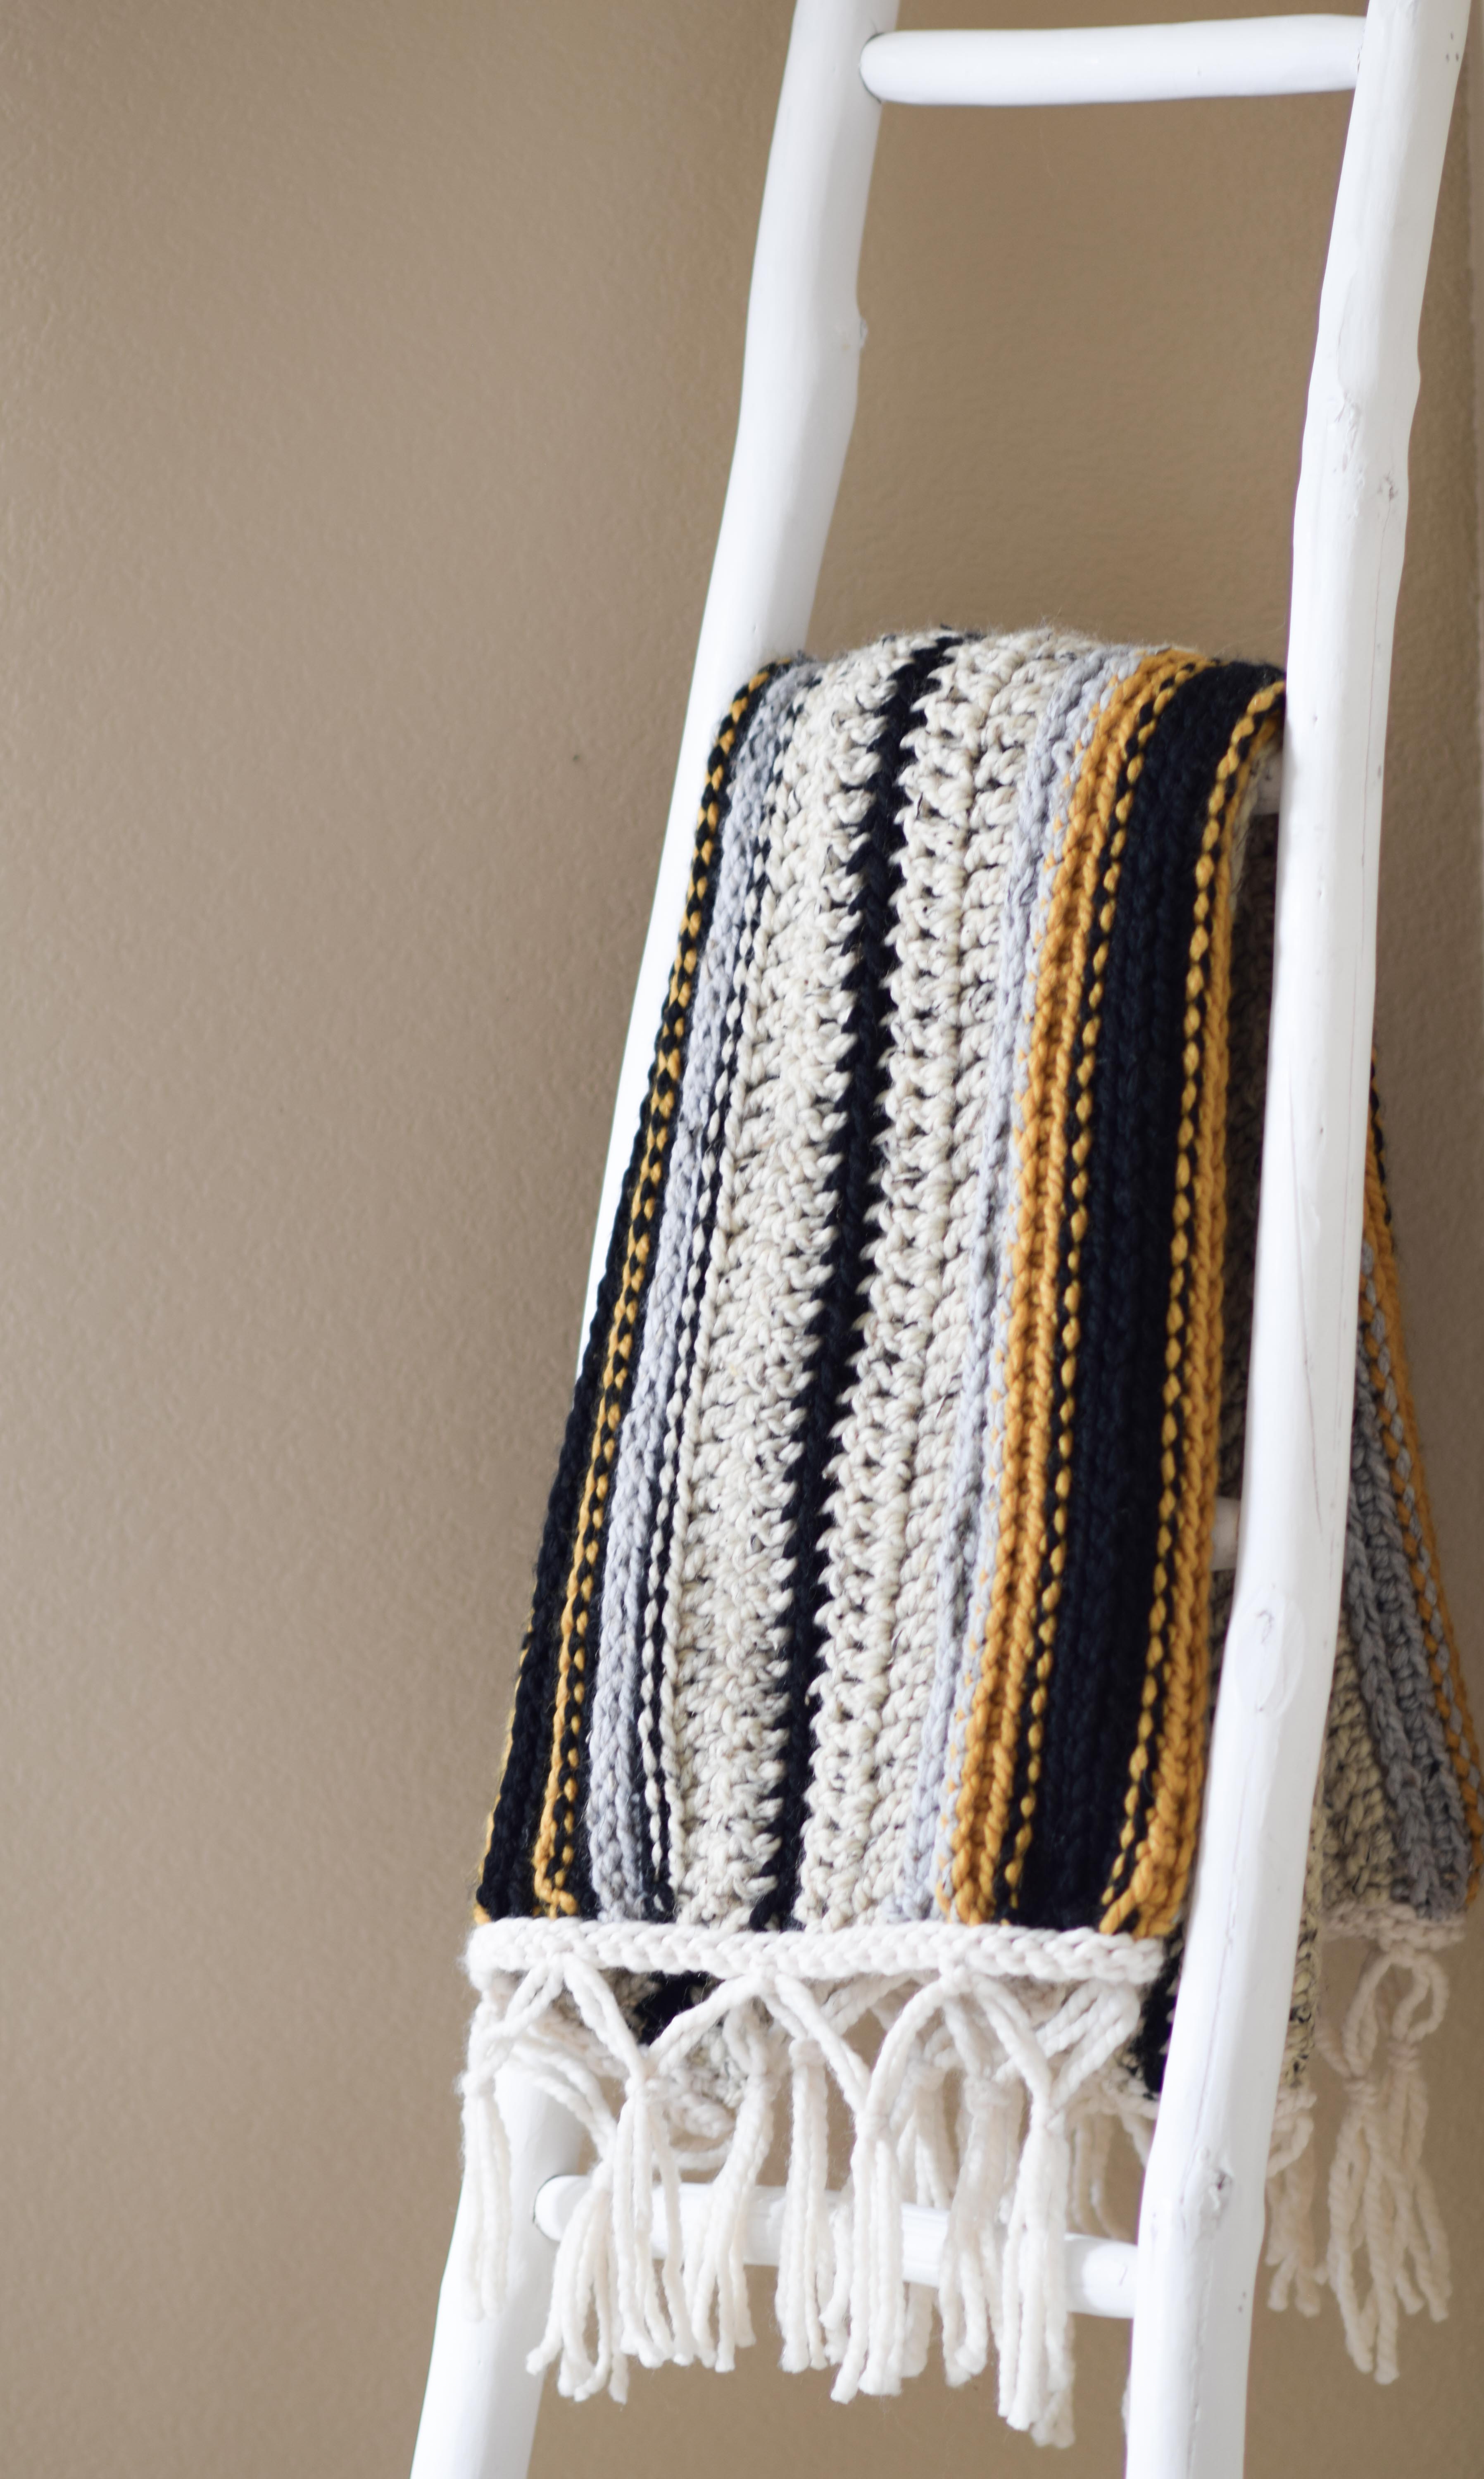
Traditional serapes use bold contrasts. Try this palette: black, oatmeal or cream, mustard yellow, grey marble, and fisherman off-white. For a boho twist, add earth tones like rust, sage, or terracotta.
For the crocheted version, you will need approximately one thousand seventy-one grams total. This includes two skeins black, three skeins oatmeal, one skein mustard, one skein fisherman, and one skein grey marble.
Crochet a Serape in Panels
Why Panel Construction Creates Perfect Symmetry
Crocheting in six separate panels ensures perfect stripe symmetry when seamed. This method mirrors traditional weaving and avoids misaligned color blocks. You will make four of Panel number one with oatmeal base, and two of Panel number two with grey marble center.
Each panel is seventy-one stitches wide and built using front loop only and back loop only techniques for ribbed texture.
Hook Sizes That Affect Your Finished Blanket
Using the correct hook sizes matters for drape and texture. Use US size N ten point zero millimeter for main work including dc, sc, blo, and flo. Use US size P eleven point five millimeter for slip stitch rows to prevent tightness and improve drape.
The larger hook for slip stitches keeps the fabric flexible and even.
Panel Number One Pattern Instructions
Hook size N ten point zero millimeter. Foundation chain: chain seventy-three.
Row one, right side: Double crochet in third chain from hook, dc in each chain. Row two: Chain three counts as dc, turn, dc in each stitch. Row three, change to black: Chain one, turn, sc flo in each stitch. Row four, change to oatmeal: Chain three, turn, dc flo in each stitch. Row five: Chain three, turn, dc in each stitch including turning chain. Row six, change to black: Chain one, turn, sl st flo using P hook. Row seven, change to grey: Chain one, turn, sc blo using N hook. Row eight: Chain one, turn, sl st flo using P hook. Row nine, change to black: Chain one, turn, sc blo. Row ten, change to mustard: Chain one, turn, sl st blo using P hook. Row eleven, change to black: Chain one, turn, sc blo.
Tie off and weave in ends. Repeat three more times to make four panels total.
Note that slight curling is normal. It evens out when you seam the panels together.
Panel Number Two Pattern Instructions
Hook size N ten point zero millimeter. Foundation chain: chain seventy-two.
Row one: Single crochet in each chain. Row two, change to mustard: Chain one, turn, sl st flo using P hook. Row three: Chain one, turn, sc blo. Row four, change to black: Chain one, turn, sl st flo using P hook. Row five: Chain one, turn, sc flo.
Tie off and weave in ends. Repeat once to make two panels.
Seam Panels for Perfect Stripe Alignment
Join Outer Panels Correctly
Seaming creates the mirrored serape effect. Always match black stripes at the center.
Join two Panel number ones side by side, right sides up. Align black stripes at center. Use black yarn and flat slip stitch seam. Repeat with remaining two panels. Now you have two large outer sections.
Next, join the two grey panels together. Match black stripe at center. Seam with black yarn using flat slip stitch.
For final assembly, lay central panel flat. Attach one large Panel number one to left using grey yarn. Attach the other to right. Seam all with flat slip stitch for invisible join.
Pro tip: Pin pieces first. Check alignment before stitching.
Add Border and Finish Your Blanket
Apply the Fisherman Yarn Border
A border frames the blanket and hides seam lines. Attach fisherman yarn at a corner. Slip stitch evenly along one edge. Chain one, turn. Work back through back loop only across same edge. Tie off and weave in ends.
Repeat on all four sides for full coverage.
After bordering, block the blanket. Lay flat, dampen lightly, shape gently, and let dry. This relaxes fibers and evens the drape.
Create Authentic Fringe
Attach Tassels to Short Ends
Fringe gives the serape its signature look. Use fisherman yarn. Cut sixteen inch strands. Folded in half, this creates eight inch tassels. You need ten tassels per short end, twenty total for both ends.
Fold two sixteen inch strands in half. Use a crochet hook to pull loop through edge. Thread ends through loop and tighten using lark head knot. Space evenly, about three inches apart.
For macrame style knotting, divide tassel into four equal strands. Take two right strands and tie them around the two left. Pull tight near base. Trim bottom evenly.
This knot keeps fringe neat and full. Alternatively, skip knotting and just trim straight for a simple finish.
Try the Crochet Plus Weave Hybrid Method
Weave an Aztec Design Through Crochet Base
Want a reversible serape with woven texture? Combine a crochet base and hand weaving.
Crochet a solid sc panel in neutral such as white or oatmeal. Size should be approximately forty-seven by seventy-one inches. This grid becomes your weaving canvas.
Use a tapestry needle and Bernat Softy Chunky yarn. Start on row eight, skip first seven rows. Begin at bottom-left corner. Weave rightward through gaps between sc stitches. Use under-and-over tabby weave. Follow a pattern alternating colors in stepped or diamond shapes.
Pro tip: Keep tension even. Pull too tight and the fabric puckers.
After four to five rows, the design emerges clearly. Flip to check reverse side. It should look clean.
Why not cross-stitch? It leaves a messy back. Weaving lies flat and is reversible.
Knit a Full-Sized Serape Throw
Use a Written Knitting Pattern
For experienced knitters, a forty-seven by seventy-one inch knitted serape offers warmth and authenticity. Use a digital PDF pattern with written instructions and color change guidance.
Use bulky or super bulky yarn. Needles sizes ten through thirteen work well. Customize colors, stick to tradition or go boho.
Time estimate is twenty plus hours. Skill level is intermediate, requiring colorwork and seaming experience.
Weave the Traditional Way on a Loom
Authentic Loom Method for Artisan Results
True serapes are woven on backstrap looms in Mexico. You can replicate this using cotton, wool, or blend. Spin or buy pre-spun. Dye with natural such as indigo or cochineal, or synthetic dyes.
Set warp threads lengthwise with even tension on your loom. Use multiple shuttles for color changes. Pass weft thread crosswise and change colors to form stripes or patterns. Keep edges tight to prevent ruffling.
Finish by cutting from loom, trimming ends, knotting warp threads into fringe, washing to set color and soften, and pressing lightly to smooth.
The result is a museum-quality textile with cultural depth.
Make a Miniature Scale Serape
One Twenty-Four Scale for Model Cars and Dioramas
Perfect for low-rider displays, dollhouses, or gifts.
Use masking tape with sticky side up. Use embroidery floss in yellow, orange, red, brown. Use tweezers or smooth tool.
Lay two parallel tape strips with a center stabilizer. Start at center, pull floss strands outward. Alternate colors: yellow, orange, red, orange, yellow. Slightly overlap for gradient. Add thin black or white stripes for contrast.
Pro tip: If you make a mistake, peel off thread. The tape holds but releases cleanly.
Flip, repeat on back. Press entire surface. Cut to size, apply over model seat.
This looks best on dark backgrounds.
Craft a Paper Serape for Beginners
Kid-Friendly Cultural Project
Ideal for classrooms, festivals, or quick decor.
Supplies needed include construction paper or poster board, markers, crayons, ruler, yarn fringe, and white glue.
Draw even horizontal lines with ruler. Color in bold stripes: red, yellow, black, white. Alternate thick and thin lines for rhythm. Use crayons for texture, markers for crisp edges.
To add fringe, cut two paper strips same width as base. Glue to short edge. Place yarn ends in glue. Cover with second paper strip. Seal with more glue. Use ten to twenty strands per end, four to six inches long.
Note that this version is not washable. It is for display only.
Work with Pre-Made Serape Fabric
Finish Raw Edges to Prevent Fraying
Buy commercial serape fabric and adapt it. Use sharp scissors or rotary cutter. Pre-wash to reduce shrinkage. Stiffen with starch before cutting.
Finish raw edges immediately. Use pinking shears for quick anti-fray cut. Apply Fray Check to seal edges instantly. Use zigzag stitch on sewing machine. Use serger for professional finish. Use double hem, fold one-fourth inch twice and sew.
This works best for pillows, wall hangings, and table runners.
Maintain Your Serape Blanket
Washing, Drying, and Storage Tips
Hand wash in cold water with mild detergent. Machine wash only if label allows, on gentle cycle. Never wring, press out water gently.
Lay flat to dry to prevent stretching. Do not hang long-term because fringe sags. Fold neatly and store in cool, dry place. Protect wool from moths.
Retie loose fringe as needed. Bernat Wool Ease lasts years with care. Blends offer best durability and softness.
Frequently Asked Questions About Making a Serape Blanket
What is the easiest method for beginners to make a serape blanket?
The paper serape craft is the easiest method. It uses construction paper, markers, and yarn for fringe. This takes about thirty minutes and requires no special tools or skills. It works well for classrooms and kids.
How long does it take to crochet a serape blanket?
Crocheting a serape in panels takes approximately fifteen to twenty-five hours. This depends on your speed, experience, and whether you follow the six-panel method. The crochet plus weave hybrid takes ten to fifteen hours.
What yarn is best for a serape blanket?
Super bulky weight six yarn works best. Lion Brand Wool Ease Thick and Quick is recommended for its softness, washability, and color variety. It is eighty percent acrylic and twenty percent wool.
How do I prevent my serape fringe from fraying?
Use lark head knots to attach fringe securely. For macrame style, tie four strands together near the base. Trim evenly and avoid washing frequently. Retie loose knots as needed.
Can I make a serape blanket without crocheting or knitting?
Yes. You can use pre-made serape fabric and finish the edges. You can also try the miniature tape and embroidery floss method for model projects. Paper crafts work for display-only versions.
Key Takeaways for Making Your Own Serape Blanket

Making a serape blanket is rewarding when you choose the right method for your skill level. Panel-based crochet ensures perfect stripe symmetry and creates the authentic mirrored look. Using two hook sizes, N and P, prevents tightness and maintains even drape throughout your project.
Fringe adds unmistakable authenticity. Make it bold, space it evenly, and consider knotting for durability. Always block your finished piece to relax fibers and improve drape.
Whether you create a lap throw, a model car accessory, or a cultural art piece, the process connects you to a rich textile heritage. Gather your materials, pick your method, and start creating your vibrant, durable serape blanket today.

