
If you have ever stepped into a chilly pool on a sunny day, you know how quickly heat escapes, especially after dark. A solar blanket is one of the most effective tools for retaining warmth, reducing evaporation, and extending your swimming season. Commercial covers often cost $200 or more, but you can make a solar blanket yourself for a fraction of the price using simple materials like bubble wrap, plastic drop cloths, or modular PVC frames. This guide walks you through three proven DIY methods, construction steps, real-world performance results, and expert tips to maximize efficiency.
Whether you are saving money, reducing energy use, or tackling a weekend project, these solutions deliver commercial-level results without the high cost. You will learn which method fits your budget, how to build each type step by step, and how to get the most heat retention from your DIY solar blanket.
Choose Your Solar Blanket Type
Before building, decide which solar blanket type fits your needs. Each method balances cost, durability, ease of use, and performance differently.
Floating Bubble Wrap Cover
This option works best for short-term use and budget builds. Standard bubble wrap creates an insulating layer that floats directly on the water surface. Materials cost around $30, and installation takes roughly one hour. The bubble wrap mimics commercial solar covers using readily available supplies.
Plastic Drop Cloth Cover
This lightweight, affordable version uses thick clear plastic sheets laid across the pool surface each night. Frost King 8-mil plastic sheets provide durable, transparent coverage for approximately $15 total. This method offers the lowest annual cost at just $7.50 per year.
Modular PVC-Framed Squares
For long-term, reusable coverage, build rigid floating panels with PVC frames and attach bubble cover material. These modular squares resist wind better than loose covers and store compactly. Initial cost runs $25 to $50, with frames lasting over five years.
Solar Panel Tarp (Electricity-Generating)
This bonus option generates off-grid power rather than heating pools. Build a portable solar charging blanket using small PV panels, a weather-resistant tarp backing, and a 12V battery with charge controller. This serves a different purpose than thermal pool covers.
Build a Bubble Wrap Solar Blanket
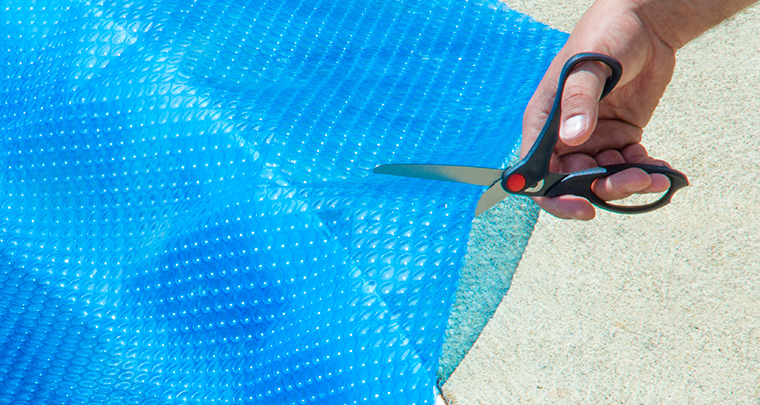
This low-cost option replicates commercial solar covers using materials found at most hardware stores.
Gather Required Materials
You will need these supplies for a medium-sized pool.
• Bubble wrap in a 12-inch by 100-foot roll. Purchase at least two rolls for pools around 18 by 37 feet.
• Heavy-duty packing tape for securing seams.
• Optional sandbags or pool noodles for edge weighting in windy conditions.
Select bubble wrap with air bubbles approximately 3/8 inch in size. This size floats well while trapping enough air to provide effective insulation.
Cut and Tape Sheets Together
Follow these sequential steps to assemble your cover.
- Measure your pool surface area to determine how much material you need.
- Unroll bubble wrap sections across the pool, overlapping edges by 6 to 12 inches.
- Apply packing tape to both sides of each seam to prevent tearing.
- Continue until you achieve full coverage, avoiding tanning ledges or shallow steps if desired.
- Work on a calm, wind-free day to prevent the material from lifting unexpectedly.
For an 18 by 37 foot pool covering about 666 square feet, two 12-inch by 100-foot rolls provide approximately 90 percent surface coverage.
Install With Bubbles Facing Down
Always place the bubble wrap with bubbles facing downward, touching the water. This orientation maximizes insulation by trapping air close to the surface, protects the plastic from UV degradation, and enhances solar absorption through the greenhouse effect. Gently press out wrinkles using your hands or a pool brush.
Measure Real-World Performance
One user in Dallas, Texas tested this setup over five days with nighttime temperatures in the 20s and 30s degrees Fahrenheit. Without using any heater, the water dropped only from approximately 90 degrees Fahrenheit to the low 50s degrees Fahrenheit. When used alongside a heat pump, runtime reduced by roughly 50 percent. Despite the flimsy appearance, bubble wrap delivers real thermal retention by stopping evaporation, which is the number one cause of pool heat loss.
Use Plastic Drop Cloths as Solar Covers
This simpler alternative uses heavy-duty plastic sheets instead of bubble wrap for comparable performance at lower cost.
Purchase 8-Mil Clear Drop Cloths
Buy Frost King 8-mil plastic sheets in the 9-foot by 12-foot size. These are durable, transparent, and float well. You will need approximately six sheets for full coverage on a medium-sized pool. Total material cost runs about $15, compared to over $200 for a store-bought cover.
Apply With Pump Turned Off
Follow these steps for proper installation.
- Turn off the pool pump before installation to prevent displacement.
- Lay sheets end-to-end across the pool surface.
- Smooth out air pockets using a pool brush.
- Allow slight overlaps, as small gaps are acceptable.
Running the pump during installation pulls the plastic into the skimmer and potentially damages the system.
Track Temperature Results
In real-world testing, nighttime heat loss dropped from 3 degrees Fahrenheit to 2 degrees Fahrenheit when using the cover. Morning sun warmed the water from 81 degrees Fahrenheit to 85 degrees Fahrenheit after removing the sheets. Condensation visible under the sheets confirmed that evaporation was being blocked effectively.
Store for Future Use
After each use, remove the sheets and drape them over the railing to dry for one to two hours. Once dry, crumple the material into a ball and store it in a shed or garage. With proper care, these sheets remain reusable for up to two years.
Build PVC-Framed Solar Squares
For a reusable, wind-resistant solution, construct modular floating panels using PVC frames.
Assemble PVC Frames
Gather these materials per square.
• Four 40-inch sections of 1/2-inch PVC pipe.
• Four 1/2-inch PVC elbows.
• PVC solvent cement for watertight joints.
Follow these sequential steps to build each frame.
- Cut the PVC pipe into 40-inch lengths.
- Connect the pipe sections at corners using the elbows.
- Apply PVC solvent cement to each joint for a permanent, watertight seal.
- Allow the frame to cure for two to four hours before use.
Each completed frame forms a 40-by-40-inch floating square.
Attach Bubble Cover Material
Cut bubble wrap or solar blanket material into 41 to 42-inch squares, slightly larger than the frame. Follow these sequential steps to attach the material.
- Puncture holes at each corner and at the midpoint of each side.
- Use zip ties to secure the material to the frame, placing two zip ties per corner and one per side midpoint.
- Total 12 zip ties per module for secure attachment.
- Trim excess zip tie length and bend the ends inward to avoid injury.
The material should be taut but not stretched, similar to a drumhead.
Deploy and Store the Modules
Place squares side-by-side across the pool for full coverage. Remove only the sections needed for swimming. Stack the frames for compact, nestable storage when not in use. The frames resist UV damage and last over five years, while the top layer typically needs replacement every two to three years.
Make a Solar Panel Blanket for Electricity
Want to generate power? Build a portable solar tarp using small photovoltaic panels.
Select Solar Panels
Use 6-volt, 0.83-amp panels with a Vmp of 6.0 volts and Voc of 7.2 volts. Purchase six to 12 panels for meaningful output. You will also need weather-resistant tarp or fabric backing, insulated copper wire, connectors and a multimeter, and a 12V battery with charge controller.
Wire Panels for Proper Voltage
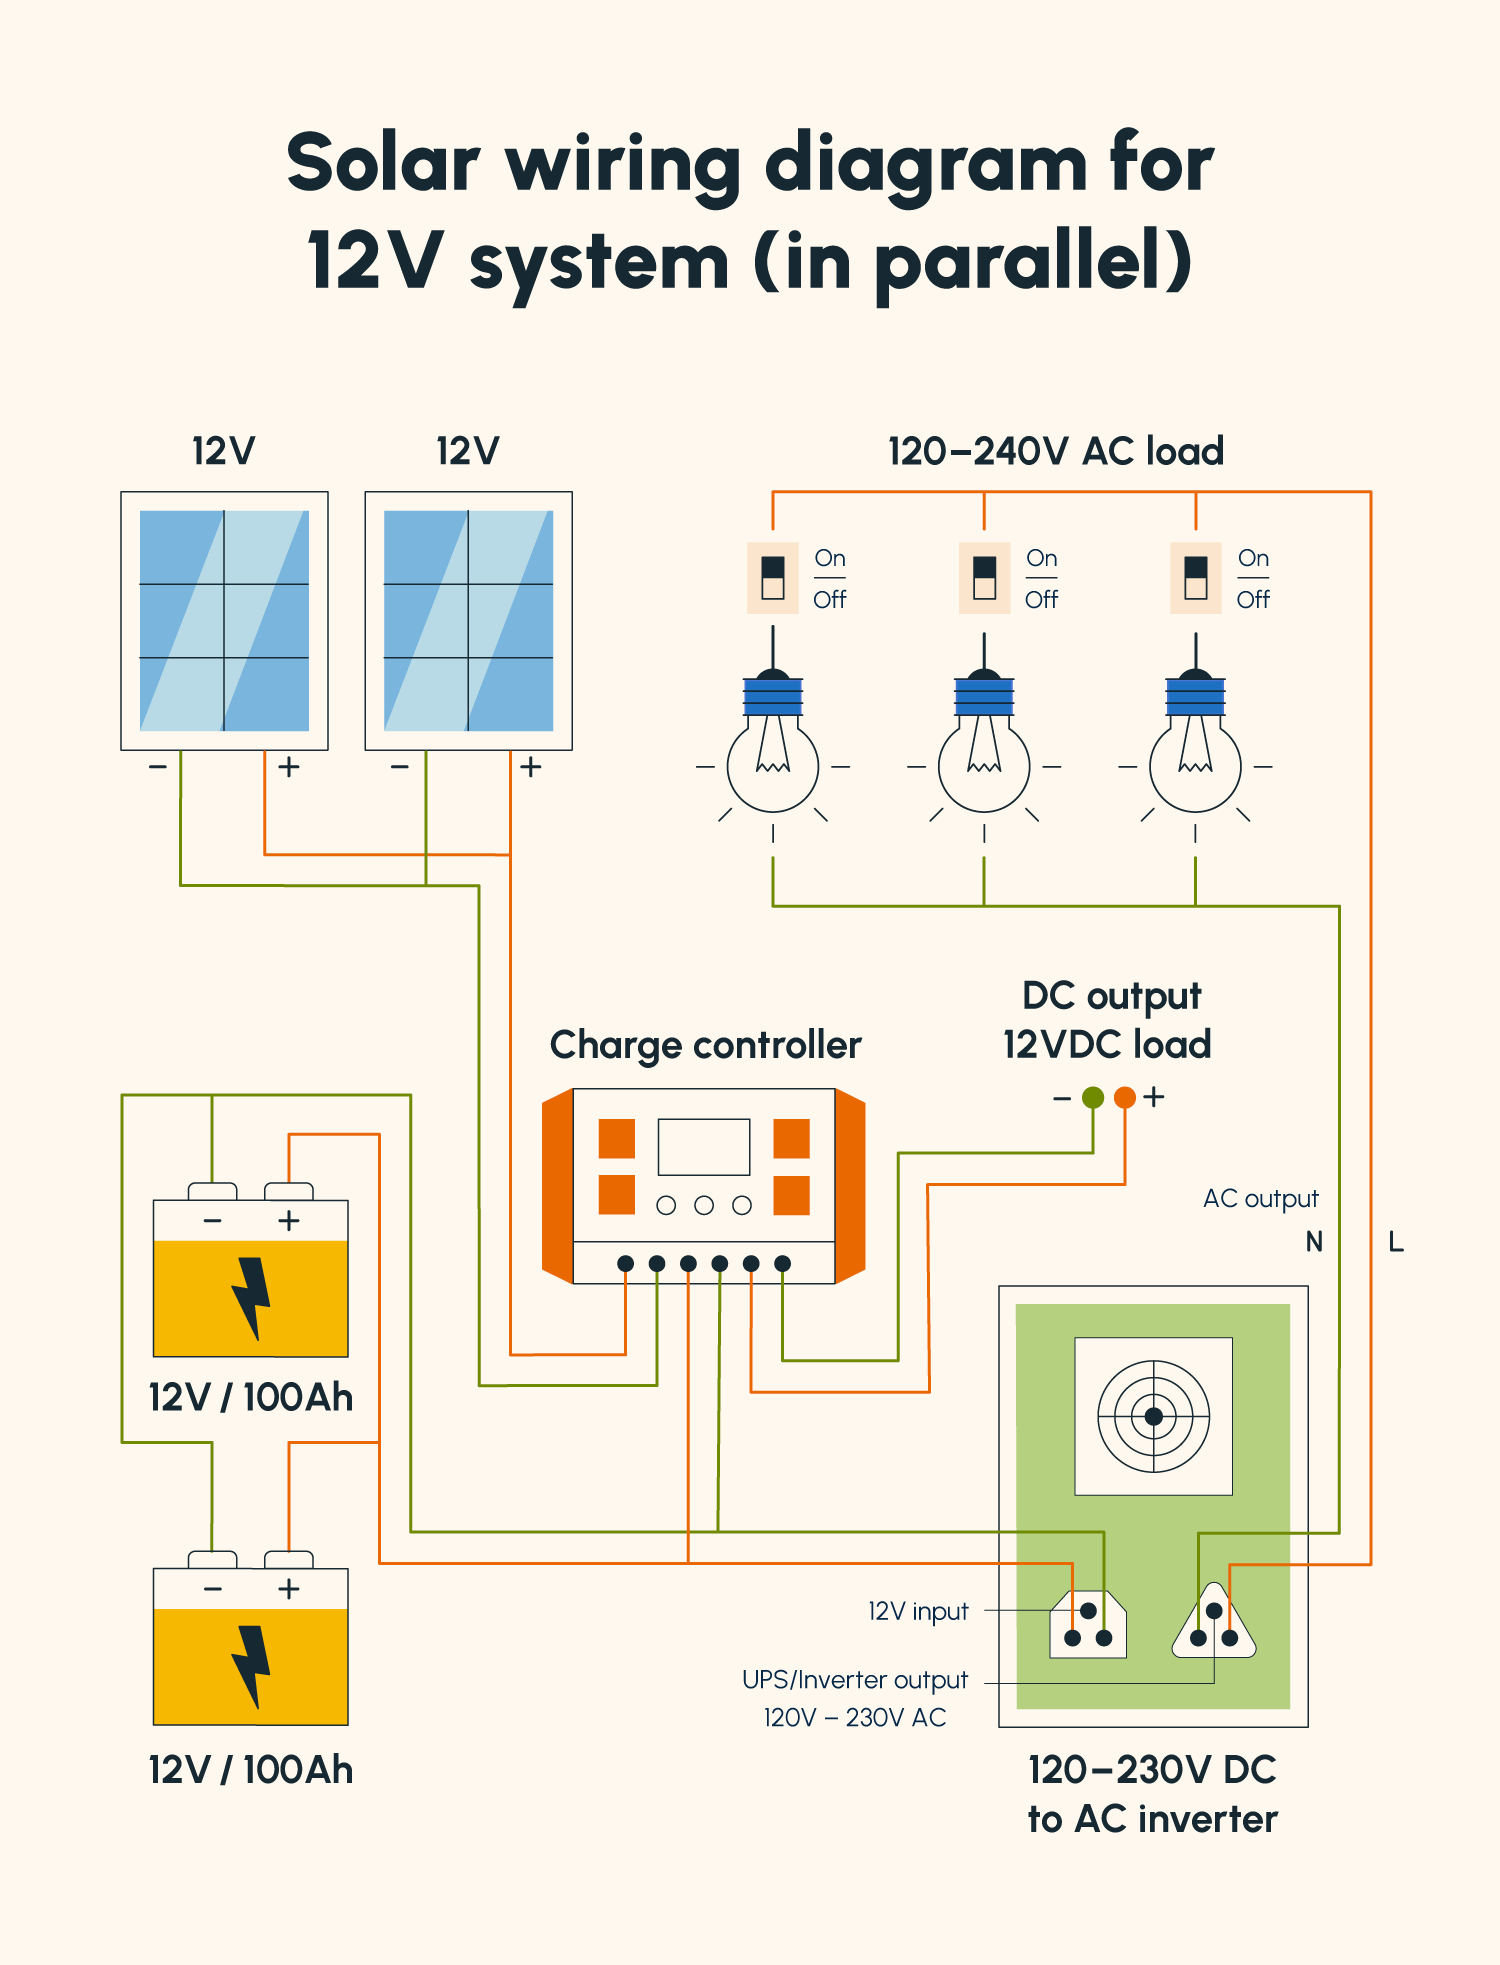
To charge a 12V battery, you need at least 18 volts under load. The 3S2P configuration works well.
• Connect three panels in series to achieve 18 volts at 0.83 amps.
• Create two strings in parallel to double the current to 1.66 amps total.
• This configuration produces approximately 30 watts peak output.
Always label your wires with positive and negative markings. Use a multimeter to test voltage before connecting to batteries.
Mount on a Portable Tarp
Lay the panels on a tarp and secure them using grommets and bungee cords, straps or Velcro, and a foldable design for easy transport. Add corner loops for staking in windy areas. This setup powers phone and device charging, LED lights, small fans or camping gear, and emergency backup systems.
Warning: Never connect panels directly to a full battery. Always use a charge controller to prevent overcharging and electrolysis.
Compare DIY vs. Commercial Solar Covers

| Feature | Bubble Wrap | Plastic Drop Cloth | PVC-Framed Square | Commercial Cover |
|---|---|---|---|---|
| Cost | $30 | $15 | $25–50 | $150–300 |
| Lifespan | 1–2 weeks | Up to 2 years | 3+ years | 5–7 years |
| Heat Retention | Good | Good | Excellent | Excellent |
| Wind Resistance | Poor | Poor | Good | Good |
| Storage | Bulky | Compact | Stackable | Needs reel |
| Skill Level | Low | Low | Medium | N/A |
All DIY options match commercial covers in heat retention with over 90 percent cost savings.
Maximize Efficiency With Expert Tips
Stop Evaporation First
Evaporation causes 70 percent of heat loss, equivalent to 8,000 BTUs per gallon lost. Any floating barrier placed directly on the water surface stops this process. A cover above the water, like over an automatic cover, does not provide the same benefit.
Cover Every Night
Even one uncovered night leads to significant cooling. Make it a habit to remove the cover only when swimming and replace it immediately after use.
Seal Edges Against Wind
Use sandbags or water bags at corners, pool noodles tied around edges, or PVC squares in exposed areas. Gaps allow air movement and increase evaporation.
Combine With Heat Pump
Using a solar blanket reduces heat pump runtime by 30 to 50 percent, lowering energy bills and extending equipment life. Run the heater during the day, then cover at night to lock in warmth.
Calculate Cost and Savings
| Solution | Upfront Cost | Annualized Cost | Energy Saved |
|---|---|---|---|
| Bubble Wrap | $30 | $780/year (if monthly) | ~50% runtime |
| Plastic Drop Cloth | $15 | $7.50/year | High |
| PVC-Framed Squares | $50 | ~$15/year | Very High |
| Commercial Cover | $200 | ~$35/year | High |
Plastic drop cloths offer the lowest annual cost with strong performance.
Final Thoughts on DIY Solar Blankets
Absolutely consider DIY options, especially if you value cost savings, customization, and quick results. Bubble wrap and plastic sheets deliver near-commercial performance for under $30. PVC-framed squares work perfectly for long-term, reusable coverage. Solar panel tarps open doors to off-grid energy for camping, emergency backup, or DIY enthusiasts.
All methods prove one principle: a floating barrier on the water surface drastically cuts heat loss. You do not need expensive gear to see real results. Start with a $15 Frost King drop cloth for one week. Measure your pool temperature drop with and without it. The data will convince you that DIY solar blankets work.
Frequently Asked Questions About Making a Solar Blanket
Does bubble wrap actually work as a solar blanket?
Yes, bubble wrap provides substantial heat retention and reduces energy consumption by approximately 50 percent. It stops evaporation, which accounts for 70 percent of pool heat loss. Tests show water temperature drops only from 90 degrees Fahrenheit to the low 50s degrees Fahrenheit over five cold nights without a heater.
What is the cheapest way to make a solar blanket?
Plastic drop cloths, specifically Frost King 8-mil clear plastic sheets, offer the cheapest solution at approximately $15 for full coverage. This provides comparable heat retention to commercial covers at less than 10 percent of the cost.
How long do DIY solar blankets last?
Bubble wrap lasts one to two weeks with regular use. Plastic drop cloths last up to two years with proper care. PVC-framed squares last over five years for frames, with cover material replacement every two to three years.
Should the bubbles face up or down on a solar blanket?
Bubbles should always face downward, touching the water. This orientation maximizes insulation by trapping air close to the surface, protects the plastic from UV degradation, and enhances solar absorption through the greenhouse effect.
Can I use a solar blanket with a heat pump?
Yes, using a solar blanket alongside a heat pump reduces runtime by 30 to 50 percent. Run the heater during the day, then cover the pool at night to lock in warmth and lower energy bills.
Do solar blankets reduce evaporation?
Yes, solar blankets dramatically reduce evaporation by creating a physical barrier between the water and air. This is the primary mechanism for heat retention, as evaporation accounts for roughly 70 percent of pool heat loss.

