
You’re recording a podcast or voice-over, but your voice bounces off hard walls and bare floors, creating an echo that ruins the audio. Your recording sounds muffled, unprofessional, and impossible to edit. The solution is simpler than you think: a DIY soundproof blanket that absorbs echo and improves audio clarity without expensive acoustic panels or permanent room modifications. While no fabric can fully soundproof a room from outside noise, a well-made acoustic blanket dramatically reduces mid- and high-frequency reflections, making your recordings sound cleaner and more professional. This guide shows you exactly how to make a soundproof blanket for under $10 using materials from hardware stores or online retailers.
Choose the Right Materials for Maximum Sound Absorption
The effectiveness of your soundproof blanket depends on three factors: density, thickness, and fabric breathability. Using materials that trap sound waves and convert them into tiny amounts of heat through internal friction will give you the best results.
Pick a Durable Outer Fabric
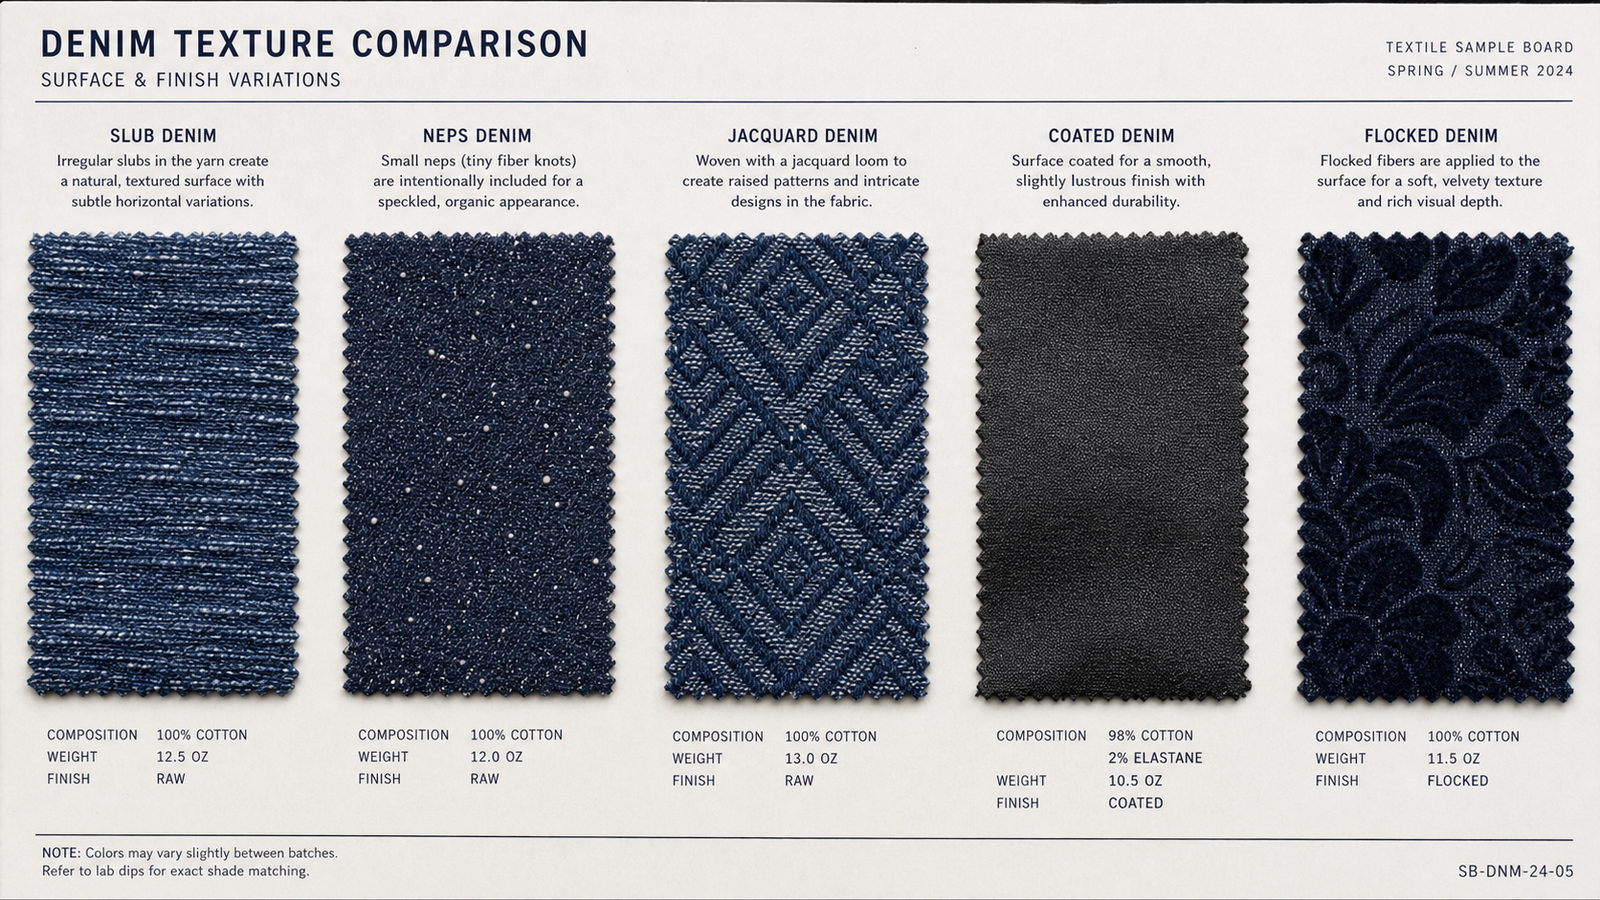
Use heavy cotton canvas or denim for the outer shell. These fabrics are strong enough to hold dense filling, breathable enough to let sound waves penetrate, and resistant to tearing and fraying. Avoid plastic-based tarps or vinyl because they reflect sound instead of absorbing it. Reuse old moving blankets as a ready-made outer layer if you have them available.
Select a High-Density Filling
The core of your blanket must be dense and fibrous. Ideal options include carpet underlay (10 mm thick, approximately 1000 g/m²), recycled cotton or wool insulation, and felted synthetic padding. These materials absorb mid- to high-frequency sounds above 1 kHz. Thicker equals better, but stay under 1.5 inches to keep the blanket portable. Do not use foam mattress toppers because they are too soft and ineffective for acoustic control.
Add Grommets for Hanging
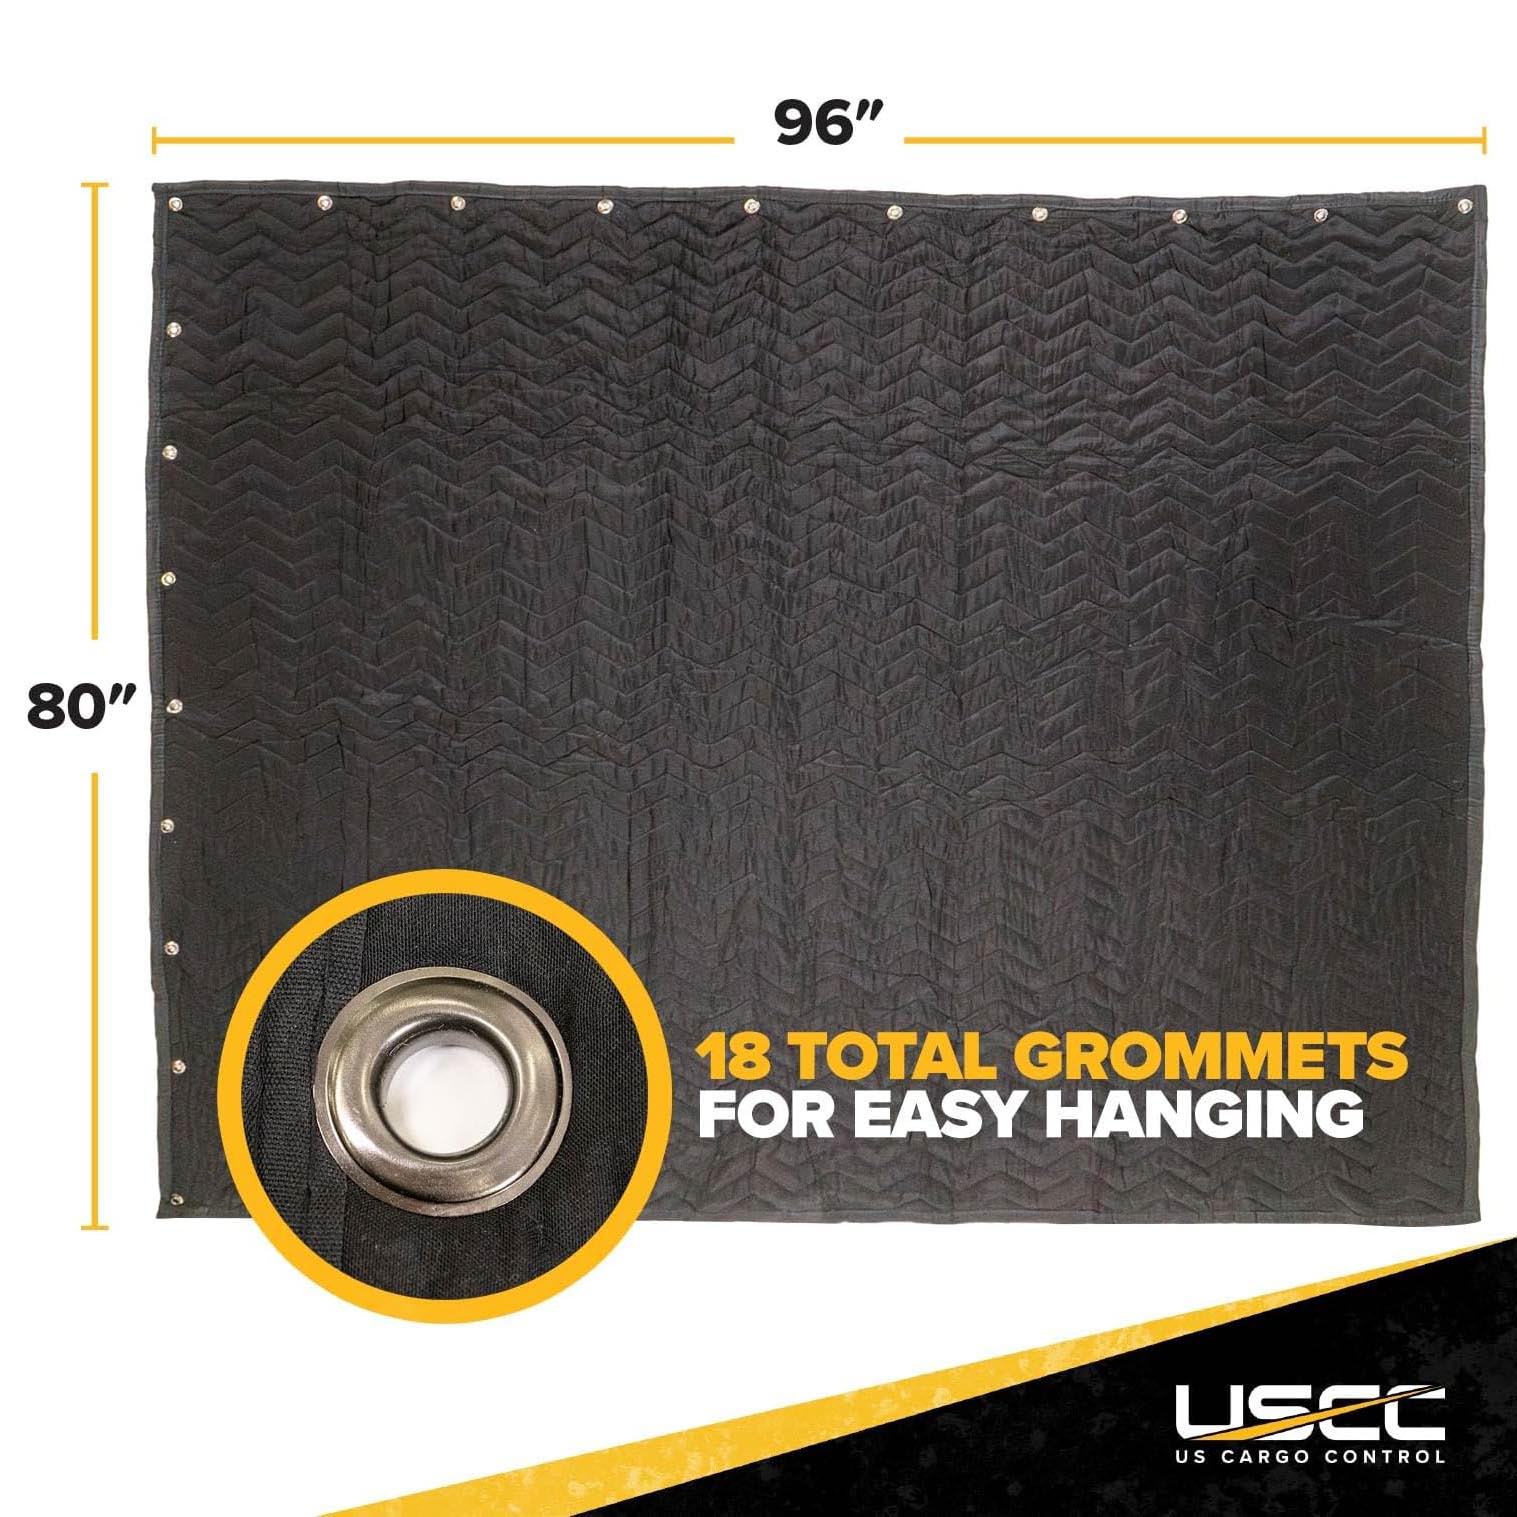
Install half-inch metal grommets every 6 to 8 inches along the edges. They allow you to hang the blanket securely with hooks, stands, or cables. Use a grommet repair kit (approximately $5 on Amazon or Harbor Freight) that includes washers and an anvil tool for strong crimps. Without grommets, the fabric will tear when under tension.
Build a Custom Soundproof Blanket From Scratch
Creating a custom soundproof blanket gives you full control over size, shape, and performance. This method takes more time but produces a tailored result.
Cut and Sew the Outer Shell
- Measure your target size. Standard dimensions are 2.2 m × 1.55 m (86.6 inches × 61 inches). A smaller option of 40 × 72 inches fits most moving blanket frames.
- Cut two identical pieces of canvas, adding 4 inches (100 mm) seam allowance on all sides for folding.
- Pin and sew three sides by placing fabric pieces face-to-face, sewing the bottom and both long sides with a heavy-duty stitch, leaving the top open for inserting insulation.
- Fold and triple-stitch the top edge by folding the open edge twice to hide raw fabric, then stitching shut to create a clean, durable seal.
Do not close the top until after inserting the filling.
Insert the Sound-Absorbing Layer
- Slide in the carpet underlay by cutting it to fit snugly inside the shell, pushing it through the open top edge, and smoothing out wrinkles and bunching.
- Check coverage to ensure the filling lies flat and reaches all corners.
- Seal the blanket by stitching around the entire perimeter to lock the core in place.
Some builders skip sewing the top shut and rely on grommets alone, but this risks shifting or sagging over time.
Upgrade Pre-Made Moving Blankets
Skip sewing with a faster, no-sew method using store-bought moving blankets. This approach costs less than $30 and yields four ready-to-hang acoustic panels equal to one commercial unit.
Buy Thick Moving Blankets
Choose heavy-duty blue or black moving blankets (40 × 72 in or 72 × 80 in) from Harbor Freight ($4.99 each) or Amazon (packs of 12 for bulk savings). Look for dense stitching, multi-layered fabric, and weight over 5 lbs per blanket.
Install Corner Grommets
- Mark grommet locations with one in each corner, 2 to 3 inches from edges, and add extra grommets every 8 inches on long sides for large blankets.
- Cut holes with a utility knife using a small punch or razor blade, placing wood underneath to protect surfaces.
- Insert and crimp grommets by sliding the grommet through the hole from the front side, adding a washer on the back, and using a center punch and hammer to lock the metal lip in place.
This method takes approximately 5 to 7 minutes per blanket, or about 25 minutes total for four blankets.
Hang Your Blanket for Maximum Sound Control
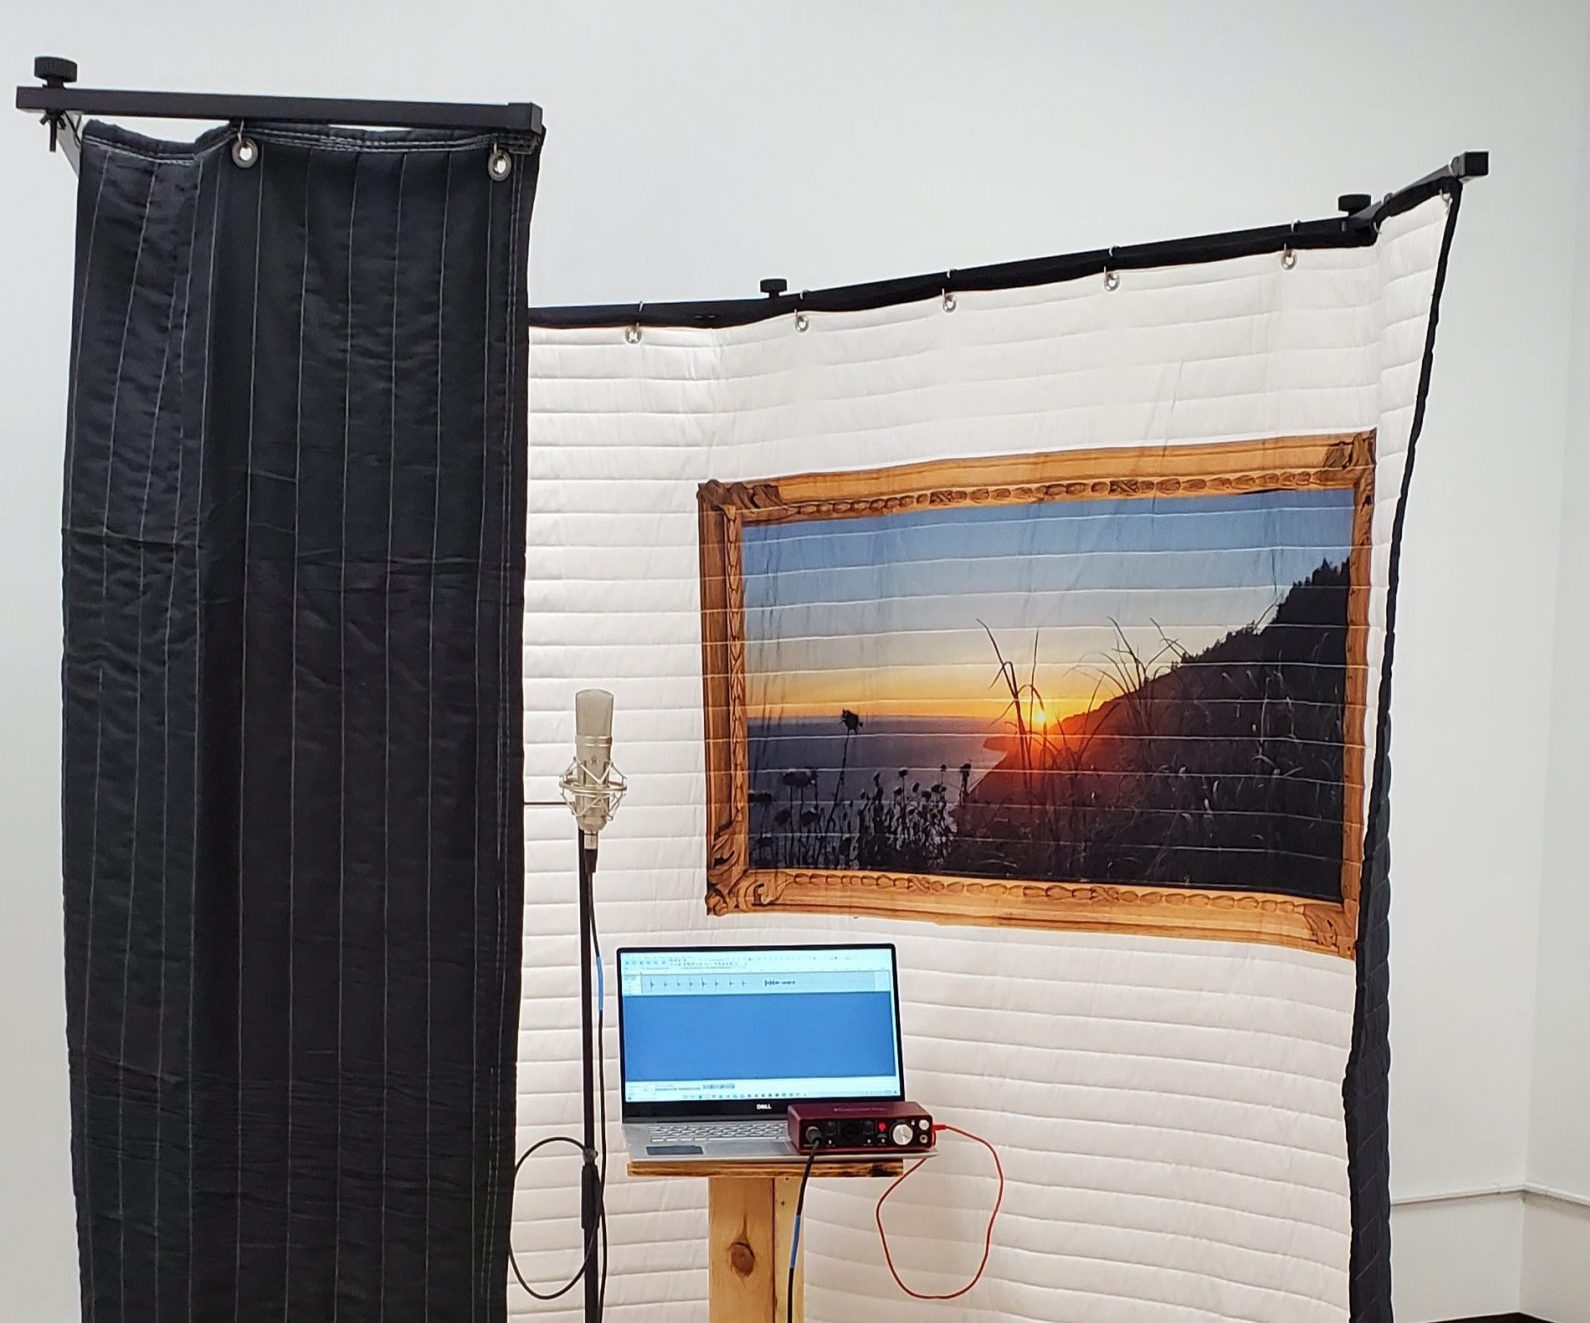
Where and how you hang the blanket determines its effectiveness. Proper mounting hardware and strategic positioning are essential for optimal acoustic performance.
Use Proper Mounting Hardware
Choose from several hanging systems based on your setup. Ceiling hooks work best for permanent setups (screw into joists for stability). C-stands or speaker stands suit studios and video shoots because they allow repositioning. Wooden crossbars with eye screws provide even weight distribution and prevent sagging. Spring clips work for temporary use without requiring grommets.
Position Strategically for Echo Reduction
Target first reflection points where sound bounces directly to the microphone. Place blankets on side walls (left and right of the speaker), ceiling above the recording spot, behind the microphone, and over windows and doors. Hang the blanket 1 to 3 inches away from the wall to boost low-mid frequency absorption. For best results, surround the recording area with multiple blankets on front, back, and sides.
Create Dual-Purpose Acoustic Panels
Turn your soundproof blanket into a multi-functional studio tool that controls both sound and light. This is ideal for voice-over artists, filmmakers, and content creators who need clean audio and professional lighting in one tool.
Mount on a Mobile Frame
- Attach the blanket to a hardwood board (6 ft long × 4 in wide × 1 in thick) by drilling eye screws into the top edge.
- Connect to a folding wheeled stand using a Koopa adapter, bolt, and lock washers, which allows easy movement and collapse.
- Hang the blanket via carabiners by linking grommets to eye screws, removing quickly for storage when needed.
Use for Lighting Control
Choose a reversible black/white blanket (such as Producers Choice). The black side acts as negative fill to add drama by reducing light on one side. The white side works as a bounce reflector to soften shadows and balance exposure. When using the white side with an LED light (such as bouncing a 120D Mark II into it), you create a soft key light while simultaneously improving acoustics.
Test Performance and Optimize Coverage
Verify your blanket works before finalizing placement. A simple audio test will show you exactly what difference the blanket makes.
Record a Simple Audio Test
- Use headphones to monitor playback.
- Record two clips: one with no treatment and one with the blanket in front and to the side of the mic.
- Compare clarity and reverb between the two recordings.
Recordings with blankets sound less echoey and more direct, especially in garages or tiled rooms. If reverb remains, add more blankets. Combine with rugs, curtains, and couches for cumulative softening. Avoid leaving large bare wall areas because even partial coverage makes a noticeable difference.
Save Money With DIY vs. Commercial Products
DIY soundproof blankets cost a fraction of store-bought alternatives while providing significantly more coverage.
Cost Comparison
A DIY approach using four blankets plus grommets costs approximately $30 and produces four units (80 sq ft coverage). One commercial acoustic blanket costs approximately $30 for just one unit. An Amazon pack of 12 moving blankets costs approximately $120 but provides enough material for a full room treatment. You get four to twelve times more acoustic treatment for the same price with the DIY method. Plus, DIY lets you customize size, shape, and mounting, which off-the-shelf products cannot match.
Know the Limitations of Soundproof Blankets
Soundproof blankets are powerful but not magic. Understanding what they can and cannot do helps you set realistic expectations.
What They Cannot Do
Soundproof blankets are ineffective below 250 Hz (bass frequencies) and will not stop traffic noise, neighbors, or HVAC sounds. They are not a substitute for bass traps or wall insulation. They reduce reflections, not transmission. Think of them as echo sponges, not sound barriers. Their job is to absorb sound bouncing off walls, prevent reverb from muddying your recordings, and improve clarity during capture.
When to Use Additional Treatments
For full soundproofing, pair with mass-loaded vinyl on walls, door seals and window plugs, and dedicated acoustic panels in corners. Use DIY blankets as a first line of defense, then layer in professional gear as needed.
Maintain and Store Your Blanket Properly
Extend the life of your blanket with simple care practices.
Cleaning Tips
Dust regularly with a dry microfiber cloth. Spot clean stains with mild soap and water. Never machine wash or soak the blanket because this damages insulation and weakens fabric.
Storage Best Practices
Roll, do not fold, to prevent permanent creases and fiber breakdown. Store flat or upright in a dry place. Disassemble hardware if not in use for weeks. Label black and white sides if using reversible blankets.
When to Upgrade Your Setup
DIY blankets are perfect for starters, but professionals may need more advanced treatment.
Signs You Need an Upgrade
Upgrade if you record music, vocals, or audiobooks professionally, need deep bass control, or work in rooms with severe echo or external noise.
Advanced Treatments to Consider
Add fiberglass panels (such as GIK Acoustics or Auralex), corner bass traps (6 inches thick, floor-to-ceiling), and diffusers for balanced sound distribution. Use DIY blankets as a foundation and build from there.
Frequently Asked Questions About Soundproof Blankets
Can a soundproof blanket completely silence a room?
No. Soundproof blankets absorb echo and reflections within a room but do not block external noise. They are acoustic blankets, not true sound barriers. For full soundproofing, you need mass-loaded vinyl, door seals, and wall insulation.
What is the best filling for a DIY soundproof blanket?
Carpet underlay (10 mm thick, approximately 1000 g/m²) is the best filling because it is dense, fibrous, and affordable. Recycled cotton, wool insulation, or felted synthetic padding also work well. Avoid foam because it is too soft to absorb sound effectively.
How many soundproof blankets do I need for a small studio?
Start with one blanket in front of the microphone for an immediate improvement. For a complete setup, use four to six blankets (front, back, and both sides) to surround the recording area. More coverage equals better results.
Do I need to sew to make a soundproof blanket?
No. You can modify pre-made moving blankets by adding grommets to the corners. This no-sew method takes about 25 minutes for four blankets and costs under $30.
How far should a soundproof blanket hang from the wall?
Hang the blanket 1 to 3 inches away from the wall or ceiling. This air gap improves low-mid frequency absorption significantly compared to hanging it flush against the surface.
Key Takeaways for Making Effective Soundproof Blankets
DIY soundproof blankets are one of the most cost-effective acoustic upgrades available, transforming echo-prone rooms into clean recording environments for under $30. Choose dense materials like carpet underlay or heavy moving blankets, install secure grommets for hanging, and position blankets at first reflection points around your microphone. Hang blankets with a small air gap from walls for better low-frequency absorption, and combine with soft furnishings like rugs and curtains for cumulative effect. Remember that these blankets absorb mid- and high-frequency reflections but cannot block bass or external noise. Start with one blanket in front of your mic, then expand as needed. With minimal investment and basic tools, you can dramatically improve your recordings today.

