You’ve admired the bold geometry of the bear claw quilt pattern on Pinterest boards and in heritage collections, but the small pieces and angled seams feel intimidating. Maybe you’ve cut a few triangles that ended up mismatched, or your claws looked more like crooked fingers than crisp points. The bear claw quilt pattern rewards patience and precision, and this guide breaks down every step so your finished blocks look sharp and symmetrical.
Below, you’ll find detailed instructions for cutting, piecing, and assembling traditional bear claw blocks. We’ll also cover modern variations, layout options, fabric selection, and time-saving shortcuts that make the process smoother from start to finish.
What Makes the Bear Claw Quilt Pattern Unique
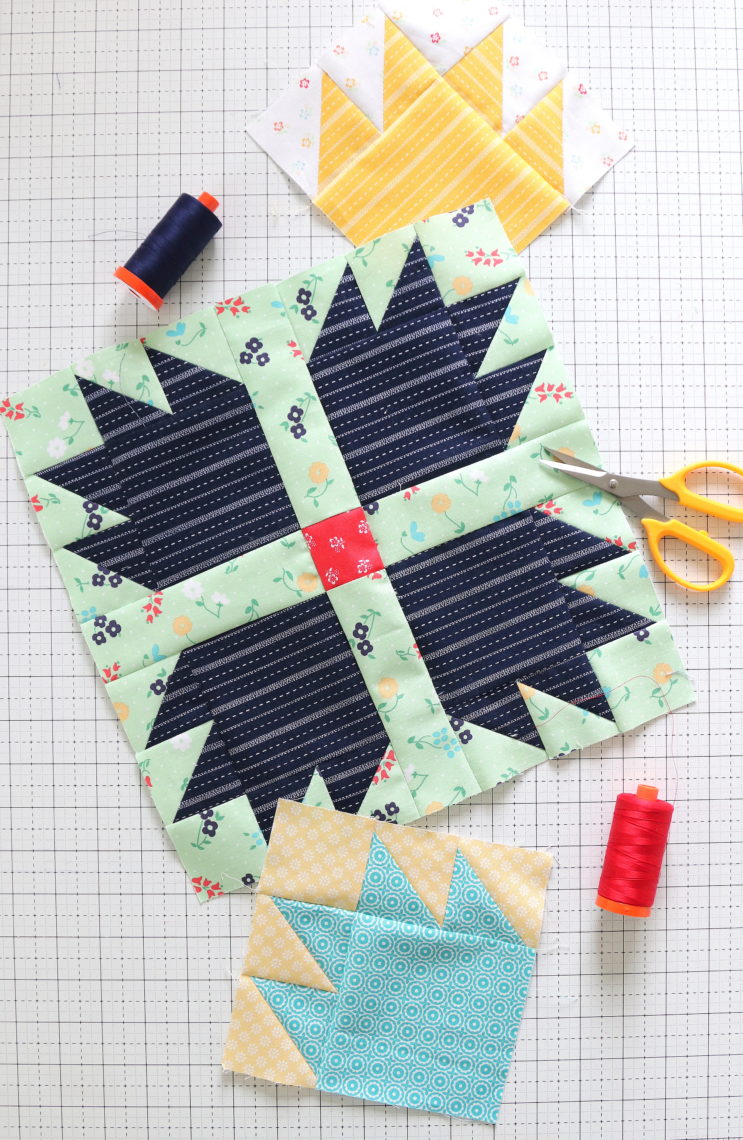
The bear claw quilt pattern is a star-shaped block built around a center square surrounded by four “claw” units. Each claw combines a rectangle with two triangles, creating a shape that appears to grip the center. This dimensional effect comes from high-contrast fabrics that emphasize the interlocking geometry.
Historically, quilters made bear claw blocks from leftover scraps, giving each quilt a one-of-a-kind look. Today, makers choose everything from reproduction calicos to modern solids to suit their style. Most blocks are set in straight rows, though diagonal layouts create stunning secondary designs.
Standard Block Dimensions
Traditional bear claw blocks range from 6 to 12 inches finished. A 9-inch finished block (9.5 inches unfinished) is beginner-friendly because the pieces stay manageable. Here is a typical breakdown:
- Center square: 3″ x 3″ (finished 2.5″ x 2.5″)
- Claw rectangles: 1.5″ x 3″ (4 pieces)
- Claw triangles: Cut from 2.25″ squares, split corner to corner (8 pieces)
Even small cutting errors cause claws to skew or the center to drift off-center. Precision at this stage saves frustration later.
Why Quilters Call It “Bear Claw”
No single origin story exists, but many believe the name reflects the block’s resemblance to a bear’s paw print. Alternative names include Bear Track, Paw Print, and Wild Goose Chase. In some traditions, the design symbolized protection for travelers when stitched into journey quilts.
Cutting Fabric Accurately for Your Bear Claw Quilt Pattern
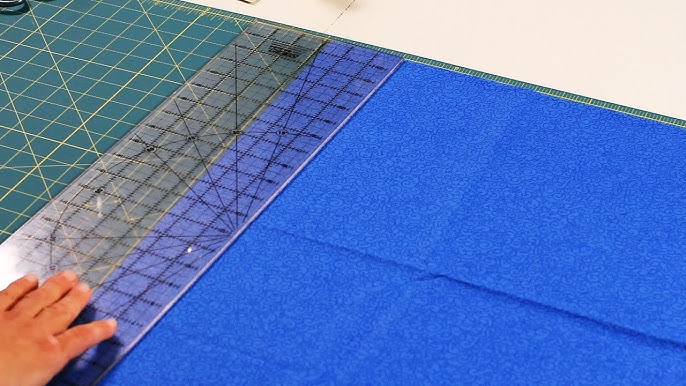
Accuracy starts at the cutting mat. A 1/8-inch mistake can ripple through the entire block, leaving gaps or puckers when sewn. Sharp rotary tools, a clear ruler, and a self-healing mat produce the cleanest results.
Tools You’ll Need
- Rotary cutter (45mm recommended)
- Acrylic quilting ruler (6″ x 24″ or 6″ x 12″)
- Self-healing cutting mat
- Fabric scissors for trimming threads
- Tailor’s chalk or water-soluble pen
Always press fabric before cutting to remove wrinkles that distort edges.
Cutting the Center Square
Cut the center square first. For a 9-inch finished block, cut a 3″ x 3″ square. Choose a fabric that contrasts strongly with the claws so the design pops. Many quilters prefer a light or white center for maximum visual impact.
If cutting multiple blocks, chain-piece the centers by stacking up to four layers at once. Keep your rotary blade sharp to avoid ragged edges.
Cutting Claw Rectangles and Triangles
Cut four rectangles per block at 1.5″ x 3″ for the claw “pads.” Then cut eight small squares at 2.25″ each. Mark a diagonal line on the back of each square, then cut corner to corner to create 16 triangles per block (8 pairs).
Pro Tip: Use the “square on point” method by cutting oversized squares, drawing a diagonal, and trimming after sewing. This produces better alignment and reduces distortion along the bias edges.
Piecing the Claw Units
Each claw unit combines one rectangle and two triangles. Sewn together, they form a three-piece shape with a pointed “V” that attaches to the center square.
Sew Triangles to Rectangle Ends
Place one triangle right sides together with the short end of a rectangle. The triangle’s diagonal should extend beyond the rectangle’s edge. Sew a 1/4-inch seam from corner to corner, then press the triangle open toward the triangle to reduce bulk.
Repeat on the opposite end with a second triangle. You now have a completed claw unit ready for the center square.
Common Mistake: Sewing past the corner or stopping short. Pin the exact corner and remove the pin as you sew. Alternatively, mark a 1/4-inch starting point on your machine’s needle plate with a scrap of tape.
Pressing for Flat Blocks
Press all claw units with seam allowances toward the triangles. This keeps bulk away from the center square and helps the block lie flat. Use a dry iron on cotton to avoid stretching the bias edges of the triangles.
Trim any dog ears (excess fabric at seam ends) with small scissors for a clean finish.
Assembling the Full Bear Claw Block

With four claw units ready, attach them to the center square. Careful alignment keeps the points sharp and symmetrical.
Position and Pin Claw Units
Lay the center square face up. Place one claw unit right side down on top, aligning the raw edges. The rectangle should touch the center square while the triangles extend outward.
Pin at the corners and along the seam line. Repeat for all four sides, ensuring claws face the same rotational direction.
Visual Cue: When laid out correctly, the claws form a pinwheel-like pattern before sewing.
Sew and Press the Final Block
Sew each claw to the center using a consistent 1/4-inch seam. Start and stop 1/4 inch from each corner to prevent seam overlap. Backstitch lightly at the beginning and end of each seam.
After sewing all four claws, press seams outward toward the claws. This flattens the block and prepares it for joining with others.
Check Your Work: Measure the unfinished block. It should be 9.5 inches square. Smaller means your seam allowance was too wide; larger means it was too narrow.
Common Assembly Mistakes and Fixes
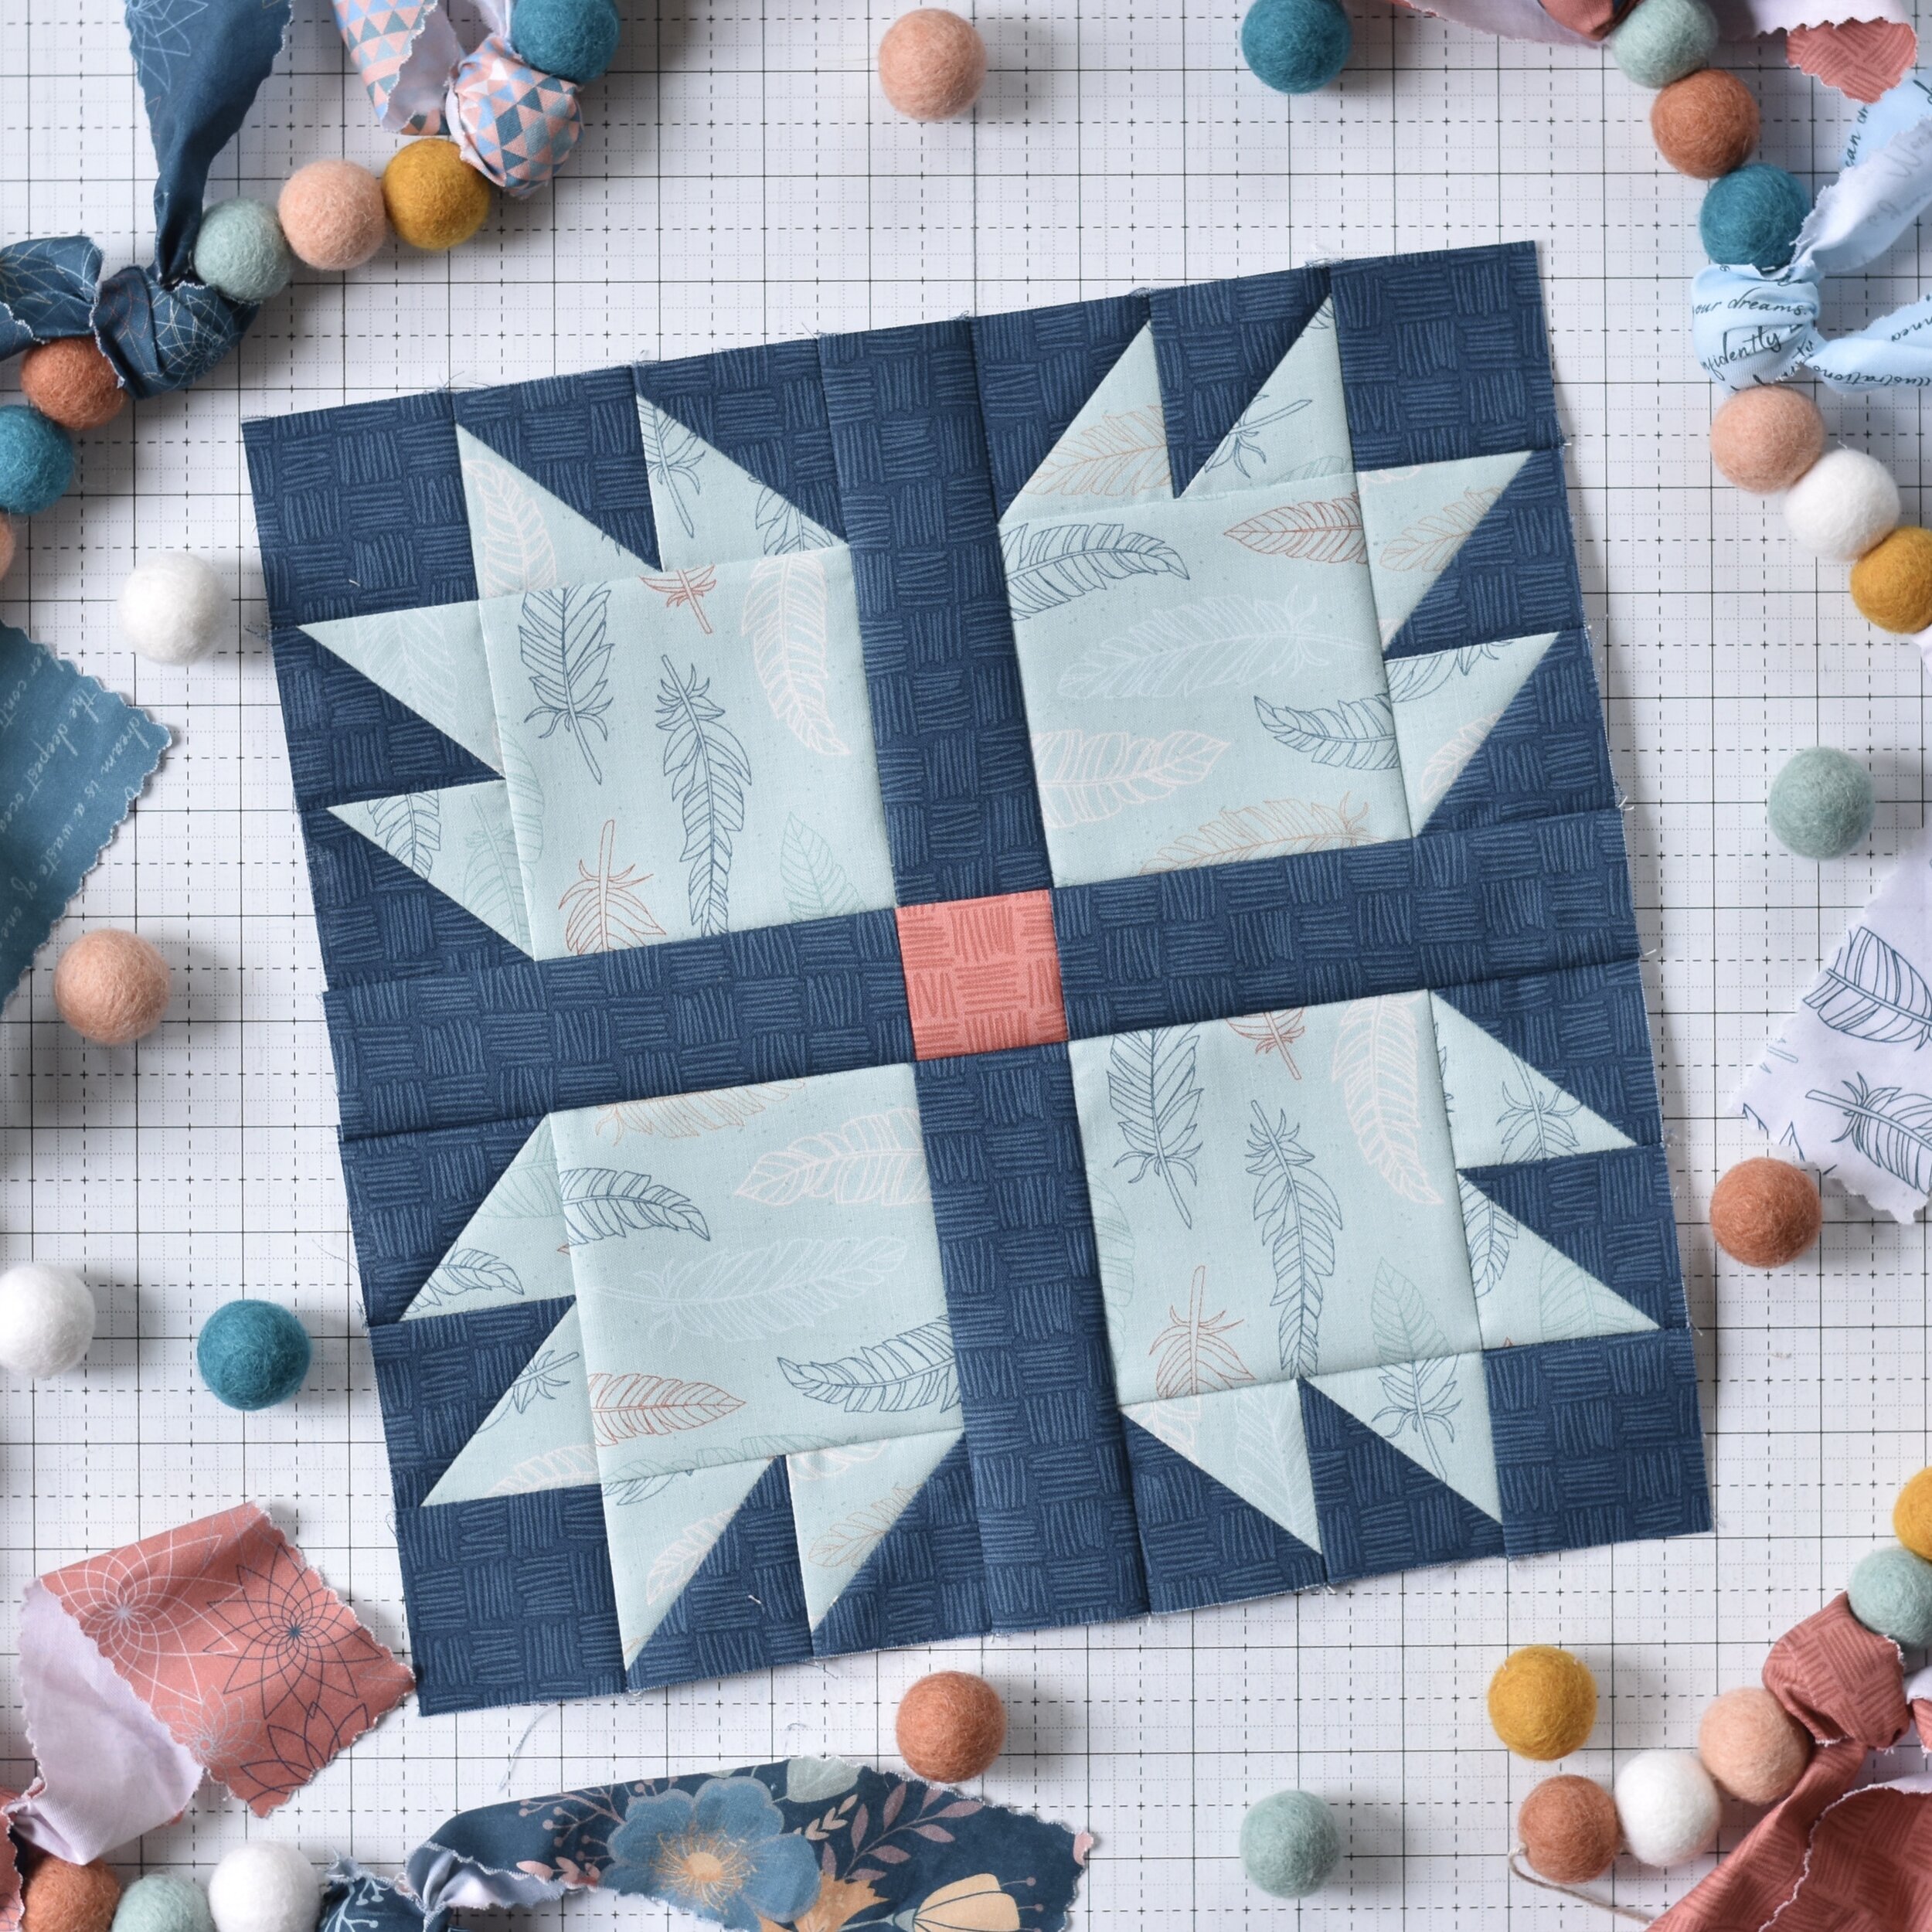
Even experienced quilters struggle with bear claw blocks. The small pieces and diagonal seams make distortion and misalignment common.
Misaligned Points
When claw points fail to meet at the center square, the block looks sloppy. This usually stems from inconsistent seam allowances or stretched bias edges.
Fix: Use a scant 1/4-inch seam (just shy of 1/4 inch) when sewing triangles to rectangles. Press gently without dragging the iron across the fabric.
Twisted or Skewed Blocks
A block that isn’t square often results from pressing seams in different directions or pulling fabric while sewing.
Prevention: Always press rather than iron. Lift and set the iron down without sliding. After assembly, square up the block using a ruler and rotary cutter.
Gaps at Claw Corners
Gaps appear when triangles don’t meet precisely at the rectangle’s corner. This happens from inaccurate cutting or sewing past the edge.
Solution: Try the “triangle-over-rectangle” method. Place the triangle on top, sew 1/4 inch from the edge, flip, and press. Trim excess afterward for a crisp corner.
Modern Variations for the Bear Claw Quilt Pattern
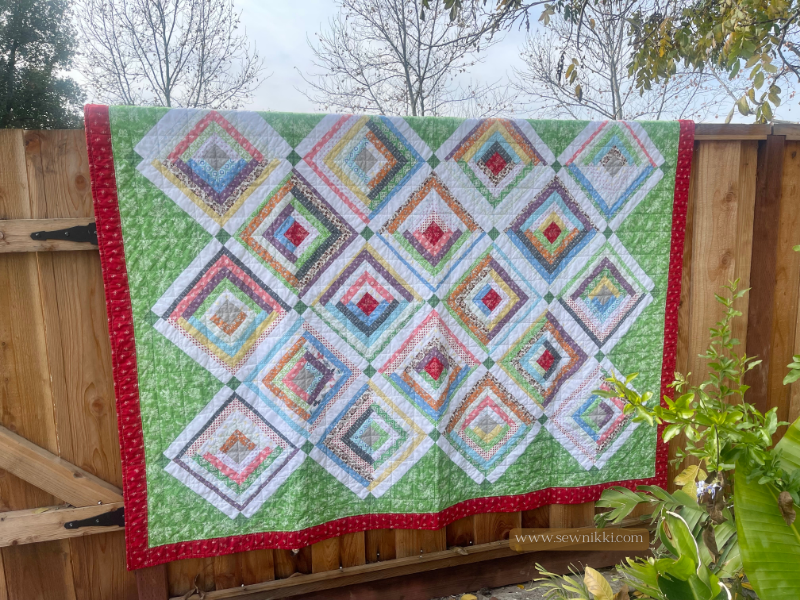
The traditional bear claw quilt pattern is striking on its own, but modern quilters reinvent it with bold colors, alternate settings, and scaled-up designs.
Log Cabin Bear Claw Twist
Combine the bear claw with a Log Cabin center (half light, half dark) to add movement and symbolism. This variation suggests shelter or duality and works beautifully in scrap quilts.
Miniature and Oversized Blocks
Mini bear claw blocks (3 to 4 inches finished) create intricate, dense patterns when set in a large quilt. Oversized blocks (15 inches or larger) make dramatic statement pieces for wall hangings.
For large blocks, starch or light fusible interfacing stabilizes small pieces and prevents stretching.
Diagonal and Staggered Layouts
Rotate every other block 90 degrees or set blocks on point in a diamond grid. This creates a secondary “spinning claw” effect that adds visual energy.
Add sashing (strips between blocks) to frame each unit and reduce seam matching challenges.
Time-Saving Shortcuts
The traditional bear claw quilt pattern demands precision, but several techniques speed up production without sacrificing quality.
Foundation Paper Piecing (FPP)
FPP ensures perfect points by sewing fabric directly to a printed paper template. It eliminates guesswork in triangle placement and works well for complex or miniature versions.
Pros: High accuracy, ideal for fussy cutting
Cons: Slower, requires printing and removing paper
Jelly Roll-Friendly Version
Jelly rolls (2.5″ x width-of-fabric strips) adapt easily to bear claw blocks. Cut 2.5-inch squares for the center and use strip piecing for claw rectangles. Adjust triangle size by cutting 3-inch squares and splitting them diagonally.
Chain Piecing Multiple Blocks
When making several blocks, chain-piece identical components. Feed multiple center squares or claw units through the machine without cutting the thread between pieces. This saves time and keeps seam allowances consistent.
Fabric Selection Tips
The right fabric combination elevates your bear claw quilt pattern from ordinary to exceptional.
High Contrast Is Key
Because the design relies on shape and shadow, contrast is essential. Pair dark claws with a light background, or use complementary colors like blue and orange for vibrancy.
Avoid low-contrast pairings such as navy on black or beige on tan. These make the pattern disappear.
Scale and Print Considerations
Large prints overwhelm small claw pieces. Choose small-scale prints, dots, or stripes for claws, and reserve bold patterns for borders or backing.
For a scrappy look, mix tone-on-tone fabrics with solids to add depth without visual chaos.
Background Fabric Choices
The background fabric (the claw color) should recede rather than compete. Medium to light solids or very small prints work best. A blender print (a subtle textured fabric) adds interest without distraction.
Finishing Your Bear Claw Quilt
Once all blocks are assembled, layout, quilting, and binding bring the project together.
Layout and Setting Options
Arrange blocks on a design wall or clean floor. Try these arrangements:
- Straight set: Blocks placed side by side
- On-point: Blocks rotated 45 degrees in diagonal rows
- Alternate blocks: Plain squares or four-patches between bear claws
Take a photo to preview the look before sewing rows together.
Quilting Designs That Enhance the Pattern
Echo quilting around each claw emphasizes its shape. Stippling or free-motion swirls in the background add texture without competing with the block design. For modern flair, quilt straight lines in a grid or diagonal pattern.
Binding for a Polished Edge
Use bias binding when your quilt has on-point edges. For straight-edge quilts, straight-grain binding works well. Choose a solid color that matches either the center or claw fabric to frame the design.
Caring for Your Finished Quilt
Bear claw quilts become heirloom pieces when treated with care.
Wash in cold water on a gentle cycle using mild detergent. Air dry or tumble dry on low. Store flat or rolled rather than folded long-term to prevent crease damage.
Avoid bleach and fabric softener, as both degrade cotton fibers over time.
Frequently Asked Questions About the Bear Claw Quilt Pattern
What size should I cut bear claw quilt pattern pieces for a beginner block?
A 9-inch finished block is ideal for beginners. Cut a 3-inch center square, four 1.5″ x 3″ rectangles, and eight 2.25-inch squares for triangles. This size keeps pieces manageable while allowing enough room for accurate sewing.
Can I make a bear claw quilt pattern with fat quarters?
Yes, fat quarters work well for bear claw blocks. One fat quarter yields multiple centers or claw pieces depending on the block size. Mix and match fat quarters for a scrappy, colorful quilt top.
Is the bear claw quilt pattern suitable for beginners?
The bear claw quilt pattern suits beginners who can sew a consistent 1/4-inch seam. The pieces are small, but the construction is straightforward. Start with a single block to build confidence before tackling a full quilt.
How many blocks do I need for a throw-size bear claw quilt?
A throw-size quilt (approximately 50″ x 60″) requires around 35 to 42 blocks set in a 5 by 7 or 6 by 7 grid. Adjust the count based on your finished block size and desired dimensions.
What’s the best fabric contrast for a bear claw quilt pattern?
High contrast works best. Pair dark claws with a light center, or use complementary colors for vibrancy. Avoid low-contrast combinations like navy on black, which make the design hard to see.
Can I paper piece the bear claw quilt pattern?
Yes, foundation paper piecing works beautifully for bear claw blocks. It guarantees sharp points and accurate triangle placement, especially helpful for miniature versions or complex fabric layouts.
Key Takeaways for Mastering the Bear Claw Quilt Pattern
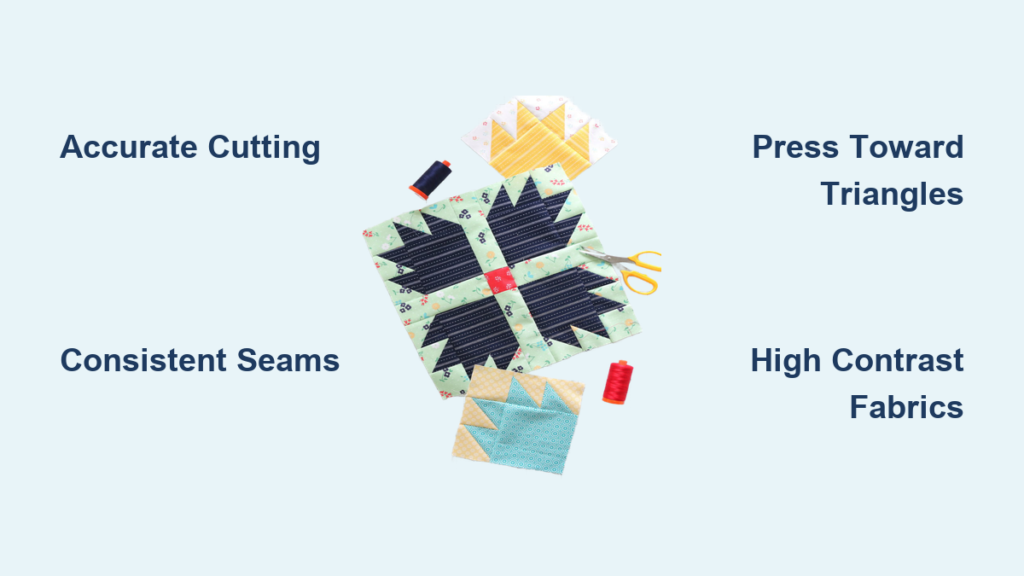
The bear claw quilt pattern blends heritage charm with striking visual rhythm. Start with accurate cutting, use a consistent 1/4-inch seam, and press seams toward the triangles to keep blocks flat. Choose high-contrast fabrics so the claws stand out, and consider modern variations like Log Cabin centers or diagonal layouts for fresh inspiration.
Your next step is simple: cut one block using the dimensions above and sew it together today. Once you master a single bear claw block, scaling up to a full quilt feels like a natural progression rather than a leap.