
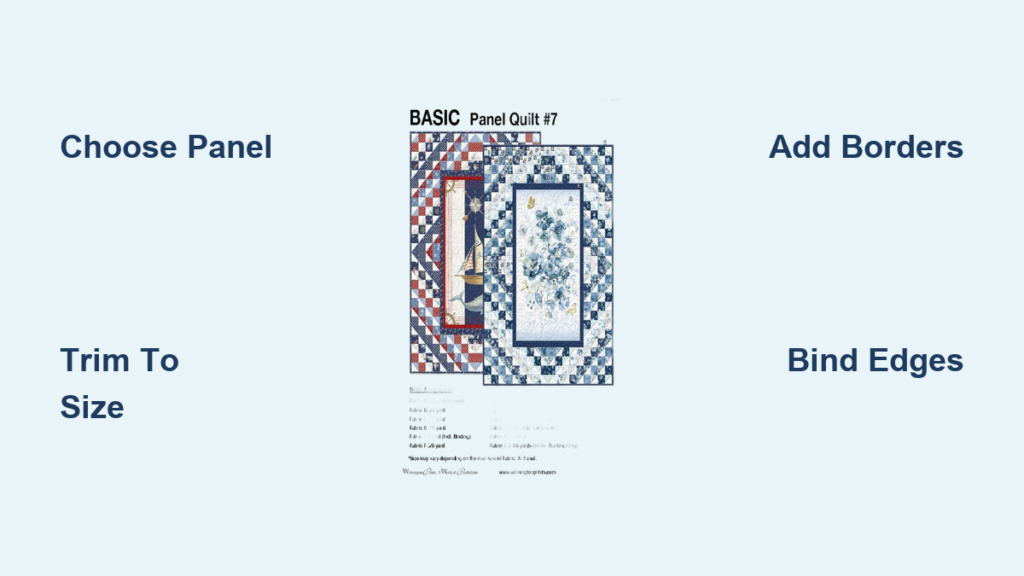
You’ve found the perfect printed fabric panel, but now you’re staring at it wondering where to begin. Many quilters feel intimidated by the idea of turning a flat printed image into a finished quilt, especially when measurements, borders, and binding all come into play. The good news is that learning how to make a quilt panel is one of the most accessible projects in quilting, and the result looks far more impressive than the effort required.
In this guide, you’ll discover how to choose the right panel, plan your design, cut and square with precision, add borders, quilt the layers, and finish with professional binding. Whether you’re crafting a baby quilt, wall hanging, or window covering, these techniques will help you create a polished heirloom piece on your first attempt.
Selecting the Perfect Quilt Panel for Your Project

Understand the Different Panel Formats
Fabric panels come in several formats, each suited to different projects. Large scenic panels typically cover half a yard, three-quarters, or a full yard of fabric and work beautifully as quilt centers. Smaller panels designed for pillows, wall hangings, or cut-and-sew projects offer more flexibility for block-based layouts. Many themed panels appear during holidays or feature baby-friendly motifs.
Some panels include built-in frames or borders that allow the design to stand alone with minimal enhancement. Others feature repeat patterns every 18, 27, or 36 inches, letting you cut multiple quilt tops from a single yard.
Inspect the Panel Before Cutting
Before you commit to a design, examine the panel’s edges and overall structure. Check whether the background can be cropped without losing key visual elements. Confirm that important details are centered and that any printed frames are intact.
Always verify grain alignment by checking whether the design runs parallel to the selvage. Panels can shift during printing or rolling, leading to a twisted appearance. If the grain is off, you’ll need to realign the fabric before cutting.
Planning Your Quilt Panel Design
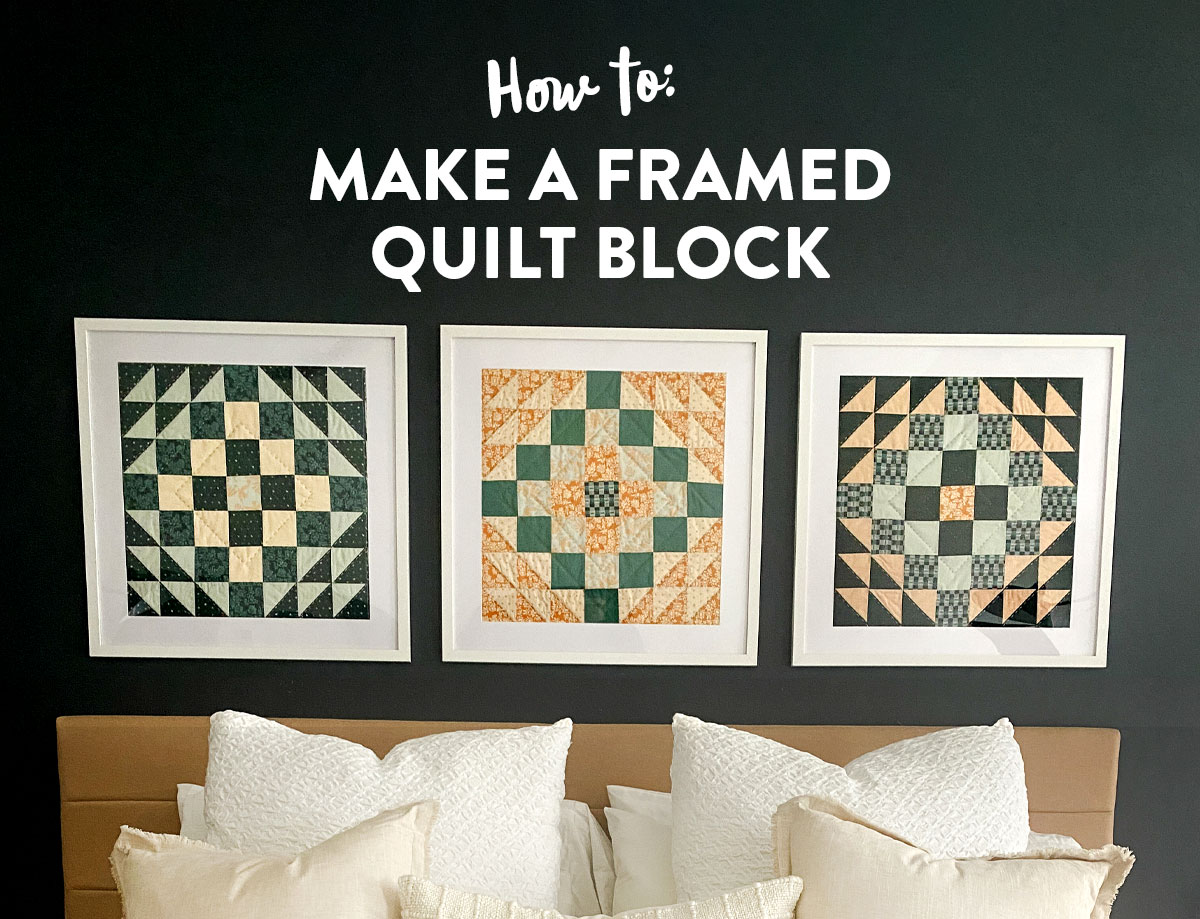
Start With Purpose or Panel First
Begin by deciding what drives your project. If you’re making a window covering, measure the glass precisely (such as 20 inches wide by 59.5 inches tall) and design the panel to fit. For bed quilts, standard finished sizes like 48 by 60 inches or 50 by 70 inches offer reliable starting points.
If you’re building around a beloved panel, let its colors guide your fabric choices. Many manufacturers include color swatches in the selvage, giving you exact coordinates for selecting solids and prints.
Explore Creative Layout Options
Several layout strategies work beautifully with quilt panels:
- Frame the panel like a picture with one or more borders
- Position the panel off-center and balance with sashing and blocks
- Deconstruct a large panel into sections for multiple smaller quilts
- Integrate smaller panels with traditional pieced blocks like stars or log cabins
- Arrange multiple panels in a memory-quilt style with coordinating filler fabric
Gathering Tools and Preparing Materials
Essential Supplies for Panel Quilting
Before you begin, gather these tools:
- Rotary cutter, clear ruler, and cutting mat
- Sewing machine equipped with a walking foot
- Iron and ironing board
- Basting supplies (pins, thread, or spray basting like Odif 505)
- 2.5-inch wide fabric strips for binding
- Batting and backing fabric cut 2 inches larger than the quilt top
Pre-Wash and Press All Fabrics
Pre-wash every fabric, including your panel, to prevent post-quilt shrinkage. Use cool water and mild detergent, then dry flat or on low heat. Press the panel gently with low heat and no steam to avoid distorting the print. Smooth out all wrinkles before measuring or cutting.
Purchase all coordinating and backing fabric at once to avoid dye-lot mismatches. If backing fabric runs short, piece it with matching prints or solids. This is standard practice and remains invisible in the finished quilt.
Cutting and Squaring Your Panel
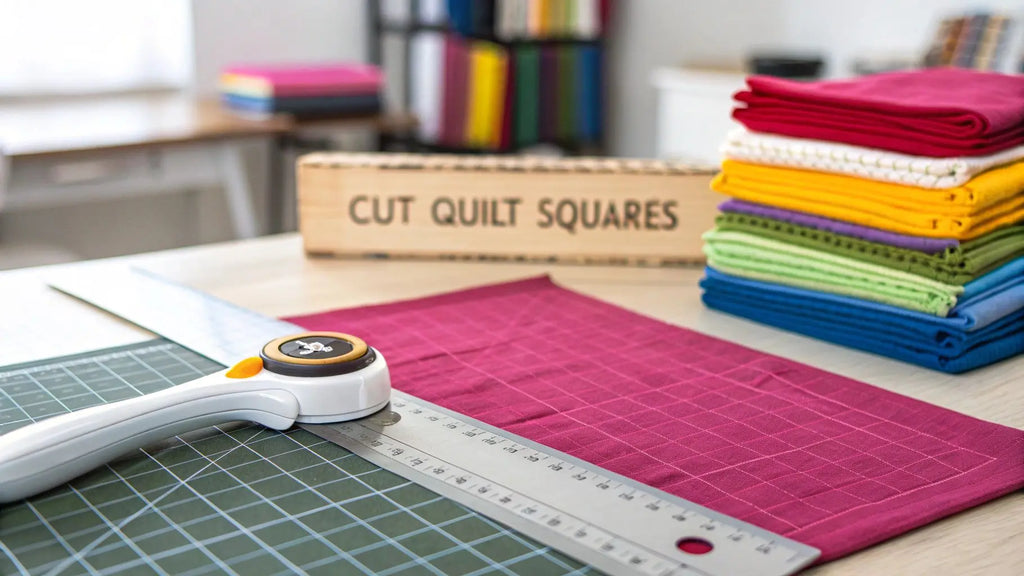
Straighten the Grain
Lay the panel flat on your cutting mat and align the selvage edge with a horizontal grid line. Check whether the design runs parallel to the grain. If it doesn’t, rotate the panel to find true grain, then trim the edges to square it up properly.
Trim to Your Desired Size
Decide how much background to retain around the main image. For a clean look, trim about ¼ inch outside the image. For framed designs, follow the printed edge precisely. Always add ½ inch total (¼ inch per side) for seam allowances when calculating your final cut size.
If your panel comes up slightly short, add coping strips (narrow fabric strips sewn to the edges) before attaching main borders.
Adding Borders That Frame Your Panel

Calculate Border Dimensions
A border width between 1.5 and 2 inches creates visual balance for most panels. Cut your strips using these measurements:
- Top and bottom borders match the panel width
- Side borders equal the panel height plus twice the border width
For example, a 20 by 30 inch panel with 2 inch borders requires top and bottom strips 20 inches wide and side strips 34 inches long.
Sew Borders in the Correct Order
Attach the top and bottom borders first using a ¼ inch seam allowance. Press seams toward the border to reduce bulk and keep the panel flat. Then attach the side borders and press again toward the border. This sequence prevents stretching and ensures your corners align perfectly.
Combining Panels With Pieced Blocks
Reconcile Mismatched Block Sizes
When combining panels with pieced blocks, sizes must align. If a panel block measures 9.75 inches and two adjacent 4 inch blocks total 8 inches, the difference is 1.75 inches. Use sashing to fill this gap.
Divide the difference by the number of gaps. For two spaces, each sashing strip finishes at 0.875 inches (cut 1.375 inches wide to include seam allowances).
Center Smaller Blocks Within Larger Spaces
To center a smaller block within a larger unit, subtract the smaller dimension from the larger, divide by two, and add seam allowances. This calculation gives you the sashing width needed on each side for perfect centering.
Using Quilt-As-You-Go for Faster Results
Build and Quilt Simultaneously
The quilt-as-you-go method reduces bulk and speeds finishing significantly. Spray-baste the panel to a matching piece of batting first. Then place the top border fabric right sides together with the panel and stitch with a ¼ inch seam.
Flip the border outward and topstitch near the seam to secure the batting. Repeat for all four sides. This creates a partially quilted top before you ever add the backing.
Assembling the Quilt Sandwich
Layer Backing, Batting, and Top
Start by laying the backing fabric face down on a large, clean surface. Smooth the batting over it, then place the quilt top face up on top of the batting. Ensure all layers lie flat and align properly. The batting should extend at least 1 inch beyond the quilt top on all sides.
Choose Your Basting Method
Three reliable basting options work for panel quilts:
- Spray baste by lightly spraying the backing, laying batting, spraying again, then adding the top. Heat-set with a warm iron.
- Pin baste using safety pins every 3 to 4 inches in a grid pattern.
- Thread baste with long stitches if pins or spray aren’t available.
Proper basting prevents shifting during the quilting process.
Quilting Your Panel With Confidence
Start From the Center Outward
Begin quilting in the middle of your project and work outward in one consistent direction, such as top to bottom. This approach prevents puckering and keeps tension even across the entire surface.
Try Straight-Line Quilting for Beginners
Straight-line quilting enhances the panel without distracting from it. Use a walking foot with a guide bar attachment to space lines evenly (such as 1 inch apart) without marking the fabric.
Choose thread that complements your panel. Medium tones blend well with most designs, while high-contrast thread works only when intentionally dramatic.
Manage Large Quilts on a Home Machine
Roll the side edges toward the center to reduce bulk under your machine arm. Sew the center section first, then unroll and reposition as needed. A cutting table helps you re-roll neatly between passes.
Squaring Up and Adding a Hanging Sleeve
Trim After Quilting
Quilting often distorts edges, so trimming afterward restores clean lines. Lay the quilt on a large cutting mat and use a ruler and rotary cutter to trim all four sides. Ensure corners measure exactly 90 degrees and edges run straight. Confirm your final dimensions match your target size, then baste around the raw edge to stabilize before binding.
Add a Hanging Sleeve for Wall Displays
A sleeve allows your quilt to hang smoothly on a rod. Cut a fabric strip the width of the quilt and 3 inches wide, adjusting for your rod’s diameter. Fold in half lengthwise with wrong sides together and hem the short ends.
Baste the raw edge to the top back of the quilt, then sew the sleeve in place when attaching the binding for extra strength. This method hides the seam and supports the quilt evenly.
Applying Binding for a Professional Finish
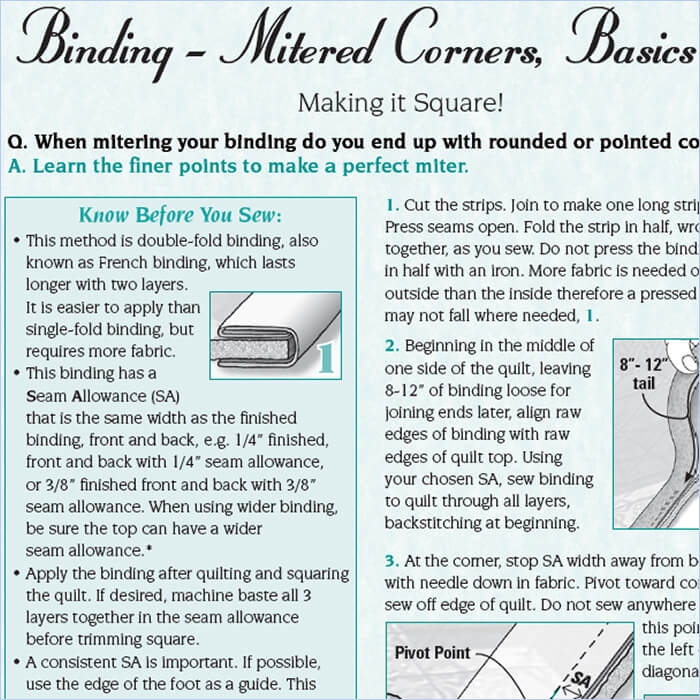
Cut and Prepare Your Binding Strips
Cut 2.5 inch wide strips of coordinating fabric. Join strips diagonally to minimize bulk at seams, then press in half lengthwise with wrong sides together.
Attach Binding and Miter Corners
Start binding 4 inches from a corner and stitch with a ¼ inch seam. Stop ¼ inch before the edge, fold the binding up at a 45 degree angle, then fold it down to continue along the next side. Repeat this technique for all corners.
Finish by Hand or Machine
You can machine-finish by stitching in the ditch from the front, catching the back binding as you go. Alternatively, hand-finish with a ladder stitch for an invisible closure. Press the final quilt gently for a crisp, polished look.
Troubleshooting Common Panel Quilt Problems
Fix a Wonky or Off-Grain Panel
If your panel is misaligned, realign the fabric by stretching it diagonally across the grain until the design squares with the selvage. Search for tutorials labeled “wonky panel” for visual guidance on this correction technique.
Correct Size Mismatches Between Blocks
When blocks don’t align, calculate the dimensional difference and add coping strips or sashing. Isolate the problem section and recalculate seam lengths to bring everything into harmony.
Prevent Backing Fabric Shortages
Always buy extra backing fabric upfront. If you come up short, piece the backing with leftover panel fabric or a matching solid. Seaming vertically down the middle is standard industry practice.
Caring for Your Finished Quilt Panel
Wash and Store With Care
Pre-washing prevents shrinkage distortion during construction. After completion, wash in cold water on a gentle cycle and dry flat or on low heat. Always follow the care instructions specific to your fabrics.
Ensure Long-Term Durability
Dense quilting and proper basting prevent bearding, where batting fibers poke through the surface. A walking foot reduces stress on seams throughout construction, extending your quilt’s lifespan.
Add a Label for Provenance
Sew a fabric label to the back of your quilt with your name, the completion date, and the quilt’s title. This small touch preserves the story behind your handmade piece for generations to come.
Frequently Asked Questions About Making a Quilt Panel
What is the easiest way to make a quilt panel for beginners?
The simplest method is to choose a pre-printed panel with a built-in frame, add one or two borders, and finish with straight-line quilting. This approach lets the panel do most of the visual work while you practice core techniques like cutting, basting, and binding.
How much extra fabric should I leave around a quilt panel?
Leave at least ¼ inch of background around the main image for seam allowances. If you prefer more visual breathing room, leave up to ½ inch. Always add a total of ½ inch (¼ inch per side) when calculating your final cut size.
Can I make a quilt panel without pre-washing the fabric?
Pre-washing is strongly recommended to prevent post-construction shrinkage that can distort your finished quilt. If you skip this step, your quilt may pucker or warp after its first wash, undoing all your careful work.
What size borders work best for a quilt panel?
Border widths between 1.5 and 2 inches create the most balanced look for most panels. Narrower borders feel delicate, while wider borders can compete with the central image. Adjust based on your panel’s scale and your design vision.
How do I hang a quilt panel on the wall?
Sew a hanging sleeve to the top back of your quilt before binding. The sleeve should match the quilt’s width and measure about 3 inches tall (adjusted for your rod’s diameter). Slide a rod through the sleeve and mount it on the wall.
Can I use quilt panels for projects other than bed quilts?
Absolutely. Panels work beautifully for tote bags, table runners, pillows, placemats, and wall hangings. Smaller panels can even be cut into individual images for memory quilts or incorporated into block-based designs.
Key Takeaways for Making a Beautiful Quilt Panel
Learning how to make a quilt panel opens the door to countless creative possibilities, from quick weekend projects to treasured heirlooms. The most important principles are letting the panel guide your color choices, accounting for seam allowances from the start, and pressing (not ironing) to avoid distorting the fabric.
Start with a simple design featuring one panel, a single border, and straight-line quilting. As your confidence grows, experiment with off-center placement, pieced block integration, and quilt-as-you-go techniques. Your next step is choosing your panel, gathering your supplies, and giving yourself permission to enjoy the process. Every quilt you finish teaches something new, and your first panel quilt will likely become a keepsake you treasure for years.

