
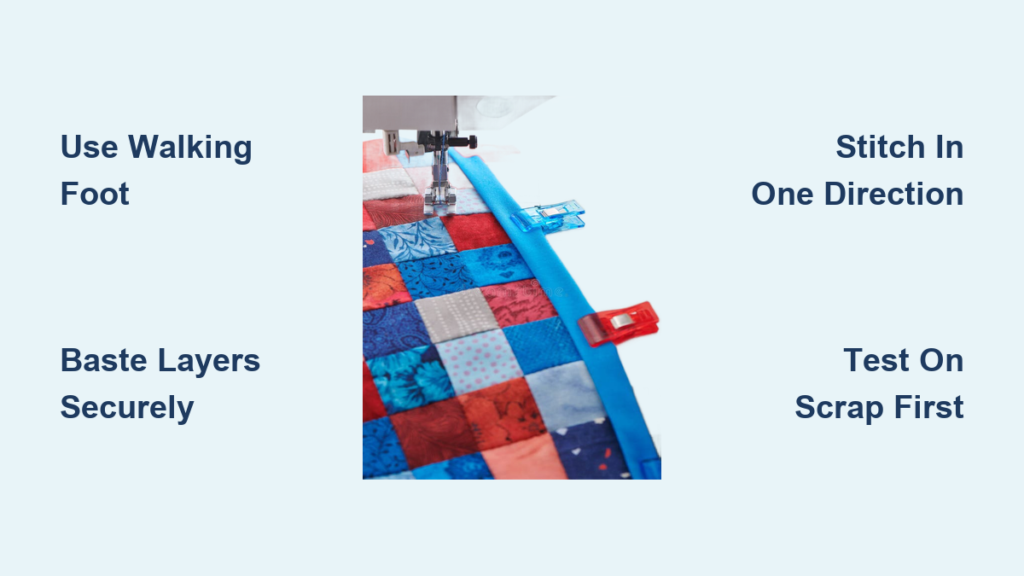
You’ve pieced your quilt top, picked the perfect backing, and cut your batting. Now comes the part that ties it all together. Learning how to sew a quilt with a sewing machine might feel overwhelming at first, but the process is far more approachable than most beginners expect. You don’t need a longarm machine or professional setup to create a beautiful, lasting quilt.
The secret lies in preparation and technique. From basting the layers securely to choosing the right needle and thread, every decision affects your final result. Skip the prep work and you’ll likely face puckering, shifting layers, or broken threads. Follow the steps below and you’ll gain full creative control, save money on professional quilting, and finish your project on your own schedule.
Must-Have Tools for Machine Quilting Success
Before you thread your machine, gather the right equipment. Using proper tools prevents frustration and produces smoother stitches from start to finish.
Pick a Sewing Machine Built for Quilting
Any standard domestic machine can handle quilting, but certain features make the job significantly easier. Look for these capabilities:
- Needle-down function: Locks the needle into the fabric when you lift the presser foot, which is critical for sharp pivots and clean corners.
- Adjustable stitch length: Lets you set longer stitches (3.0 to 4.0 mm) ideal for quilting layers.
- Walking foot or dual feed compatibility: Ensures all layers feed evenly through the machine.
Some machines, like the BERNINA 770QE, include built-in quilting modes that automatically adjust settings based on your thread and fabric. Even budget-friendly models work well when properly configured.
Use a Walking Foot for Straight Lines
For straight-line quilting, a walking foot is essential. This specialty presser foot has feed dogs on both the top and bottom, moving your quilt top, batting, and backing through the machine at the same rate. Without it, layers shift independently and create puckers, ripples, or bunching.
Switch to a Darning Foot for Free-Motion Designs
Want to add swirls, stippling, or custom motifs? Attach a darning foot (also called a free-motion or hopping foot). This setup requires lowering or covering your machine’s feed dogs and manually guiding the fabric in any direction. With practice, your machine becomes a drawing tool for continuous, artistic designs.
Choose the Right Needle and Thread
Using the wrong needle or thread leads to breakage, skipped stitches, and uneven results.
Needle Selection
- Use a machine quilting needle in size 90/14.
- The sharper tip punches cleanly through batting and multiple fabric layers.
- Replace the needle after each quilt, since dull needles cause skipped stitches.
Thread Pairing
| Layer | Weight | Reason |
|---|---|---|
| Top thread | 40wt cotton | Visible, strong, blends with fabric |
| Bobbin thread | 50wt cotton | Finer, reduces bulk, balances tension |
Set your stitch length to 3.5 mm when using 40wt thread. Always test on a scrap sandwich first to fine-tune tension.
Build a Flat, Stable Quilt Sandwich
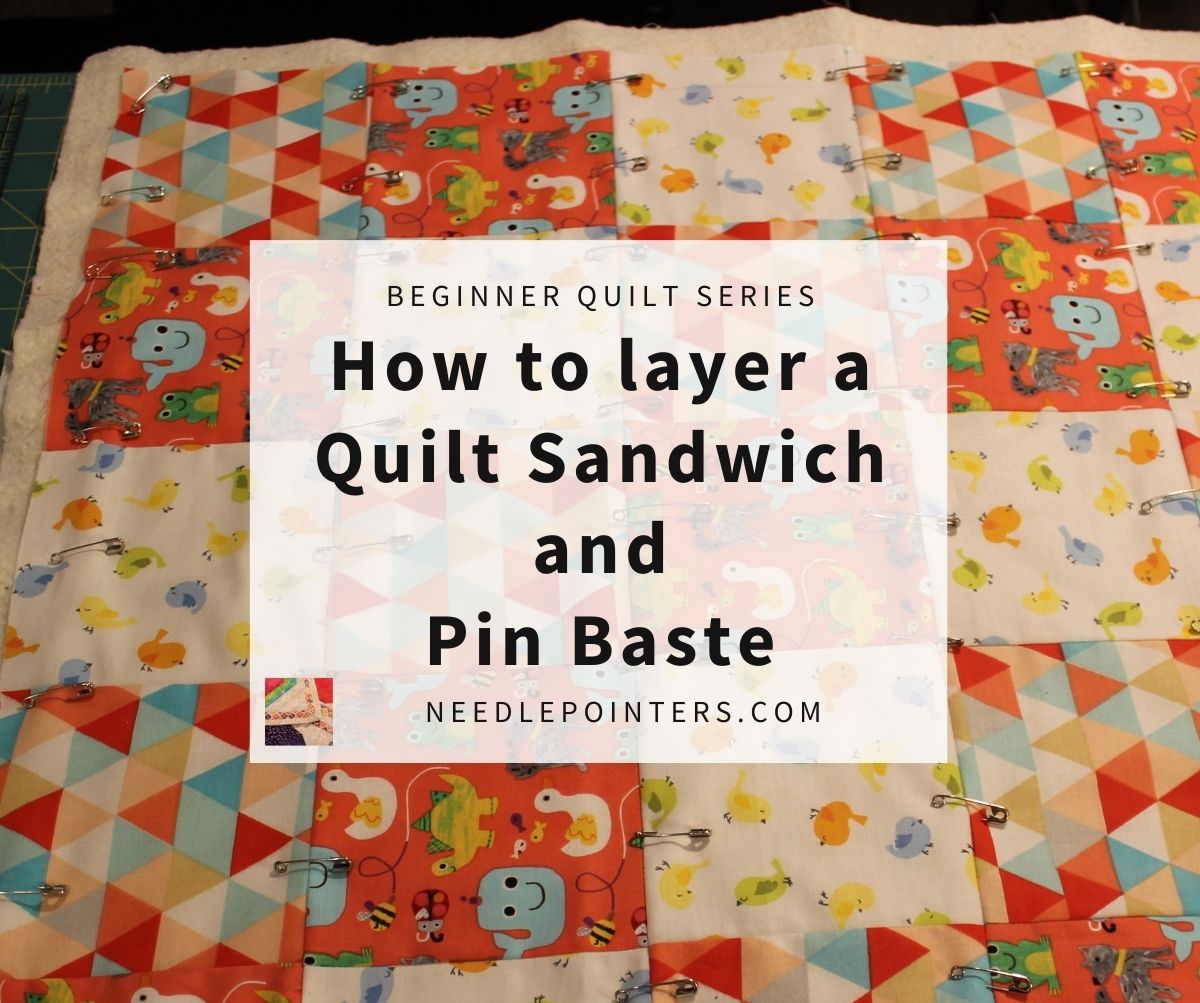
The foundation of great quilting is a smooth, secure quilt sandwich. It consists of three layers: backing, batting, and quilt top. Each layer must be sized correctly and held tightly in place.
Size Each Layer Correctly
Getting the proportions right prevents edge tucks and ensures every layer gets caught during quilting:
- Backing fabric: The largest layer. Extend it 2 to 3 inches beyond the quilt top on all sides.
- Batting: Slightly smaller than the backing but larger than the quilt top.
- Quilt top: The smallest layer, centered on top with the right side facing up.
If you piece the backing from multiple panels, sew them with right sides together, press seams to one side, and lay the fabric wrong side up during basting.
Baste with Spray Adhesive and Safety Pins
Loose layers ruin quilting. Use both spray basting and safety pins for maximum hold. Here’s how to do it:
- Tape the backing to the floor. Lay it wrong side up and secure the edges with painter’s tape. Pull it taut but don’t stretch it out of shape.
- Smooth the batting on top. Center it over the backing, then smooth from the middle outward to remove wrinkles.
- Spray and add the quilt top. Lightly spray the batting, then lay your quilt top right side up. Smooth again from the center.
- Insert safety pins. Place curved quilter’s safety pins every 3 to 4 inches, with extra pins near edges and high-movement areas.
Spray reduces pin marks, while pins prevent slippage during pivoting. Using both gives you the best results.
Master Straight-Line Quilting Techniques
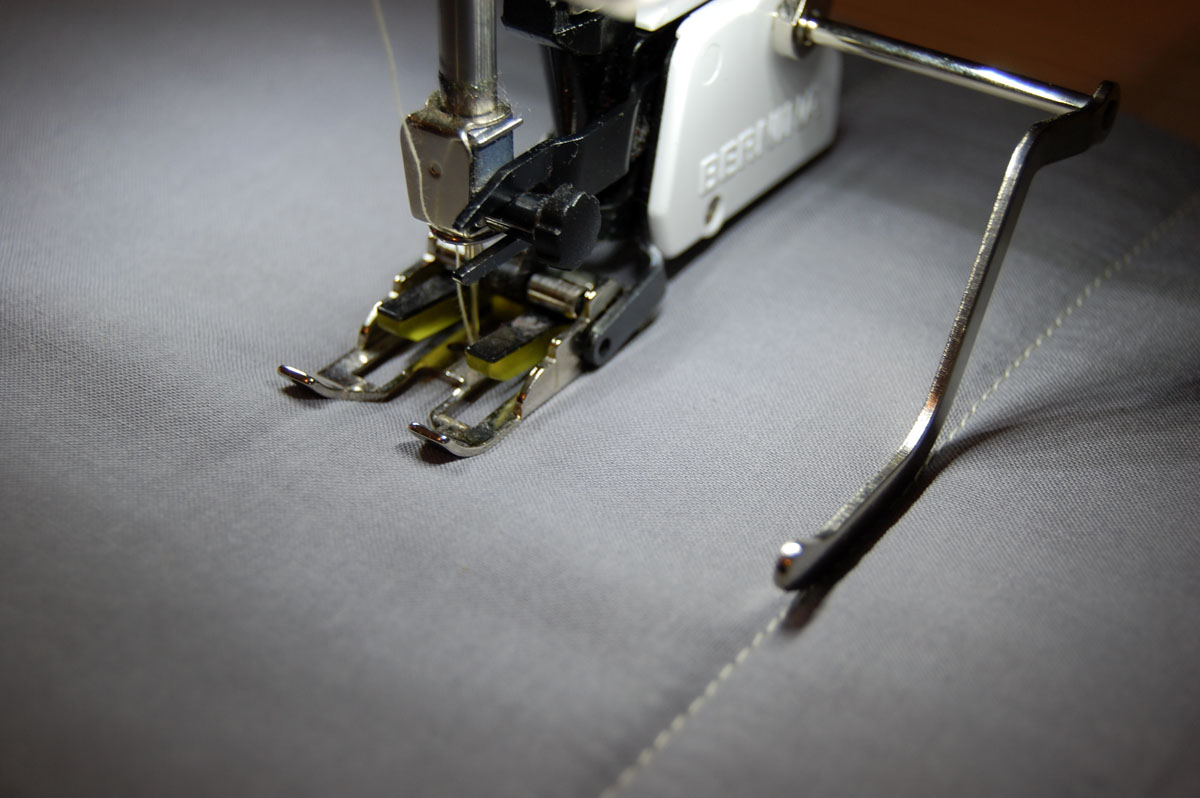
Straight-line quilting is perfect for beginners and creates a clean, modern look. With the right method, you can quilt large areas without distortion.
Plan Your Line Spacing
Decide how far apart your quilting lines will sit:
- 1 inch apart: Dense, warm, structured appearance.
- 2 to 3 inches apart: Lighter feel, faster to complete.
- Stitch-in-the-ditch: Sew directly along seam lines to secure layers without visible stitching.
Use masking tape, a Hera marker, or the edge of your walking foot as a guide.
Stitch in One Direction Only
To avoid fabric distortion, sew all lines in the same direction (top to bottom). Don’t sew down, pivot, and sew back up the same line. Opposite directions pull the fabric unevenly and create puckers.
Lock Stitches and Rotate the Quilt
Follow this sequence for clean, even results:
- Start at the top center. Lower the needle, lock your stitch, and sew to the bottom.
- Stop, lock the stitch again, and cut the thread.
- Return to the top for the next line.
- After half the quilt is done, rotate it 180 degrees so the bottom becomes the top. This maintains even tension across the entire piece.
Create Grid Patterns for Texture
For cross-hatch quilting, complete all vertical lines first. Then rotate the quilt 90 degrees and stitch all horizontal lines. This builds stability progressively and gives a textured, professional finish.
Explore Free-Motion Quilting for Creative Designs
Free-motion quilting (FMQ) opens up endless creative possibilities. Think loops, meanders, and custom motifs. It takes practice, but the results are well worth the effort.
Set Up Your Machine for FMQ
- Lower the feed dogs. They’re no longer needed since you’ll move the fabric by hand.
- Attach the darning foot. This lets fabric glide smoothly without sticking.
- Adjust the tension. Set it slightly looser than normal and test on a scrap sandwich.
Control Stitch Length with Speed
In free-motion quilting, your hands control direction while your foot pedal controls stitch length:
- Moving fabric slowly creates longer stitches.
- Moving quickly creates shorter stitches.
- Keep your speed consistent for even texture.
Practice on paper first. Trace designs to build muscle memory before stitching on fabric.
Try Stippling for a Beginner-Friendly Pattern
Stippling involves continuous, random loops with no crossing lines. It’s one of the easiest FMQ patterns and offers several benefits:
- Hides minor imperfections
- Adds rich texture
- Works on any quilt style
Start in the center, move outward, and keep the design flowing without lifting the needle until the section is complete.
Try Quilt-As-You-Go for Easier Assembly

If handling a large quilt feels overwhelming, consider the quilt-as-you-go (QAYG) method. You quilt each block before joining them, which makes managing bulk much easier.
How QAYG Works
- Cut batting and backing to match each quilt block (add a ½ inch seam allowance).
- Layer the block, batting, and backing together.
- Quilt each unit individually.
- Sew the quilted blocks together like regular patches.
Why Beginners Love This Method
- No wrestling with a giant quilt sandwich
- Easier to control tension and alignment
- Perfect for pre-cut bundles like charm packs
This approach works beautifully for lap quilts, baby quilts, and wall hangings.
Avoid Common Quilting Mistakes
Even experienced quilters run into problems. Knowing what to watch for helps you fix issues before they ruin your project.
Prevent Puckering and Bunching
Puckers usually mean layers moved at different rates. Fix this by:
- Using a walking foot consistently
- Checking your basting and adding more pins if needed
- Ensuring the backing wasn’t stretched too tight during basting (it may shrink when stitched)
Stop Needle and Thread Breakage
If your needle snaps or thread frays, take these steps:
- Replace the needle. Quilt layers dull needles fast.
- Verify needle size. Use 90/14 for 40wt thread.
- Re-thread the machine with the presser foot up to seat the thread correctly.
Always Test on a Scrap Sandwich First
Before touching your final quilt, test your setup on a small sample:
- Layer scrap pieces of backing, batting, and top fabric.
- Quilt a few lines or a small design.
- Check stitch quality, tension balance, and needle performance.
Adjust your settings now, not on the finished project.
Manage Bulk for Smooth Stitching
The thicker your quilt, the harder it is to maneuver under the machine. Use these tricks to maintain control.
Roll the Quilt Sides
- Roll both left and right sides tightly toward the center.
- Work only on the flat section under the needle.
- As you quilt downward, unroll a bit and re-roll the finished side.
This keeps weight off the table and prevents dragging.
Support the Weight Properly
Letting the quilt hang or drag causes pulled stitches. Instead:
- Work at a large table
- Use quilt gloves for better grip
- Slide the quilt smoothly without yanking
Keep your hands under the quilt to support it as you move.
Finish Your Quilt with Clean Binding
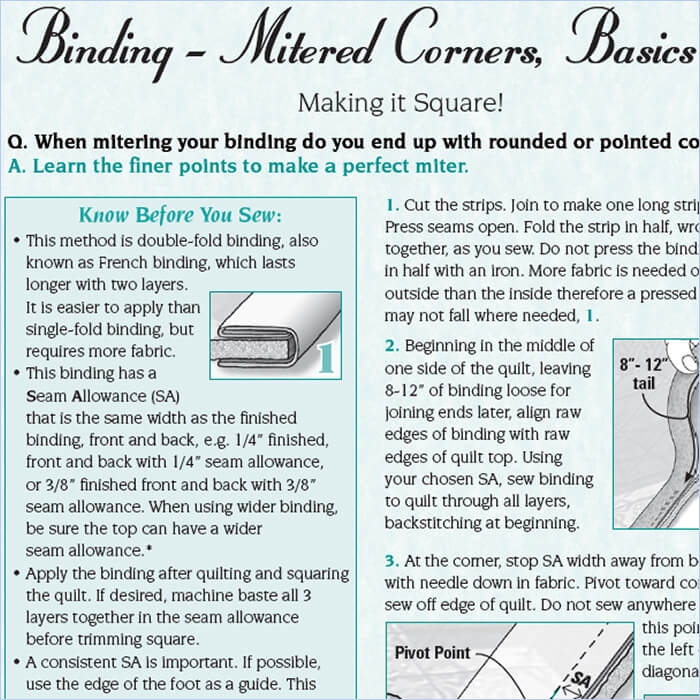
Once quilting is complete, trim and bind the edges for a polished look.
Trim the Edges Evenly
- Use a large square ruler and rotary cutter.
- Align the ruler with the quilt top edge.
- Cut the backing and batting flush with the top. No gaps, no overhang.
Make sure corners are square for clean mitered binding.
Apply Double-Fold Binding
- Cut 2.5-inch-wide strips of fabric.
- Sew them to the front edge with a ¼-inch seam.
- Miter corners by folding diagonally at each turn.
- Fold the binding to the back and hand-stitch or machine-stitch it in place.
Binding protects raw edges and gives your quilt a professional, store-bought appearance.
Frequently Asked Questions About Machine Quilting
Can you sew a quilt on a regular sewing machine?
Yes. Any standard domestic sewing machine can quilt, provided it has a needle-down function, adjustable stitch length, and walking foot compatibility. You don’t need a longarm machine to produce beautiful results at home.
What stitch length should I use for machine quilting?
Set your stitch length between 3.0 and 4.0 mm when using 40wt thread. A length of 3.5 mm works well for most projects. Longer stitches prevent excessive perforation and let the thread sit properly within the quilt layers.
Do I need a walking foot to quilt?
For straight-line quilting, a walking foot is essential. It feeds the top and bottom layers at the same rate, preventing shifting, bunching, and puckering. Without it, your quilt top may feed faster than the backing and create ripples.
How do I stop my quilt from puckering while sewing?
Puckering happens when layers move at different rates. Use a walking foot, baste thoroughly with both spray and safety pins, and stitch all lines in one direction rather than oscillating up and down. Also, avoid stretching the backing too tightly during basting.
What is the easiest quilting method for beginners?
Straight-line quilting is the most beginner-friendly technique. It requires minimal setup, produces clean results, and helps you master layer management. Once comfortable, you can progress to free-motion quilting or quilt-as-you-go methods.
How do I keep my quilt from bunching under the machine?
Roll both sides of the quilt tightly toward the center and work only on the flat section under the needle. As you progress, unroll a bit and re-roll the finished side. Working at a large table with quilt gloves also helps maintain control.
Key Takeaways for Sewing a Quilt with a Sewing Machine
Learning how to sew a quilt with a sewing machine comes down to three essentials: proper tools, thorough preparation, and smart technique. Start with a walking foot, machine quilting needles, and quality cotton thread. Baste your quilt sandwich with both spray adhesive and safety pins to keep layers stable. Choose a technique that matches your skill level, whether that’s straight-line quilting, free-motion designs, or quilt-as-you-go assembly.
Your next step is simple: gather your materials, build a small test sandwich, and practice your chosen technique on scrap fabric before committing to your full quilt. Each project builds muscle memory and confidence. Before long, you’ll finish quilts that look professionally made, all from your home sewing machine.

