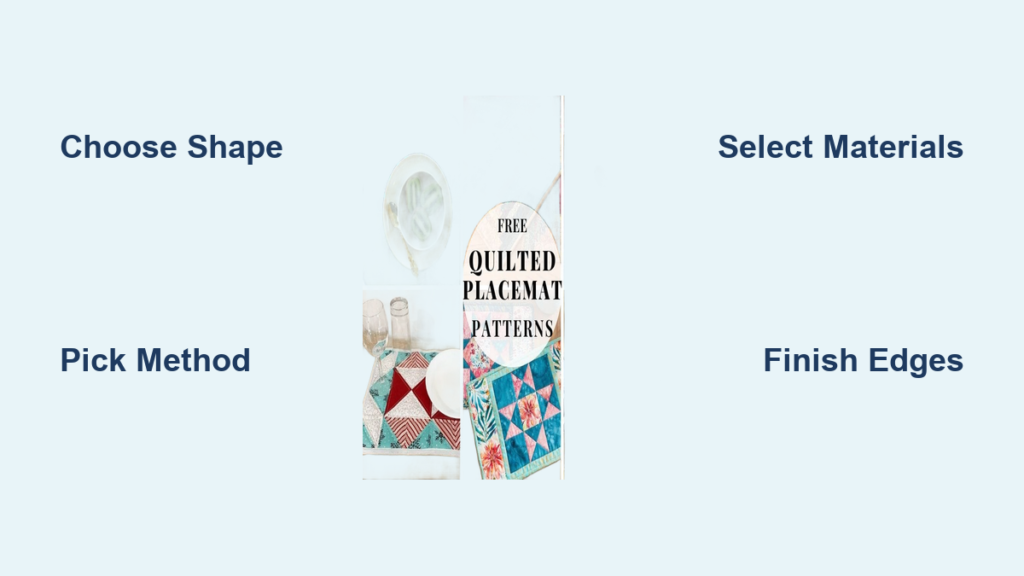
A handmade placemat quilt pattern is one of the most satisfying projects you can tackle, whether you’re brand new to quilting or a seasoned stitcher. These small, functional pieces let you experiment with color, shape, and technique without committing to a full-size quilt. Most placemats use standard 12×18 inch dimensions and can be finished in under an hour using modern shortcuts.
In this guide, you’ll discover how to pick the right shape, choose a construction method, select materials, and assemble a set of placemats you’ll actually want to show off at every meal. You’ll also find tips for adapting patterns to your skill level and caring for your finished work so it lasts for years.
Pick the Right Placemat Shape for Your Table
Compare Popular Silhouettes
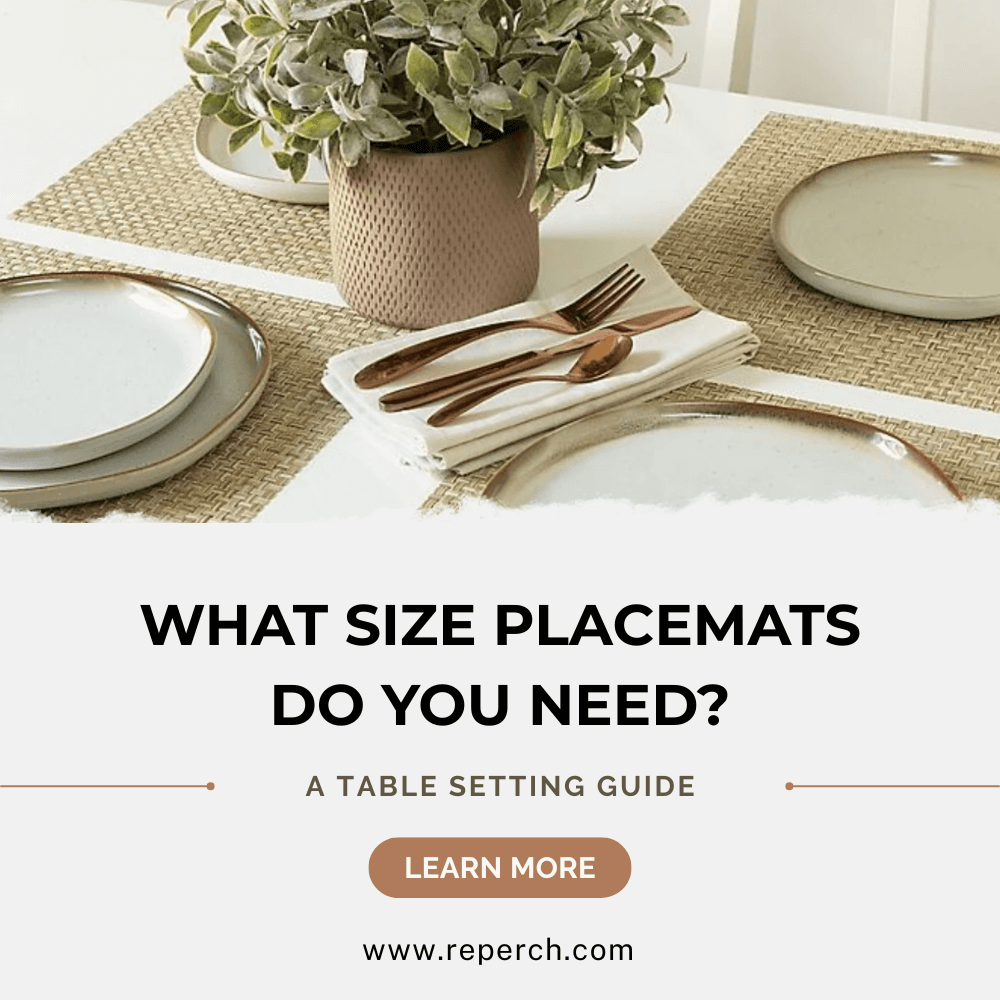
Rectangular placemats measuring 12×18 inches remain the most common choice because they fit standard dinner plates with room to spare. For compact tables, a 12×16 inch size works beautifully. Round and oval shapes bring a softer, more elegant feel but require curved piecing skills. Hexagon designs offer a modern, geometric vibe and work wonderfully with improvisational layouts. Novelty shapes like leaves, stars, or pumpkins shine during holidays and add personality to seasonal tablescapes.
Match Shape to Skill Level
If you’re just starting out, rectangles or squares are your best friend. They cut cleanly and sew with simple straight seams. Hexagons and ovals demand more precision, though templates make them manageable. Curved braided patterns create stunning oval results and often come bundled with table runner patterns. Save fussy cutting and Y-seams for after you’ve built confidence with strip-based or patchwork rectangles.
Choose a Construction Method That Fits Your Style
Use Quilt-As-You-Go for Speed
Quilt-As-You-Go (QAYG) is the fastest way to finish a placemat quilt pattern. This technique quilts each section as you assemble it, so you skip the separate quilting step entirely. It’s ideal for making sets of four placemats, four coasters, and two hot pads in under an hour. Many QAYG designs are reversible when you choose a coordinated backing fabric. Pre-printed batting kits, like the June Tailor Log Cabin set, guide your stitching and simplify the process even further.
Try the Bindingless Method for Beginners
The bindingless approach eliminates the need for separate binding strips. After layering your top, batting, and backing, fold the backing fabric over the front edge and stitch it in place. To get sharp corners, snip a small diagonal triangle off each corner before turning. This reduces bulk and keeps your points crisp. The method works best with lightweight cottons and is perfect for scrappy or charm pack projects.
Go Traditional for a Polished Finish
Traditional piecing means sewing a quilt top, layering it with batting and backing, quilting all three layers together, then binding the edges. This approach allows for intricate quilting designs and mitered corners. A walking foot helps feed multiple layers evenly through your machine. It takes longer than QAYG, but the result looks professional and gift-ready.
Pick a Theme or Style You Love
Design Seasonal Holiday Placemats
Switching your table decor with the seasons keeps things fresh. For Christmas, try red-and-green prints, gnome motifs, or log cabin blocks. Thanksgiving calls for fall leaves, pumpkins, and burlap with frayed edges for a rustic feel. Halloween designs lean into spooky cats, ghosts, and novelty prints. Spring and summer themes shine with tulips, coneflowers, and bright modern fabrics.
Explore Modern and Rustic Aesthetics
Modern placemats lean into bold colors, improv hexagons, and sashiko-style stitching. Try asymmetrical layouts or high-contrast strip piecing for a contemporary edge. Rustic styles embrace upcycled denim from old jeans, burlap, and fringed edges. Denim placemats are durable, eco-friendly, and develop a charming patina over time. For beach or ocean themes, batik fabrics in blues and greens with wave patterns create a coastal vibe.
Select the Right Materials for Your Project
Cut Fabric Efficiently
For a standard 12×18 inch placemat, cut your fabric to 12×36 inches to allow for folding and seam allowances. One charm pack containing 42 five-inch squares yields enough 2.5 inch squares for four placemats. Jelly rolls made of 2.5 inch strips work beautifully for log cabin, braided, or round designs, and one roll can make a full set. Fat quarters are ideal for focal fabrics in center-block designs. Scraps shine in patchwork or improv styles, making them perfect for clearing out your stash.
Choose Batting Based on Function
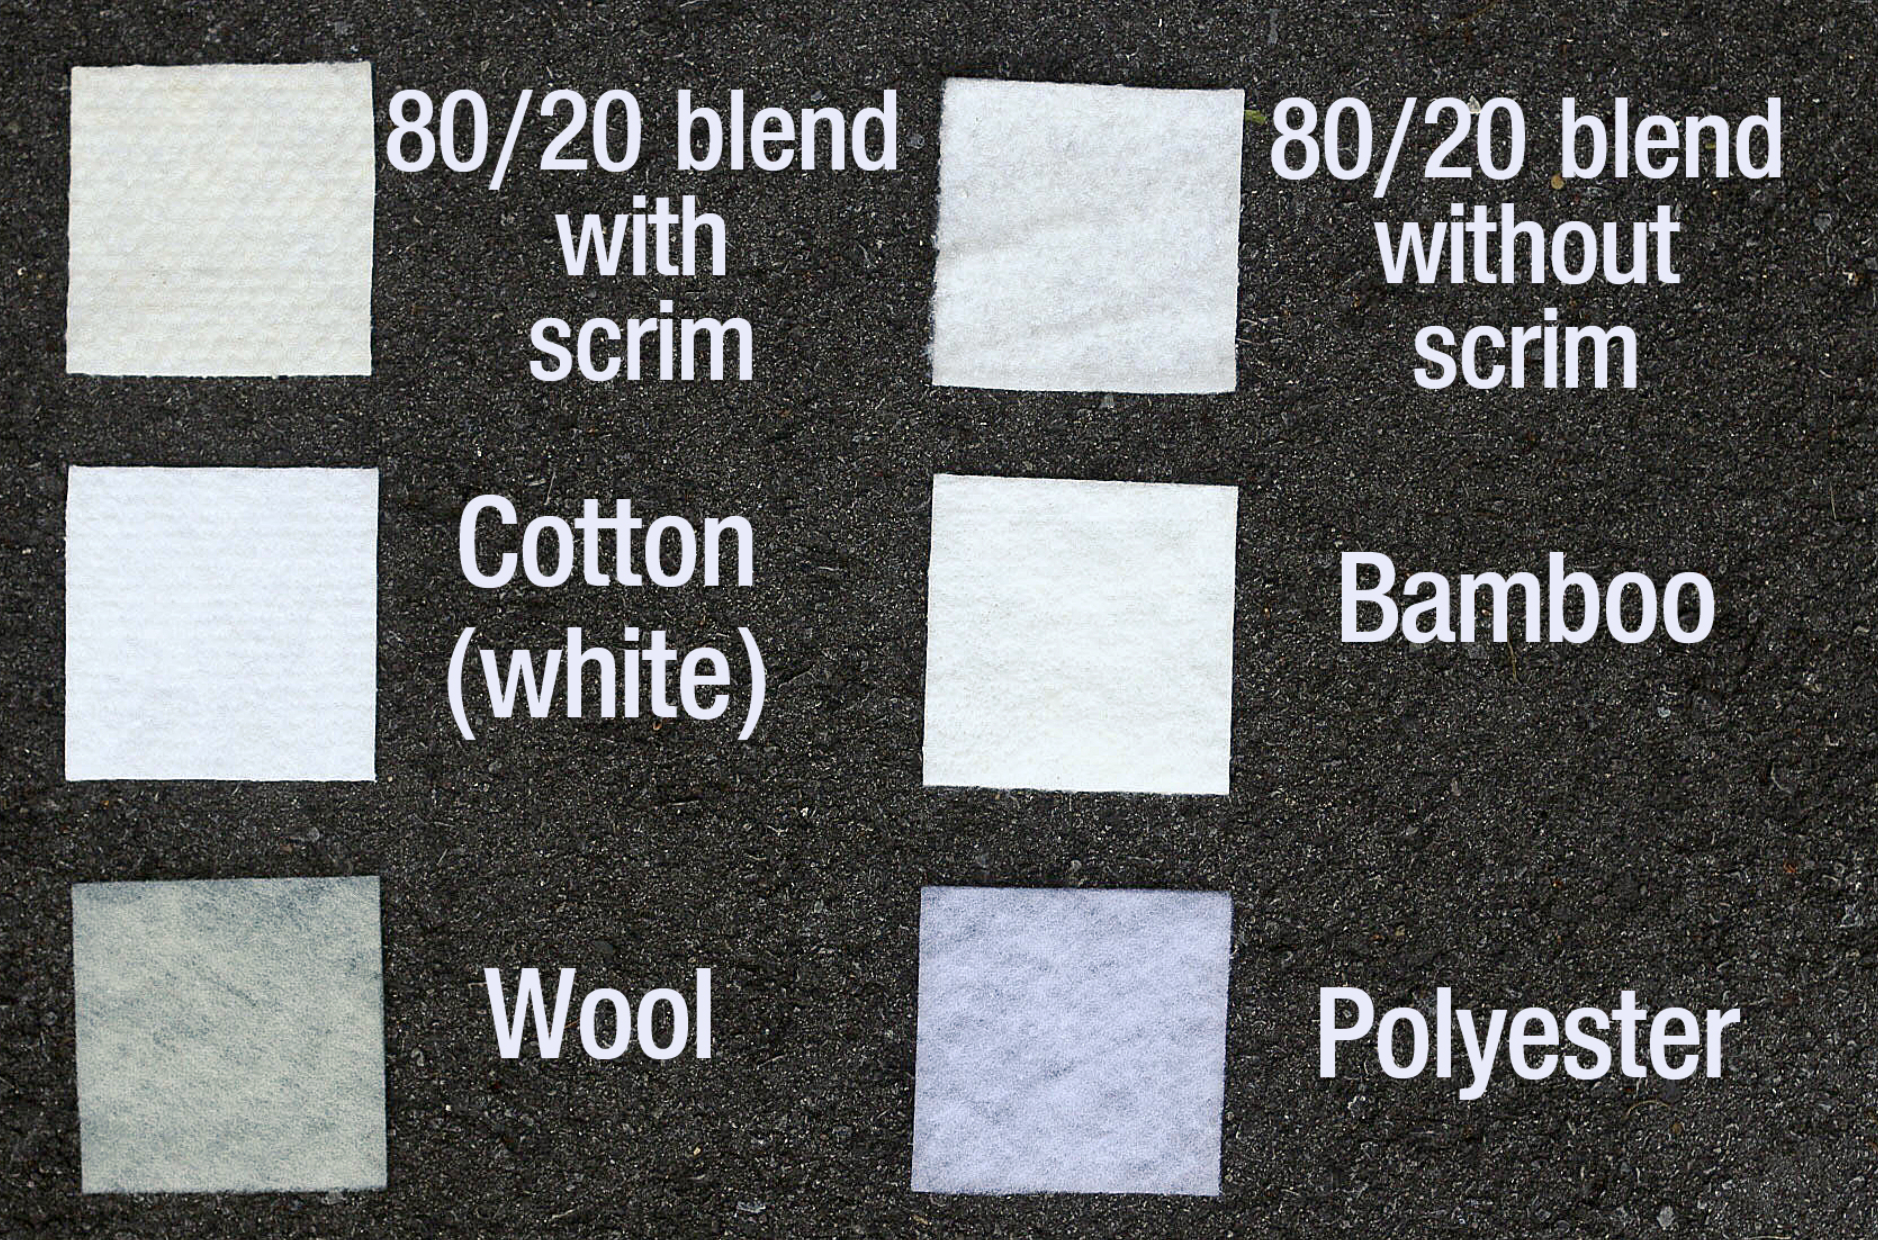
For placemats that only hold plates, cotton, bamboo, or polyester batting all work well. If you want extra softness and drape, try “Soft and Sable” batting for a luxurious, slightly puffy finish. When hot dishes will touch the mat, always use heat-resistant insulating batting to protect your table. Regular batting can melt or transfer heat dangerously, so never substitute it for hot pot use.
Build a Reversible Placemat for Double the Value

Design Both Sides Thoughtfully
Reversible placemats double your styling options. Flip them to match different table settings or rotate them through the seasons. Choose two coordinating prints: one for your main theme and another for contrast. The bindingless method or QAYG both ensure both sides look finished. For a surprise pop, pick a fun print like polka dots or stripes for the back.
Prevent Bulk at the Corners
Bulk at the corners causes puckering in reversible mats. To avoid this, trim the seam allowance diagonally at each corner before turning. This reduces fabric volume and helps corners stay sharp. Use a chopstick or turning tool to gently push out points. Press flat immediately after turning for a crisp, clean edge.
Follow a Step-by-Step Assembly Process
Cut and Piece the Top
Start by cutting all fabric pieces to size. For patchwork, sew 2.5 inch squares into rows, then join the rows together. For strip piecing, sew jelly roll strips end-to-end in a log cabin or braided layout. Press seams flat after each step to reduce bulk. If using Foundation Paper Piecing (FPP) for Square-in-Square blocks, follow the numbered sequence carefully and remove papers after stitching.
Layer and Quilt the Sandwich
Layer your placemat with the backing right side down, batting in the middle, and quilt top right side up. Pin or baste to prevent shifting. For QAYG, quilt as you assemble by stitching through all layers of each unit before adding the next. For traditional quilting, stitch in the ditch, echo quilt, or add free-motion designs. A walking foot helps manage thick layers smoothly.
Finish the Edges Cleanly
For traditional binding, cut 2.5 inch strips, miter the corners, and attach with a quarter-inch seam. Fold to the back and hand-stitch or machine-stitch in place. For the bindingless method, fold the backing over the front by a quarter inch, then again to encase raw edges, and topstitch around the perimeter. A mitered-binding tool helps achieve sharp corners on rectangular mats.
Adapt Patterns to Your Skill Level
Start With Beginner-Friendly Projects
Beginners should try bindingless placemats, simple strip piecing, or fusible appliqué. These require minimal precision and finish quickly. A 10-minute burlap mat with fringed edges makes a great first project. Video tutorials are especially helpful, and many show how to make a full set in under 20 minutes using QAYG.
Tackle Intermediate Techniques
Intermediate quilters can explore Foundation Paper Piecing, reverse appliqué, or improv hexagons. FPP requires careful stitching and paper removal but delivers precise results. Reverse appliqué involves cutting a top layer to reveal a colorful backing, and it’s hand-sewn and time-consuming but creates stunning designs perfect for special occasions.
Create Themed and Coordinating Sets
Build Matching Tabletop Collections
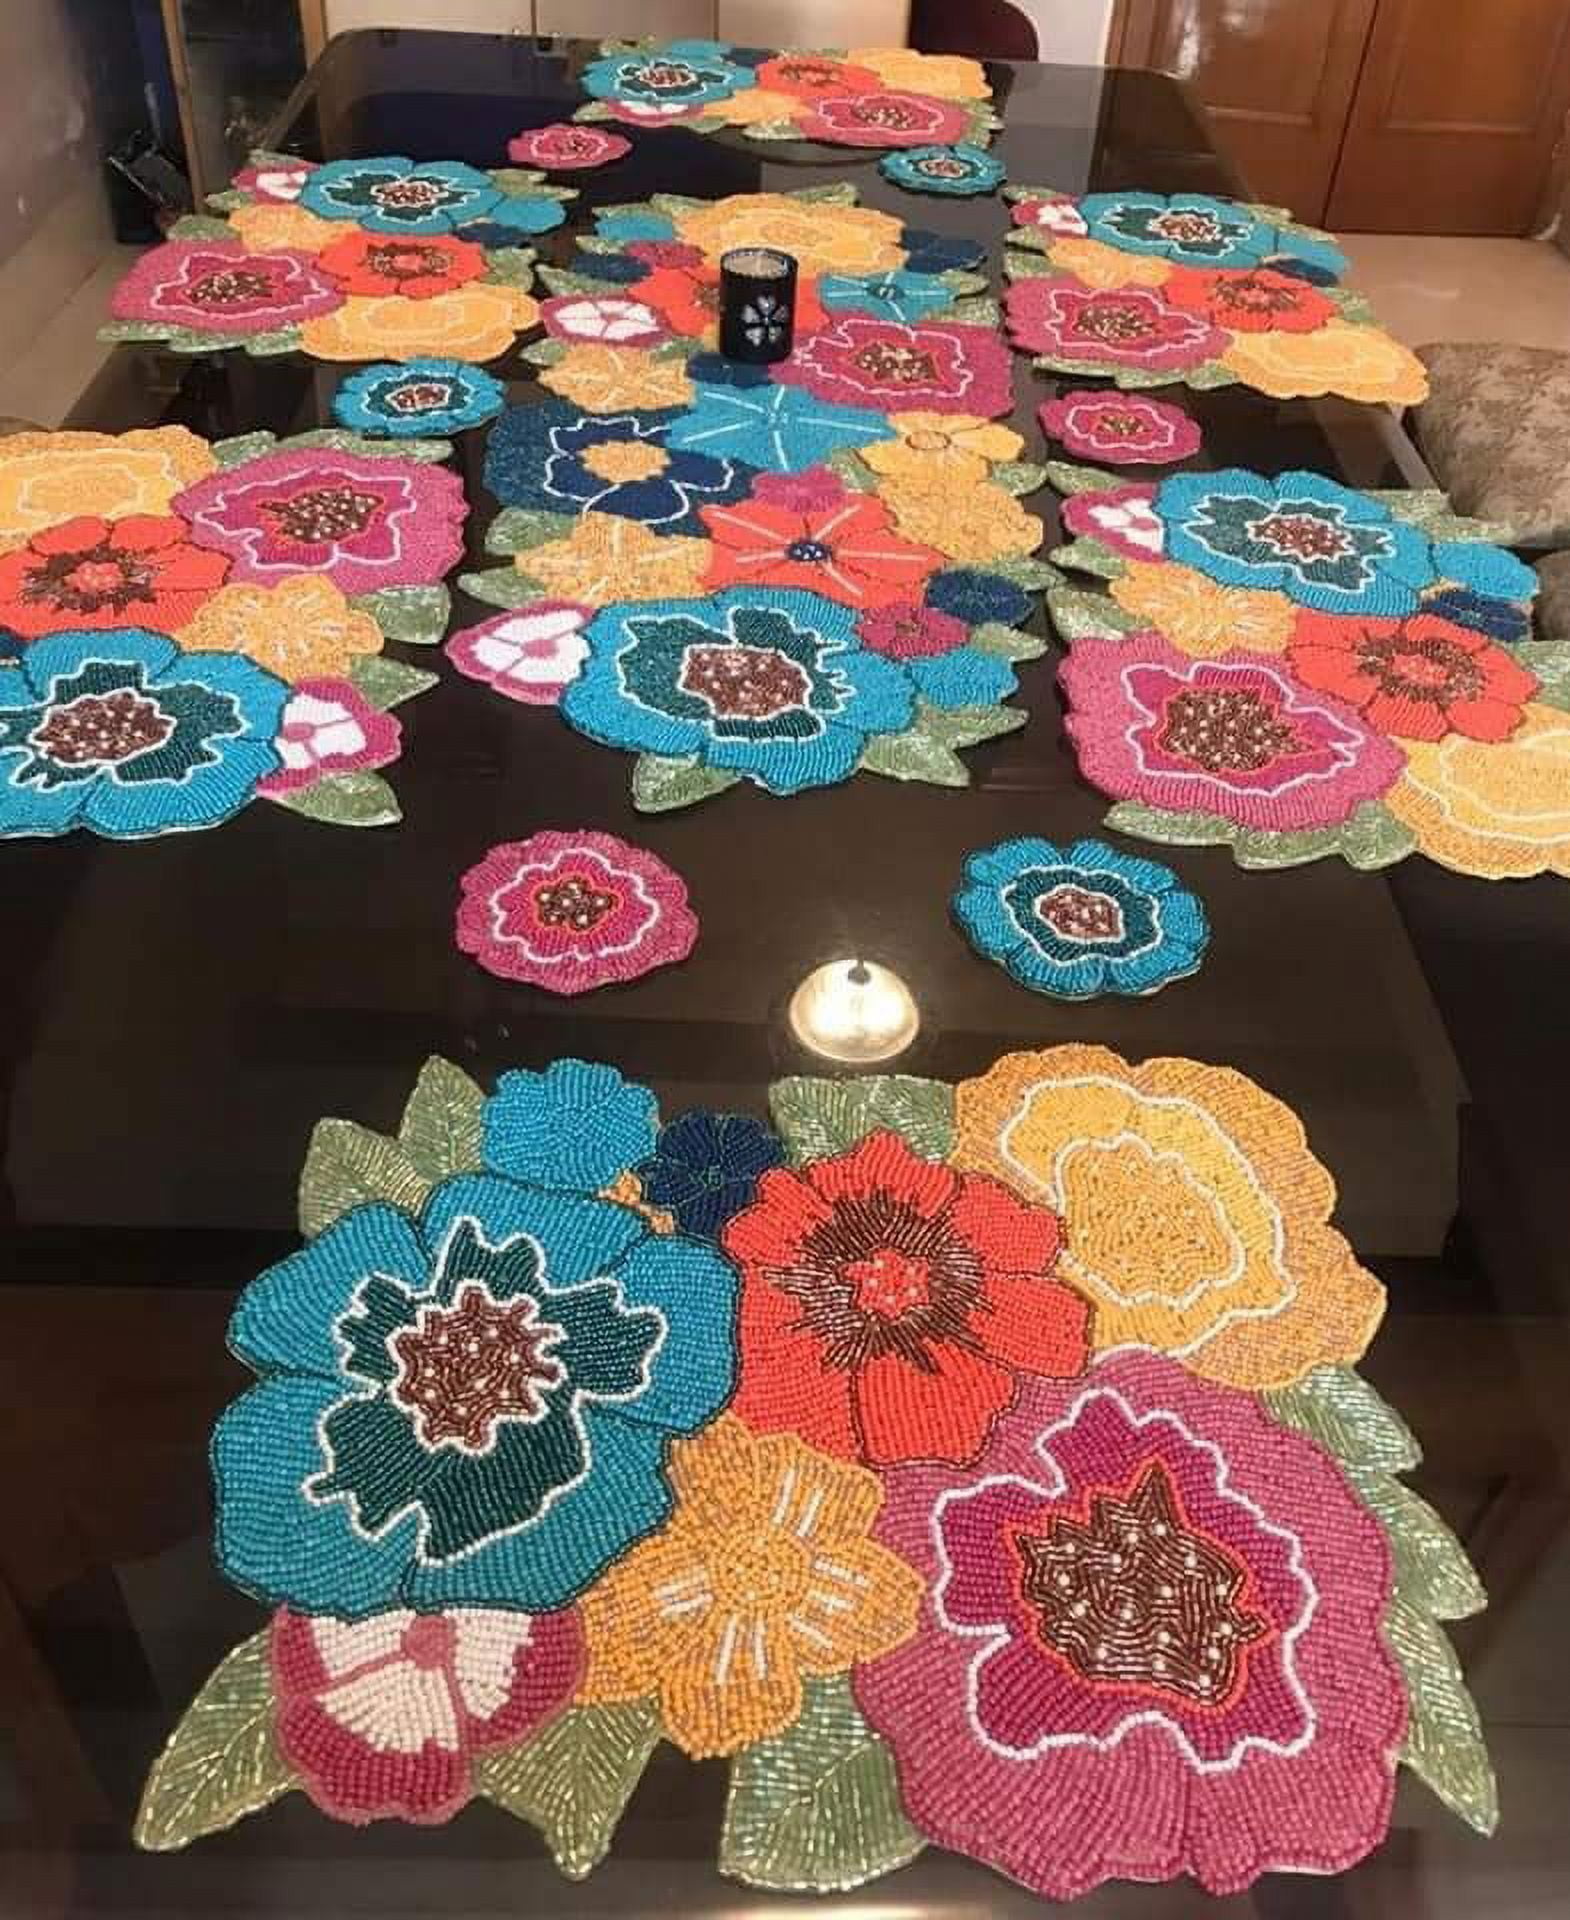
Many placemat quilt pattern designs come with matching table runners, coasters, and napkins. Look for sets like “Making Waves” or “Green Patchwork” that offer full coordination. A tabletop trio of placemats, runner, and napkins makes an impressive housewarming gift. Use the same fabric line across all pieces for a unified look.
Package Gift-Ready Sets
Placemats make ideal handmade gifts. Package a set of four or six in a large gift box for easy storage. Add a wooden trivet or tea towel for a complete gift basket. Popular themes like gnomes for Christmas or floral prints for spring sell well and delight recipients. Finished sets of floral cotton mats retail around $69.49, making DIY versions a budget-friendly alternative.
Maintain and Store Your Placemats Properly
Wash and Care With Gentle Methods
Most quilted placemats are machine washable in cold water on a gentle cycle. Air dry or tumble dry low to prevent shrinkage, especially with denim or cotton. Avoid bleach to protect colors. For burlap or fringed edges, hand wash or use a mesh laundry bag to prevent unraveling. Iron on low heat, particularly over fusible appliqués.
Store to Prevent Creases and Damage
Store placemats flat or rolled in a large box to avoid deep creases. If your mats feature yo-yos, trims, or 3D elements, avoid folding to prevent crushing. Keep them in a dry place to prevent mildew. Rotate seasonal sets to extend fabric life and keep your table decor fresh year-round.
Frequently Asked Questions About Placemat Quilt Patterns
What Is the Standard Size for a Quilted Placemat?
The most common placemat quilt pattern size is 12×18 inches, which fits standard dinner plates comfortably. For smaller tables, a 12×16 inch version works well. Mug rugs and coasters typically measure around 8.5×10.5 inches and are often made in sets of three.
How Long Does It Take to Sew a Placemat?
Time varies by method. A simple bindingless placemat or 10-minute burlap mat can be finished in under 20 minutes. A QAYG placemat quilt pattern usually takes 15 to 30 minutes per mat. Traditional piecing with detailed quilting can take an hour or more per piece, especially for beginners.
Can I Use Regular Batting for Hot Dishes?
No. Regular cotton, bamboo, or polyester batting is fine for plates and cold items, but it can melt or transfer heat when exposed to hot cookware. Always choose heat-resistant insulating batting for placemats that will hold hot pots or pans to protect both your table and your project.
What Fabric Works Best for Beginner Placemats?
Lightweight quilting cotton is ideal for beginners. It presses cleanly, sews easily, and holds its shape well. Charm packs, jelly rolls, and fat quarters are perfect starter fabric bundles. For rustic projects, burlap and denim offer forgiving textures that hide small imperfections.
How Many Placemats Can I Make From One Charm Pack?
One standard charm pack containing 42 five-inch squares yields enough 2.5 inch squares to create four placemats. This makes charm packs one of the most efficient fabric sources for a coordinated placemat quilt pattern set.
Are Placemats Good Gifts?
Absolutely. Handmade placemats are thoughtful, practical gifts for housewarmings, holidays, and birthdays. Package a set of four in a large gift box with a coordinating table runner or tea towel for an impressive presentation. Seasonal themes like Christmas gnomes or spring florals are especially popular.
Key Takeaways for Choosing Your Next Placemat Quilt Pattern
Start by matching your shape and method to your skill level. Rectangles with the bindingless method are perfect for beginners, while intermediate quilters can explore Foundation Paper Piecing or improv hexagons. Choose materials based on function, and always use heat-resistant batting if hot dishes will touch the mat.
Pick a theme that excites you, whether that’s modern geometrics, rustic denim, or seasonal holiday prints. Build a coordinated set with matching runners and coasters for a polished look. Finally, care for your finished placemats with gentle washing and flat storage to keep them looking beautiful for years.
Your next step: browse charm packs or jelly rolls in your favorite color palette, pick a simple bindingless placemat quilt pattern, and set aside one evening to sew your first set. You’ll have a finished, functional project before bedtime.