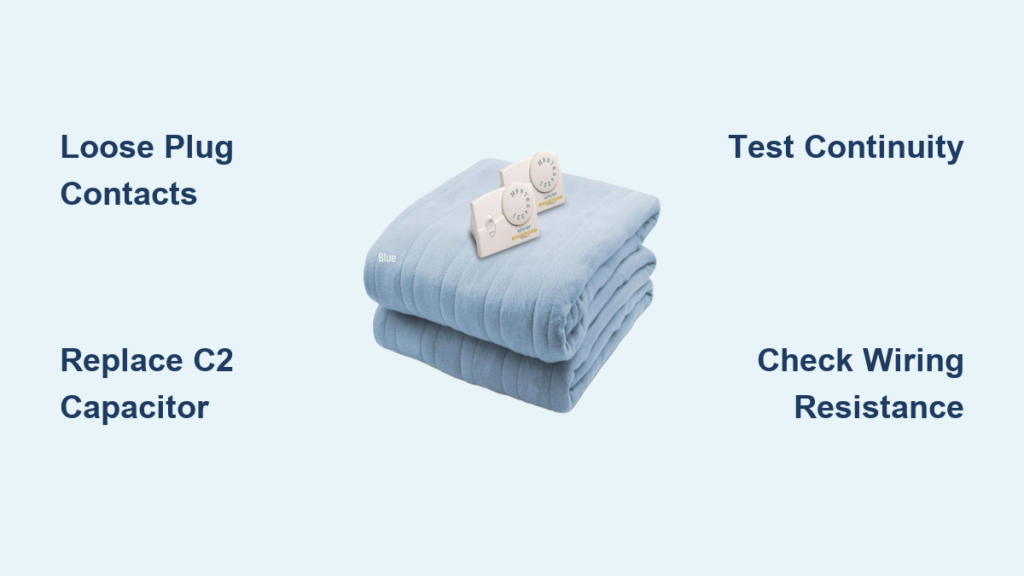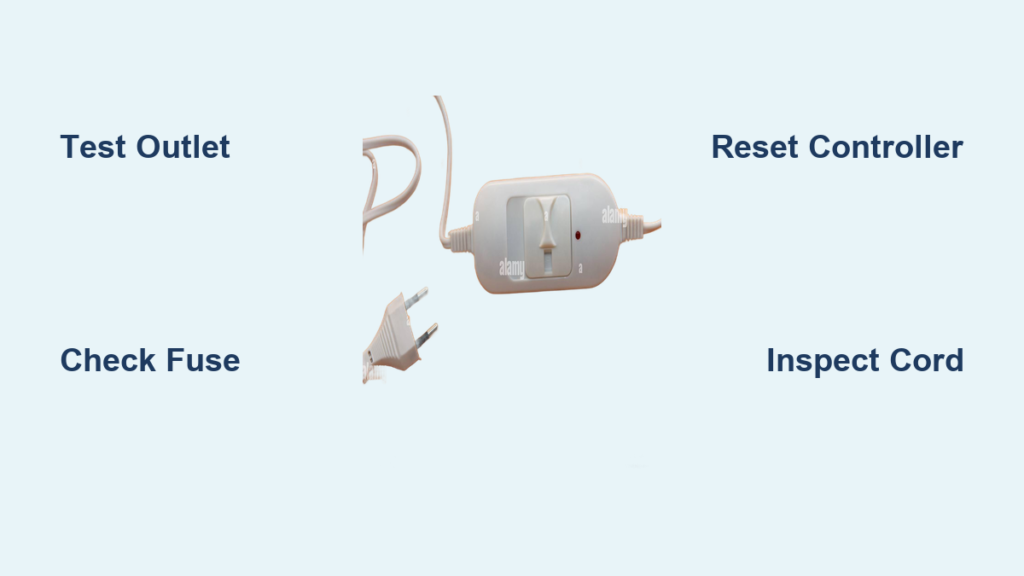
Is your electric blanket switch not working? You are not alone. Thousands of users report sudden failures where blankets will not heat, controllers show no light, or one side stops responding entirely. When the switch fails, especially in cold weather, it is more than inconvenient. It can leave you shivering through the night. The good news is that most issues are not with the blanket itself but with the controller or power delivery. In this guide, you will learn how to diagnose, fix, or replace a non-working electric blanket switch safely and effectively.
Check Power Source First
Before opening the controller, rule out the simplest cause: bad power. Many electrical issues that look like switch failures are actually just power delivery problems.
Test the Outlet Properly
Many users plug in their blanket and assume the outlet works because a phone charger or lamp turns on. But electric blankets draw 50 to 150 watts, far more than low-power devices. A weak outlet may not deliver enough current.
Do this:
• Unplug the blanket.
• Plug in a high-draw device like a hairdryer, space heater, or vacuum.
• Turn it on. If it runs weakly or trips the breaker, the outlet is faulty.
Try multiple outlets on different circuits. Avoid kitchens or bathrooms where GFCI outlets may have tripped silently.
Avoid Extension Cords
Using an extension cord is a top cause of switch failure. Long or thin cords cause voltage drop, starving the controller. Even if the light flickers, it may not get enough power to boot.
Plug the blanket directly into the wall. No exceptions.
Reset GFCI/AFCI Outlets
Ground-fault (GFCI) or arc-fault (AFCI) outlets can trip without obvious signs. They are common in bedrooms and bathrooms.
How to reset:
• Find outlets with Test and Reset buttons.
• Press Reset firmly.
• Plug in the blanket and test.
If it trips again, there may be moisture or a short. Stop using and inspect.
Inspect Physical Connections

A loose or damaged connection can mimic a dead switch. Before assuming the controller is broken, check every connection point.
Examine Cord and Plug
Look for:
• Frayed wires near the plug or controller
• Burn marks or melted plastic
• Loose strain relief (the rubber boot where cord enters the switch)
If the cord wiggles inside the controller, the internal solder joints may be broken.
Ensure Full Insertion
Some controllers have a two-part connection. The cord plugs into the wall, and the controller snaps onto the blanket. Make sure the wall plug is fully seated and the controller is clicked firmly into the blanket connector. No pins should be bent or corroded.
Use a flashlight to check for dirt, lint, or moisture in the port.
Reset the Controller
Some electric blanket controllers lock up due to power surges or thermal trips. This simple fix works in about 15% of reported cases.
Power Cycle the Unit
Steps:
1. Unplug the blanket from the wall.
2. Wait 5 to 10 minutes. This discharges capacitors and resets the circuit.
3. Plug back in.
4. Press the power button.
Watch for a brief flash of light or display, a click or beep, or sustained LED illumination. If it lights up now, the issue was temporary. If it flashes 3 or E and dies, there is still a deeper fault.
Diagnose Internal Failures
If power and connections check out, the problem is inside the controller. Opening the unit voids the warranty and exposes 120V mains voltage. Only proceed if you are experienced with electronics.
Open the Controller With Caution
Tools needed:
• Small flat-head screwdriver (often for security screws)
• Plastic pry tool
• Insulated gloves (recommended)
Most controllers are clipped shut. Gently pry open the case. Avoid cracking the plastic.
Test the Thermal Cut-Off Fuse

The thermal cut-off (TCO) fuse is the number one cause of dead switches. It is a small white component on the circuit board, rated 108C or 2A. It permanently breaks the circuit if the controller overheats, which is common if the controller is placed under pillows or blankets.
The fuse cannot reset. If blown, it must be replaced.
How to Test the Fuse
- Set multimeter to continuity or resistance.
- Touch probes to both ends of the fuse.
- Read result:
• 0 ohms or beep = good
• OL (infinite resistance) = blown
Replace with a 108C or 120C 2A fuse. Never bypass this critical safety device.
Check for Bad Solder Joints
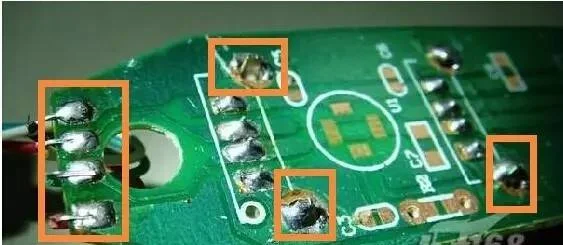
Thermal cycling (heating and cooling) can crack solder, especially near high-heat parts like the TCO fuse or power terminals.
Look for Cold Joints and Cracks
What to look for:
• Cracked or dull solder joints (not shiny)
• Lifted pads on the circuit board
• Broken wires at stress points
Reflow the Solder
Steps:
1. Heat the iron to 350C (662F).
2. Touch the tip to the suspect joint.
3. Add a small amount of fresh solder.
4. Let cool without moving.
Focus on power input terminals, TCO fuse leads, and strain relief anchor points. This often restores power in units that flicker or die randomly.
Replace Faulty Diodes and Resistors
A shorted diode can kill the entire circuit. The common type is IR4SS7 or equivalent surface-mount diode.
Test the Diode
- Set multimeter to diode mode.
- Touch probes:
• Forward bias (anode to red, cathode to black): approximately 0.5V
• Reverse bias: OL (no conduction)
If it conducts both ways, it is shorted. Replace it. Match polarity. The cathode (striped end) must align with the board marking.
Check Resistors
Two common values are 1.8k (Brown-Gray-Red-Gold) and 4.7k (Yellow-Violet-Red-Gold). Measure resistance and compare to color code. Tolerate plus or minus 5%. Some resistors are in parallel, so combined reading may be lower.
Repair the Strain Relief
The cord entry point is a failure hotspot. Bending or pulling can break internal wires or solder joints.
Rebuild the Strain Relief
Materials needed:
• Heat-shrink tubing (3:1 ratio)
• Electrical tape
• Super glue (optional)
Steps:
1. Slide large-diameter heat-shrink over the cord.
2. Build up thickness with tape or smaller tubing to match original size.
3. Heat evenly to shrink.
4. Insert into housing.
5. Add a drop of super glue inside to lock it in place.
6. Let cure fully before use.
This prevents future wire breaks.
Clean Switch Contacts
Membrane switches can fail due to dust, debris, moisture from hands, or corrosion.
Cleaning Steps
- Remove the rubber button pad.
- Dip a cotton swab in 90% or higher isopropyl alcohol.
- Clean contacts on both the membrane and circuit board.
- Let dry 10 to 15 minutes.
- Reassemble.
Avoid using contact cleaner with lubricants because it can attract more dirt.
Test the Heating Element
If the controller works but the blanket does not heat, the issue may be in the blanket itself.
Test With Multimeter
- Unplug everything.
- Set meter to continuity.
- Touch probes to the two pins on the blanket connector.
- Result:
• Beep or low ohms = good
• OL = open circuit (broken wire)
Heating elements break from folding, pets, or general wear. If open, the blanket must be replaced.
Reassemble and Test Safely
After repair, ensure no exposed wires. Cover with electrical tape or heat-shrink. Secure all components so nothing rattles.
Power On Test
- Plug in without the blanket if possible. LED should light.
- Attach blanket.
- Test all settings:
• Low: approximately 124V output
• High: approximately 228V output - Run for 30 minutes. Controller should be warm, not hot. No flickering or shutdowns.
Stop immediately if you smell burning or see smoke.
When to Replace Instead of Repair
For units under 1 to 3 years old, do not repair. Contact the manufacturer instead.
Top brands with replacement programs:
• Biddeford: Offers replacement controllers (model KTBH-DDN-2)
• Sunbeam: Customer support for unresponsive controls
• Amazon Basics: Full refund or replacement via customer service
Provide the model number or photos if no label exists.
For unbranded or generic blankets, message the seller. Most will send a free replacement.
Prevent Future Failures
Extend your blanket life with these tips:
• Never tuck controller under bedding. It traps heat and trips the TCO.
• Use on Setting 1 or 2. Users report longer life.
• Preheat on high for 45 minutes, then switch to low.
• Unplug when not in use. It reduces thermal stress.
For storage, store flat or loosely rolled. Keep dry and away from pets. Chewed wires are a common failure cause.
Final Verdict: Repair or Replace
Yes, repair if you are experienced with electronics, the blanket is high-quality or expensive, and you have proper tools and safety gear.
No, do not repair if the unit is under warranty, fabric or wires are damaged, or you are uncomfortable with 120V circuits.
Most electric blankets are designed to be disposable. Repairing internal components risks fire or shock. For 90% of users, replacement is safer and cheaper.
Frequently Asked Questions About Electric Blanket Switch Not Working
Why does my electric blanket switch have no power at all?
The most common cause is a blown thermal cut-off fuse inside the controller. Test the outlet first with a high-draw device. If the outlet is good, open the controller and test the TCO fuse with a multimeter. If it reads OL (infinite resistance), the fuse is blown and must be replaced.
Can I fix my electric blanket switch myself?
You can if you have experience with electronics and proper tools. You can replace the thermal fuse, clean contacts, or repair solder joints. However, opening the controller voids the warranty and exposes dangerous voltage. For most users, replacement is safer.
Why does my controller flash briefly then go dark?
This usually indicates a partial boot-up interrupted by insufficient power or a failing component. Try power cycling (unplug for 10 minutes). If it still flashes 3 or E and dies, the thermal fuse is likely blown or a capacitor is failing.
Why does one side of my dual-control blanket not work?
This is common with dual-controller setups. One controller may have failed while the other works. Contact the seller or manufacturer for a replacement controller. Provide the model number if available.
Is it safe to use an extension cord with an electric blanket?
No. Extension cords cause voltage drop, which can prevent the controller from getting enough power. This is a leading cause of switch failure. Always plug directly into a wall outlet.
Key Takeaways for Fixing Your Electric Blanket Switch
Most electric blanket switch failures stem from three root causes: power delivery issues, blown thermal fuses, or damaged connections. Start by testing the outlet with a high-draw device to rule out power problems. Then check all physical connections for damage or looseness. If those check out, the thermal cut-off fuse inside the controller is likely blown and needs replacement.
For most users, warranty replacement or purchasing a new blanket is the safer and more cost-effective choice. Electric blankets operate at mains voltage, and improper repairs create fire and shock risks. Only attempt DIY repair if you have proper tools, experience, and safety awareness. If your blanket is under warranty, contact the manufacturer immediately rather than opening the controller.