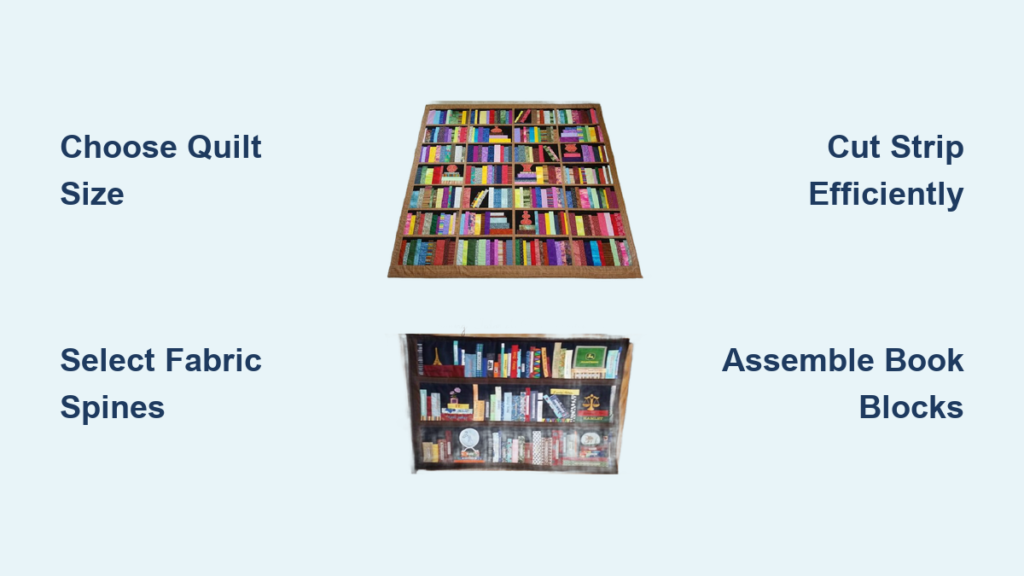
You’ve seen the charming bookshelf quilts popping up on social media. These clever designs mimic stacks of books arranged on a shelf, complete with colorful spines and playful titles. The good news? You don’t need advanced quilting skills to make one. A bookcase quilt pattern is a fun, beginner-friendly project that delivers impressive results with simple piecing techniques. Whether you’re crafting a gift for a book lover or adding a cozy literary touch to a reading nook, this pattern blends creativity and craft in a unique way.
Using basic cotton fabrics and easy strip piecing, you can assemble a quilt that looks like an organized bookshelf in no time. The illusion comes from careful fabric selection and strategic block arrangement. From choosing your “book spines” to assembling shelves and borders, every step builds toward a whimsical, personalized design. In this guide, you’ll learn how to create a bookcase quilt from start to finish, including layout tips, fabric selection, and assembly tricks that save time and boost visual impact.
Choose Your Quilt Size
Before cutting any fabric, decide on the finished size of your bookcase quilt. The size affects how many books you can fit and the overall visual balance of your project.
Standard Quilt Dimensions
Most bookcase quilt patterns follow common throw or lap quilt sizes:
- Wall Hanging: 24″ x 36″ (ideal for small spaces)
- Lap Quilt: 50″ x 60″ (great for couch throws)
- Twin Size: 68″ x 88″ (fits a full bookshelf illusion)
Larger quilts allow for more book blocks and detailed arrangements. Smaller versions work well for gifts or nursery decor.
Plan Book Block Spacing
Each book in the quilt is a vertical rectangle, typically 2″ to 3″ wide. For a balanced look, use these guidelines:
- 2.5″ wide strips for most books
- A few 1.5″ or 3.5″ blocks to simulate different thicknesses
- 0.5″ sashing between books to mimic shelf dividers (optional)
Sketch your layout on graph paper or use a quilting design app to preview spacing and proportions.
Select Fabrics for Book Spines

The magic of a bookcase quilt pattern lies in the fabric choices. Each book spine should look distinct, like real books on a shelf.
Use Coordinating Prints and Solids
Choose a mix of fabric types to build visual variety:
- Striped fabrics to mimic lined notebooks or journals
- Polka dots and geometrics for children’s books or colorful spines
- Textured solids like denim or tone-on-tone prints for hardcover realism
- Novelty prints with letters, numbers, or book-themed designs
Limit your palette to 4 to 6 colors to maintain cohesion. A classic combination might include navy, cream, rust, sage, and mustard.
Add Faux Book Titles
Make your bookcase quilt more playful by adding embroidered or fabric-painted titles. You can use fusible web with fabric letters, hand-stitch titles in perle cotton, or apply heat-transfer vinyl for crisp text.
Popular fake titles include “How to Quilt,” “The Art of Napping,” “Mom’s Coffee is Gone,” and “Adventures in Laundry.”
Cut Fabric Strips Efficiently

Speed up construction with strip piecing. This method cuts and sews long strips before sub-cutting them into book blocks.
Prepare Background and Sashing
Cut the following from neutral fabric such as cream or gray:
- Horizontal sashing: 2.5″ x width of quilt (optional)
- Vertical spacers: 0.5″ x height of book block for shelf edges
Skip sashing for a tight-packed bookshelf look, or use it to define rows.
Cut Book Spine Strips
From your selected fabrics, cut 2.5″ wide vertical strips in varying lengths between 6″ and 9″. Mix strip widths by including some 1.5″ and 3.5″ strips for variety. Rotate fabric direction for added visual interest, alternating horizontal and vertical patterns.
Label strips by width to keep assembly organized.
Assemble Book Blocks in Rows
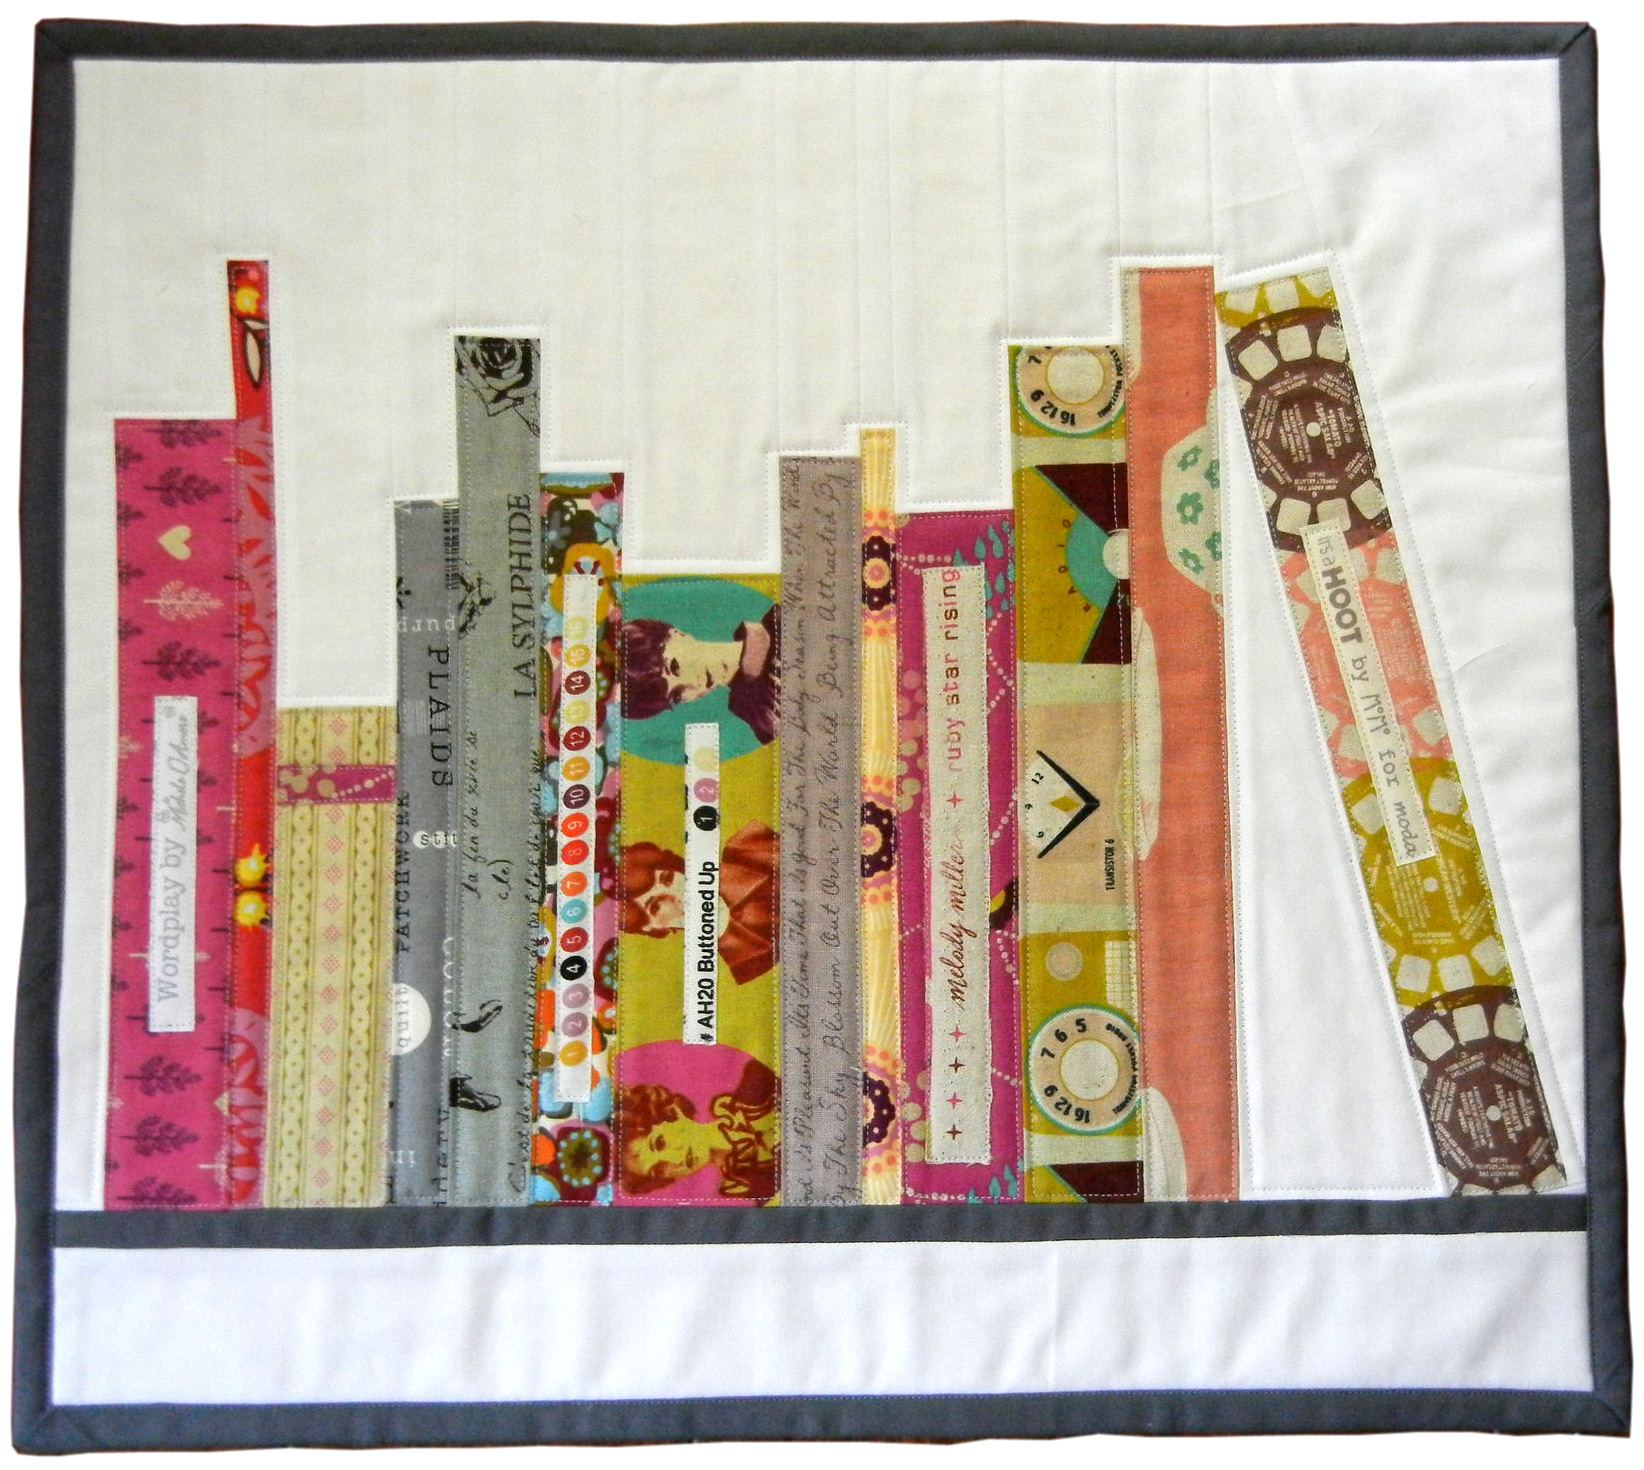
Now arrange and sew your books into horizontal rows that mimic shelves.
Arrange Fabric Strips Creatively
Lay out strips on a design board or flat surface. Alternate colors and values (light, medium, dark) for contrast. Cluster similar prints together, such as all stripes in one row. Place wider “coffee table books” at the ends or center for a natural look.
Take a photo of your layout before sewing. It’s easy to forget the arrangement once you start stitching.
Sew and Press Seams Flat
Use a 1/4″ seam allowance throughout. Follow these steps:
- Sew strips together end-to-end into a long chain
- Press seams to one side, alternating direction per row for nesting
- Sub-cut into book blocks (for example, 6.5″ tall for a 6″ finished height)
Chain-piecing multiple rows at once saves significant time.
Create Shelf Borders and Structure

Define the bookcase with borders that look like shelves, trim, and sides.
Add Top and Bottom Shelves
Cut horizontal borders to frame the book blocks:
- Top shelf: 3″ x width of quilt
- Bottom shelf: 3″ x width of quilt
Use wood-grain fabric or brown batik for realistic shelf appeal. Sew these to the top and bottom of your book block section.
Include Side Casings (Optional)
For a full bookcase look, cut two side panels measuring 3″ wide by full quilt height. Use dark fabric or faux wood print, then attach before adding the final border. This turns your quilt into a freestanding furniture piece.
Layer and Quilt the Top
Now it’s time to bring the quilt together with batting and backing fabric.
Sandwich the Quilt Layers
- Lay backing right-side down
- Add batting on top
- Place quilt top right-side up
- Smooth and baste with spray or pins
Use a walking foot to prevent shifting during quilting.
Choose a Quilting Design
Several options enhance the book theme:
- Straight-line quilting with vertical lines on book spines
- Echo quilting around shelf borders
- Free-motion book doodles like tiny teacups, glasses, or bookmarks
Quilt densely on the background to make book spines pop visually.
Bind the Edges Neatly
Binding finishes the raw edges and frames your bookcase quilt beautifully.
Cut and Attach Double-Fold Binding
Cut 2.5″ wide strips from coordinating fabric. Join strips at diagonals to minimize bulk. Machine or hand-stitch the binding to the front and back of the quilt.
Use a contrasting binding, such as navy or black, to mimic a picture frame.
Mitered Corners for Clean Finish
Fold binding at 45° at each corner using this method:
- Stop stitching 1/4″ from the edge
- Fold up and over
- Resume stitching from the fold
This technique gives a sharp, professional finish.
Customize With Personal Touches
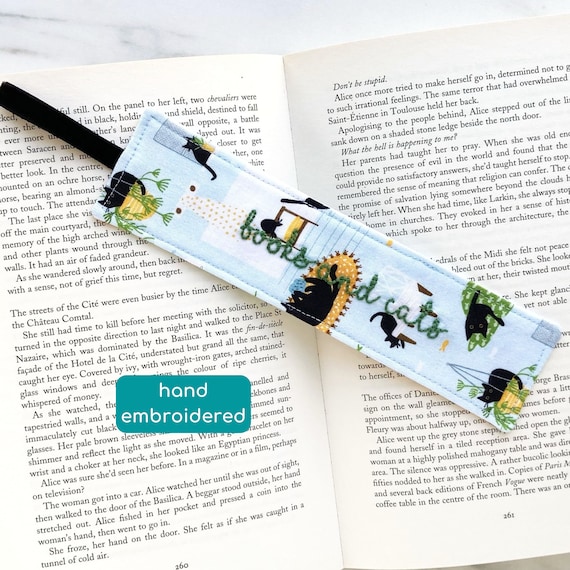
Make your bookcase quilt pattern one-of-a-kind with creative upgrades.
Add Embroidered Details
Stitch on tiny glasses, reading cats, bookmarks peeking out, or labels like “Read” and “To Be Read.” Use French knots for pom-poms on tassels or book ends.
Incorporate 3D Elements
For wall hangings, attach small pockets to hold real books or notes. Add fabric bookends with stuffed felt bases, or use Velcro to swap out book titles. These features turn your quilt into interactive art.
Troubleshoot Common Issues
Even simple patterns can present challenges. Here’s how to fix them fast.
Fabric Strips Pucker After Sewing
Uneven feeding or stretching usually causes this issue. Use a consistent 1/4″ seam, avoid pulling fabric while sewing, and press seams gently without stretching the material.
Book Blocks Appear Misaligned
Inconsistent seam allowance is the usual culprit. Check machine settings with a quarter test, use a seam guide, and trim ends of rows evenly before adding borders.
Quilt Top Won’t Lay Flat
Skewed piecing or tension issues often cause this problem. Stay-stitch borders before assembly, square up layers before basting, and add a stabilizing inner border for extra support.
Care and Display Tips
Keep your bookcase quilt looking fresh and display it proudly in your home.
Washing and Storage
Machine wash on a cold, gentle cycle with mild detergent. Skip the bleach. Tumble dry low or line dry for best results. Store flat or rolled rather than folded long-term to preserve structure.
Avoid frequent washing to keep the quilt looking its best.
Best Display Options
Hang your quilt with a sleeve and rod for wall art. Drape it over a couch or the foot of a bed. Use it as a nursery accent or graduation gift. Pair with real books on a shelf for a whimsical vignette.
Frequently Asked Questions About Bookcase Quilt Patterns
What skill level is needed for a bookcase quilt pattern?
Beginners can tackle this project successfully. The pattern uses basic strip piecing and straight seams, making it accessible even if you’ve never made a quilt before.
How long does it take to complete a bookcase quilt?
Most quilters finish a lap-size bookcase quilt in 15 to 25 hours. Wall hanging versions take around 8 to 12 hours from start to finish.
What fabrics work best for book spines?
Cotton quilting fabrics in a mix of prints and solids work beautifully. Choose coordinating colors with varying values to create realistic book variety.
Can I add real book titles to my quilt?
Yes. Use fusible web letters, embroidery, or fabric paint to add titles. Many quilters enjoy personalizing spines with inside jokes, family names, or favorite book references.
Do I need a special sewing machine foot?
A walking foot helps prevent layers from shifting during quilting. For piecing, a standard 1/4″ foot or seam guide works perfectly fine.
How do I prevent fabric strips from fraying?
Use a small dab of fray-check on cut edges, or press seams quickly after cutting. Pre-washing fabrics also minimizes fraying throughout construction.
Key Takeaways for Your Bookcase Quilt Project
A bookcase quilt pattern is more than a project. It’s a conversation starter that celebrates reading and handmade charm. Start by choosing your quilt size and selecting fabrics that mimic real book spines. Use strip piecing to speed up construction, then arrange books creatively before sewing rows together. Add shelf borders, layer with batting and backing, and finish with neat binding.
With simple techniques and a dash of imagination, you can create a personalized quilt that feels both cozy and clever. Whether you stick to classic neutrals or go bold with rainbow spines, the result is a unique piece worth treasuring. Now that you’ve learned the basics, try scaling up your design, adding embroidered details, or making a matching bookmark set. Happy quilting!