
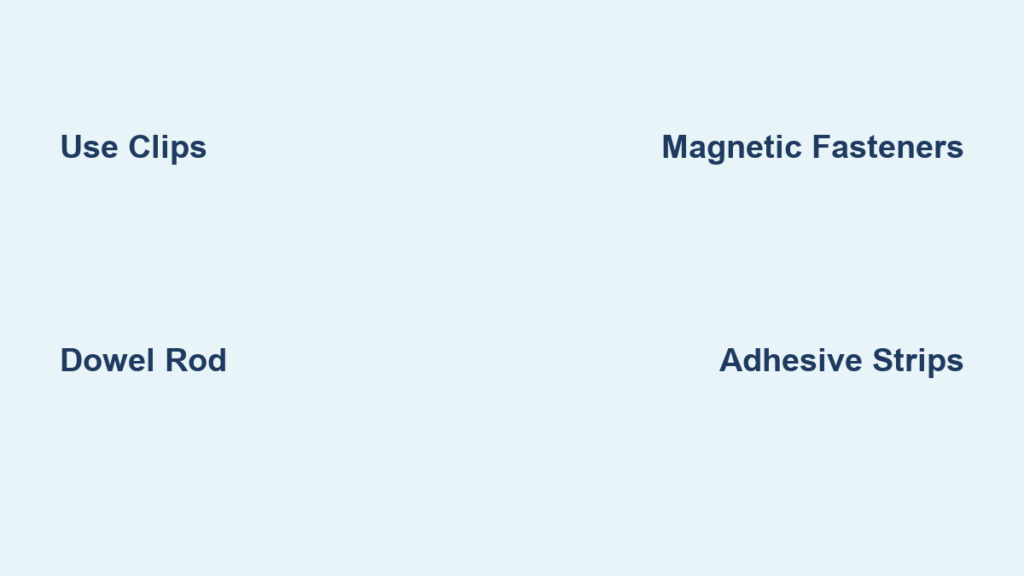
Hanging a blanket on your wall transforms any room into a cozy, personalized space. Whether you want a soft headboard alternative, a unique art piece, or a way to showcase a meaningful textile, learning how to attach a blanket to a wall gives you endless decorative possibilities. This guide covers tested methods for mounting blankets securely without damaging walls or fabric, from renters using magnets to homeowners installing wooden dowels.
Choose the Right Blanket for Wall Display
Selecting the appropriate blanket determines how well your display holds up over time. Woven wool, cotton, or jacquard textiles hold their shape well and resist sagging, making them ideal for wall mounting. Lightweight knits or crocheted throws can stretch over time and may require extra support. Avoid overly thick or heavy blankets unless your hanging method is reinforced with sturdy hardware.
Look for blankets with a clean top edge such as a hem, loop, or sleeve. These features make it easier to thread a dowel or clip the fabric securely. For blankets with sentimental or artistic value, prioritize non-damaging methods like clips or magnets to preserve the fabric’s condition.
Match your blanket design to the wall scale. Large, bold-patterned blankets work best on expansive walls. A small throw on a big wall can look unbalanced. Hang the blanket so its center aligns with eye level or the top of furniture like a bed or sofa. Avoid direct sunlight, as natural fibers fade over time, especially cotton and wool.
Prepare the Wall Surface Before Hanging

Your wall material determines which hanging method will work safely. Drywall needs anchors for heavy loads, while concrete or brick requires masonry screws. Painted or delicate walls benefit from removable solutions like adhesive strips or magnets. Identify whether you have drywall, plaster, concrete, or brick before selecting your mounting method.
Mark and level the placement using a measuring tape and level. Measure the blanket’s width and mark where the top edge will sit. Draw a straight reference line with a level to ensure even hanging, especially when using multiple clips or brackets. Position the blanket above furniture for visual harmony. A wall-mounted blanket above a bed acts like a soft headboard, while over a couch it adds texture to a neutral space.
If you’re renting, avoid nails or screws entirely. Use damage-free systems that come off cleanly. For permanent installations in owned homes, stud-anchored hardware offers maximum security.
Attach Blankets Using Hanger Clips
Blanket hanger clips are the top choice for secure, fabric-friendly mounting. Made from wood or durable plastic, these clips grip the top edge without puncturing the material. Some models include removable adhesive backing, meaning no tools are needed for installation.
Attach one clip every 12 to 18 inches across the top edge. For wider blankets, use at least five clips to distribute weight evenly. Press firmly to bond adhesive clips to the wall. For nail-mounted versions, use small finishing nails into drywall or screws into studs.
Slide the blanket’s top edge into each clip and adjust tension so the fabric lies flat but isn’t stretched. This method allows quick swaps, making it perfect for seasonal decor changes. Some popular options include Slowdown Studio’s wooden blanket hanger clips, which combine functionality with modern aesthetics.
Mount With a Wooden Dowel Rod
A wooden dowel gives a polished, gallery-style finish. This method is ideal for blankets with a sleeve or folded hem at the top, as it evenly distributes weight and prevents sagging over time.
Cut a dowel to match the blanket’s width. You can use 1×2 lumber, a broom handle, or a vintage quilt frame. Slide the dowel through the top hem. Attach two sturdy brackets or curtain rods to the wall, ensuring they’re level and anchored into studs or with wall anchors.
Rest the dowel on the brackets. For extra security, use curtain clips to fasten the blanket to the rod. This setup supports heavy wool or quilted blankets and allows easy removal for cleaning. Avoid drilling through the dowel, as screws can split the wood and weaken the structure.
Try the Carpet Square Method
The carpet square method uses friction to hold the blanket in place without visible hardware. Nail a narrow strip of carpet or non-slip fabric to the wall at the top edge. The blanket is then pinned through the carpet, hiding fasteners and preventing slippage.
Cut a carpet strip to the blanket’s width and position it on the wall using a level. Secure with nails or screws driven into studs or wall anchors. Space fasteners every 6 to 8 inches for full support.
Push upholstery pins or small nails through the blanket’s top edge and into the carpet. The carpet’s texture grips the fabric, reducing strain on individual pins. Let the bottom drape naturally for a relaxed, lived-in look. This method works well for medium-weight blankets and avoids visible hardware.
Apply Upholstery Pins for Light Support
Upholstery pins offer a rustic, handcrafted display. With soft, rounded heads in brass or antique finishes, they double as decorative elements. This method works best for lightweight to medium blankets and allows for simple installation.
Start at the top left corner and insert a pin through the fabric and into the wall. Repeat at the top right, center top, and both bottom corners. For better hold, add pins every 6 to 12 inches along the top edge.
One user successfully displayed a cotton blanket for over a year using only five pins with no fabric tearing or wall damage. However, avoid this method on crumbly drywall or thick wool where pins may pull out. Remove pins carefully to minimize wall marks, and patch small holes with spackle if needed.
Install Magnetic Fasteners
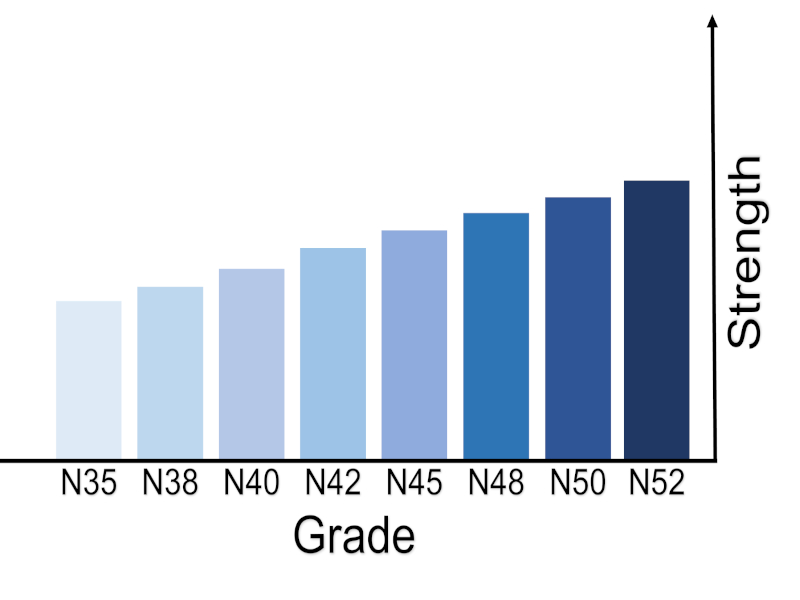
Magnets are perfect for renters or anyone avoiding wall damage. Strong magnetic pairs sandwich the blanket edge, holding it taut without nails or adhesives. This method creates a sleek, modern display that’s easy to reposition.
Use at least 10 magnets for a full-width blanket. Apply double-sided foam-core tape to the top edge of the blanket at key points, including corners, center, and mid-sides. Stick a magnet to each tape patch. Fold the fabric over and snap a second magnet on top to lock it in place.
Add extra magnets along the top for a flatter hang. Optional bottom-corner magnets prevent swaying. Note that removing foam tape may lift paint if the wall is old or poorly sealed, so test in a small area first. Magnets won’t support thick or heavy blankets.
Use Removable Adhesive Strips
Adhesive strips are the gentlest option for temporary, damage-free hanging. Double-sided tapes or hooks hold lightweight throws without tools. Some blanket clips come with built-in adhesive pads that you simply press and hang.
Clean the wall surface with alcohol before applying. Press strips firmly for 30 seconds to ensure bonding. Attach one strip per foot of blanket width. Limit this method to acrylic or thin cotton throws, and avoid humid areas like bathrooms where heat and moisture weaken adhesion.
Remove strips slowly at a 180-degree angle to prevent paint peeling. While convenient, adhesive strips lack strength for heavy blankets. They’re best for short-term decor, not heirloom textiles.
Style Your Wall Blanket for Visual Impact
A wall-mounted blanket draws attention and serves as a focal point. Hang it on a blank wall to act as art. Pair it with framed photos, mirrors, or shelves to build a curated gallery wall. Align the top edge with furniture for cohesion.
A blanket above a bed should sit 4 to 6 inches above the headboard. Over a sofa, keep it level with the top backrest. Use indirect lighting to highlight texture. Natural light enhances weave and color, but keep blankets out of direct sun to prevent fading.
Change blankets with the seasons. Swap a light knit in summer for a wool throw in winter. Clips and dowels make rotation fast and easy, allowing you to refresh your space throughout the year.
Maintain Your Wall Blanket
Dust accumulates on wall textiles over time. Use a soft brush attachment on a vacuum or a microfiber cloth to wipe gently. Avoid water unless spot cleaning, as excessive moisture can damage fibers.
Check care labels before washing. Most wool blankets require dry cleaning, while cotton or acrylic can often be machine-washed. Always remove the blanket from the wall before cleaning.
Inspect fasteners monthly. Tighten loose screws or replace worn adhesive strips. Look for signs of stretching, especially at the top edge. Rotate heavy blankets to reduce stress on mounting points. For wool blankets, check for moths or fabric pests, and store in a sealed container if removed for long periods.
Compare Hanging Methods

Choose the right method based on your blanket weight and wall type.
• Blanket clips work best for woven, medium-heavy blankets with low damage and high swap ease
• Wooden dowels suit heavy, artistic displays with medium damage and medium swap ease
• Carpet strips provide even top-edge hold with low to medium damage and low swap ease
• Upholstery pins support lightweight, rustic looks with low to medium damage and medium swap ease
• Magnets are ideal for renters and light fabrics with no damage and high swap ease
• Adhesive strips work for temporary, ultra-light displays with no damage and high swap ease
Final Tips for Successful Wall Blanket Display
For most users, blanket hanger clips offer the best balance of safety, style, and ease. They protect fabric, work on various walls, and allow seasonal swaps without hassle. For heavy or valuable blankets, use a wooden dowel mounted into studs for maximum support and a professional finish.
Renters should choose magnets or adhesive clips that leave no marks and come down cleanly. For a vintage look, try upholstery pins or the carpet strip method. Both add character and distribute tension well across the top edge.
Always test your method on a small scale first. Ensure the wall can support the load by using anchors when needed. When in doubt, consult a professional for heavy installations.
Frequently Asked Questions About Attaching Blankets to Walls
Can I hang a heavy wool blanket on drywall?
Yes, but you need proper support. Use a wooden dowel mounted into wall studs with sturdy brackets, or use blanket hanger clips anchored with wall anchors designed for heavy loads. Avoid adhesive strips for heavy blankets as they will fail.
Will adhesive strips damage my paint?
Removable adhesive strips are designed to come off cleanly, but removing foam-core tape may lift paint if the wall is old or poorly sealed. Always test in an inconspicuous area first, and remove strips slowly at a 180-degree angle to minimize damage.
What is the best way to hang a blanket without nails?
Magnets and adhesive strips offer nail-free options. The magnet method uses double-sided tape with magnets attached to the blanket edge, creating a secure hold without wall penetration. Adhesive clips work similarly, using sticky backing to hold the blanket in place.
How do I prevent my wall blanket from sagging?
Space clips or pins every 12 to 18 inches along the top edge for even weight distribution. For heavier blankets, use a wooden dowel that distributes weight across its entire length. Avoid hanging blankets that are too heavy for your chosen method.
Can I use this method for a blanket with a sleeve?
Yes, the wooden dowel method is specifically designed for blankets with a sleeve or hem. Simply thread the dowel through the sleeve and mount the dowel on brackets. This creates a clean, gallery-style finish while supporting the blanket’s weight evenly.
Key Takeaways for Attaching Blankets to Walls
Choosing the right method depends on your wall type, blanket weight, and how long you plan to display it. Blanket hanger clips provide the best overall balance of security, aesthetics, and fabric protection for most situations. Wooden dowels offer professional results for heavier blankets, while magnets and adhesive strips serve renters seeking damage-free options.
Prepare your wall properly by identifying the surface type and marking level placement lines. Space your fasteners evenly to prevent sagging, and check attachments monthly. With the right technique, your blanket becomes both wall art and a cozy texture that transforms your space.

