
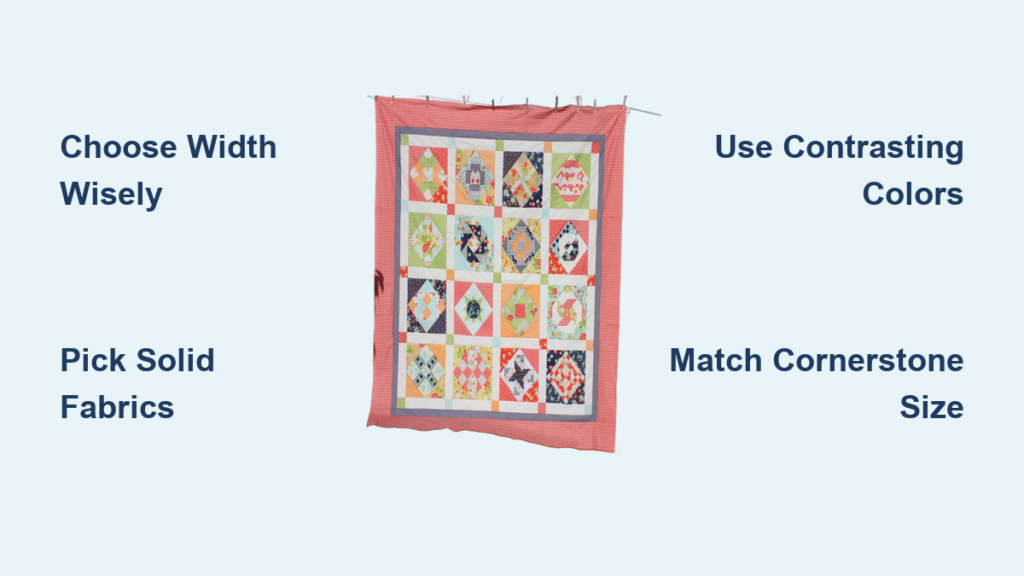
You finished piecing your quilt blocks, laid them out, and something feels off. The colors clash, the patterns compete, or the whole design looks too busy. The fix is often simpler than you think: the right sashing can pull everything together. Sashing, the strips of fabric between quilt blocks, does more than fill space. It unifies color schemes, creates breathing room, and transforms a patchwork into a polished composition.
This guide walks you through how to choose sashing for a quilt that elevates your design. You will learn how to calculate proportionate widths, pick fabrics that make your blocks pop, and assemble everything with professional results. Whether you are working with scraps, intricate patterns, or a modern minimalist layout, these principles will help your quilt come alive.
Find the Right Sashing Width for Balanced Proportions
The width of your sashing determines whether your blocks look crowded, lost, or perfectly framed. Too narrow and the strips disappear. Too wide and they overwhelm the design. The goal is proportion that feels natural to the eye.
Use the Golden Ratio for Visual Harmony
The Golden Ratio (1.618) is a mathematical principle used by artists and architects for centuries. It helps you find a sashing width that feels balanced based on your block size.
For an 8-inch finished block:
- Maximum finished width: (8 × 1.618) ÷ 4 = 3.25 inches. Cut strips at 3.75 inches to allow for seam allowance.
- Minimum finished width: (8 × 0.618) ÷ 4 = 1.25 inches. Cut strips at 1.75 inches.
Any finished width between 1.25 and 3.25 inches will look harmonious. Anything outside this range risks looking off-balance.
Pro Tip: Golden Gauge Calipers by Jinny Beyer let you measure ideal proportions directly on fabric without doing the math.
Match Width to Block Size
If math feels intimidating, use the patches in your blocks as a guide instead.
- Same as patch: Match sashing to a finished patch size in your block (4-inch squares call for 4-inch sashing).
- Half-width: Use 2-inch sashing for a subtler separation.
- Double-width: Use 8-inch sashing for a bold, modern look.
- Fractional: Use one-third of block width (3-inch sashing for a 9-inch block).
Choose Width Based on Design Goals
Your quilt’s style should guide your width choice.
- Narrow sashing (½ to 1 inch finished): Best for quilts with uniform blocks and limited colors. It binds blocks together without separating them.
- Wide sashing (2 to 3 inches finished): Perfect for scrap quilts or mismatched blocks. It gives busy designs room to breathe.
- Variable widths: Modern quilters often mix widths for visual movement and asymmetry.
Pick the Best Fabric for Sashing

Fabric choice affects how your blocks stand out. The wrong fabric distracts; the right one enhances.
Solids vs. Prints: What Works Best?
- Solids: Ideal for quilts with complex or busy blocks. Choose a solid lighter than your block colors to let them shine, or deeper for contrast.
- Small-scale prints: Read as textured solids from a distance. They add interest without competing with blocks.
- Large or busy prints: Risk overwhelming blocks. Only use them when light and dark areas stay subtle.
Avoid: Solids too close in value to your block backgrounds. They reduce definition and make blocks blend in.
Avoid Stripes in the Grid
Striped fabric creates problems for internal sashing. Matching stripes at every intersection is difficult, and misaligned lines break the quilt’s geometry.
Better uses for stripes:
- Outer borders
- Binding
- Rotated sideways for unique framing without matching stress
Use Color to Enhance Your Quilt Design

Color choices in sashing can unify, highlight, or frame your blocks. Each strategy creates a different effect.
Pull Colors from Block Prints
Select an accent color from a print within your blocks. If one block features yellow stars, use yellow sashing to echo that detail throughout the quilt.
Create Contrast with Cornerstones
Use contrasting cornerstone squares to make blocks pop. Yellow cornerstones against navy blocks create instant focus and a strong grid structure.
Blend for a Floating Effect
Use the same fabric for sashing as your block background. This creates modern negative space where blocks appear to float on a unified field.
Adjust Value When Needed
If your blocks do not stand out, switch to a lighter or darker sashing. Light lavender or sky blue can lift dark blocks, while deep charcoal makes bright blocks sing.
Add and Size Cornerstones Correctly
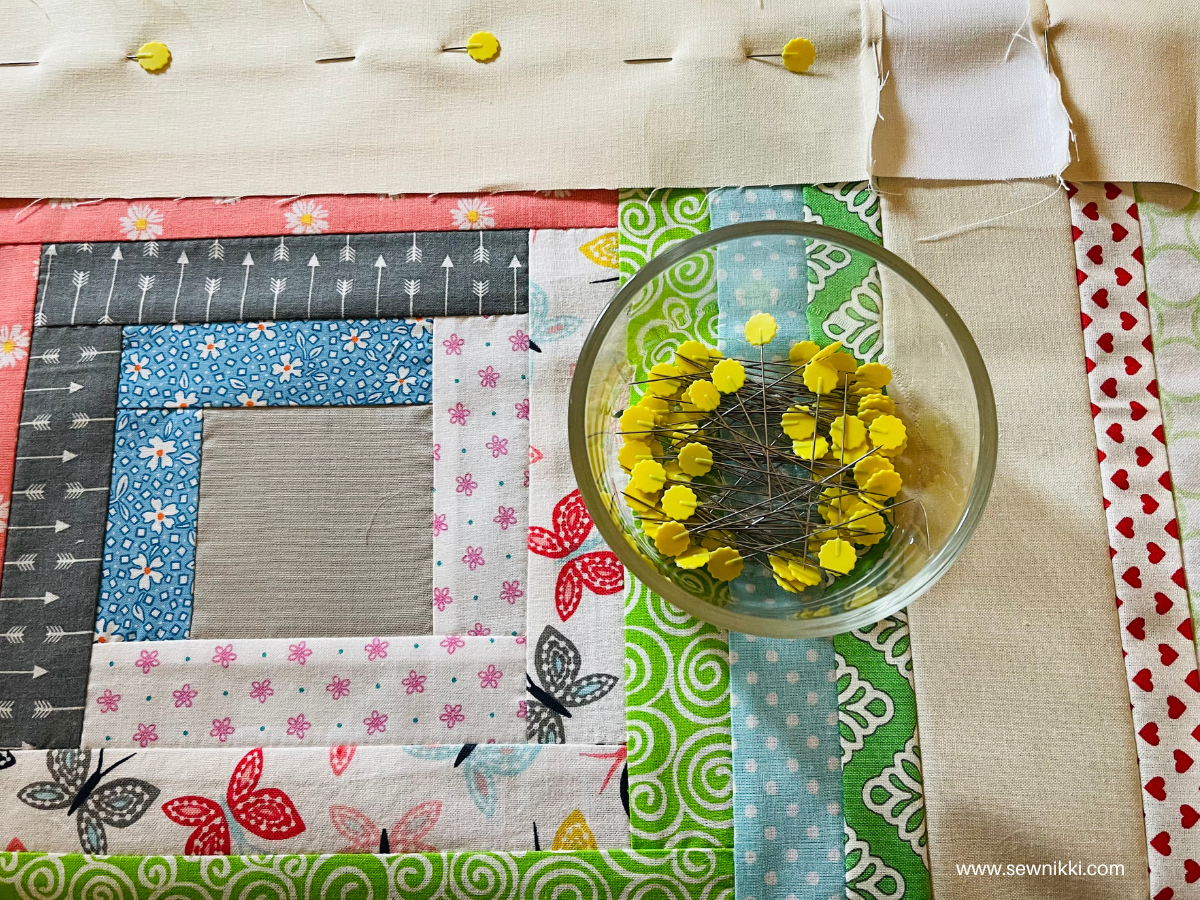
Cornerstones are the squares where sashing strips meet. They anchor the grid and add design flair.
Cut Cornerstones to Match Sashing
If your sashing is cut at 2.5 inches, cornerstones must be 2.5-inch squares. Matching sizes ensures clean intersections and a professional finish.
Upgrade to Pieced Cornerstones
Turn cornerstones into mini-blocks for added complexity. Popular options include nine-patches, half-square triangles, and hourglass units. They use scraps beautifully, but always finish them at the same size as your sashing.
Build Cornerstone Units First
Create horizontal sashing units in this order: sashing strip, cornerstone square, sashing strip. This keeps alignment precise when you join rows.
Assemble Sashing the Right Way
Two main methods exist for assembly. Choose based on your design and skill level.
Sash by the Row (Beginner-Friendly)
- Sew blocks into rows with vertical sashing between them.
- Press seams toward the sashing.
- Measure your row length and cut horizontal sashing strips to fit.
- Join rows with the horizontal sashing strips.
Caution: Long strips can stretch. Pin frequently to prevent waviness.
Sash by the Block (Best for Cornerstones)
- Cut vertical sashing to block height (for example, 12.5 inches).
- Cut horizontal sashing to block width plus sashing width (12.5 + 2.5 = 15 inches).
- Attach vertical sashing to the right side of each block.
- Attach horizontal sashing with cornerstones to the bottom.
- Join units into rows, nesting seams at intersections.
Advantage: This method reduces distortion and makes cornerstone integration easier.
Pressing Tip: Always press seams toward the sashing. This nests seams cleanly when joining rows.
Calculate Fabric Needs Fast
Use this chart for 12-inch finished blocks with 2-inch finished sashing (cut at 2.5 inches). Requirements exclude fabric for the blocks themselves.
| Quilt Size | Block Count | Sashing Fabric | Cornerstone Fabric |
|---|---|---|---|
| Baby (4×4) | 16 | ⅝ yard | ⅛ yard |
| Throw (5×5) | 25 | 1⅛ yards | ⅛ yard |
| Twin (6×5) | 30 | 1¼ yards | ¼ yard |
| Queen (6×7) | 42 | 1¾ yards | ¼ yard |
| King (7×8) | 56 | 2⅜ yards | ¼ yard |
Cutting instructions:
- Sashing: Cut 2.5-inch strips width-of-fabric, then sub-cut into 2.5 by 12.5-inch rectangles.
- Cornerstones: Cut 2.5-inch squares from 2.5-inch strips.
Always buy extra fabric. Test your layout before cutting all strips.
Solve Common Sashing Problems
Even experienced quilters run into issues. Here is how to fix the most frequent ones.
Blocks Look Lost or Crowded
Fix: Add sashing and cornerstones. They frame blocks and create clear separation, especially in scrap quilts.
Sashing Is Wavy or Distorted
Fix: Switch to block-by-block assembly. Pin long strips heavily and avoid stretching fabric while sewing.
Stripes Don’t Match at Corners
Fix: Replace stripes with solid or small-scale prints. Save stripes for borders where matching is less critical.
Blocks Don’t Pop
Fix: Re-evaluate contrast. If your sashing is too light or similar in value to the block background, switch to a darker or brighter solid.
Design with Advanced Sashing Techniques

Once you are comfortable with basics, try these creative upgrades.
Create Secondary Patterns
Use pieced sashing or cornerstones to form hidden designs across the quilt top. Mini stars, checkerboards, and nine-patches work beautifully. These designs require precise cutting and consistent seam allowances to align correctly.
Insert Block Rows as Sashing
Replace solid sashing with rows of flying geese, log cabins, or strip sets. This adds motion and texture, especially in modern quilts.
Try Asymmetrical Sashing
Use different widths on top and bottom or left and right. Breaking symmetry creates a contemporary feel that stands out from traditional layouts.
Frequently Asked Questions About Choosing Sashing for a Quilt
What is the best width for sashing on a quilt?
The best width depends on your block size and design goals. For an 8-inch block, the Golden Ratio suggests a finished width between 1.25 and 3.25 inches. Narrow sashing unifies similar blocks, while wide sashing gives scrap quilts room to breathe.
Should sashing be lighter or darker than quilt blocks?
Choose a sashing value that creates contrast with your blocks. If your blocks are dark, use a lighter sashing to make them pop. If your blocks are bright, a deeper sashing provides grounding. Avoid values too close to your block background.
How do I calculate sashing yardage for my quilt?
Yardage depends on block count, block size, and sashing width. For 12-inch blocks with 2-inch sashing, a baby quilt needs about ⅝ yard, while a king quilt requires roughly 2⅜ yards. Always buy extra for testing.
Can I use striped fabric for quilt sashing?
Stripes are risky for internal sashing because matching at intersections is difficult. Use them for outer borders or binding instead, where alignment is easier to manage.
What is the difference between sashing and borders?
Sashing separates blocks within the quilt top, while borders frame the entire finished quilt. Sashing affects how blocks relate to each other, while borders define the outer edge.
How do I prevent sashing from looking wavy?
Use the block-by-block assembly method to minimize distortion. Pin long strips heavily before sewing and press seams toward the sashing. Avoid stretching fabric during handling.
Key Takeaways for Choosing Sashing for a Quilt
Choosing sashing is about shaping the story your quilt tells. The right width creates balance, the right fabric enhances your blocks, and the right color unifies the whole design. Start by assessing your blocks: are they busy or simple? Coordinated or scrappy? Use the Golden Ratio or patch-based logic to set width, then select solids for contrast or small-scale prints for texture.
Before you cut a single strip, lay out your blocks on a design wall. Step back and evaluate what they need. More breathing room? A unifying color? A bold grid? Your answers will guide every decision. With these principles in hand, you can choose sashing for a quilt that does not just fill space but elevates the entire piece from good to unforgettable.

