
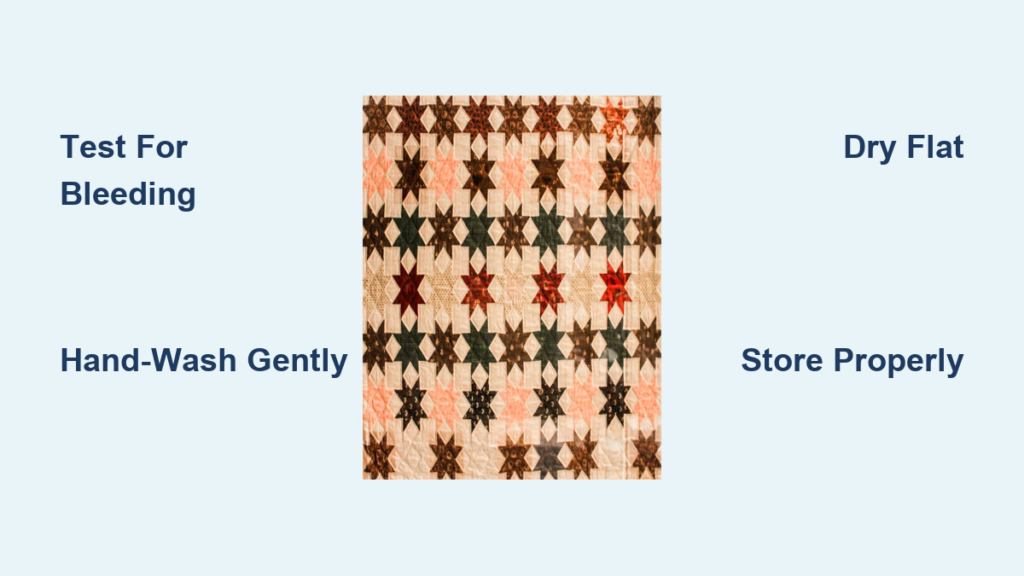
An antique quilt carries more than fabric and thread. It holds decades of memories, craftsmanship, and stories woven into every stitch. Yet dirt, oils, and time slowly degrade those fibers, making careful cleaning essential. Learning how to clean an antique quilt the right way protects both its beauty and its structural integrity for generations to come.
This guide walks you through every step of safely cleaning a vintage or antique quilt. You will learn how to assess risk, test for color bleeding, hand-wash gently, dry without distortion, and store your heirloom properly. Whether your quilt is 50 years old or over a century old, these methods balance preservation with practical refresh.
Assessing Your Quilt Before Any Water Touches It

Before you fill a tub or grab a sponge, evaluate whether your quilt can handle cleaning. Age alone does not disqualify a piece. Many quilts between 50 and 100 years old benefit from gentle washing. However, true antiques over 100 years old or quilts with significant historical value may require professional conservation instead.
Inspect for Fabric Weakness
Lay the quilt on a clean, flat surface under bright natural light. Examine every inch carefully. Look for fabric that feels brittle or cracks when gently folded. Check for visible holes, worn patches, or unraveling seams. Note any areas where the inner batting shows through the top layer.
If fibers snap easily or seams are splitting, full immersion washing is too risky. In these cases, stick with non-wet methods like vacuuming or sun airing to freshen the quilt safely.
Determine Historical Value
Ask yourself a few important questions. Is this quilt irreplaceable? Was it made by a documented quilter or tied to a significant event? Does it have appraised monetary value? High-value pieces should go to textile conservators who specialize in historical preservation.
For family-use quilts in stable condition, DIY cleaning is often appropriate and rewarding. You simply need to proceed with patience and caution.
Non-Wash Freshening Methods for Fragile Quilts
When washing poses too much risk, low-impact methods can still remove odors and surface dust effectively.
Sunlight Deodorizing
Lay the quilt flat outdoors in indirect sunlight for 2 to 4 hours. UV rays naturally kill bacteria and neutralize musty smells without harsh chemicals. Place a clean white sheet over the quilt to protect colors from fading. Rotate the quilt halfway through so both sides receive equal exposure.
Safe Vacuuming Technique
Dust buildup accelerates fiber decay over time. Remove it carefully using this method:
- Lay the quilt flat on a clean surface.
- Stretch a nylon stocking over the vacuum hose end.
- Secure the stocking tightly with a rubber band.
- Hold the hose slightly above the fabric without touching.
- Move slowly in one direction across the surface.
Skip vacuuming entirely if your quilt has beads, sequins, embroidery, or appliqué work. Suction can pull these delicate details right off the fabric.
Pre-Wash Testing and Preparation
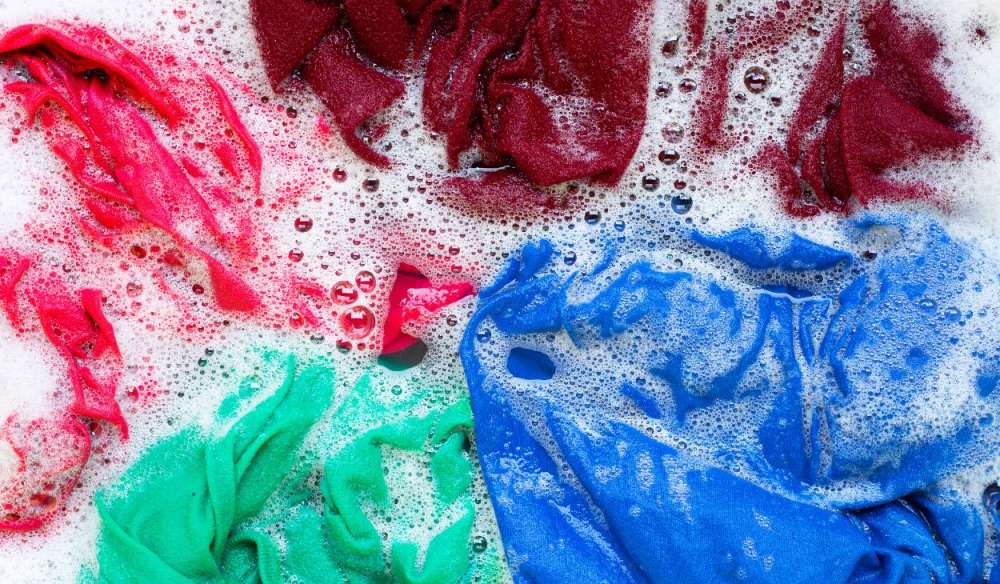
Never skip the testing phase. A single bleeding red square can permanently stain a white border. Prepare your workspace and verify dye stability before any full soaking.
Colorfastness Swab Test
Use cotton swabs and cold water for this critical check:
- Dampen a clean swab with cold water.
- Rub gently on each distinct color, especially reds, pinks, and deep blues.
- Check each swab for visible dye transfer.
If color comes off on the swab, do not proceed with full washing. Spot clean only or consult a professional conservator. For mild bleeding risks, add Color Catcher sheets to the soak water to trap loose dyes before they settle on other fabrics.
Repair Tears Before Washing
Wet fabric becomes extremely heavy. Waterlogged batting can weigh several pounds, putting serious stress on weak seams. Mend small rips before washing using fine cotton thread that matches the original fabric. Use tiny whip stitches or ladder stitches for invisible repairs. Patch from the back using vintage-style reproduction fabric when needed.
Avoid machine stitching unless you have experience. Hand-sewing causes far less stress on aged fibers.
The Hand-Wash Soak Method
:max_bytes(150000):strip_icc()/how-to-care-for-vintage-quilts-2146305-009-f88bb8d43ab94d34a59ba35a5e1f3995.jpg)
This is the gold standard for cleaning antique quilts. It cleans deeply while minimizing physical strain on fragile materials.
Prepare the Wash Tub
Use a clean bathtub or large plastic utility bin:
- Line the tub with a clean white cotton sheet, draping edges over the sides.
- Fill with cold or lukewarm water. Never use hot water, which causes bleeding and fiber strain.
- Add your cleaning agents:
– 1 to 2 tablespoons mild, dye-free liquid detergent
– 1 squirt of blue Dawn dish soap for grime
– 1/2 cup distilled white vinegar to soften and brighten
– Optional oxygen bleach like OxiClean for dingy whites (not for silk or wool)
If your tap water is hard or high in minerals, use distilled water instead. Hard water leaves yellow mineral deposits on aged fabric.
Submerge and Soak
Gently lower the quilt into the water. Press down with flat hands to submerge it fully. Do not agitate or swish vigorously.
Standard soak time ranges from 30 minutes to 4 hours for routine cleaning. For deep cleaning of heavily soiled quilts, soak up to 3 days, changing the water daily until it remains clear.
Check the water every hour for signs of bleeding. If dyes start running, drain immediately and rinse gently with fresh cold water.
Rinse Until Water Runs Clear
Drain the soapy water and refill with fresh cold water. Gently press and swish the quilt to release trapped detergent. Repeat this drain-and-refill cycle 3 to 4 times, or until no suds remain.
Lingering soap attracts dirt and stiffens fabric over time. Thorough rinsing prevents residue lines from forming during drying.
Safe Water Removal Without Damage
Never wring, twist, or lift a soaking quilt by its edges. The weight of waterlogged fabric can tear seams under strain.
Use a Sheet Sling
Lift the quilt using the white sheet you placed in the tub earlier:
- Gather the sheet corners together.
- Lift slowly, letting water drain back into the tub.
- Transfer the bundled quilt to a dry area for towel drying.
Optional Spin Cycle for Strong Quilts
Only attempt this for quilts in excellent, undamaged condition:
- Use a front-loading washer with no central agitator
- Select the spin only or gentle drain setting
- Place the quilt inside a mesh laundry bag for extra protection
Avoid traditional top-loaders with central agitators. They can rip aged fabric in seconds.
Drying the Quilt Flat
Hanging or machine drying destroys antique quilts. The weight of wet batting pulls seams apart and knots the inner filling.
Towel Roll Moisture Extraction
Remove excess moisture quickly with this technique:
- Lay 4 to 6 thick towels on a plastic tarp.
- Place the wet quilt on top.
- Cover with more dry towels.
- Roll the entire assembly tightly like a jelly roll.
- Unroll and repeat with fresh dry towels.
This method removes up to 70 percent of moisture before air drying.
Air-Dry Indoors or Outdoors
For indoor drying, lay the quilt flat on a tile floor, spare bed, or drying rack. Cover with a clean sheet and use fans to circulate air. Flip the quilt every 6 to 8 hours for even drying.
For outdoor drying, place the quilt on grass over a clean drop cloth. Cover with a sheer sheet to block UV rays and bring inside at night to avoid dew.
Total drying time ranges from 12 to 48 hours depending on thickness and humidity. Ensure the quilt is completely dry before folding to prevent mold.
Targeted Stain Removal Strategies
For stubborn spots, treat before or during the soaking process.
OxiClean Paste for Set-In Stains
Mix OxiClean powder with warm water into a thick paste. Apply directly to the stain on dry or damp fabric. Cover with plastic wrap to prevent drying. Wait 1 to 24 hours depending on stain severity. Rinse thoroughly with cold water afterward.
Test on a hidden seam allowance first, as this method can lighten surrounding fabric.
Dawn Dish Soap for Grease Stains
Apply full-strength blue Dawn directly to oily stains. Let it sit for 15 to 30 minutes. Blot with a clean cloth and rinse with cold water. Repeat if needed for stubborn grease marks.
Retro Clean for Dingy Whites
Use only on all-white or off-white cotton quilts. Mix according to label directions and soak for 1 to 2 hours maximum. Rinse extremely well afterward.
Never use Retro Clean on colored quilts. It strips dye aggressively and can ruin vibrant fabrics permanently.
Storage That Preserves Your Quilt Long-Term
How you store the quilt matters as much as how you clean it. Poor storage undoes all your careful work.
Avoid Cedar and Cardboard
Cedar chests and cardboard boxes emit lignin, an acid that yellows and weakens cotton fibers. Never store quilts in contact with raw wood, paper, or other acidic materials.
Fold Rotation Every Two Months
Folding in the same place causes permanent creases and fiber breakage over time. Unfold the quilt completely every 1 to 2 months. Refold along different lines and alternate diagonal bias folds to reduce thread stress.
Best Storage Locations
The ideal method is laying the quilt flat on an unused bed, covered with a clean cotton sheet. An acceptable alternative is loose folds in an acid-free box, separated by clean cotton fabric.
Never store quilts in attics, basements, plastic bags, or direct sunlight. These environments cause heat damage, mold, moisture trapping, and color fading.
Special Fabric Considerations
Not all antique quilts are made of cotton. Adjust your methods for delicate fibers.
Wool Quilts
Do not use oxygen bleach on wool. Wash in cool water only, since temperatures above 85°F risk felting. Dry flat away from heat sources. Never wring wool, as it loses significant strength when wet.
Silk Quilts
Do not soak silk quilts unless absolutely necessary. Use only pH-neutral, silk-safe detergent. Avoid all bleaches and vinegar. Silk quilts are best handled by professional conservators when cleaning is required.
Quilts with Embellishments
Beads, sequins, and embroidery require extra caution. Skip vacuuming entirely. Spot clean only and avoid soaking if threads appear fragile or loose.
When to Call a Professional Conservator
Some quilts are beyond safe DIY care. Recognize the warning signs before attempting cleaning.
Signs You Need Expert Help
Major structural tears or significant fabric loss require professional repair. Silk, velvet, or mixed-media construction demands specialized knowledge. Museum-quality or formally appraised quilts should never be cleaned at home. Uncertainty about materials or dyes is another clear signal to seek help.
Professional textile conservators use solvent cleaning, localized treatments, and museum-grade storage solutions that protect historical value.
Cost Versus Value
Weigh both emotional and monetary worth when deciding. If the quilt is a family treasure, investing in expert care is often worthwhile. For everyday vintage quilts in stable condition, careful home cleaning is usually sufficient.
Troubleshooting Common Cleaning Problems
Even with careful preparation, problems can arise. Here is how to fix them.
Color Bleeding After Washing
Act fast if you notice bleeding:
- Rewash immediately in cold water with Color Catcher sheets.
- Add 1/2 cup white vinegar to help set remaining dyes.
- Rinse thoroughly and air-dry flat.
Prevention through pre-wash testing remains the best defense against bleeding disasters.
Musty Smell Remains After Washing
If odor persists, repeat sun airing for 3 to 4 hours. Place the quilt in a sealed container with activated charcoal for 48 hours. Do not use perfume or fabric sprays, which leave residues that attract more dirt.
Residue Lines After Drying
White streaks indicate incomplete rinsing. Re-soak the quilt in cold water and agitate gently. Rinse 4 to 5 times until water runs crystal clear. Use a spin cycle if safe for the quilt before drying again.
Frequently Asked Questions About Cleaning Antique Quilts
Can I machine wash an antique quilt?
Machine washing is generally discouraged for antiques. Even on the gentlest cycle, agitation and lack of control pose high risks of tearing and batting displacement. Hand-washing in a tub is the safer, universally accepted method.
How often should I wash my antique quilt?
Wash only when necessary, such as when visible dirt, odors, or stains appear. Over-washing can stress aged fibers. For quilts in regular use, washing every few years is typically sufficient. For display-only quilts, washing every 5 to 10 years is plenty.
What if my quilt has a musty smell but I am afraid to wash it?
Sunlight exposure is the safest deodorizing method. Lay the quilt outdoors in indirect sunlight for several hours. UV rays naturally kill odor-causing bacteria without risking water damage. You can lightly mist the quilt with water while it airs for extra freshening.
Is it safe to use OxiClean on colored quilts?
OxiClean can lighten surrounding fabric, especially on vibrant colors. Test on a hidden seam allowance first and limit exposure time to 1 hour for colored quilts. For whites and off-whites, longer soak times are generally safe.
Should I store my quilt in a cedar chest?
No. Cedar chests emit lignin acids that yellow and weaken cotton fibers over time. Store quilts flat on a bed or loosely folded in acid-free materials instead. Cedar causes more damage than it prevents.
How do I know if my quilt needs professional conservation?
Seek professional help for quilts with major structural tears, silk or velvet construction, significant historical or monetary value, or any time you feel uncertain about materials or dyes. Textile conservators have specialized tools and training for irreplaceable pieces.
Final Thoughts on Preserving Your Antique Quilt
Cleaning an antique quilt is an act of preservation, not just routine maintenance. The most important steps include testing for colorfastness, hand-soaking gently in cold water, drying flat without tension, and storing properly away from acidic materials.
The goal is not perfection but respect for history, fiber, and craftsmanship. With patience and careful attention, your antique quilt can remain both beautiful and functional for another century. Start by assessing your quilt’s condition today, gather your supplies, and give that family heirloom the gentle refresh it deserves.

