
A quilt without binding looks unfinished. The binding is the fabric strip that wraps around your quilt’s raw edges, protecting the layers while giving the piece a polished frame. Learning how to cut binding for a quilt correctly saves you from gaps, puckers, and the dreaded mid-corner shortage. With accurate measuring, sharp tools, and a few proven techniques, you can produce binding that lies flat, holds up to washing, and looks professionally made.
This guide covers every step of the process. You will learn how to square your quilt, calculate the right amount of binding, choose between straight and bias cuts, join strips seamlessly, and prepare the binding for attachment. Whether this is your first quilt or your fiftieth, these steps will help you cut binding with confidence.
Trim and Square Your Quilt Before Cutting Binding
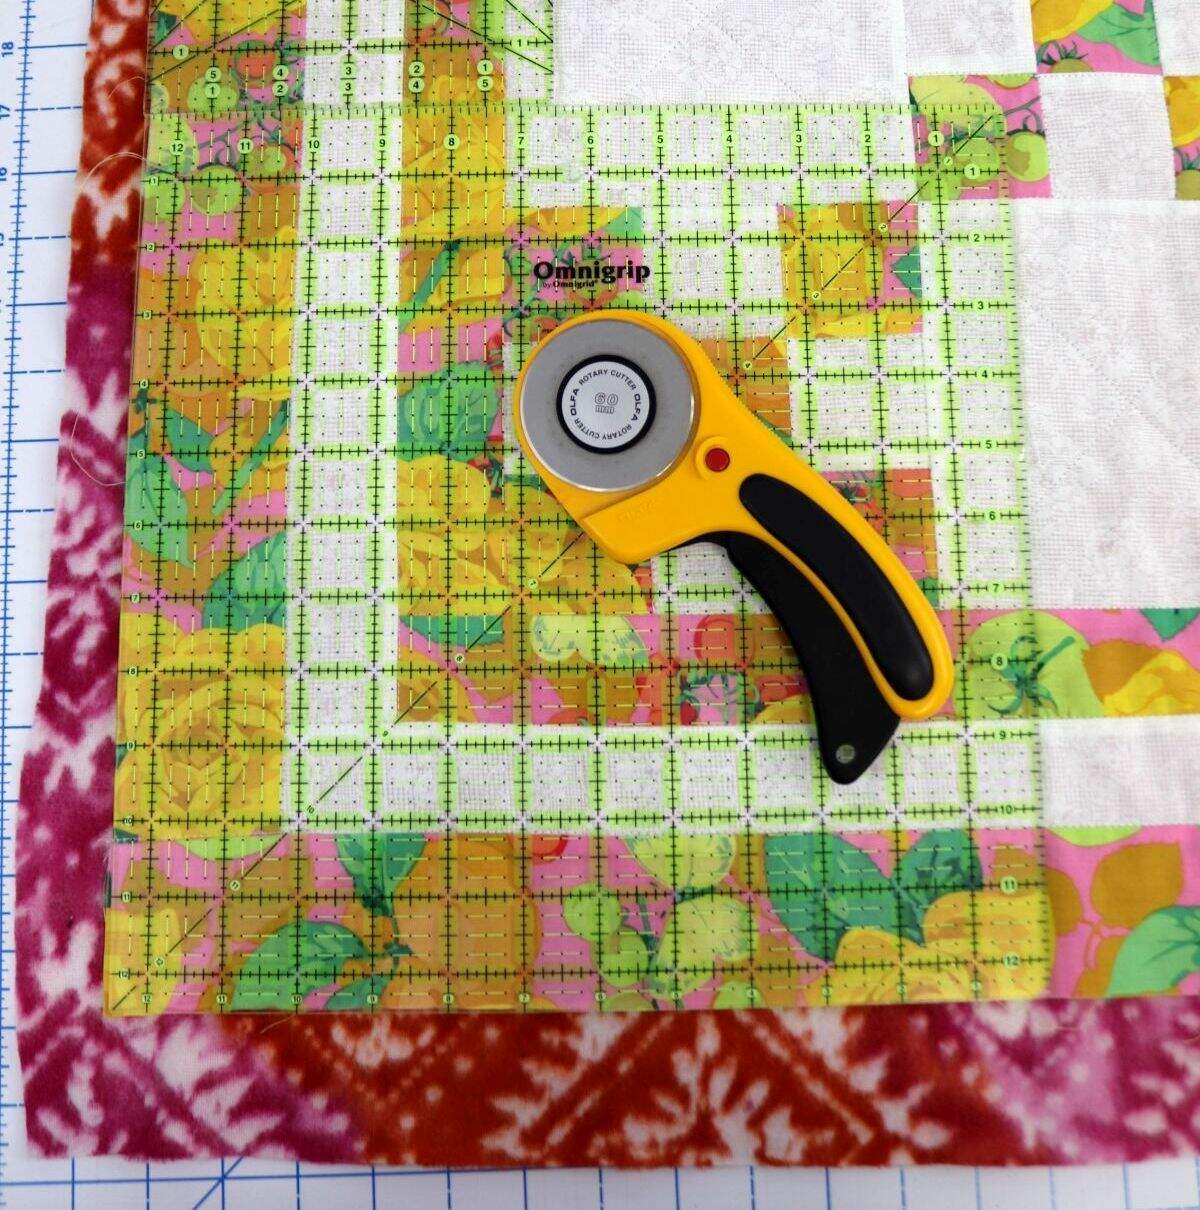
Skipping this step leads to wavy seams and mismatched corners. An uneven quilt edge cannot be fixed with binding alone.
Gather the Right Trimming Tools
You will need a few essentials to square your quilt:
– Rotary cutter (60mm preferred, with a fresh blade)
– Square-up ruler (8.5″ or 15.5″)
– Long ruler (6.5″ x 24″)
– Cutting mat (use an older one, since batting fibers embed in the surface)
– Flat work surface with no overhang
A dull blade drags fabric and creates uneven edges. Replace it before you begin.
Square Each Corner Step by Step
- Lay the quilt flat on your work surface and slide the cutting mat under one corner.
- Place the square ruler on the corner, aligning it with the quilt top blocks.
- If your blocks are perfectly squared, trim 1/16″ to 1/8″ outside the quilt top edge. This tiny bit of bulk prevents a sunken look once bound.
- Align the long ruler with the square ruler’s edge and cut through all layers.
- Move to the next corner. Use the freshly cut edge to realign the square ruler for a true 90-degree angle.
- Repeat for all four sides.
After trimming, fold the quilt in half, then into quarters. The edges should match. If one side is off by more than half an inch, recheck your cuts.
Calculate Binding Length and Strip Count
Running out of binding at the last corner is preventable with simple math.
Measure the Perimeter and Add a Buffer
- Add the quilt’s length and width, then multiply by 2.
- Add 15 to 20 inches for corners and joining the ends.
For a 60″ x 80″ quilt, the perimeter is 280″. Adding 20 inches gives you 300″ of total binding needed. This buffer covers mitered turns and end joins.
Determine How Many Strips to Cut
- Identify the usable Width of Fabric (WOF). Most cotton is 42 to 44 inches, though some rolls offer 52 inches.
- Divide your total binding length by the WOF.
- Always round up to the nearest whole number.
For 300″ of binding on 52″ fabric, you need 5.77 strips. Round up to 6 strips. Cutting extra strips is always better than running short.
Choose the Right Binding Width
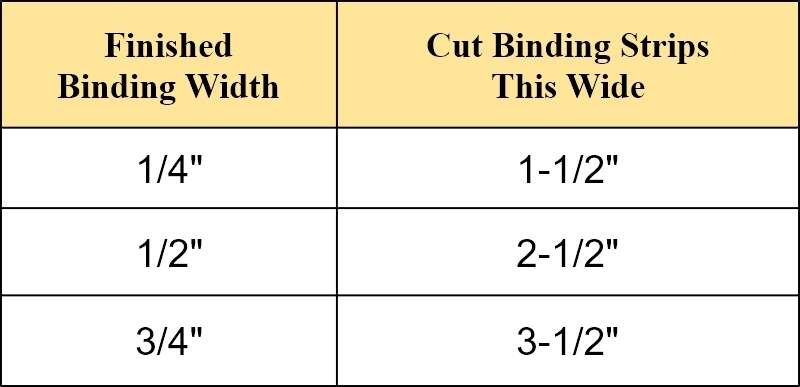
The cut width affects durability, appearance, and how easily the binding folds around the quilt edge.
Standard Strip Width Options
- 2.0 inches: Narrow finish, best for lightweight quilts or modern minimalist looks
- 2.25 inches: Industry standard for double-fold binding, yields a visible edge of about 1/4″ to 3/8″
- 2.5 inches: Wider binding for thick batting like wool or cotton blends
- 2.75 inches: Extra durability for heirloom quilts or frequently washed pieces
Most quilters default to 2.25″ strips. Thicker batting requires wider strips to prevent a tight, pulled look.
Decide Between Straight and Bias Cuts
Straight-grain binding is cut parallel to the selvage. It uses less fabric, stays stable, and works well on quilts with straight edges.
Bias binding is cut at a 45-degree angle to the grain. It stretches more, which makes it ideal for curved edges, scalloped borders, or bias-bound garments. Bias binding also resists wear and fraying over time.
To cut bias strips:
1. Fold one fabric corner to the opposite edge, creating a diagonal.
2. Cut strips parallel to this diagonal fold.
For most quilts with straight edges, straight-grain binding is the easier choice.
Cut Binding Strips with Precision
:max_bytes(150000):strip_icc()/apq310158-d94a0f3907fc41bab86df00030bb2f2d.jpg)
Accuracy at this stage prevents problems later when you attach the binding.
Rotary Cutting for Clean Strips
- Fold the fabric selvage to selvage with right sides together.
- Align your quilt ruler with the desired strip width.
- Cut using a rotary cutter, applying even pressure.
Never eyeball your cuts. Even a slight angle compounds across multiple strips and causes uneven binding.
Cutting Strips with Scissors
If you do not have rotary tools, fabric shears work with extra care:
– Mark every 6 inches with a chalk pen or washable marker.
– Cut slowly along the marked line using a long ruler as a guide.
This method takes longer but produces accurate results when done carefully.
Join Strips with Diagonal Seams
Straight seams create bulky lumps at the join. Diagonal seams distribute thickness and lay flatter.
Step-by-Step Diagonal Join Method
- Lay two strips perpendicular to each other in an L shape, right sides together.
- Draw a diagonal line from the bottom-left corner of the overlap to the top-right corner.
- Sew directly on the drawn line.
- Trim the excess triangle, leaving a 1/4″ seam allowance.
- Press the seam open to reduce bulk.
Repeat until all strips form one continuous length.
Press the Joined Binding
- Fold the entire strip in half lengthwise, wrong sides together, with raw edges aligned.
- Press with a hot iron and steam.
- Use starch or spray sizing for extra crispness, especially if you plan to hand stitch.
Your binding is now ready to attach.
Prepare for Corners and End Joins

Evenly cut and joined binding ensures clean mitered corners and invisible end joins.
Start in the Middle of a Side
Begin sewing 6 to 10 inches from a corner. Leave a 6 to 10 inch unsewn tail at the start. Use a 1/4″ seam allowance and backstitch to secure. Avoid starting at corners since they are harder to align.
Create Mitered Corners
- Sew until you reach 1/4″ from the edge of the quilt.
- Backstitch, then lift the presser foot with the needle down in the fabric.
- Fold the binding straight up, creating a 45-degree fold at the corner.
- Fold the binding back down, aligning the raw edge with the next side of the quilt.
- Resume sewing from the very edge of the quilt.
The miter forms automatically on the front. Repeat for all four corners.
Join the Binding Ends Seamlessly
When you reach 10 to 15 inches from your starting point, stop sewing and join the ends.
Overlap and Diagonal Join (Precise Method):
1. Overlap the starting and ending tails by the full strip width.
2. Unfold both ends and place the right end over the left at a 90-degree angle, right sides together.
3. Mark a diagonal line across the intersection and sew along it.
4. Trim the seam to 1/4″ and press open.
5. Refold the binding and sew the remaining gap.
Hot Dog Tuck (Shortcut Method):
1. Overlap the tails by about 5 inches.
2. Unfold the first tail and fold its end at a 45-degree angle.
3. Slide the second tail inside the fold.
4. Smooth out slack, pin, and sew across the join.
The precise method hides the join completely. The shortcut is faster and works well for practice quilts.
Finish with the Right Stitching Method
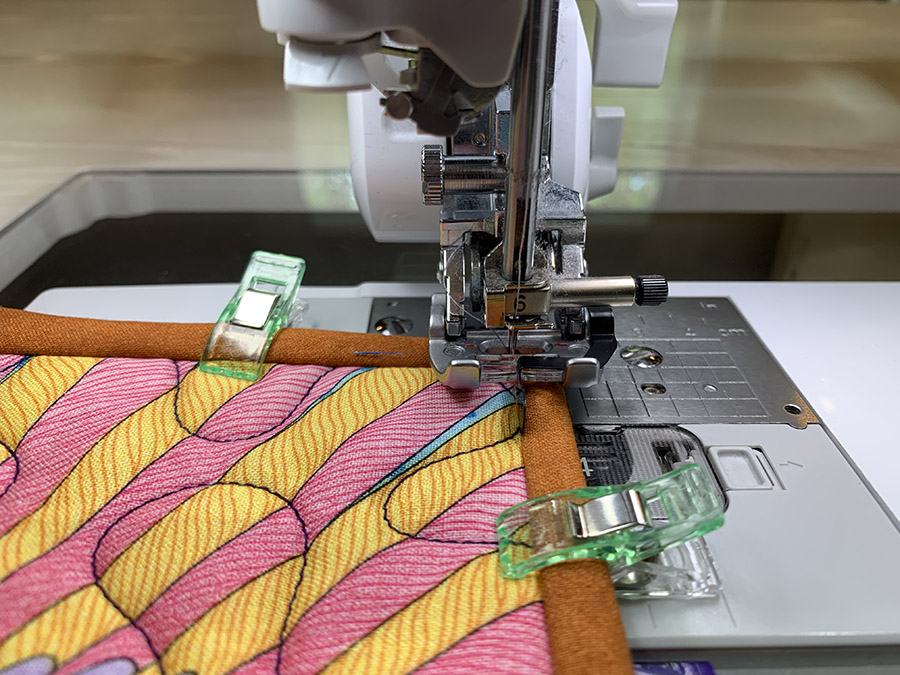
How you secure the back affects both durability and appearance.
Hand Stitching for an Invisible Finish
- Use a blind hem stitch or ladder stitch with thread matching your binding.
- Knot the thread between the batting and backing so it does not show on the front.
- Pick up a tiny bit of the binding fold, then a tiny bit of the backing fabric.
- Pull tight so the stitches disappear.
This method is ideal for show quilts and heirloom pieces.
Big Stitch Binding for Rustic Texture
- Use Perle cotton #8 or #12 with a large-eye needle.
- Stitch every 1/4 inch, catching the binding and backing layers.
- At corners, secure with a small cross-stitch through the folded edge.
Big stitch binding adds handmade charm and works well on utility quilts.
Machine Stitching for Speed
- Stitch in the ditch from the front, catching the binding edge on the back.
- Or topstitch from the back, 1/8″ from the inner fold.
- Pivot at corners with the needle down for sharp turns.
Machine binding is the fastest option and best for everyday quilts.
Avoid Common Binding Mistakes
Small errors can ruin an otherwise great quilt. Watch for these issues.
Wavy Binding
- Cause: Stretching the binding while sewing
- Fix: Guide the quilt and binding evenly without pulling
- Prevention: Use clips instead of pins for smoother feeding
Bulky or Gapped Corners
- Cause: Misfolded miter or wrong seam placement
- Fix: Refold at 45 degrees before sewing the next side
- Prevention: Stop exactly 1/4″ from the edge every time
Ends That Don’t Meet
- Cause: Underestimated length
- Fix: Add 15 to 20 inches to your perimeter calculation
- Prevention: Double-check your math before cutting
Final Tips for Perfect Binding
- Always trim and square your quilt first. An uneven edge cannot be fixed with binding.
- Press every fold. Crisp creases make hand stitching easier and more accurate.
- Use fresh blades. A dull rotary cutter frays fabric and creates ragged edges.
- Label your binding strips so they do not get mixed with other project pieces.
- Save scraps larger than 10 inches for labels, tags, or small future projects.
Frequently Asked Questions About Cutting Quilt Binding
How much binding do I need for a quilt?
Measure the perimeter by adding the length and width, then multiplying by 2. Add 15 to 20 inches to cover corners and joining the ends. For example, a 60″ x 80″ quilt needs 300″ of total binding.
What width should I cut binding strips?
The industry standard is 2.25 inches for double-fold binding. Use 2.5 inches for thicker batting and 2.75 inches for extra durability. Narrow 2.0 inch strips work for lightweight quilts or modern designs.
Should I cut binding straight or bias?
Straight-grain binding is easier to cut and works for quilts with straight edges. Bias binding stretches more and is necessary for curved edges, scalloped borders, or quilts that will see heavy use and washing.
How do I join binding strips without bulk?
Join strips with a diagonal seam. Place two strips perpendicular in an L shape, sew along a drawn diagonal line, trim to a 1/4″ seam allowance, and press the seam open. This distributes thickness across a longer line.
How do I miter quilt corners?
Stop sewing 1/4″ from the edge. Fold the binding straight up at a 45-degree angle, then fold it back down to align with the next side. Resume sewing from the very edge. The miter forms automatically.
What is the easiest way to attach quilt binding?
Machine stitching is the fastest method. Sew the binding to the front with a 1/4″ seam, wrap it to the back, and stitch in the ditch from the front to catch the back edge. Hand stitching takes longer but produces an invisible finish.
Key Takeaways for Cutting Quilt Binding
Cutting binding for a quilt comes down to three essentials: accurate measuring, precise cutting, and proper joining. Square your quilt first, then calculate your binding length by adding 15 to 20 inches to the perimeter. Choose a strip width that matches your batting thickness, with 2.25 inches as the standard. Join strips with diagonal seams to keep joins flat, and press every fold for crisp results.
Your next step is to gather your tools, square your quilt, and cut your first strip. With these techniques in hand, every quilt you finish will have clean edges, sharp corners, and a binding that holds up for years.

