
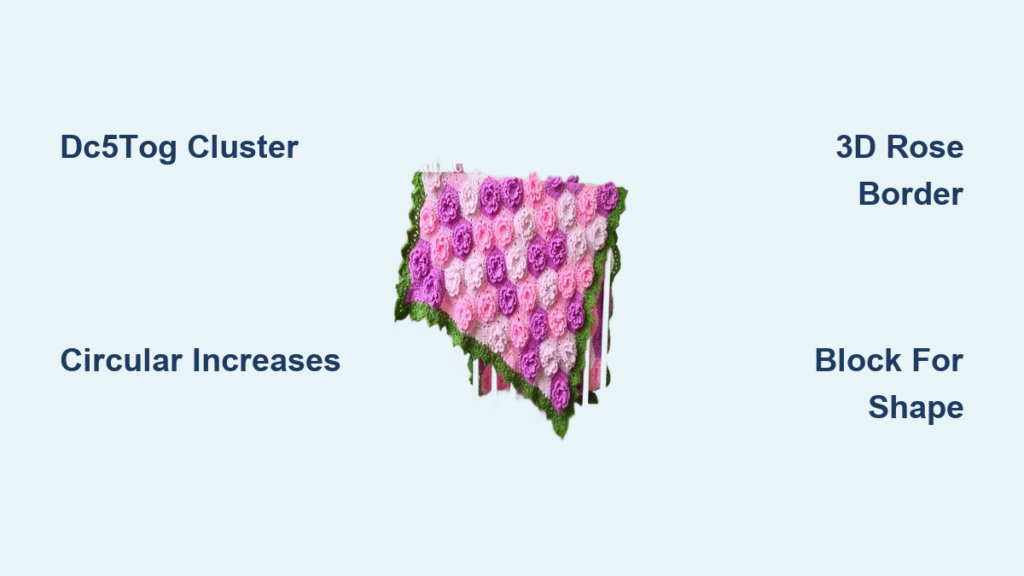
Imagine wrapping yourself in a cozy blanket that looks like a blooming garden. Crocheting a flower blanket combines the warmth of handmade textiles with the beauty of floral artistry, perfect for gifts, nursery decor, or statement pieces in your living space. Whether you’re drawn to flat daisy motifs, 3D rose borders, or bold petal-shaped designs, how to crochet a flower blanket is easier than you think. Most patterns rely on simple double crochet rhythms, making them ideal for adventurous beginners and seasoned crocheters alike.
This guide breaks down three proven construction methods: grid-based cluster flowers, circular convertible bouquet blankets, and structured petal-expansion designs. You’ll learn exactly which yarns to use, how to master signature stitches like the DC5TOG, and step-by-step instructions for creating dimensional blooms.
Choose Your Flower Blanket Style
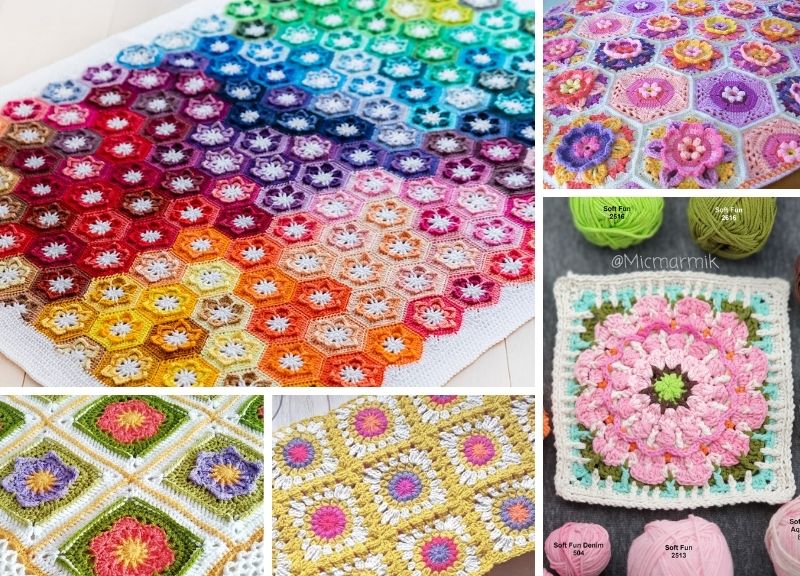
Flat Grid Flower Pattern for Beginners
Ideal for those who love repetitive, meditative stitching, this style uses a double crochet five together (DC5TOG) cluster to form daisy-like flowers across a rectangular base. Inspired by CJ’s Flower Blanket from Daisy Farm Crafts, it creates a field of blossoms using chain-3 “eyes” as flower centers.
Each DC5TOG is anchored into two previous stitches and an eye space, forming a star-shaped bloom. The rhythm becomes intuitive after a few rows, especially when using cotton-blend yarns like Bernat Softee Cotton, which enhance stitch definition.
• Foundation chain: Multiple of 3 (e.g., 156 chains = ~34″ wide)
• Hook size: G / 4.0 mm
• Finished size: 34″ × 30″
• Best for: Lap throws, baby blankets, or wall hangings with crisp texture
Once mastered, this pattern flies by, perfect for relaxing TV-time crocheting.
Circular Convertible Bouquet Blanket for Showstoppers
This design starts at the center and grows outward in rounds, ending with 3D roses and leaves that allow the blanket to be gathered into a lifelike floral bouquet. Originally popularized by Nicki’s Homemade Crafts, it’s a viral favorite on TikTok and Facebook groups.
Using worsted-weight acrylic like WeCrochet Brava, you build 40+ rounds of even increases before switching to green for leaf clusters and attaching red and pink spiral roses around the edge.
• Diameter: 44″
• Yarn needed: 5 skeins white, 2 green, 1 each red and pink
• Hook recommendation: 5.0 to 5.5 mm
• Unique feature: Transforms from blanket to bouquet, ideal for baby showers or wedding decor
The magic happens in the final border: front post single crochets create stems, while chain-15 strips are spiraled into full roses and secured with a single crochet anchor.
Bulky Petal-Expansion Design for Dramatic Texture
For dramatic texture and sculptural appeal, the Premier Blooming Flower Blanket uses bulky #5 yarn and front post double crochets (fpdc) to create ten defined petals radiating from the center.
Each petal expands through repeated cycles of increase rounds (R8 to R10), where 3 or 5 double crochets are worked into petal centers. Stitch markers help track each lobe’s growth.
• Yarn: Premier Puzzle Bulky (5 skeins)
• Hook: K 10½ (6.5 mm)
• Final size: Up to 59″ diameter
• Key technique: Joined rounds (not spiral), fpdc for ribbing, cluster stitches for petal tips
Unlike flat motifs, this blanket’s shape emerges organically with no added border needed. Blocking enhances symmetry and drape.
Gather Your Materials and Tools

Pick the Right Yarn for Your Project
Your yarn choice affects texture, warmth, and stitch clarity. Here’s a quick comparison:
| Yarn Type | Best For | Why It Works |
|---|---|---|
| Bernat Softee Cotton | Flat flower grids | Cotton blend gives crisp DC5TOG definition; machine washable |
| WeCrochet Brava | Convertible bouquet | Wide color range; durable for gifts |
| Premier Puzzle Bulky | Petal-expansion blanket | Thick yarn equals fast progress; bold texture |
Cotton-rich yarns work best for tighter stitch definition in cluster patterns. Acrylics offer durability and softness, making them great for baby items.
Match Hook Size to Yarn Weight
Using the correct hook ensures even tension and proper drape:
• G / 4.0 mm: For medium-weight yarn (CJ’s blanket)
• 5.0 to 5.5 mm: Standard for worsted weight (bouquet blanket)
• K 10½ (6.5 mm): Required for bulky #5 yarn
One source suggests using 3.0 mm for tighter fabric, but only if you want a stiffer result or plan to scale down.
Other Supplies You’ll Need
• Stitch markers (especially for tracking petal centers)
• Scissors
• Tapestry needle (for weaving in ends)
• Measuring tape
• Optional: Video tutorial access (highly recommended for 3D roses)
Master Key Stitches and Techniques
How to Crochet the DC5TOG Cluster
This stitch forms the heart of flat floral motifs. It looks complex but becomes rhythmic once you know the anchor points.
- Identify the “eye” (chain-3 space) from the previous row.
- YO, insert hook into eye, pull up loop (2 loops on hook).
- YO, insert into base of prior DC (same stitch), pull up loop (3 loops).
- Work into same base stitch again (4 loops).
- Skip 2 chains, insert into next chain, pull up loop (5 loops).
- Insert into same chain again (6 loops).
- YO and pull through all 6 loops: cluster complete.
Chain 3, then repeat the process across the row. Each cluster should sit over three chain spaces, forming a five-pointed star with a central “eye.”
Work Center-Out Circular Increases
Growing a round blanket requires consistent increases to prevent curling.
Basic Formula:
• Round 1: 12 dc in magic ring
• Round 2: 2 dc in each stitch (24 sts)
• Round 3: (1 dc, 2 dc) ×12 (36 sts)
• Round 4: (1 dc in 2 sts, 2 dc) ×12 (48 sts)
• Continue: Add one more dc between increase points each round
By Round 40, you’ll have 480 stitches, wide enough for a plush throw. Place a stitch marker in the first stitch of each round to avoid losing count.
Create 3D Roses from Chain Strips
These spiral roses turn your blanket into a bouquet.
- Attach yarn between two leaf sets.
- Chain 15.
- Work 3 dc in each chain (14 dc total).
- Gently coil the strip into a tight spiral.
- Pull the first dc loop through all layers to secure the center.
- Insert hook back into attachment point, pull up a loop, yarn over and pull through all 3 loops (special join).
- Add 1 sc, sl st, fasten off.
Repeat 24 times for red roses, then 24 more in pink. Expect to spend about 5 to 7 minutes per rose.
Use Front Post Stitches for Leaf Dimension
Front and back post single crochets add dimension to stems and foliage.
For Leaf Clusters:
• Front post single crochet (fpsc): Work around the post of a dc from two rounds below, creates a raised stem.
• Crochet petal shape around a ch-6 space: 1 sc, 2 hdc, 2 dc, 2 hdc, 1 sc.
• Back post single crochet (bpsc): Work around adjacent stitch to frame the leaf.
Repeat twice per section for a dual-leaf effect.
Build Your Blanket Step by Step
Start with the Foundation Row
For Rectangular Blanket:
• Chain a multiple of 3 (e.g., 156 for 34″ width).
• Row 1: DC in 3rd chain from hook, ch 3 (eye), then begin DC5TOG.
• Turn with ch 3, DC in eye, ch 3.
For Circular Blanket:
• Use a magic ring.
• R1: Ch 1, 12 dc in ring, sl st to close.
• R2: 2 dc in each st around (24 sts).
Mark the first stitch of each round.
Follow the Pattern Rhythm
Flat Flower Grid (CJ’s Pattern):
• Row 2+: Insert hook into “eye” of previous row.
• Work DC5TOG: 1st leg in eye, 2nd and 3rd in base of prior DC, 4th and 5th in next eye.
• Chain 3 between clusters.
• Repeat until blanket reaches 30″ tall.
Skipping the chain-3 between clusters breaks the flower rhythm. Keep it consistent.
Circular Expansion (Premier Blooming Blanket):
• R3: Alternate dc and fpdc to create ribbed texture.
• R4: Introduce small clusters (3 dc) between fpdc posts.
• R5 to R7: Gradually increase cluster size and spacing.
• R8 to R10: Repeat cycle (dc to petal center, 3 dc in R8, 5 dc in R9, or cluster in R10).
• Continue until diameter hits 56 to 59″.
Use stitch markers to mark petal centers every 6 stitches.
Finish with a Flower Border
Classic Edge (CJ’s Blanket):
• With contrasting color, join in corner ch-3 space.
• Work 4 dc in corner.
• Skip 2 sts, 1 sc in next, skip 2, 5 dc in next. Repeat along each side.
• Join with sl st.
3D Rose Border (Convertible Blanket):
• After R41 (green round), begin leaf clusters every 40 stitches.
• Attach 24 red roses, then 24 pink ones in alternating positions.
• Space evenly for balanced look.
Alternate rose colors in a spiral pattern for visual flow.
Troubleshoot Common Crochet Problems
Blanket Curling at Edges
Cause: Tension too tight or inconsistent increases.
Fix: Go up a hook size or add a border of single crochets to stabilize edges.
DC5TOG Looks Messy
Cause: Uneven loop pulls or incorrect insertion points.
Fix: Practice on a swatch. Ensure all five legs are anchored correctly before closing the cluster.
Circular Blanket Not Lying Flat
Cause: Too many or too few increases.
Fix: Stick strictly to the (1 dc in n sts, 2 dc) ×12 formula. Count stitches every round.
Roses Won’t Hold Shape
Cause: Not coiling tightly enough or failing to anchor the first loop.
Fix: Wrap the chain strip firmly and pull the initial dc loop snug through all layers.
Customize Your Flower Blanket Design
Choose a Color Palette
• Soft Pastels: Pink, mint, lavender, perfect for baby gifts
• Monochrome Elegance: All cream or white for minimalist charm
• Bold Contrast: Red roses on white background for drama
Pair dark blue border with cream blanket for vintage appeal.
Adjust Size Easily
• Rectangular: Change foundation chain (multiple of 3)
• Circular: Keep increasing rounds until desired diameter
• Petal blanket: Repeat R8 to R10 cycle longer
Want a king-sized throw? Just keep going. There’s no wrong way to grow it.
Add Creative Touches
• Fringe or tassels on corners
• Appliquéd initials in center
• Photo prop: Use for newborn or gender reveal shoots
• Wall hanging: Mount with a wooden dowel
Care and Maintenance for Your Finished Blanket
Washing Instructions
All tested yarns are machine washable:
• Cold water, gentle cycle
• Tumble dry low or lay flat to dry
• Bernat Softee Cotton resists stains, even after baby messes
Blocking for Perfection
Blocking evens out tension and opens up clusters:
1. Soak blanket in cool water.
2. Gently press out water (do not wring).
3. Lay flat on towel, shape into circle or rectangle.
4. Pin corners and petal tips.
5. Let dry completely.
Lightly steam fpdc ridges to set texture. Hold iron 2 inches above fabric.
Final Thoughts on Creating Your Flower Blanket
Crocheting a flower blanket isn’t just about warmth. It’s about creating something beautiful with your hands. Whether you choose the rhythmic DC5TOG grid, the magical bouquet transformation, or the sculptural petal design, each stitch tells a story.
These patterns honor tradition (CJ’s blanket was rediscovered from 30-year-old notes) and embrace innovation (viral 3D roses). They’re beginner-accessible yet impressive enough to gift with pride.
So grab your hook, pick your favorite floral style, and start stitching. In just a few weeks, you’ll have a handmade heirloom that blooms all year round.
Frequently Asked Questions About Crocheting Flower Blankets
What is the easiest flower blanket pattern for beginners?
The flat grid flower pattern using DC5TOG clusters is the most beginner-friendly option. It relies primarily on double crochet stitches and a simple repeating rhythm. Once you master the cluster anchor points, the pattern becomes highly meditative and hard to mess up.
How long does it take to crochet a flower blanket?
Time varies by pattern and experience level. A rectangular DC5TOG blanket takes about 10 to 15 hours for experienced crocheters. The circular bouquet blanket requires 20+ hours due to 40+ rounds and 48 3D roses. The bulky petal design falls in between, around 15 to 18 hours.
What yarn is best for flower blanket projects?
Bernat Softee Cotton works best for flat cluster patterns because cotton provides crisp stitch definition. For convertible bouquets, WeCrochet Brava offers excellent color options and durability. Premier Puzzle Bulky is specifically designed for the petal-expansion style.
Can I convert a circular blanket into a bouquet?
Yes, the circular convertible bouquet blanket is specifically designed for this transformation. The 3D roses and leaves around the edge allow you to gather the blanket and display it as a floral arrangement. This makes it perfect for gifts and photo opportunities.
Do I need special tools for making 3D roses?
You only need basic supplies: worsted-weight yarn, a 5.0 to 5.5 mm hook, scissors, and a tapestry needle. However, a video tutorial is strongly recommended for the rose-rolling technique, as written instructions can be difficult to follow for the spiraling process.
How do I block a crocheted flower blanket?
Soak the blanket in cool water for 15 to 20 minutes. Gently press out excess water without wringing. Lay flat on a clean towel and shape it to your desired dimensions. Pin corners and any petal tips in place. Allow it to dry completely before removing pins.

