
Picture this: you’ve finished piecing a quilt top, but it feels flat and uninspired. Adding applique transforms that plain surface into a storytelling canvas, with flowers, animals, or letters that pop with dimension and personality. Learning how to do applique on a quilt unlocks a world of creative possibilities, letting you layer shapes, colors, and textures onto any fabric background.
In this guide, you’ll discover the four main applique methods, the tools that make the process smoother, and expert techniques to prevent common mistakes like fraying and puckering. Whether you’re a beginner seeking quick results or an experienced quilter chasing heirloom-quality finishes, you’ll find actionable steps to bring your designs to life with confidence.
Choose Your Applique Method
The method you select shapes everything from speed to durability. Each technique suits different skill levels and project goals.
Raw Edge Machine Applique
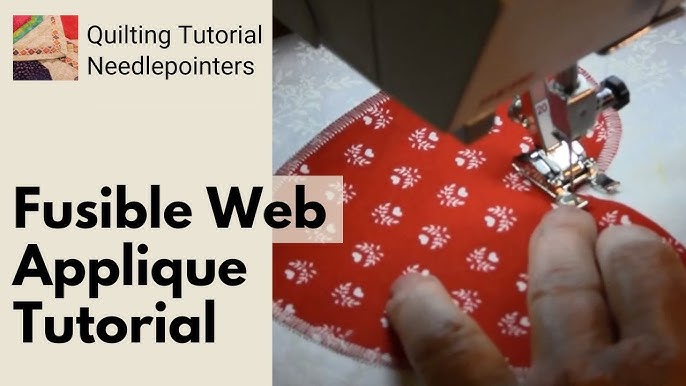
This beginner-friendly approach is the fastest path to finished applique. Fabric shapes are fused or pinned to the background, then secured with a zigzag or satin stitch while the raw edges remain exposed. The stitching protects those edges, making this method ideal for intricate designs, wall hangings, and baby quilts. Use Batik fabric to minimize fraying, or choose a tight zigzag stitch for projects that will see frequent washing.
Fusible Web Technique
Fusible web delivers quick, accurate results without hand-basting. Trace your shape onto the paper side of lightweight fusible web, iron it to the wrong side of your fabric, cut out the shape, and peel off the backing paper. Position the piece on your background and press with a hot iron to bond it in place. This approach keeps shapes from shifting during stitching and works beautifully for busy quilters seeking efficiency.
Needle-Turn Hand Applique
For a classic, seamless finish, needle-turn applique remains the gold standard. Cut your shape with a quarter-inch seam allowance, baste it in position, then hand-stitch while turning the edges under with your needle. The result is a smooth, shadow-like effect with virtually invisible stitches. This technique takes more time but rewards you with heirloom-quality detail perfect for treasured quilts.
Inside-Out (Lazy-Lady) Method
This clever technique creates clean, fray-free edges without hand-turning. Pair your fabric with lightweight fusible interfacing, cut two identical shapes, place them right sides together, and stitch around the edge while leaving a small gap. Turn the piece right-side out using tweezers, press it flat, then fuse it to your quilt top. Beginners love this method for its polished, professional results.
Gather Essential Tools and Materials
Having the right supplies on hand prevents frustration mid-project. Quality tools also produce cleaner, more precise results.
Cutting and Tracing Tools
Keep sharp fabric scissors dedicated solely to fabric. Using them on paper or fusible web backing dulls blades quickly. For templates, choose cardstock or template plastic for durability. A heat-erasable Frixion pen works perfectly on light backgrounds when paired with a window or light board, while white transfer paper and a stylus handle dark fabrics with ease.
Pressing and Bonding Supplies
A hot, dry iron is essential for fusing. Keep a press cloth nearby for blends or felt, which can scorch under direct heat. Spray starch applied before cutting improves fabric stability and makes shapes easier to handle. Fusible web and lightweight fusible interfacing serve different purposes, so stock both for varied projects.
Thread and Needle Options
Match thread color to your shape for a blended finish, or use monofilament thread for nearly invisible stitching. Aurifil 80wt thread handles fine detail work beautifully. For hand applique, thread a sharp needle with two strands of embroidery floss or fine quilting thread. Tear-away or freezer paper stabilizers prevent puckering during satin stitching.
Prepare Templates and Transfer Your Design

Accurate templates ensure clean, consistent shapes. How you transfer them depends on your background fabric color.
Print and Reverse When Needed
Remember that the finished applique is a mirror image of your template. If your final design must match the template orientation (words or directional animals), reverse the image before printing. Use printer settings to resize as needed, then trace onto cardstock for a sturdy, reusable template.
Trace onto Fusible Web
Place the paper side of fusible web over your printed template and trace with a pencil or pen. Leave about a quarter inch of space between shapes if cutting multiple pieces from one sheet. Rough-cut just outside the traced line to make handling easier before precise cutting.
Transfer to Background Fabric
For light backgrounds, trace directly onto the fabric using a Frixion pen and a light source. For dark fabrics, position white transfer paper chalk-side down beneath your template, place the template on top, and trace firmly with a stylus or ballpoint pen. The visible mark washes out later, leaving a clean surface.
Cut and Fuse Applique Shapes
Precision during cutting and fusing keeps your shapes crisp and prevents shifting during stitching.
Cut with Sharp Scissors
Cut precisely along the traced line using your dedicated fabric scissors. For curved shapes in needle-turn applique, snip small notches in the seam allowance to help the fabric lie flat when turned. Rough cuts create uneven edges that show through stitching.
Fuse Shapes to Fabric
Place the cut shape paper-side up on the wrong side of your chosen fabric. Iron with a hot, dry iron for three to five seconds per area. For blends or felt, always use a press cloth to prevent scorching. Once fused, peel away the paper backing carefully.
Layer with the Light-Over-Dark Rule
When arranging multi-piece designs, never place light fabric over dark fabric unless the top piece fully covers it. Dark colors show through lighter ones and disrupt your design. Plan your layering order before fusing, working from bottom layers to top.
Arrange and Bond Shapes to the Quilt Top
Strategic placement and secure bonding affect both appearance and durability.
Test Layout Before Fusing
Lay out all shapes on the background fabric without committing to fusing. Snap a photo to review spacing and balance. This simple step prevents irreversible mistakes and lets you refine your composition with confidence.
Fuse One Shape at a Time
Press each shape individually for about five seconds with a hot iron. Press straight down rather than rubbing side to side, which causes shapes to shift. For complex designs, fuse bottom layers first and top layers last to ensure proper overlap.
Add Pins for Extra Security
If working without fusible web, secure shapes with fine applique pins or wonder clips. Pin from the center outward to prevent puckering. For hand applique, baste shapes with long, loose stitches before final stitching to keep everything stable.
Stitch Applique by Machine or Hand

Stitching secures your applique and adds decorative flair. Choose the right stitch for your project’s function and style.
Zigzag Stitch for Durability
Set your machine to a width of two to three millimeters and a length of 0.5 millimeters. Use monofilament thread for nearly invisible stitching, or match thread color to your shape. Sew close to the edge, staying mostly inside the shape. This stitch works well for baby quilts and frequently washed items.
Satin Stitch for Bold Edges
A dense zigzag with a width of two millimeters and a length of 0.02 completely covers the raw edge. This finish is the most secure option but can look heavy if overused. Reserve it for small details or when defining adjacent pieces of the same color. Place tear-away stabilizer behind the fabric to prevent puckering.
Blanket Stitch for Decorative Charm
Many machines offer a blanket stitch or buttonhole stitch setting that creates a looped, hand-crafted edge. Unlike satin stitch, blanket stitch performs better without stabilizers, which can interfere with stitch formation. This option suits rustic or heirloom-style quilts beautifully.
Hand Stitch for Subtle Elegance
Use a slip stitch or applique stitch to secure shapes with nearly invisible hand-sewing. Thread a sharp needle with two strands of embroidery floss or fine quilting thread. Take tiny bites of the folded edge and background fabric for a polished, traditional finish.
Quilt Around Your Applique Designs
Once applique is stitched, it’s time to quilt the full sandwich of top, batting, and backing.
Stitch Through All Layers for Small Quilts
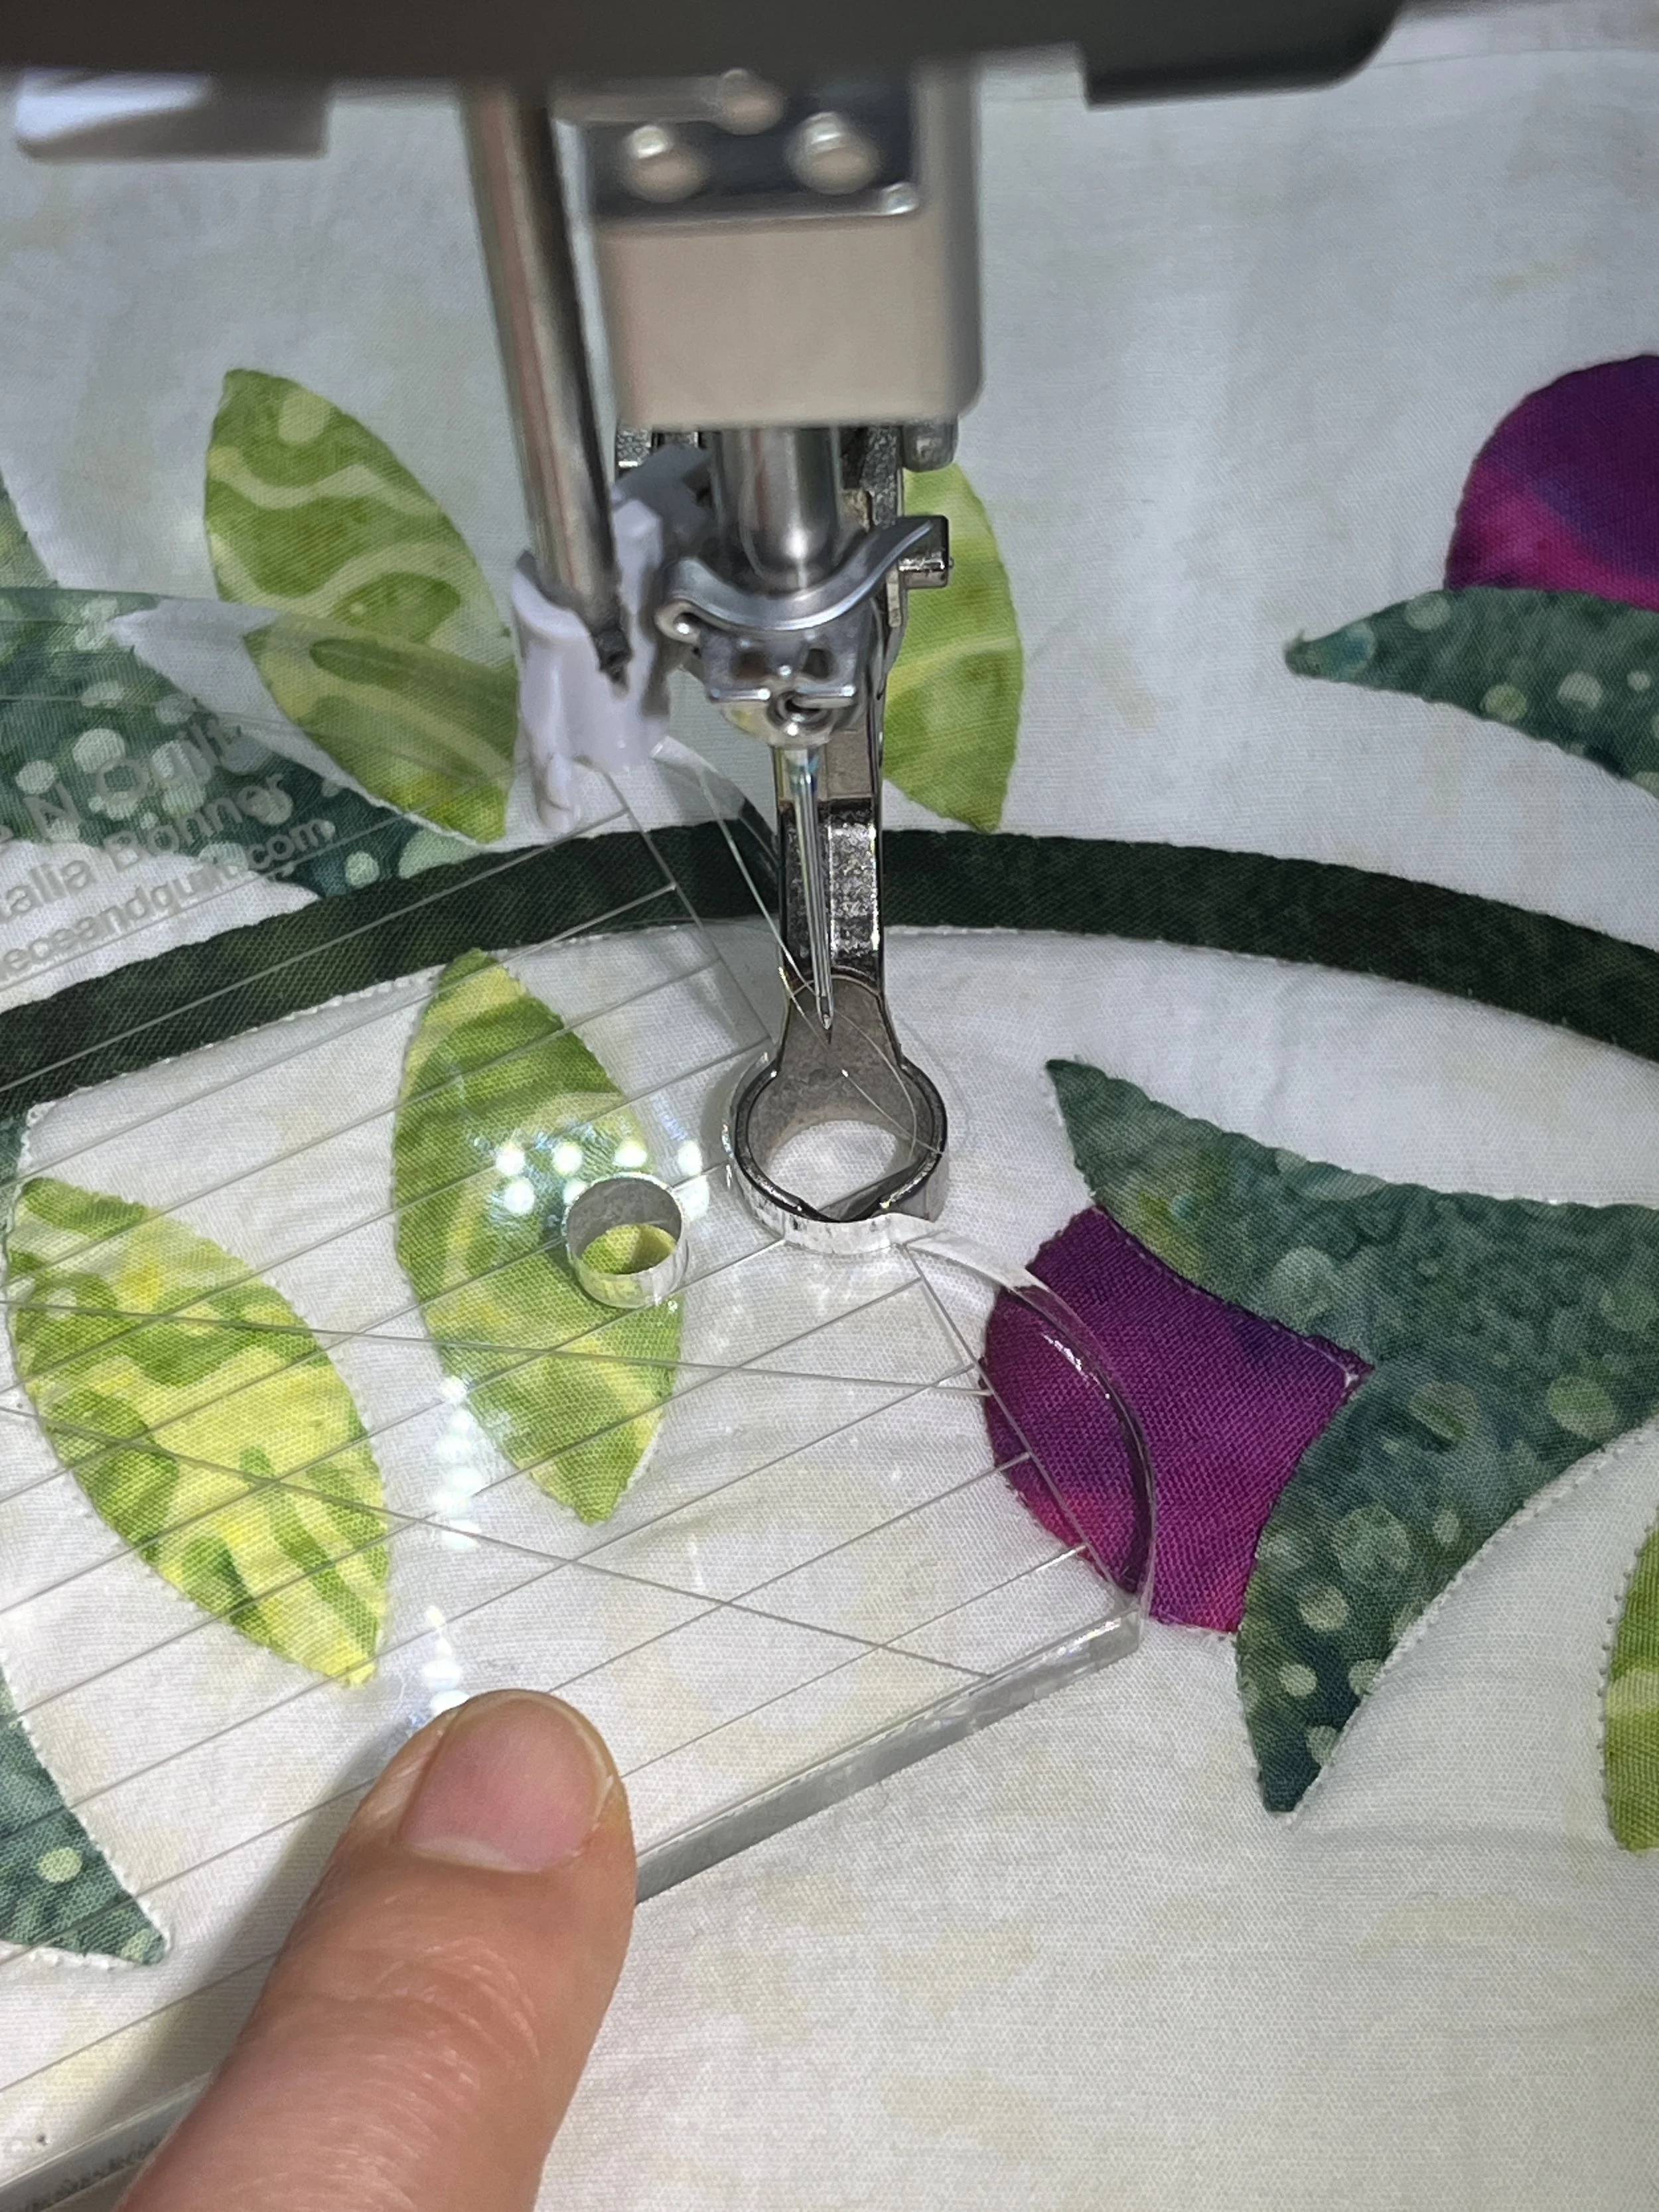
For quilts under 50 inches, quilt through all three layers using a walking foot or free motion technique. Outline each shape with an eighth-inch gap to secure it and add definition. The thick sandwich acts as a stabilizer, producing high-quality zigzag stitching.
Quilt Background First for Large Projects
On larger quilts, maneuvering a bulky sandwich under the needle becomes difficult. Stitch only the top layer to secure applique, then baste and quilt as usual. This approach saves frustration and produces cleaner results.
Plan Your Quilting Motifs
Sketch your quilting design on paper before stitching. For negative space, try meanders, swirls, or pebbles. Stitch in the ditch around sashing to make blocks stand out. Use feathers or switchbacks in borders. Let fabric prints guide your choices and avoid competing with busy patterns.
Prevent Fraying and Puckering
Even raw edge applique can last for years with the right techniques.
Choose Batik to Reduce Fraying
Batik fabric has tightly woven fibers that fray far less than regular cotton. It’s ideal for raw edge projects, especially quilts that will be washed frequently. Felt offers another no-fray option, though it delivers a less traditional look.
Use Stabilizers to Avoid Puckering
When applying satin or zigzag stitches, place tear-away or freezer paper stabilizer behind the background fabric. This support prevents distortion and keeps your stitching smooth. Remove the stabilizer after stitching.
Trim Seam Allowances Carefully
In turned-edge methods, trim seam allowances close to the stitching line without cutting too close. Leave enough fabric to turn under smoothly. Small, sharp scissors give you the precision needed for clean results.
Finish and Care for Your Applique Quilt
Proper finishing ensures your quilt looks professional and lasts for generations.
Bury Thread Ends Neatly
Expect many thread ends, especially with zigzag or satin stitching. Use a self-threading needle to bury threads between the batting and backing. This keeps the reverse side neat and prevents unraveling over time.
Wash with Gentle Care
Turn the quilt inside out and wash in cold water on a gentle cycle using mild detergent. Air dry or tumble dry on low heat. Avoid harsh agitation. Most well-stitched applique holds up beautifully after washing.
Iron with Caution
Always press rather than rub when ironing applique. Use a hot, dry iron and a press cloth if needed. This maintains shape integrity and prevents adhesive from migrating into surrounding fabric.
Frequently Asked Questions About How to Do Applique on a Quilt
What is the easiest applique method for beginners?
The fusible web technique combined with a simple zigzag stitch offers the highest probability of success for beginners. Trace your shape onto fusible web, iron it to your fabric, cut it out, peel the backing, and fuse it to your background. A zigzag stitch secures the edge without requiring advanced skills.
Can you applique by hand without fusible web?
Yes, needle-turn hand applique uses no fusible web at all. Cut your shape with a quarter-inch seam allowance, baste it in place, then hand-stitch while turning the edges under with your needle. This traditional method produces beautiful, heirloom-quality results with invisible stitches.
How do you stop applique edges from fraying?
Choose Batik fabric, which frays significantly less than regular cotton. Apply a tight zigzag or satin stitch close to the edge to seal raw fibers. Dense quilting near the edges also helps hold designs intact after washing. For maximum security, use fusible web to bond edges before stitching.
What thread is best for invisible applique stitching?
Monofilament thread creates nearly invisible zigzag stitching on any fabric color. For colored fabrics, choose thread that matches your shape exactly. Aurifil 80wt thread works beautifully for fine detail work and hand applique where subtlety matters most.
Should you quilt applique before or after layering the quilt sandwich?
For small to medium quilts under 50 inches, wait to secure applique until after layering the quilt sandwich. The thick layers act as a stabilizer for high-quality zigzag stitching. For larger quilts, secure applique on the top layer first to avoid wrestling with a bulky sandwich under your needle.
Can you wash a quilt with raw edge applique?
Yes, quilts with raw edge applique wash well when stitched properly. Turn the quilt inside out, use cold water on a gentle cycle, and air dry or tumble dry on low. Designs secured with zigzag, satin, or blanket stitch hold up beautifully after washing, especially when made with Batik fabric.
Key Takeaways for Mastering Quilt Applique

Learning how to do applique on a quilt combines precision with creativity, and success comes from thoughtful preparation. Start by choosing the right method for your skill level: fusible web with zigzag stitching for beginners, needle-turn for traditional finishes, or the inside-out method for clean edges without hand-turning. Always prepare accurate templates, use sharp scissors dedicated to fabric, and follow the light-over-dark layering rule to keep designs crisp.
Stitching choices matter as much as fabric choices. Match thread color to your shape or use monofilament for invisible seams, and select zigzag, satin, or blanket stitches based on your desired aesthetic and durability needs. Finally, finish your quilt with care by burying thread ends, washing gently, and pressing rather than rubbing to maintain shape integrity.
Your next step is simple: gather your tools, pick a small design, and practice on scrap fabric before committing to your full quilt. Every stitch builds skill, and soon you’ll create applique quilts that are durable, beautiful, and uniquely yours.

