
You’ve spent hours piecing your quilt top, and now the final stretch awaits. Learning how to finish a quilt transforms a flat, layered project into a durable, beautiful heirloom you’ll enjoy for years. This guide walks you through every phase, from assembling layers to binding edges and caring for your finished piece.
Whether you use a sewing machine or prefer hand stitching, the process ensures professional results. You’ll learn how to baste layers without shifting, choose the right batting, create crisp mitered corners, and avoid common pitfalls like wavy edges or thread breakage.
Assemble Your Quilt Top First
Before finishing begins, your quilt top must be fully pieced and pressed. Skipping this step risks misalignment and frustration later.
Lay Out Blocks on a Design Wall
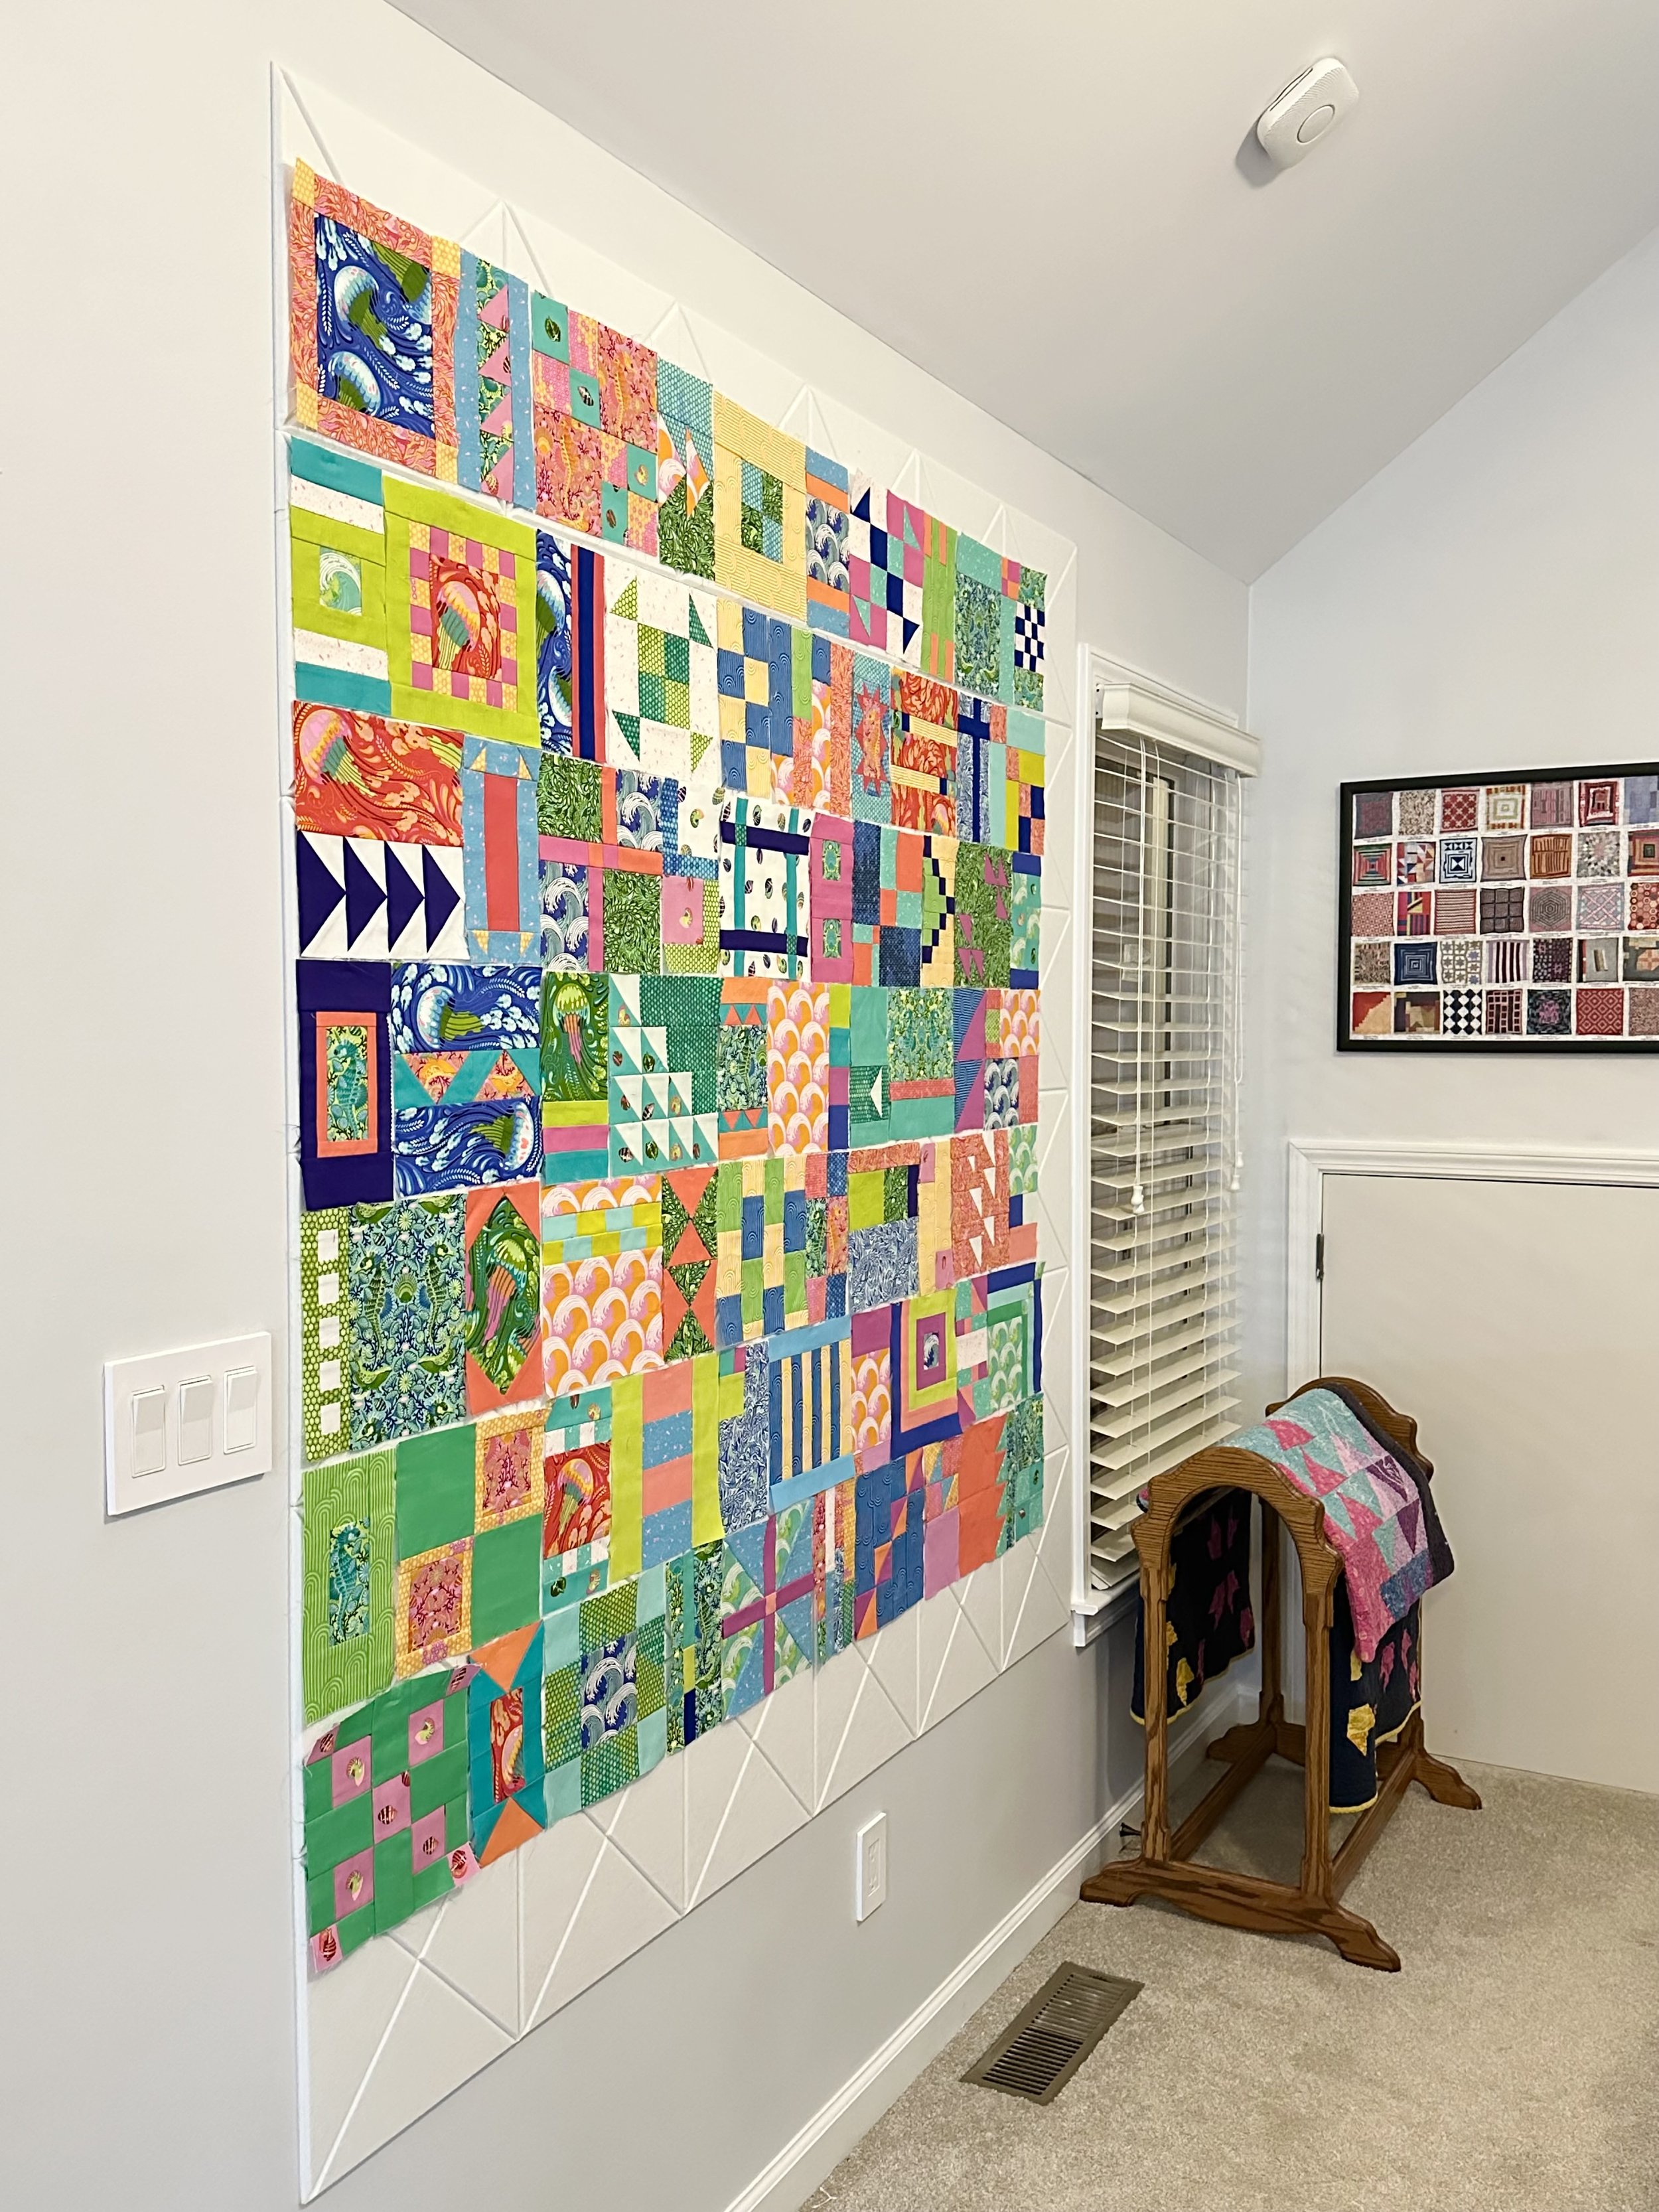
Never sew blocks together without first laying them out. Use a design wall, a dedicated fabric-covered board or temporary setup with command hooks, to view your design vertically. This reveals color imbalances, pattern repetition, or awkward block placement that is hard to spot on the floor.
If no wall is available, lay blocks on the floor and take a photo from above. Review the image on your phone to catch any issues.
Once satisfied, photograph the final layout. Remove blocks row by row, pinning and labeling each row to maintain order during sewing.
Press Seams for Perfect Alignment
Press seams in opposite directions on adjacent rows. For example, press row 1 to the right and row 2 to the left. This allows seams to nest when joined, locking them together for precise intersections.
Sew rows with a quarter inch seam allowance, starting and ending with a few backstitches. Nesting eliminates the need for excessive pinning and ensures crisp corners.
Choose Batting and Prepare the Backing
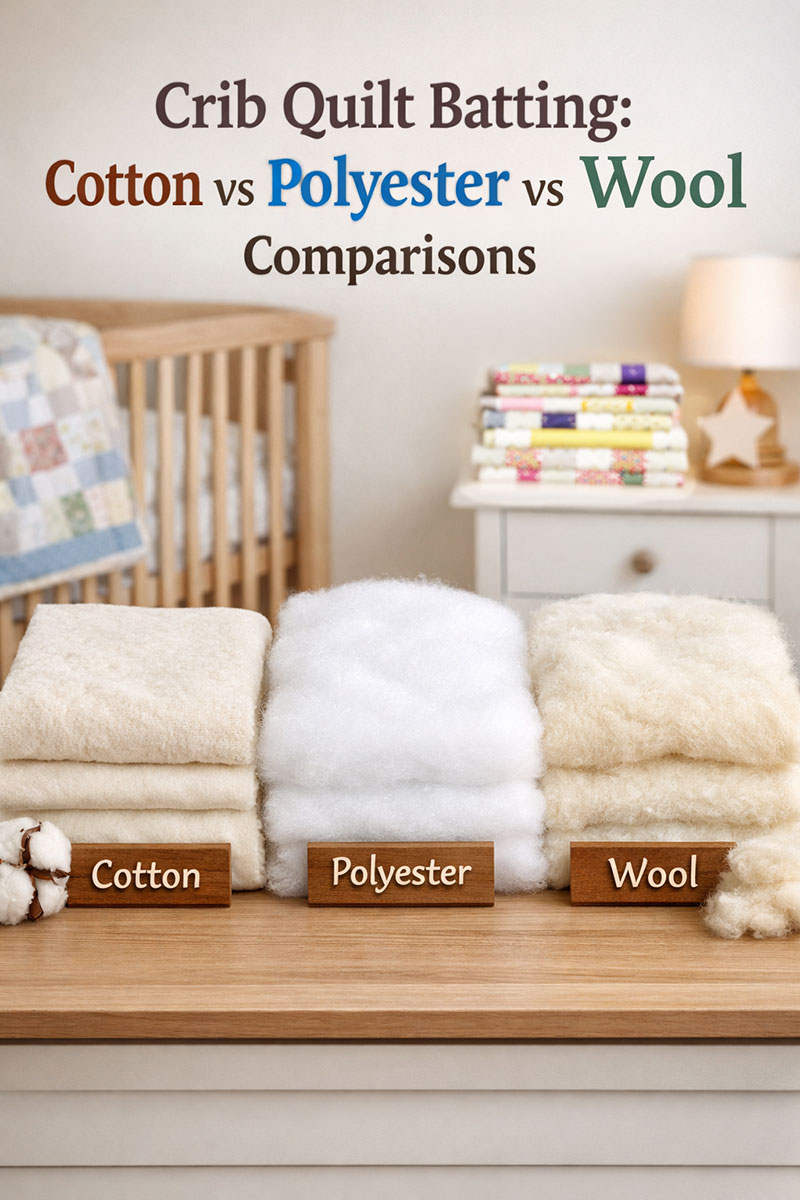
The backing and batting form the foundation of your quilt sandwich. Choosing the right materials and sizing them correctly prevents shifting and shrinkage.
Pick the Right Batting
Batting determines warmth, drape, and quilting ease.

