
You’ve spent hours piecing your quilt top, pressing every seam just right, and now comes the part that brings it all to life: free motion quilting. If you’ve ever watched a quilter glide fabric under the needle in swirling loops and organic shapes, you’ve seen this technique in full effect. It looks like magic, but it is really muscle memory, proper setup, and the right mindset. The good news? You can absolutely learn how to free motion quilt on your home sewing machine.
Free motion quilting (FMQ) means dropping your feed dogs, taking full control of the fabric, and moving it in any direction while the needle stitches. No more straight lines dictated by the machine. Instead, you create stippling, spirals, flames, waves, or custom fills that add texture and personality to your quilt. The result is a soft, crinkly finish with a handmade soul. This guide walks you through machine setup, essential tools, stitch control, and confidence building, so you can start stitching today.
Set Up Your Machine Correctly

Before touching fabric, configure your machine for full manual control. This is not regular sewing. Your machine needs to act like a mini longarm.
Drop the Feed Dogs
The feed dogs pull fabric forward during standard stitching. For FMQ, they must be disengaged so you can move the quilt freely.
- Look for a switch, lever, or dial on your machine, often labeled with a symbol of feed dogs crossed out or a downward arrow.
- Flip the switch or turn the dial to lower them.
- If your machine lacks this feature, set the stitch length to 0. This neutralizes feed dog movement and allows manual control.
Pro Tip: When raising feed dogs again after FMQ, most machines require one forward stitch before they pop back up. Always test on scrap fabric.
Install a Darning or FMQ Foot
A standard presser foot clamps down too hard, resisting multidirectional movement.
- Use a darning foot, also called a free motion quilting foot. It floats above the fabric, holding it flat without restricting motion.
- Most machines include this foot. If not, buy a universal or brand-specific version.
- For ruler-guided designs, switch to a ruler foot with a thick base that safely blocks acrylic templates.
Adjust Needle and Stitch Settings
Settings make or break your stitch quality.
- Stitch length: Set to 0. The machine should only form stitches, not advance fabric.
- Needle: Use a size 80/12 or 90/14 universal or ballpoint needle. Upgrade to a heavier needle (100/16) for thick battings.
- Speed control: If your machine has an adjustable speed dial, set it to medium or high. You will floor the pedal and let hand speed control stitch length.
Quick Check: Run a test stitch on a scrap sandwich. Adjust tension if threads loop or break.
Gather Essential Tools and Accessories
The right tools reduce fatigue, improve control, and make FMQ enjoyable rather than exhausting.
Wear Quilting Gloves for Better Grip
Your hands do the work. Gloves prevent slipping and reduce strain.
- Choose lightweight gloves with rubberized dots (such as Machingers or Fons & Porter). They offer grip without bulk.
- Avoid thick gardening gloves because they limit dexterity.
- Wear on one or both hands. Many use a glove on the guiding hand and keep the other bare for tension control.
Pro Tip: These gloves also help when binding. No more fabric slippage.
Use a Supreme Slider for Smooth Movement
Large quilts drag on the machine bed. A Supreme Slider eliminates friction.
- Place it over your table and machine bed. The slippery side faces up, the grippy side sticks to the surface.
- Tape down all edges securely so you do not accidentally stitch into it.
- Makes rotating and shifting heavy quilts effortless.
Alternative: A piece of parchment paper or silicone baking mat works in a pinch.
Prepare Your Bobbins in Advance
Running out of thread mid-design breaks rhythm.
- Wind 5 to 10 bobbins before starting a large project.
- Use magic bobbin washers (Teflon discs) if your machine has tension issues with metal bobbins.
- Match thread weight: 50-weight cotton is ideal for most tops and battings.
Create Practice Sandwiches
Start small. No need to risk your prize quilt.
- Cut 10 to 20 inch squares from scrap fabric, batting, and backing.
- Baste layers together using pins, spray, or thread.
- Use contrasting thread so stitches are easy to see.
Bonus: Doodle designs on paper or a whiteboard first. Visualizing the path builds muscle memory.
Prepare the Quilt Sandwich Properly
A shifting sandwich ruins even the best stitching. Lock layers down before you start.
Layer with Correct Sizing
Misaligned layers pucker and wrinkle.
- Backing: Cut 2 inches larger than the quilt top on all sides.
- Batting: Cut 1 inch larger than the top.
- Top: Your finished pieced layer.
This gives room for hand placement and prevents edge tugging.
Choose a Basting Method
Pick one that suits your style and project size.
- Spray basting: Fast, pin-free. Use temporary adhesive (such as 505 Spray). Work in a ventilated area.
- Pin basting: Use curved safety pins. Space every 3 to 4 inches. Avoid clustering near design paths.
- Thread basting: Traditional, durable. Use long stitches in a grid pattern.
For practice blocks: Hand-hold layers taut. No basting needed for small pieces.
Final Pre-Stitching Checklist
Before lowering the needle:
- Confirm feed dogs are down.
- Stitch length is set to 0.
- Darning foot is installed.
- Machine is oiled (if required).
- Test tension on a scrap sandwich.
- Plan your starting point and design path.
Smart Start: Begin stitching off the edge, on batting or backing. This hides the knot and stabilizes thread before moving onto the top.
Master Stitching Mechanics and Control
FMQ is a dance between needle speed and hand movement. Get this right, and your stitches will even out fast.
Balance Needle and Hand Speed
Stitch length depends on how fast you move fabric versus how fast the needle cycles.
- Slow hands + fast needle = tiny, tight stitches.
- Fast hands + slow needle = long, loopy stitches.
- Goal: Keep the needle speed constant and adjust hand speed for even stitches.
Expert Move: Set your machine to high speed and floor the pedal. Let your hands do all the work.
Use Travel Stitching to Connect Designs
You do not need to cut thread between sections.
- Travel stitching means stitching over an existing line to reach a new area.
- Great for connecting spirals, flames, or filling isolated blocks.
- Design paths often include arrows showing travel routes. Follow them to avoid floating thread.
Myth Busted: Lines can cross. Many modern designs rely on overlapping for depth.
Start with Simple Designs
Build confidence with beginner-friendly patterns.
- Stippling: A continuous wavy line that never crosses itself. Perfect for background fills.
- Echo quilting: Copy the shape of a block or appliqué, stitching parallel lines around it.
- Basic spirals: Start in the center, swirl outward, then echo around the outside.
Practice Drill: Doodle 10 spirals on paper. Then stitch them. Repeat daily.
Handle Thread Runs and Breaks
Even pros run out of bobbin thread.
- When the bobbin empties, stop stitching, cut the threads, and refill.
- Restart a few stitches behind where you left off.
- Stitch in place (tiny circles) or back and forth to secure.
- Later, bury thread tails with a needle or trim close.
Prevention: Use a bobbin alarm or mark bobbins with colored thread to track usage.
Troubleshoot Common FMQ Problems
Expect hiccups. The key is knowing how to fix them fast.
Fix Uneven Stitches
Lumpy, inconsistent stitches usually come down to hand speed.
- Cause: Hesitating, speeding up, or slowing down.
- Fix: Lower machine speed slightly. Floor the pedal. Practice moving hands at a steady rhythm.
- Use a metronome app to find a consistent pace (60 to 80 BPM works well).
Smooth Out Sharp Turns
Pointy corners instead of curves?
- Cause: Moving too slowly or pausing at turns.
- Fix: Speed up the needle and keep hands moving. Relax your shoulders.
- Think “flow,” not “precision.” Fast, fluid motion creates better curves.
Resolve Tension Issues
Loops on the back? Threads breaking?
- Check the basics:
- Is the thread properly threaded?
- Is the needle new and correct size?
- Are feed dogs fully down?
- Try magic bobbin washers to stabilize metal bobbins.
- Adjust top tension slightly if needed, usually tighten by 0.5 if bottom thread shows on top.
Test First: Always test on a scrap sandwich before adjusting.
Prevent Physical Fatigue
Quilting large projects strains neck, back, and hands.
- Take breaks every 20 to 30 minutes.
- Use gloves to reduce grip pressure.
- Sit upright with elbows relaxed.
- Support the quilt weight with your arms and table, not your lap.
Upgrade Option: Consider a sit-down longarm frame or quilt leader system for full-sized quilts.
Explore Design Ideas and Advanced Techniques
Once basics click, expand your creative range.
Try Edge-to-Edge Patterns
Cover the whole quilt with one repeating design.
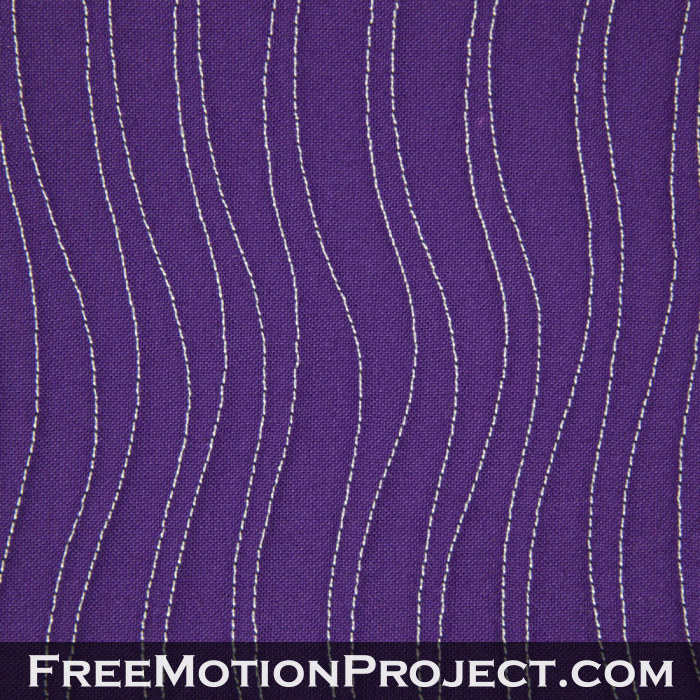
- Shadow Waves: Subtle, flowing lines that mimic water.
- Etch n’ Sketch: Crisscrossing lines for a modern look.
- Meander: A looser, more organic stipple.
Beginner-Friendly: These hide imperfections and build rhythm.
Use Filler Patterns for Impact
Make appliqués or blocks stand out.
- Stitch stippling or swirls in the background.
- The contrast makes the main design pop.
- Great for alphabet quilts, pictorial quilts, or modern layouts.
Try Quilt-as-You-Go (QAYG)
Avoid wrestling a king-sized quilt through your machine.
- Quilt each block individually using FMQ.
- Then sew blocks together like a pieced top.
- Ideal for beginners or intricate designs.
Pro Tip: Use sashing or borders to hide seam allowances.
Combine FMQ with Other Techniques
Mix methods for efficiency and variety.
- Walking foot: For straight lines (such as grid quilting).
- Ruler foot: For precise curves and geometric shapes.
- Hybrid approach: Quilt borders with a walking foot, center medallion with FMQ.
Speed Boost: Use FMQ only where you want texture. Skip over areas that do not need it.
Build Skills with Daily Practice
FMQ is a skill, not a talent. Progress comes from repetition.
Adopt the 30-Day Challenge
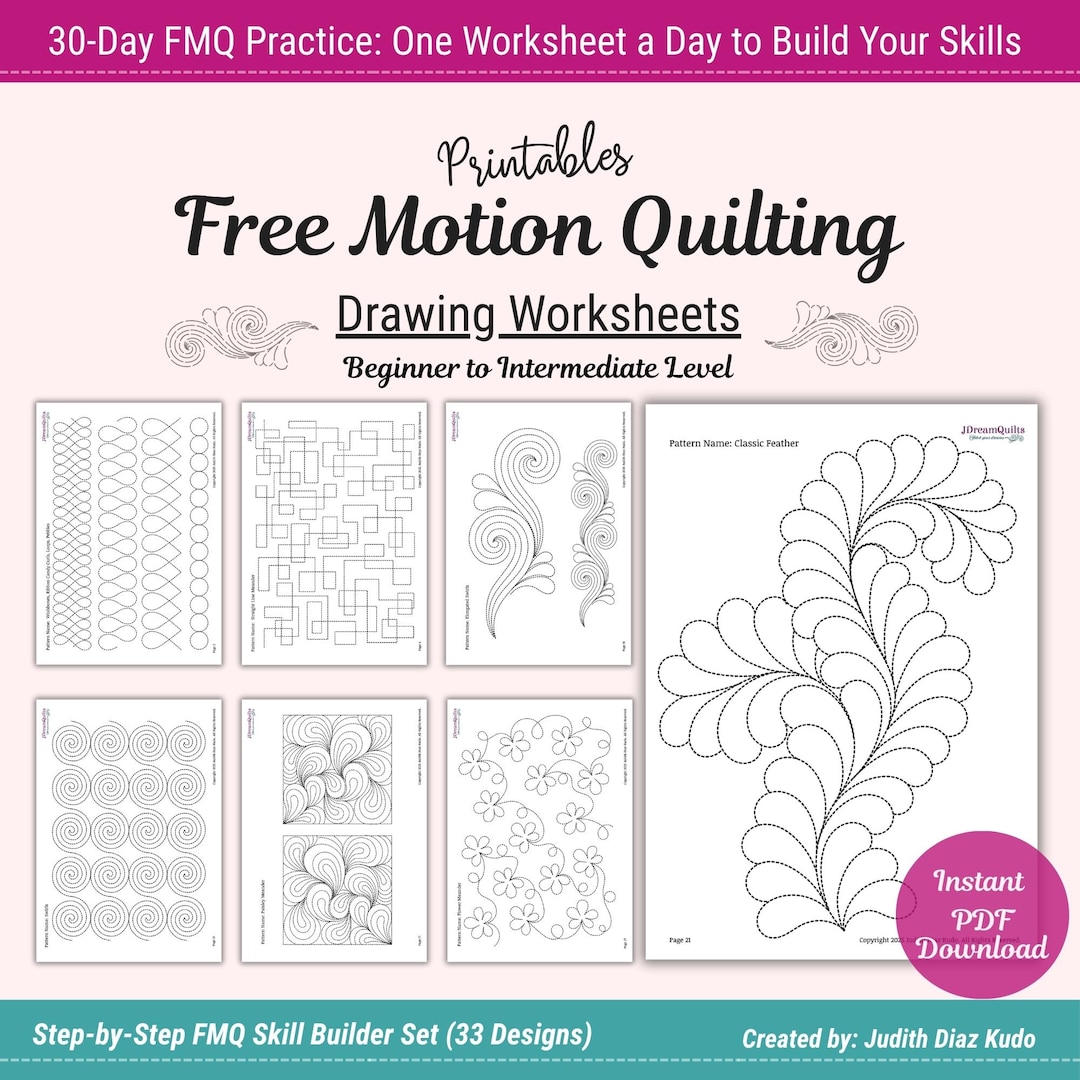
Commit to one design per day.
- Use books like 365 Free Motion Quilting Designs for inspiration.
- Start with doodles, then stitch.
- Track progress in a journal or photo log.
Result: Most quilters see dramatic improvement in under a month.
Match Learning Style to Resources
- Visual learners: Watch YouTube tutorials (such as Leah Day or Amanda Murphy).
- Kinesthetic learners: Jump in and practice on scraps immediately.
- Analytical learners: Study design books with step-by-step arrows.
Follow a Skill Progression
Move from simple to complex:
- Straight lines and circles on scrap fabric.
- Wavy lines and stippling.
- Basic spirals and loops.
- Travel stitching to connect elements.
- Echoing and filler patterns.
- Mini quilt project (such as 12×12 inch).
- Full quilt.
Milestone: Complete a mini quilt start to finish using only FMQ.
Frequently Asked Questions About Free Motion Quilting
What stitch length should I use for free motion quilting?
Set your stitch length to 0. This prevents the machine from advancing fabric on its own. Since you control movement manually, the machine should only form stitches while your hands determine spacing.
Do I need a special sewing machine to free motion quilt?
No. Most home sewing machines can handle FMQ as long as they have a way to drop the feed dogs or set stitch length to zero. Look for a machine with adjustable speed control for easier coordination.
How long does it take to learn free motion quilting?
Most quilters see noticeable improvement within 30 days of daily practice. Basic mastery of simple designs often happens in under two months. Consistency matters more than session length.
Why are my stitches uneven when I free motion quilt?
Uneven stitches usually come from inconsistent hand speed or variable foot pedal pressure. Try lowering your machine speed, flooring the pedal, and focusing on moving your hands at a steady rhythm. A metronome app can help.
Can I free motion quilt on a regular table?
Yes, but a large, flat, stable surface helps. Use a Supreme Slider to reduce friction and tape it down securely. For larger quilts, consider a quilting table with extensions or a sit-down longarm frame.
What is the best thread for free motion quilting?
50-weight cotton thread works well for most projects. Choose contrasting colors for practice so stitches are easy to see. Wind multiple bobbins before starting to avoid interruptions.
Final Takeaways for Free Motion Quilting Success
Learning how to free motion quilt opens a world of creative freedom. Start with proper machine setup: drop the feed dogs, install a darning foot, and set stitch length to zero. Invest in quilting gloves and a Supreme Slider to reduce fatigue and improve control. Practice daily on small scrap sandwiches, beginning with stippling and simple spirals before moving to complex designs.
Remember that imperfection is part of the charm. Your stitches will not be factory-perfect, and that is exactly what gives FMQ its handmade soul. Focus on completion, not perfection, and your skills will grow with every project. Pick up your practice sandwich, drop those feed dogs, and start stitching today.

