
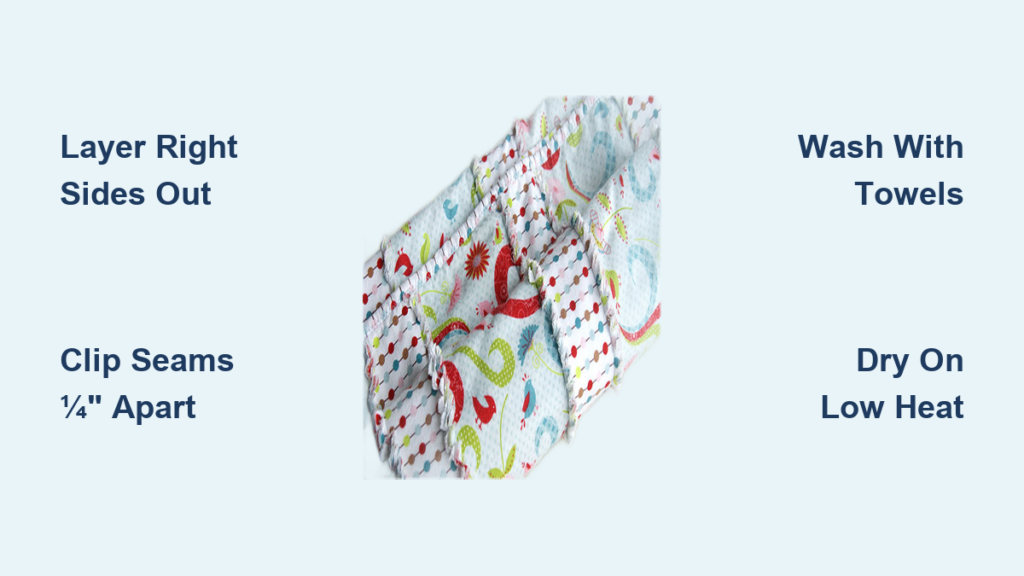
You’ve seen them everywhere, those soft, cuddly baby quilts with frayed edges that look like heirlooms from day one. A baby rag quilt is more than just a cozy blanket; it’s a beginner-friendly sewing project that delivers big on charm and texture. Made from flannel or cotton, these quilts work beautifully for tummy time, stroller rides, or snuggling on the couch. The best part? They’re forgiving, require no perfect seams, and actually look better after washing. In this guide, you’ll learn exactly how to make a baby rag quilt, from fabric selection to that magical first fluff in the dryer.
Whether you’re brand new to sewing or a seasoned crafter, this walkthrough covers every detail: sizing options, cutting specs, sewing techniques, and the all-important clipping and washing process that gives rag quilts their signature look. You’ll also find safety tips, common mistakes to avoid, and pro tricks to save time and effort.
Choose Your Quilt Size
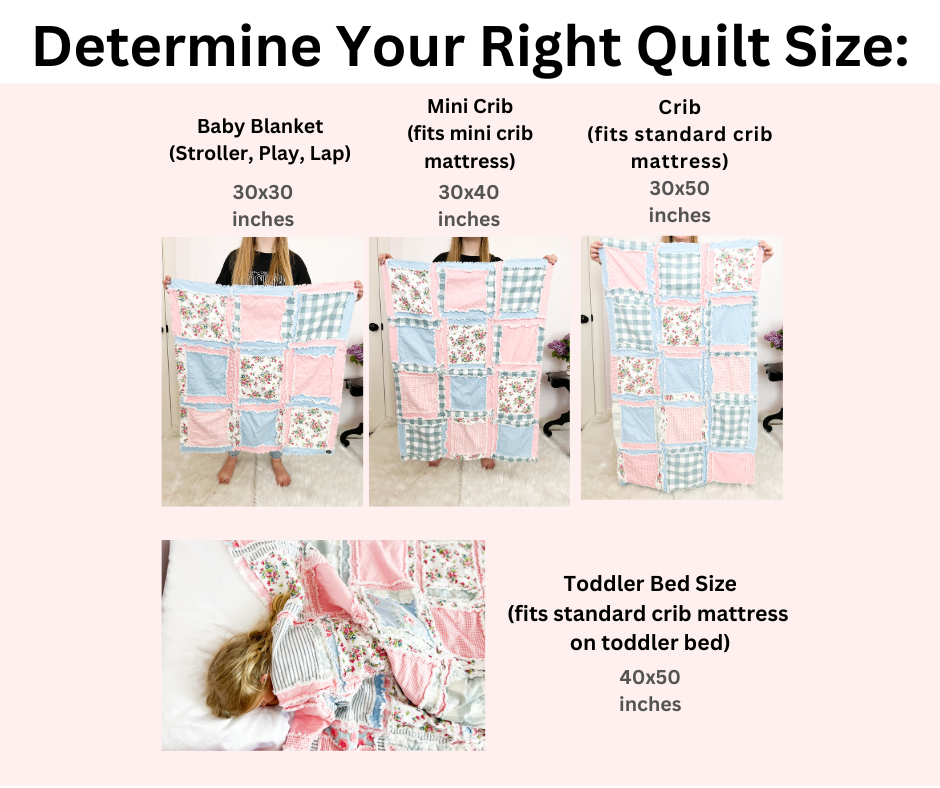
Standard Baby Size (30″ x 40″)
Perfect for a crib-safe play mat or stroller blanket, this size uses 48 fabric squares and works well for beginners. Cut 48 squares measuring 6″ x 6″ from both front and back fabric. Cut 48 batting squares at 5″ x 5″, one inch smaller to stay hidden in the seams.
Lap Size (50″ x 60″)
For older babies or toddlers, this larger version uses 120 squares arranged in a 10 by 12 grid. Cut all fabric pieces at 6″ x 6″ and batting at 5″ x 5″. You’ll need about 3 3/8 yards of each fabric to complete this size.
Patchwork Design (Mixed Sizes)
This variation adds visual interest with 9″ squares, 5.5″ squares, and 9″ x 5.5″ rectangles. The layout uses 21 large squares, 42 small squares, and 21 rectangles. Cut batting 2 inches smaller than each fabric piece to prevent fraying through the front.
Strip Method Alternative
Skip pre-cut squares entirely. Use seven half-yard flannel prints and 2 yards of solid flannel for the middle layer. Cut 6″ and 3″ strips, sandwich them together, and sew lengthwise before assembling into blocks.
Gather Essential Tools
Must-Have Sewing Supplies
You don’t need fancy equipment, but the right tools make the job faster and more accurate.
- Sewing machine with straight-stitch capability
- Rotary cutter, ruler, and cutting mat for clean, fast cuts
- Sharp fabric scissors or spring-loaded rag quilt scissors for clipping
- Pins or clips to hold rows in place
- Matching thread (or contrasting for design effect)
Optional But Helpful
- Cardboard templates if not using rotary tools
- Numbered pins to track row order
- Lint roller for post-wash cleanup
Cut Fabric and Batting

Cut Efficiently in Layers
Fold fabric with right sides together and cut two squares at once. This speeds up prep and ensures consistency. Always cut batting 1 inch smaller than fabric (or 2 inches in the patchwork design) to prevent fraying through the front.
Organize by Size and Print
Sort cut pieces into piles by size. For visual appeal, distribute prints evenly across all square sizes rather than clustering the same pattern together. Aim for at least 5 to 7 coordinating flannel prints for a balanced look.
Label Rows Early
Lay out your design on the floor or table before sewing. Use numbered pins or a quick sketch to mark row order. This prevents confusion when you start assembling later.
Assemble Fabric Sandwiches

Layer Right Sides Out
This step differs from traditional quilting. Place the backing fabric wrong side up first. Add batting centered on top. Finish with the front fabric right side up. The pretty sides face outward so the seam ends up on the front after clipping.
Secure with an X Stitch
Sew an X from corner to corner on each square. This holds the layers together and prevents batting from shifting during washing. Backstitching isn’t required but adds durability. No need to pin, as the layers stay aligned on their own.
Sew Squares into Rows
Align Wrong Sides Together
Take two sandwiched squares and place them with backing fabrics touching. The decorative sides should face outward. If you sew with pretty sides together, the seam ends up on the back, which is wrong for a rag quilt.
Use a ½” or 1″ Seam Allowance
- ½ inch creates a cleaner look with less bulk
- 1 inch produces fluffier fringe and is more forgiving
Backstitching isn’t needed for individual squares, but keep seam direction consistent throughout.
Complete Each Row
Sew all squares in a row, pressing gently if needed. Don’t worry about perfect alignment since rag quilts hide imperfections beautifully. Set each finished row aside and label it clearly.
Join Rows into Quilt Top
Pin Rows with Backings Together
Match two completed rows and pin with backing fabrics touching. Align corners and edges as best you can. Decorative sides should face outward throughout this process.
Press Seams Opposite Directions
If one row’s seam allowance goes left, press the next row’s right. This reduces bulk and helps seams nest together. Rag quilts are forgiving, so it is okay if they don’t match perfectly.
Sew Rows with Backstitching
Use the same seam allowance you used for individual squares. Backstitch at the start and end of each row connection to prevent unraveling. Keep seam allowances facing the front of the quilt.
Finish Edges and Clip Seams
Sew the Perimeter
Once the quilt top is complete, sew around the entire outer edge with a ½” or 1″ seam. Backstitch at the beginning and end to lock the seam in place. This creates a clean, durable border.
Clip Every ¼” to ½”
This is where the magic happens. On the front side only, cut slits into the seam allowances:
- ¼” apart creates a fine, dense fray
- ½” apart produces a chunky, plush fringe
Cut close to the stitching but never cut the thread. Snipping through the seam line weakens the quilt’s structure.
Time-Saving Tip
This step takes 30 to 60 minutes. Put on a movie or podcast and enjoy what many quilters call “ragging time.”
Wash and Dry for Maximum Fluff

First Wash: No Soap, Just Agitation
- Load with old towels to balance and add friction
- No detergent needed for this cycle
- Use warm water (cold if colors bleed)
- Run a quick or normal cycle
This starts the fraying process by loosening clipped threads.
Shake Out Lint Outdoors
Remove the quilt and shake it vigorously outside. This removes loose fibers and lint. Clean your washer’s filter before running another cycle.
Second Wash: Clean and Soften
Wash again with mild detergent and towels. This removes dust and residue. Warm water is fine, but avoid bleach or fabric softener.
Dry on Low Heat
- Low heat only, since high heat damages flannel
- Check halfway through and empty the lint trap
- Shake the quilt and towels to redistribute fabric
- Dry until fully fluffy and soft
Expect lint for the first few washes. This is completely normal.
Safety and Usage Tips
Never Use in a Crib with Newborns
Rag quilts shed fibers and have loose seams. Like any blanket, they pose a suffocation risk for infants under 12 months. Safe uses include:
- Tummy time mat for sensory development
- Stroller or car seat cover (remove when buckled)
- Keepsake gift or photo prop
- Toddler snuggle blanket
Best Fabrics for Babies
Flannel works beautifully because it is soft, warm, and frays well. 100% cotton is breathable and hypoallergenic. Avoid synthetics since they don’t fray well and can pill over time.
Troubleshooting Common Issues
Seams on the Wrong Side
If decorative fabrics were sewn together, seams end up on the back. Unpick and resew with wrong sides touching so pretty sides face outward.
Clipping Too Deep
Cutting through the seam line causes holes. Stop exactly at the stitching and use sharp, precise scissors.
Excessive Lint
Clean the dryer’s lint trap before and during drying. Fire hazard risk increases with flannel buildup.
Uneven Fray
Ensure consistent clip spacing throughout. Re-wash with towels if fraying looks patchy.
Pro Tips for Better Results
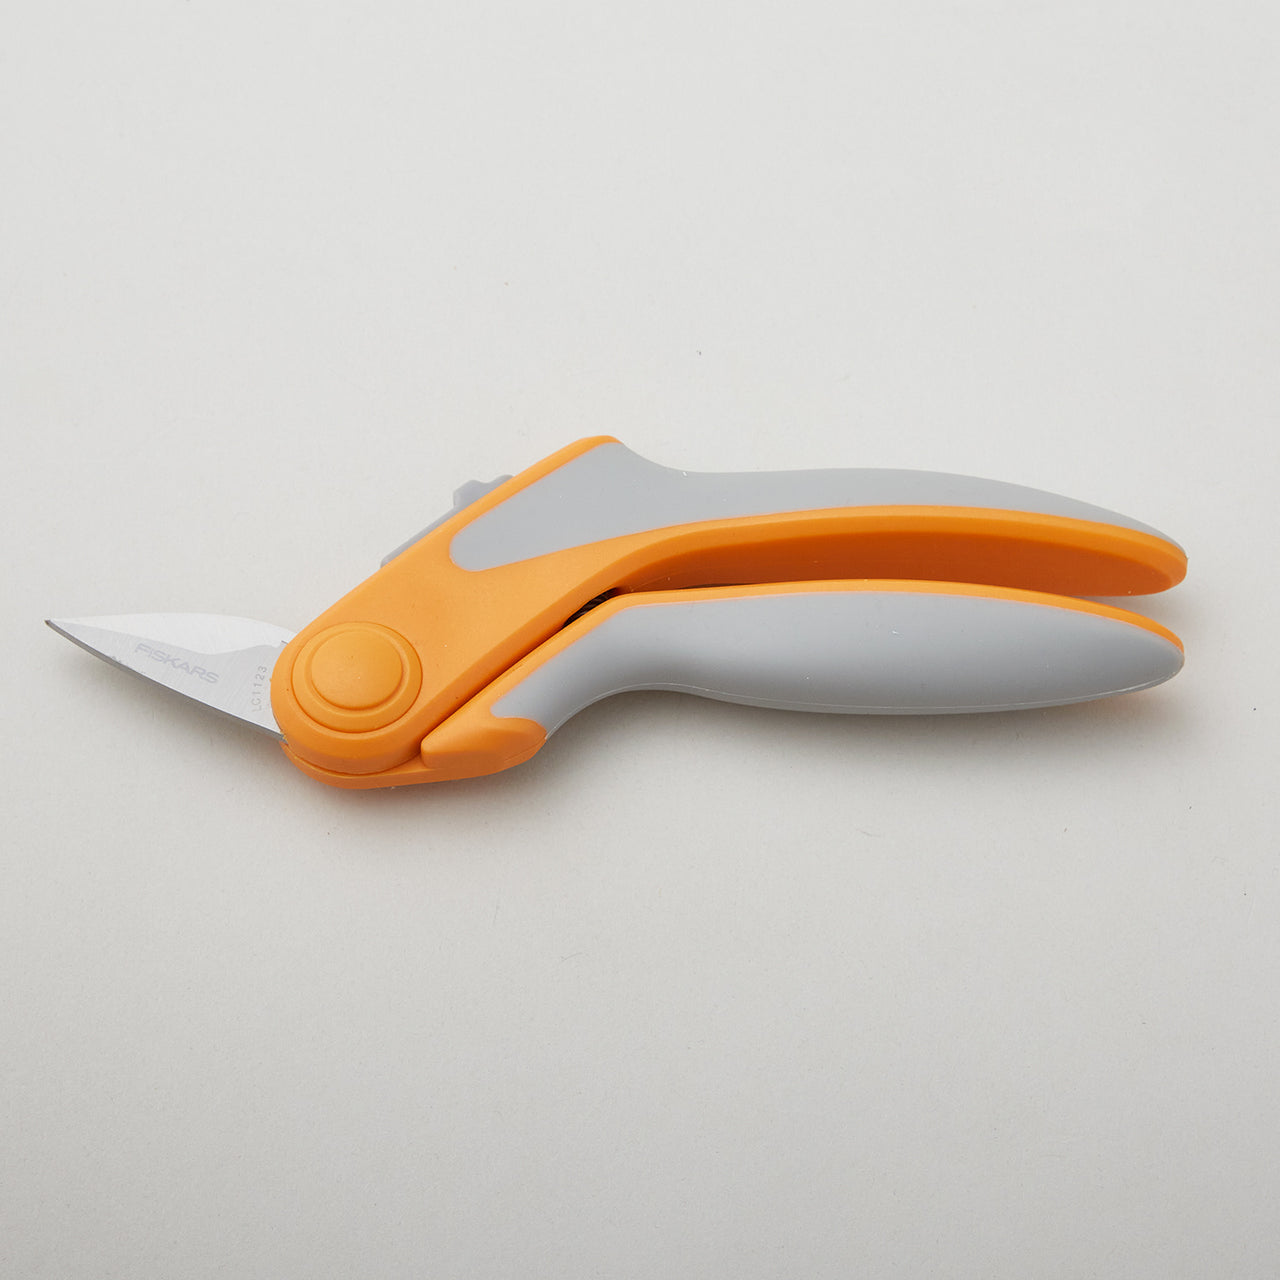
Use Spring-Loaded Scissors
These reduce hand fatigue during the lengthy clipping process. Brands like Fiskars make ergonomic options ideal for rag quilting.
Mix Textures for Tummy Time
Add minky, fleece, or corduroy in small sections for sensory play. Just ensure all fabrics are pre-washed before assembly.
Backstitch Long Seams
While not needed for individual squares, always backstitch row joins and the perimeter for better durability.
Distribute Prints Evenly
Avoid placing the same fabric in adjacent blocks. Rotate prints to maximize visual interest throughout the design.
Maintain Your Rag Quilt
Wash Like a Pro
Use cold or warm water on a gentle cycle. Skip fabric softener since it coats fibers and reduces fluff. Always dry on low to preserve softness.
Expect Early Lint
Flannel sheds for the first 2 to 3 washes. Shake and lint-roll as needed to manage loose fibers.
Store Clean and Dry
Keep the quilt away from moisture to prevent mildew. Fold or roll loosely rather than compressing tightly.
Frequently Asked Questions About Baby Rag Quilts
What is the best fabric for a baby rag quilt?
Flannel is the top choice because it is soft, warm, and frays beautifully. 100% cotton also works well and offers breathability. Avoid synthetic fabrics since they don’t fray properly and tend to pill over time.
How long does it take to make a baby rag quilt?
Most beginners complete a standard 30″ x 40″ baby rag quilt in 4 to 6 hours, including cutting, sewing, and clipping. The clipping step alone takes 30 to 60 minutes. Washing and drying adds another 2 to 3 hours.
Can beginners make a rag quilt?
Absolutely. Rag quilts are widely recommended as a beginner-friendly project. The technique is forgiving because generous seam allowances and the fraying process hide minor imperfections. No advanced quilting skills are required.
Are rag quilts safe for babies?
Rag quilts should never be placed in a crib with a newborn due to suffocation risks from loose fibers and fabric weight. They are safe and useful for tummy time, stroller rides, supervised play, and as toddler blankets after 12 months.
How do you wash a rag quilt for the first time?
Wash with old towels for friction and no detergent on the first cycle. Use warm water unless colors might bleed. Shake the quilt outside afterward, clean the lint trap, then run a second wash with mild detergent. Dry on low heat.
How do you keep rag quilts soft?
Always dry on low heat to protect flannel fibers. Skip fabric softener since it coats fibers and reduces fluff. Expect some lint during the first few washes, which is normal and decreases over time.
Key Takeaways for Making a Baby Rag Quilt
Making a baby rag quilt is a rewarding project that produces a soft, heirloom-quality blanket. Focus on three essentials: layer your fabrics with pretty sides facing outward, clip seams close to the stitching without cutting through, and wash with towels to create that signature fluffy texture. Start with the standard 30″ x 40″ size if you’re new to quilting, and always prioritize safety by keeping the finished quilt away from sleeping newborns.
Your next step is simple: gather your flannel, pick a size, and start cutting. Within a single afternoon, you’ll transform flat squares into a cozy keepsake that gets softer with every wash.

