
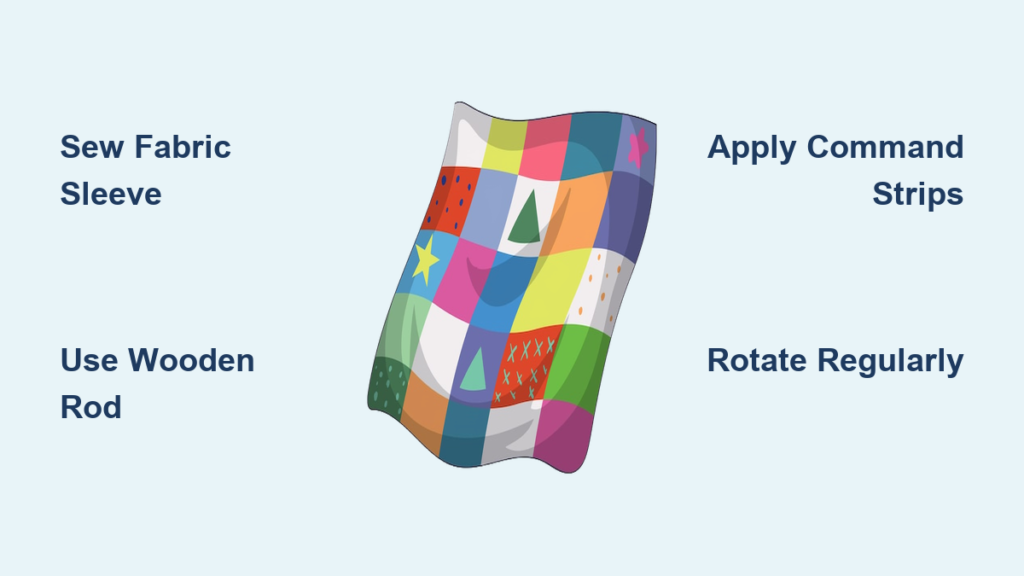
You’ve invested countless hours stitching a beautiful quilt, and now you want to display it proudly. Hanging a quilt on the wall transforms a cozy blanket into stunning textile art that showcases your craftsmanship. But improper hanging can cause sagging, stretching, or permanent fabric damage over time. The secret lies in choosing a method that supports your quilt’s weight evenly while preserving every stitch.
This guide walks you through every safe and stylish way to hang a quilt, from museum-grade sleeve systems to renter-friendly adhesives. You’ll learn which method fits your quilt’s size, weight, and your wall’s limitations. Plus, you’ll discover how to prevent common issues like paint peeling, fabric stress, and uneven display, all while keeping your decor flexible and damage-free.
Choose the Right Hanging Method
The best way to hang a quilt depends on three factors: its size and weight, whether it’s an heirloom, and your wall constraints (like rental rules). Using the wrong method can lead to drooping, tearing, or wall damage. Below are the top approaches, each suited to different needs.
Match Method to Quilt Type
Small quilts under 36 inches can often be displayed with simple clips or adhesive strips. Medium to large quilts, especially those wider than 48 inches, need continuous support across the top edge to prevent sagging. For heirloom or antique quilts with fragile fabric, framing or a hand-sewn sleeve is safest. Renters should avoid nails and opt for damage-free solutions.
Avoid point-load methods (like single hooks or spaced clips) for heavy or wide quilts. Gravity pulls down most at the center, and without full-width support, the middle will stretch over time. Always inspect the back of your quilt for weak seams before hanging.
Install a Fabric Sleeve and Rod

This is the gold standard for quilt display, especially in galleries, shows, and long-term installations. It provides even weight distribution and keeps the front of the quilt completely untouched.
Sew a 4-Inch Back Sleeve
Cut a strip of cotton or muslin fabric about 4 inches wide and the full width of the quilt. Fold it in half lengthwise, wrong sides together, and press. Open it up, then fold each long edge toward the center crease and press again. This creates a clean, enclosed tube.
Hand-stitch the sleeve to the top edge of the quilt back, aligning the raw edges with the quilt’s binding. Use a blind stitch so threads don’t show through to the front. Make sure the sleeve runs the entire width and lies flat. Any puckering can cause uneven hanging.
Insert and Mount a Wooden Dowel
Slide a wooden dowel into the sleeve. Cut the dowel about 1 inch shorter than the quilt’s width so it stays hidden behind the edges. For heavier quilts, use a hardwood rod instead of soft pine.
Mount the rod to the wall using brackets or screws. If hanging on drywall, hit wall studs spaced 16 inches apart and use screws with wall anchors for extra strength. Nails alone may pull out over time. Position the rod so the quilt hangs at eye level, typically 57 to 60 inches from the floor to the top edge.
Pro Tip: If you rotate multiple quilts of similar size, leave the rod mounted and swap quilts by slipping new sleeves over it. This minimizes wall damage.
Use Wooden Clamp Hangers
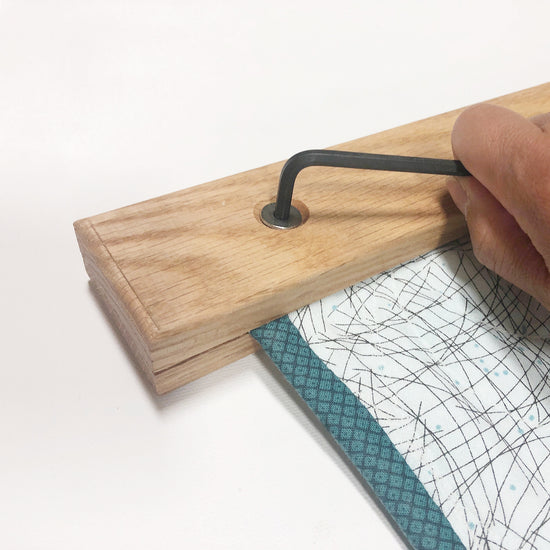
For a modern, no-sew look, wooden clamp hangers offer strong support with a clean aesthetic. These work well for contemporary spaces and medium-weight quilts.
Select Bolt-Compressed or Magnetic Types
Bolt-compressed hangers consist of two hardwood pieces that clamp the quilt top between them using adjustable bolts. They grip tightly without piercing the fabric and can support substantial weight. Look for models made from walnut, oak, or maple with non-toxic finishes.
Magnetic frames use strong internal magnets to hold the quilt in place. While sleek, they’re best for lightweight textiles like tapestries or single-layer wall hangings. Most aren’t strong enough for thick, padded quilts.
Warning: Avoid small clips for large quilts. Even if spaced every 18 inches, they create unsupported zones that lead to sagging in the center.
Customize Finish and Mounting Style
Choose a stain like natural oak, whitewash, or black to match your room’s decor. Many hangers come with keyhole slots or pre-drilled holes for easy mounting. For maximum security, screw directly into studs.
Clamp hangers are excellent for frequently rotated displays. Simply loosen the bolts, slide out the old quilt, insert the new one, and retighten. No rehanging the hardware required.
Apply Damage-Free Adhesive Methods
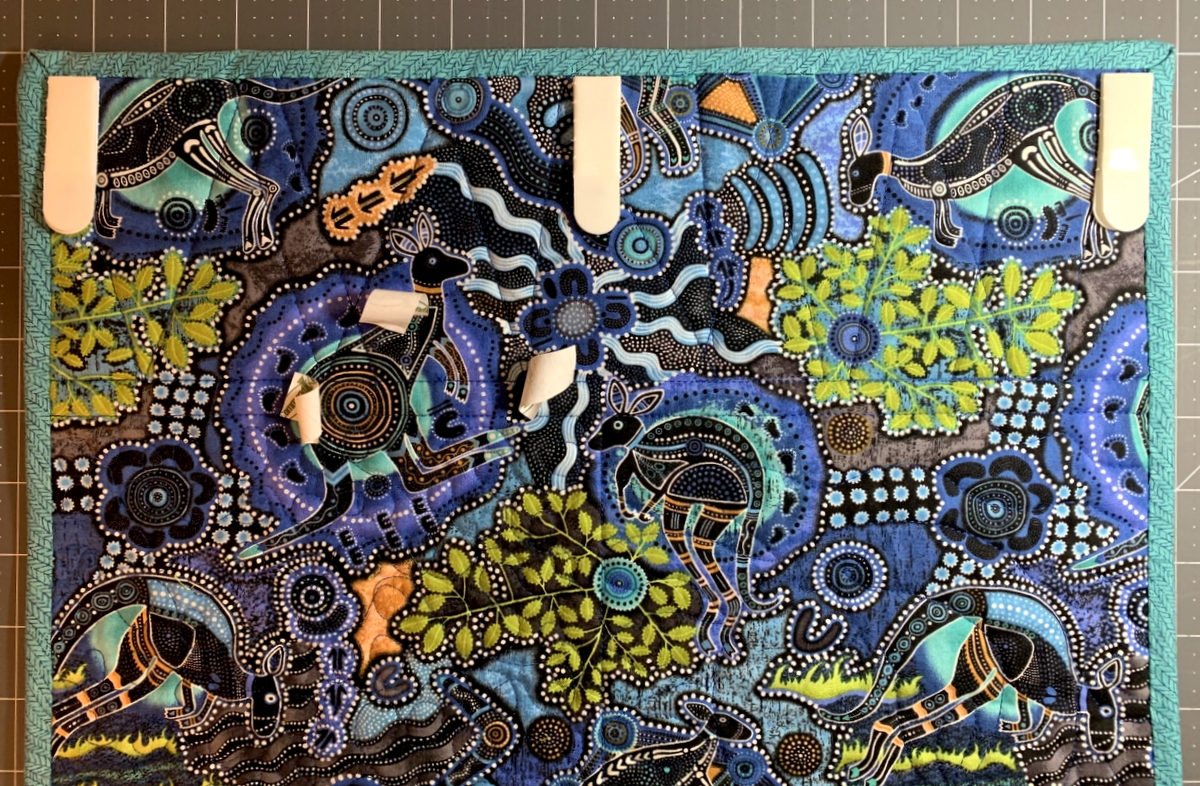
Renters or anyone avoiding nails can use adhesive solutions. These are temporary by design but work well for lightweight to medium quilts when installed correctly.
Use Command Strips with Clothespins
This DIY method is affordable and easy to reverse. Follow these steps:
- Clean the wall with rubbing alcohol to remove dust and oils.
- Press together a two-piece Command strip (hook-and-loop type).
- Attach one side to a metal clothespin. Metal resists breaking better than plastic.
- Stick the other side to the wall, pressing firmly for 30 seconds.
- Wait at least one hour before hanging to allow the adhesive to cure.
Place a clothespin at each top corner and every 18 inches across the top edge. Clip the quilt’s top border gently and don’t over-tighten.
Important: Test first. Adhesives can peel paint, especially on older or multi-layered walls. Try a small area first.
Each Command strip pair holds up to 3 lbs. For heavier quilts, combine multiple strips or switch to a more robust system.
Sew Adhesive Strips to the Back
For a tidier look, sew the fabric side of Command strips directly to the quilt back. Cut strips to fit just inside the top binding. Use a whip stitch around all four edges to secure them. Don’t just glue.
Place one in each corner and every 18 inches across. Attach the corresponding wall-mounted strip, let cure, then press the quilt into place. This method mimics picture hanging but works only for quilts within the weight limit.
Explore Creative Display Alternatives
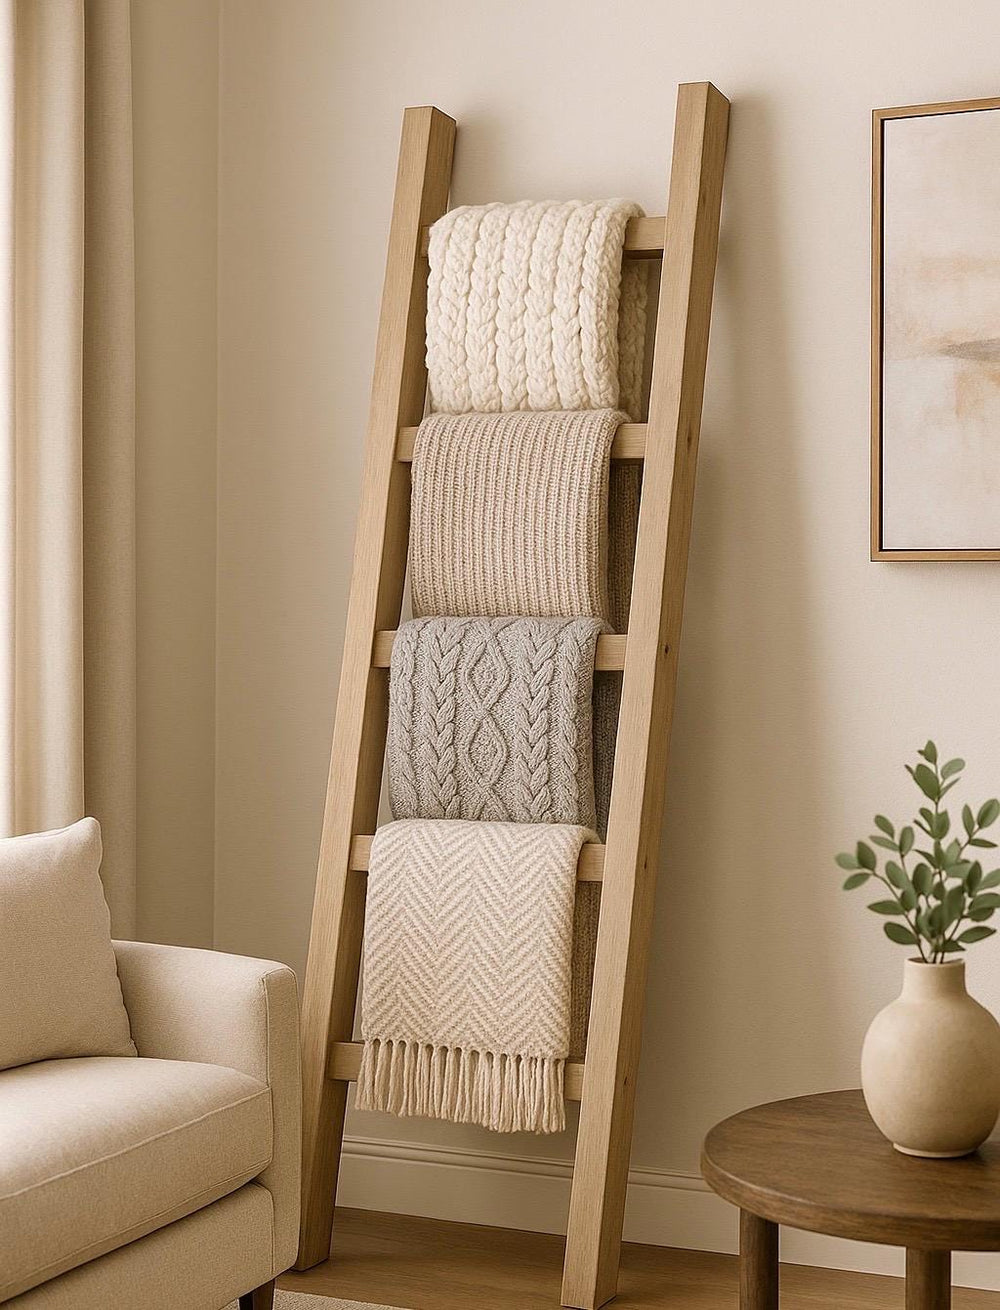
Sometimes you don’t need to hang a quilt the traditional way. These alternative methods offer flexibility and charm, perfect for casual or temporary displays.
Drape Over a Quilt Ladder or Towel Rack
Lean a ladder against the wall and drape the quilt over the rungs. This adds warmth and texture to a bedroom or living space. No tools, no holes required.
If you don’t have a quilt ladder, a wall-mounted towel rack or even a decorative curtain rod can work. Just make sure the surface is clean to avoid transferring dirt to the fabric.
Best for: Seasonal swaps, softening a bare wall, or storing quilts within reach.
Frame Small Quilts or Blocks
Tiny quilts, sampler blocks, or embroidered squares can be framed like artwork. Use a deep shadowbox frame to accommodate the quilt’s thickness.
Always include acid-free backing board and matting to prevent yellowing and fiber degradation. Never use cardboard or regular paper. These materials emit acids that damage fabric over time.
Framing is especially smart for fragile heirlooms that can’t handle hanging stress. It seals the piece from dust and light while showcasing intricate stitching.
Stretch on a Canvas Frame

For a modern gallery look, stretch the quilt over a wooden or metal frame like a canvas. Follow these steps:
- Build or buy a frame slightly larger than the quilt.
- Lay the quilt face down, center it, and pull taut.
- Staple or tack the backing fabric to the back edges.
Hang with picture wire. This method keeps the quilt flat and wrinkle-free but is permanent. Once stretched, it’s difficult to return to functional use.
Caution: Only use on quilts you’re willing to modify. Not suitable for valuable or antique pieces.
Prevent Damage and Extend Lifespan
A quilt is both art and textile, so treat it with care. Even the best hanging method can cause harm over time without proper maintenance.
Rotate Quilts Every 3–4 Months
Gravity constantly pulls on the fibers and seams. To prevent stretching and fatigue, take down your quilt every few months and let it rest folded or rolled in a cool, dry place.
If you have multiple quilts, rotate them seasonally. This keeps your decor fresh and spreads wear evenly across your collection.
Avoid Direct Sunlight
UV rays fade dyes and weaken cotton fibers. Hang quilts away from south- or west-facing windows. Use UV-filtering glass if framing, or install sheer curtains to diffuse sunlight.
Use Acid-Free Materials for Long-Term Display
For heirlooms or permanent displays, ensure all materials touching the quilt are acid-free. This includes backing boards, storage tissue, and even the sleeve fabric if it’s in direct contact. Acid migration causes yellowing and brittleness over decades.
Troubleshoot Common Hanging Problems
Even careful installations can go wrong. Here’s how to fix the most frequent issues.
Fix Sagging Between Support Points
If your quilt sags in the middle, it lacks continuous support. This happens with spaced clips or adhesive strips.
Solution: Add more support every 18 inches, or better yet, switch to a full-width sleeve or clamp hanger. For large quilts, point-load methods will always fail over time.
Stop Quilts from Falling Off the Wall
Falls are usually due to improper installation. Check these common causes:
- Did you wait an hour after applying adhesive? Curing time is critical.
- Is the wall clean and smooth? Textured or dusty walls reduce stickiness.
- Are you exceeding the weight limit? Command strips max out at 3 lbs per pair.
Solution: Re-clean the wall with alcohol, reapply with firm pressure, and wait. For heavy quilts, use screws into studs. Never rely on adhesives alone.
Prevent Fabric Stretching and Puckering
Stretching happens when weight isn’t distributed evenly. Puckering often stems from poor basting during quilting, which worsens when hung.
Solution: Use a sleeve or full-width clamp. For existing puckers, gently smooth the quilt when rotating and avoid over-tightening clips.
Avoid Paint Peeling When Removing Adhesives
Strong adhesives can lift paint layers, especially on older walls.
Solution: Test a small area first. When removing, warm the strip with a hair dryer and peel slowly at a 180-degree angle. Patch any lifted paint with a touch-up pen.
Frequently Asked Questions About Hanging Quilts on the Wall
What is the safest way to hang a quilt on the wall long-term?
The safest method is a fabric sleeve with a wooden rod. Hand-stitch a 4-inch muslin sleeve to the quilt’s back top edge, insert a dowel, and mount the rod into wall studs. This distributes weight evenly and keeps the front untouched.
How do I hang a quilt without putting holes in the wall?
Use Command strips with metal clothespins or invisible adhesive brackets. Clean the wall with rubbing alcohol, apply strips every 18 inches, and wait at least one hour before hanging. This method works for quilts under 3 lbs per strip pair.
Can I hang a quilt in direct sunlight?
No. UV rays fade dyes and weaken cotton fibers over time. Hang quilts away from south- or west-facing windows, or use sheer curtains and UV-filtering glass to diffuse sunlight.
How often should I take down a hanging quilt?
Every 3 to 4 months. Gravity constantly stresses the fibers and seams, so giving your quilt a rest period prevents stretching and fatigue. Rotating seasonal quilts is an easy way to manage this.
Is it safe to hang an antique or heirloom quilt?
Yes, but use gentle methods. Frame small heirlooms with acid-free materials, or use a hand-sewn sleeve with a rod for larger pieces. Avoid clamps and adhesives that could stress fragile fabric.
What weight can Command strips hold when hanging a quilt?
Standard Command strips hold up to 3 lbs per pair. For heavier quilts, use multiple strips spaced every 18 inches, or switch to a sleeve and rod system anchored into wall studs.
Key Takeaways for Hanging a Quilt on the Wall
The best method to hang a quilt on the wall balances safety, aesthetics, and practicality. For large or valuable quilts, a sleeve and rod system provides the most even support. Wooden clamp hangers work well for modern displays and medium-weight pieces. Renters should choose Command strips with clothespins for damage-free installation. Creative alternatives like quilt ladders or framing suit casual or seasonal displays.
Always rotate your quilts every few months, keep them out of direct sunlight, and use acid-free materials for long-term preservation. Inspect hardware regularly to catch any wear before it becomes a problem.
Ready to display your quilt? Start by measuring its width and weight, then choose the method that matches your wall type and decor style. Your quilt deserves to be seen, and with the right hanging system, it will stay beautiful for generations.

