
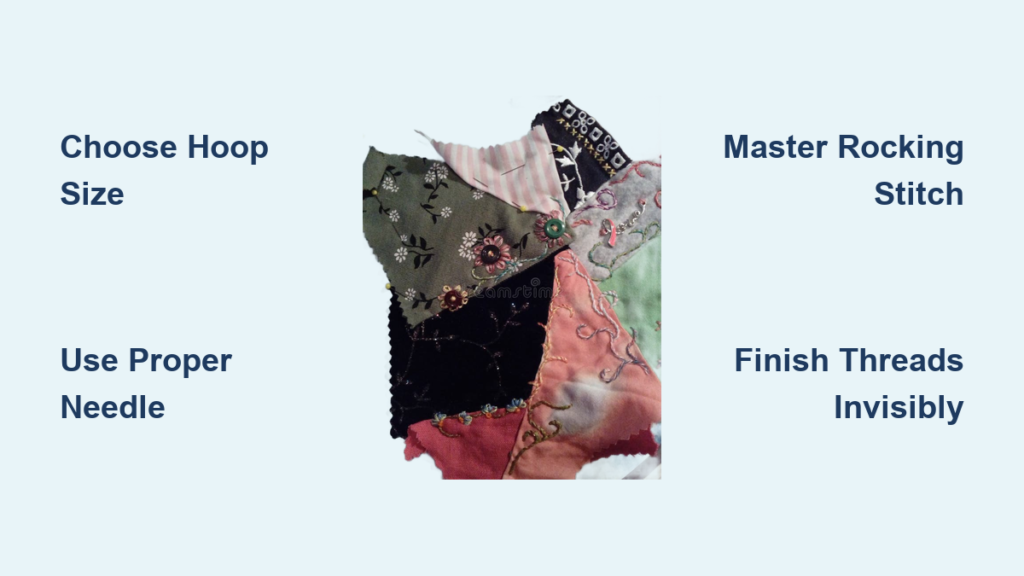
Hand quilting with a hoop turns a slow craft into a focused, meditative practice. When you learn how to hand quilt with a hoop correctly, the three fabric layers stay stable so your stitches come out even and consistent. Poor setup causes fatigue, puckering, and uneven tension, which can ruin hours of work. This guide walks you through choosing the right hoop, loading your quilt properly, mastering the rocking stitch, and finishing threads invisibly. You will also learn how to protect your hands and avoid the most common beginner mistakes.
Choose the Right Hoop Size and Type

The first step in learning how to hand quilt with a hoop is matching the tool to your project. Quilting hoops differ from embroidery hoops because they handle thicker layers and heavier needle pressure without warping.
Match Hoop Size to Your Quilting Style
A 14-inch round hoop works well for most beginners because it stays light in your hands. An 18-inch hoop lets you stitch longer lines before repositioning, which speeds up grid or all-over patterns. Before buying a large hoop, test whether your arm can comfortably reach its center from underneath. If not, drop down to a 10 or 12-inch size. Smaller hoops also work better for detailed motifs and tight spaces, though they require more frequent adjustments.
Use Half Hoops for Edges and Corners
Round hoops cannot reach near quilt borders, so half hoops fill that gap. These tools have a straight edge lined with fabric ticking where you pin the quilt’s edge. They feel unbalanced in the hand, so support them on a table or pillow while you work. Pin from the center outward using sturdy pins to prevent shifting and keep all three layers aligned.
Consider Rectangular or Floor Frames
For quilters who stitch often, rectangular clip frames or wooden lap frames offer wider working areas and reduce repositioning. Floor-standing hoops with ball-bearing swivels rotate 360 degrees, letting you turn the work instead of your body. Full-size floor frames support the entire quilt and sometimes remove the need for basting, but they require significant space and force you to stitch in every direction.
Select Proper Needles and Thread
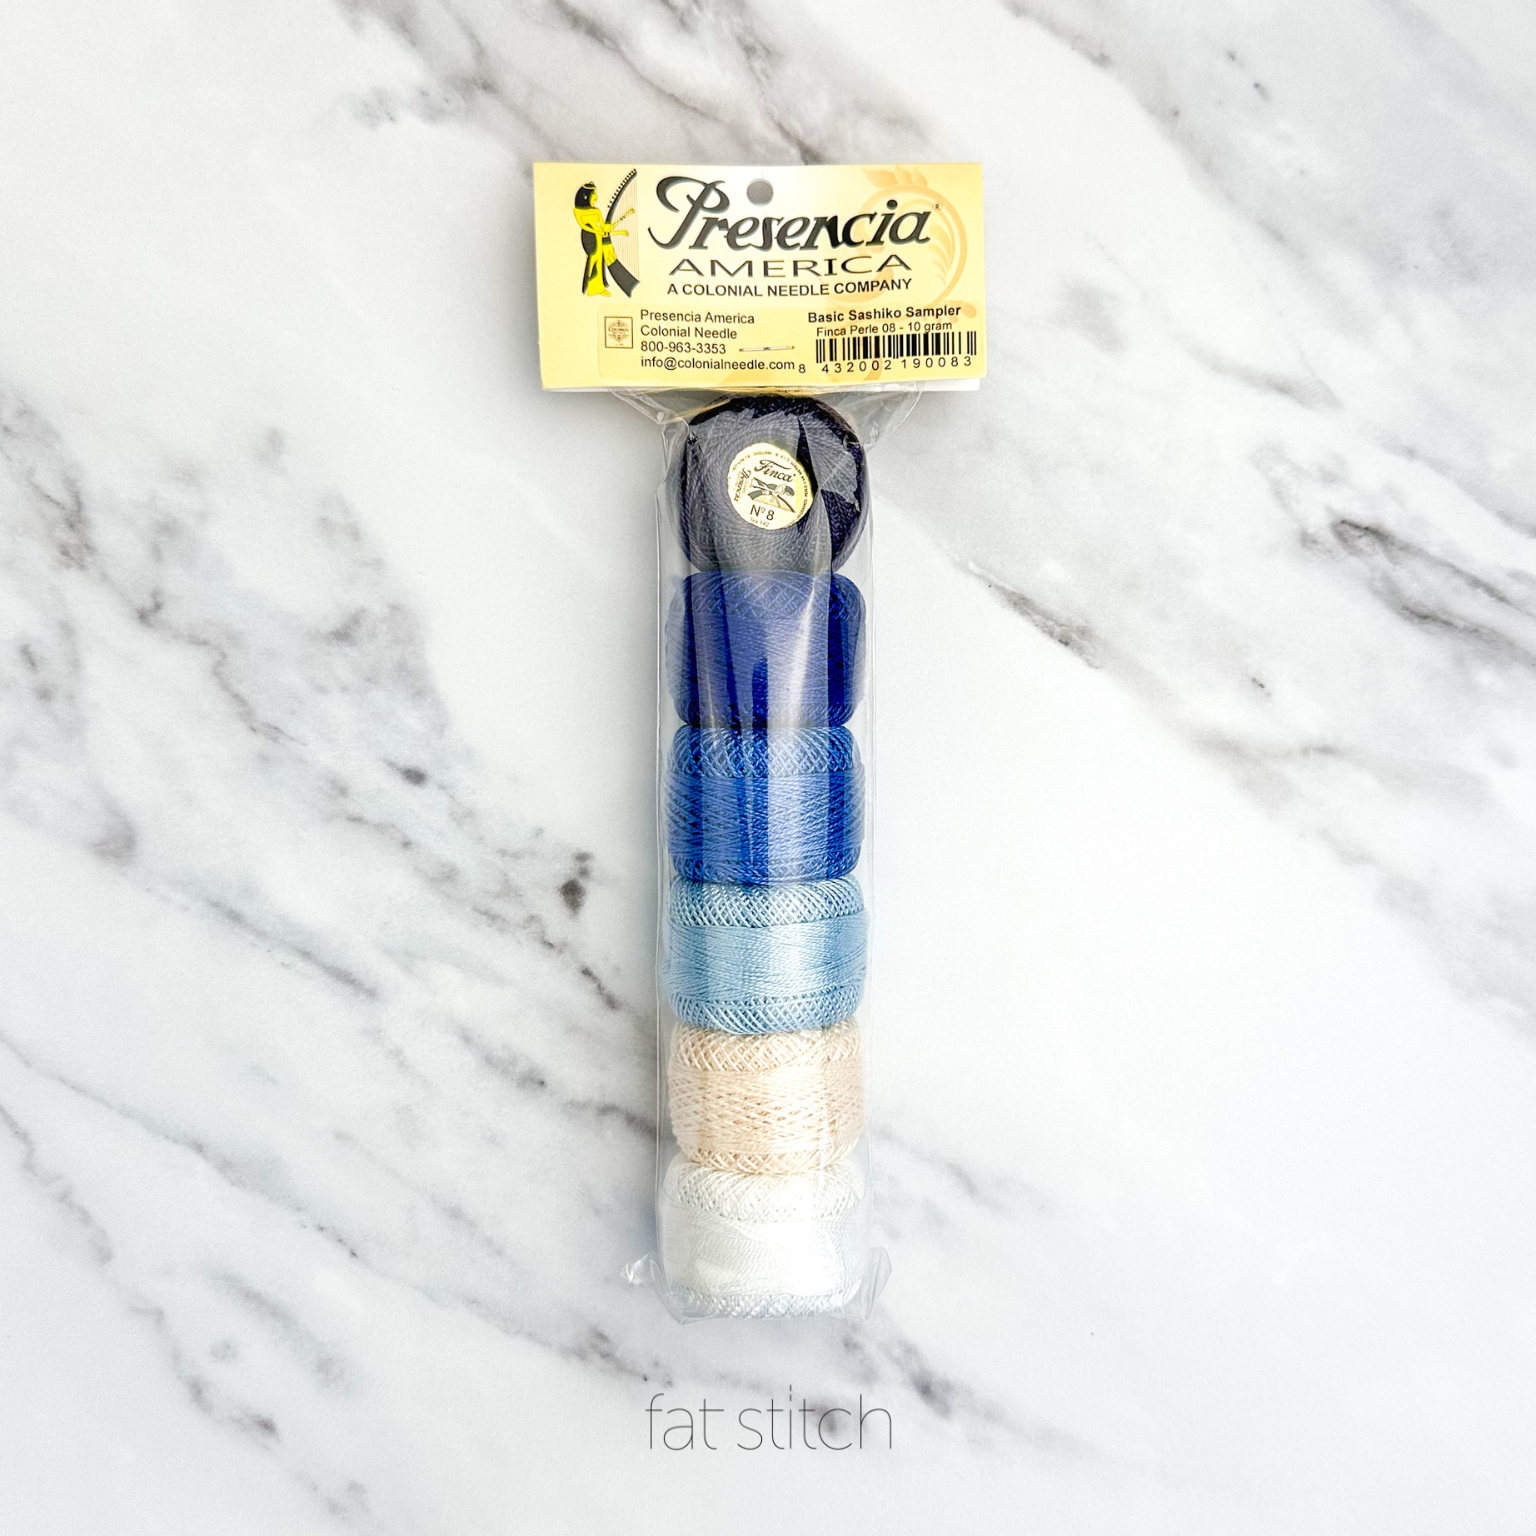
Your needle and thread combination decides how smoothly stitches form and how visible they appear on the finished piece.
Pick the Correct Needle for Your Thread
Use quilting “betweens” in sizes 7 through 10 for fine 50-weight cotton thread. Sizes 8 and 9 offer the best balance of control and depth for most projects. For big stitch quilting with Perle cotton or 12-weight thread, choose Sashiko or embroidery needles. These have larger eyes and stronger shafts that handle thick thread and dense batting without bending.
Condition Thread for Smooth Stitching
Cut thread to roughly 18 inches, about the length from your fingertip to your elbow. Longer pieces create friction and tangle quickly. Pull the thread firmly through beeswax or thread gloss to strengthen it and reduce snags. Always start with the end that came off the spool first for the smoothest coating.
Match Thread Weight to Your Design
- 50-wt cotton for traditional, nearly invisible quilting
- 12-wt or Perle cotton in sizes #8 or #12 for bold, decorative stitches
- Embroidery floss or vintage yarn for small projects or experimental textures
Prepare the Quilt Sandwich Correctly
Before hooping, layer and baste your quilt top, batting, and backing so nothing shifts mid-stitch.
Allow Enough Margin for Hooping
Round hoops need at least 6 to 8 inches of excess fabric around the perimeter to grip the layers. If your quilt falls short, attach temporary extension pieces with safety pins to add the bulk needed for a secure clamp.
Baste Layers with Thread, Not Pins
Thread basting works better than pin basting when using a hoop. Pins get in the way of your needle and disrupt hoop tension. Stitch in a grid every 4 to 6 inches to anchor all three layers evenly.
Load the Hoop Without Damaging Fabric
Improper loading causes puckering, misalignment, and permanent creases. Always remove the quilt from the hoop when you finish a session.
Secure a Round Hoop Properly
- Loosen the wing nut and separate the inner and outer rings.
- Place the inner ring on a flat surface.
- Center the area to be quilted over the inner ring.
- Fit the outer ring over the quilt and inner ring.
- Press down evenly and tighten the screw, leaving slight give so layers move during stitching.
- Never leave the quilt clamped overnight, as this crushes the batting and leaves marks.
Pin and Tighten a Half Hoop
- Work on a stable table.
- Loosen the outer ring and position the hoop with the ticking facing you.
- Drape the quilt edge over the inner ring so all three layers align.
- Pin the edge to the ticking with strong, thick pins, starting at the center and working outward.
- Close the outer ring and tighten the screw.
- Quilt up to a marked line, then add a running stitch along that line to stabilize the edge before binding.
Master the Rocking Stitch Technique
The rocking motion defines hand quilting and differs from a straight in-and-out stitch. This technique loads several stitches onto the needle before pulling.
Start with a Quilter’s Knot
- Thread the needle with 18 inches of waxed thread.
- Hold the needle in your dominant hand and the thread end in the other.
- Wrap the thread around the needle two or three times.
- Slide the coil down to form a small, smooth knot.
- For thinner threads, a single or double knot works fine. Leave a small tail to help it catch in the batting.
Begin Stitching from the Back
- Insert the needle from the backing side, about half an inch to one inch away from your design start point.
- Bring it up through the top layer only, just piercing the top fabric and batting.
- Gently pull the thread until the knot pops into the batting layer and disappears beneath the backing.
- If the knot resists, guide it with the needle tip under the top layer.
Use the Rocking Motion for Even Stitches
- Insert the needle straight down through all three layers at a 90-degree angle.
- Rock the needle back up about an eighth to a quarter inch away.
- Repeat this motion two or three times to load several stitches onto the needle.
- Pull the thread through smoothly until stitches feel snug, but not tight enough to pucker.
- Aim for three to five stitches per inch with fine thread, fewer with thick thread.
Travel Between Motifs in the Batting
When moving to a nearby design element within one inch:
1. Finish the section without knotting.
2. Insert the needle into the batting only, avoiding the top and backing.
3. Run it through the batting to the next start point.
4. Bring the needle up to the surface and begin stitching again.
5. The batting felts around the thread, securing it invisibly.
Finish Threads Neatly and Invisibly
A poorly finished thread unravels or shows on the quilt’s surface. Clean finishing keeps your work looking professional.
Tie Off and Bury the End
- When two to three inches of thread remain, complete a final stitch from front to back.
- Flip the quilt to access the back.
- Wrap the thread around the needle two or three times to form a coil.
- Pull the needle through the coil near the fabric to create a tiny knot.
- Reinsert the needle into the backing only, using the same hole or an adjacent one.
- Run it through the batting for one inch, then bring it out to the front or clip flush.
- Pop the knot into the batting so it hides between layers.
Handle Edge Stitches Differently
If quilting within a quarter inch of the edge, leave knots and tails on the top side. The binding fabric will cover them later.
Optimize Technique by Quilting Style
Different patterns call for different strategies to balance speed and accuracy.
Work Round Motifs from Center Outward
Start in the middle and spiral outward in sections. This prevents fabric bunching and keeps tension even. Use a hoop to stabilize the layers against rotational forces.
Stitch Grids with Minimal Repositioning
For all-over or grid quilting, choose an 18-inch hoop or rectangular frame to cover more area. Begin at the center of one side and work outward. Maintain continuous lines to reduce knotting.
Choose Style-Based Stitch Lengths
- Traditional quilting: four to five stitches per inch for subtle texture
- Big stitch quilting: one to two stitches per inch with Perle cotton for bold effect
- Sashiko or Kantha: long running stitches create rhythmic, heritage patterns
Prevent Common Problems

Even experienced quilters run into trouble. Knowing how to troubleshoot saves time and fabric.
Adjust Hoop Tension for Needle Movement
If the needle cannot rock through, the hoop is too tight. Loosen the wing nut slightly or offset the inner and outer rings so they do not align perfectly. This creates the give needed for needle motion.
Fix Thread That Pops Through the Front
This means the knot is too small or the thread is too slick. Use a quilter’s knot with three wraps or ensure your thread is well-waxed. Test the knot by gently pulling. It should catch in the batting, not slip through.
Reduce Needle Friction
If the needle drags or bends, check the eye size. Thread forced through a too-small eye creates resistance. Match needle eye to thread thickness. Sashiko needles excel with heavy threads.
Stop Edge Distortion on Borders
When using a half hoop, run a stabilizing stitch along your stopping line before approaching the border. This prevents ripples and misalignment during binding.
Protect Your Hands and Posture
- Wear a metal “slip stop” thimble for better grip and longer life than leather
- Use silicone needle grippers on thumb and forefinger to pull thread without strain
- Sit with back support and elbows resting on pillows or a table
- Take breaks every 20 to 30 minutes to stretch shoulders and wrists
Store and Maintain Tools Properly
Good care extends tool life and preserves your quilt.
Remove Quilt from Hoop After Each Session
Leaving fabric clamped causes permanent creases in batting and fabric. Always disassemble the hoop and store the quilt flat or rolled.
Clean and Replace Needles as Needed
Needles can bend after one quilt, especially with dense batting. Inspect before each session and discard any that are bent, dull, or rough.
Keep Thread Conditioned and Tangle-Free
Store waxed thread in a small bag to prevent dust buildup. Re-wax if it feels dry or frays during stitching.
Frequently Asked Questions About Hand Quilting with a Hoop
What size hoop is best for beginners learning how to hand quilt with a hoop?
A 14-inch round hoop suits most beginners. It stays light, fits comfortably in the hands, and gives enough working space to practice the rocking stitch without constant repositioning.
Can you leave a quilt in a hoop overnight?
No. Leaving the quilt clamped causes permanent creases in the batting and fabric. Always remove the quilt from the hoop at the end of every session and store it flat or rolled.
How many stitches per inch should you aim for?
Traditional quilting with 50-weight thread calls for three to five stitches per inch. Big stitch quilting with Perle cotton uses one to two stitches per inch for a bolder look.
What thread works best for hand quilting with a hoop?
Waxed 50-weight cotton thread creates nearly invisible stitches for traditional quilting. For big stitch or modern styles, use 12-weight or Perle cotton in sizes #8 or #12 for bold, decorative lines.
Why does my needle not rock through the layers?
The hoop is likely too tight. Loosen the wing nut slightly or offset the inner and outer rings so they do not align perfectly. The layers need slight give for the rocking motion to work.
Do I need to baste before using a hoop?
Yes. Thread basting in a grid every 4 to 6 inches holds the three layers together. Pin basting can interfere with the hoop and needle, so thread basting is the safer choice.
Key Takeaways for Mastering How to Hand Quilt with a Hoop
Choosing the right hoop, needle, and thread sets the foundation for success. Loading the hoop properly and mastering the rocking stitch keep your work even and your hands comfortable. Finishing threads invisibly and storing your quilt correctly protect both your tools and your finished piece. Start with a 14-inch round hoop, practice the rocking motion on a small project, and let the rhythm guide you. Your next session will feel smoother, your stitches will look cleaner, and your quilts will last for generations.

