
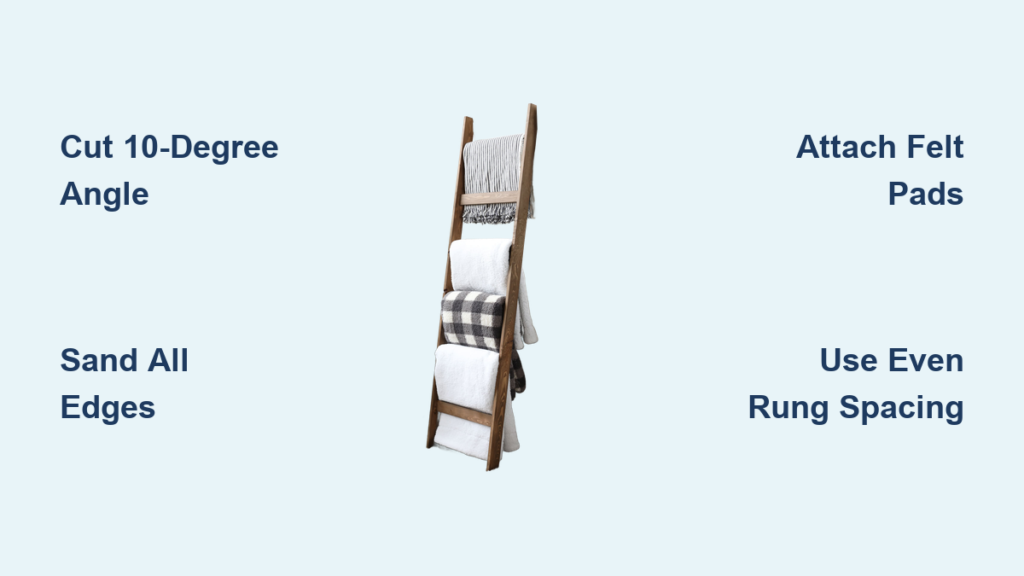
You’ve seen it in cozy living rooms, rustic bedrooms, and stylish boutiques: a blanket ladder leaning gently against the wall, draped with soft throws and seasonal decor. It’s functional, beautiful, and surprisingly simple to build. Whether you’re a first-time woodworker or a seasoned DIYer, making a blanket ladder is an affordable, beginner-friendly project that takes just 1 to 4 hours of active work and costs as little as $5 to $35 in materials.
This guide walks you through every step, from selecting wood and cutting angles to assembly, finishing, and styling. You’ll learn how to construct a sturdy, wall-leaning ladder with clean lines, safe edges, and custom flair that fits your space and skill level perfectly.
Choose Your Wood and Design for Your Blanket Ladder
Pick the Right Lumber Type
Your choice of wood affects cost, appearance, durability, and ease of building. Here are the most popular options:
- 1×3 or 1×4 pine boards – Most common, smooth, affordable, and easy to stain or paint
- 2×4 pine – Chunkier and sturdier, ideal for heavy blankets or rustic style
- 1-inch wooden dowels – Sleek with uniform grain, perfect for modern or minimalist aesthetic
- Reclaimed or pallet wood – Weathered charm with eco-friendly appeal, but requires extra prep work
- Black iron or copper pipes – Industrial look requiring metal fittings and flanges
Pro Tip: For beginners, 1×3 pine offers the best balance of cost, weight, and workability.
Select Size and Rung Spacing
Blanket ladders come in two standard heights, with rung spacing determining functionality and visual appeal.
| Option | Height | Rungs | Rung Length |
|---|---|---|---|
| Tall | 72 inches (6 feet) | 5 to 6 | 17 to 18 inches |
| Short | 60 inches (5 feet) | 4 to 5 | 14 to 18 inches |
Rung Spacing Guidelines
- Even spacing: 11 to 14 inches apart provides ideal draping surface
- Functional gap: 12 inches recommended for optimal folding and hanging
- Stylish variation: Leave 18 inches from floor to first rung to allow low-hanging throws while reserving upper rungs for wreaths or garlands
- Top clearance: Keep 6 to 8 inches above top rung for visual balance
Design Tip: Taller ladders suit high ceilings, while shorter versions fit nurseries, bathrooms, or compact spaces.
Cut the Rails and Rungs for Your Ladder

Get Your Cuts Ready
From two 8-foot (96-inch) boards, you can cut all necessary pieces for your blanket ladder.
Rails (2 pieces):
– 72 inches each for tall ladder
– 60 inches each for short ladder
Rungs (4 to 6 pieces):
– 17 to 18 inches each for standard version
– 14 inches for dowel version
No Saw? No Problem: Bring your cut list to Home Depot, Lowe’s, or local hardware stores—many offer free or low-cost cutting services.
Angle the Rail Ends for Stability
A secure lean requires precise angles. Without proper angles, the ladder may wobble, damage walls, or tip over unexpectedly.
Bottom Rail Cut
Make a 10-degree miter cut at the base of both rails. This ensures flat floor contact while leaning back at the correct angle.
Top Rail Cut (Choose One Method)
Option A: 80-Degree Precision Cut
– Measure 3/4 inch from back edge, mark down 4-1/4 inches, then cut
– Creates forward tilt, protects wall, and provides clean visual profile
Option B: 20-Degree Miter Cut
– Cut a 20-degree angle at the top of each rail
– Simpler method that prevents sharp edge from gouging walls
Why It Matters: Proper angles ensure a 15 to 20-degree lean that is safe, stable, and wall-friendly.
Assemble the Ladder Using Your Preferred Method
Method 1: Pocket Hole Joinery (Clean Look)
This method provides a hidden-fastener finish, ideal if the back of the ladder will be visible in your space.
Tools Needed:
– Pocket hole jig (set for 3/4-inch wood)
– Drill/driver
– 2.5-inch pocket screws
Steps:
1. Drill two pocket holes on each end of every rung
2. Lay rails flat and clamp in place
3. Mark rung positions using a measuring tape for even spacing
4. Attach rungs with screws through pocket holes
5. Check alignment with a speed square
Advantage: No visible screws, professional result. Pocket screws cost about $5 to $8, and the jig is reusable for future projects.
Method 2: Direct Screwing (No Jig Required)
Perfect for beginners with basic tools who want a straightforward approach.
Tools Needed:
– Drill/driver
– 3-inch deck screws (2 per rung per side)
Steps:
1. Position rungs on rails
2. Clamp in place
3. Drive screws from rail face into rung ends
4. Use two screws per side for strength
Note: Screws will show but can be stained over to blend in. One user reported four years of daily use with no glue and no failure using this method.
Optional Boost: Add wood glue before screwing for extra durability.
Method 3: All-Dowel Construction (Glue-Fit, Minimalist)
For a seamless, grain-matching look that appeals to modern aesthetics.
Materials:
– 1-inch × 72-inch dowels (2 rails)
– 1-inch × 14 to 18-inch dowels (4 to 6 rungs)
– Wood glue
– Clamps
Steps:
1. Mark rung positions on rails (every 14 inches)
2. Drill holes with 1-inch spade bit matching dowel size
3. Apply wood glue inside holes
4. Insert rungs and clamp assembly
5. Confirm 90-degree angle with speed square
6. Let cure overnight
7. Repeat on second side if not drilled through
Warning: Dowels may split—fill cracks with wood putty after building. Sand smooth and apply stain or sealant.
Sand and Smooth All Surfaces

Sanding Prep for Finish
Proper sanding prevents splinters and ensures even staining results.
Steps:
1. Start with 120 to 150 grit sandpaper using orbital or hand sander
2. Finish with 220 grit for silky smoothness, especially on dowels
3. Round all sharp edges and corners to protect walls, floors, and hands
4. Wipe clean with damp cloth to remove all dust
Add Rustic Character (Optional)
Create vintage charm through distressing techniques:
- Tap with hammer for dents
- Roll dowels over gravel
- Scratch with keys or chisels
- Step on boards over textured concrete
Style Match: Distressing works great for farmhouse, vintage, or cabin looks.
Apply Finish: Stain, Paint, or Seal
Choose Your Finish Type
Match your home’s aesthetic with one of these popular options:
| Style | Finish |
|---|---|
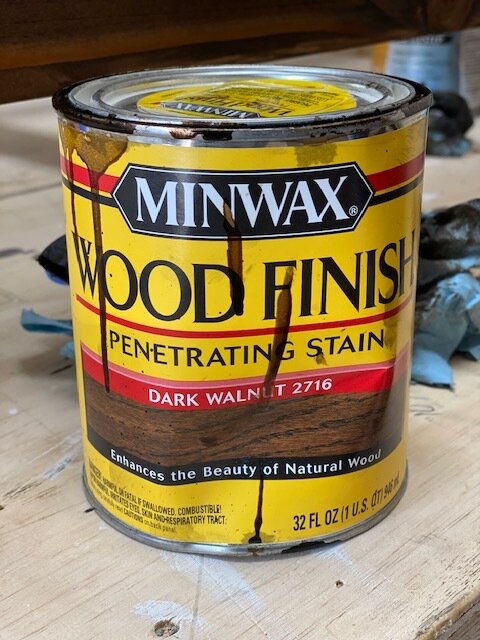
| Rustic/Farmhouse | Minwax Dark Walnut stain plus matte polyurethane |
| Modern/Minimalist | White, black, or gray matte enamel paint |
| Coastal/Scandi | Whitewash, light gray, or natural unstained pine |
| Industrial | Black iron pipes with clear-coated wooden rungs |
Staining Tips
- Use lint-free rags to apply stain, avoiding brush marks
- Wear gloves because stain permanently stains skin
- Let dry 24 to 48 hours before use
Painting Tips
- Sand first, then apply primer on raw wood
- Use spray paint or brush-on enamel for smooth finish
- Let dry completely between coats
Seal for Protection (Highly Recommended)
Even if staining or painting, apply a clear topcoat:
- Use matte polyurethane or water-based sealant
- Prevents color transfer to blankets
- Resists moisture, ideal for bathrooms or humid climates
- Reapply every 1 to 2 years for long life
Work Smart: Do finishing outdoors or in ventilated area using drop cloths.
Add Safety and Protection Features
Prevent Floor Scratches
Attach felt pads or non-slip rubber feet to the bottom of rails. This works on hardwood, tile, and laminate flooring.
Stop Wall Damage
Stick soft adhesive felt pads at top contact points to keep paint and drywall scuff-free.
Improve Grip on Slick Floors
Use rubber tips or anti-slip tape on feet to ensure stability, especially with kids or pets in the home.
Stability Tip: The weight of draped blankets naturally stabilizes the ladder.
Style and Use Your Blanket Ladder
Display Blankets and Throws
- Winter: Wool, fleece, and knit throws
- Summer: Lightweight cotton, linen, or crochet
- Rotate by season or color scheme throughout the year
Holiday and Seasonal Decor
- Hang a wreath at the top for Christmas, fall, or spring
- Drape stockings, garlands, or dried flowers
- Wrap fairy lights around rungs for ambiance
Creative Alternative Uses
- Bathroom: Robe or towel holder
- Bedroom: Shawl, scarf, or kimono rack
- Closet: Lightweight clothing display
- Studio: Art, fabric, or macramé showcase
Design Hack: Blanket ladders fill blank wall space beautifully, great for rentals or minimalist rooms.
Troubleshoot Common Ladder Problems
Why Is My Ladder Wobbly?
- Cause: Uneven cuts or loose joints
- Fix: Re-tighten screws, clamp and re-glue dowel joints, or sand contact points flat
How Do I Stop Wall Scuffing?
Apply felt pads to top rail back and any wall-touching areas to prevent damage.
Can It Hold Heavy Quilts?
Yes, but use 2×4 or dowel rails and space rungs closer at 11 to 12 inches. Avoid wet or dense wool blankets that add excessive weight.
Do I Need Wood Glue?
Not required. One builder used screws only with no failure after four years. Glue is recommended for dowel builds and optional for screw joints.
What If I Don’t Have Tools?
Most Home Depot and Lowe’s locations cut wood for free. Bring a written list specifying 2 rails at 72 inches and 5 rungs at 18 inches.
Customize Your Design
Popular Style Variations
| Look | How to Achieve It |
|---|---|
| Farmhouse | Distressed pine, Dark Walnut stain, felt pads, wreath display |
| Modern | Paint black or white, even 12-inch spacing, no distressing |
| Coastal | Whitewash, unstained pine, rope accents, light throws |
| Industrial | Black pipe rails, wooden rungs, flange mounts |
| Narrow Fit | Use 1×2 boards for tight spaces |
| Wider Base | Splay bottom rails 2 to 3 inches outward for stability |
Personal Touch: Add a painted monogram, engraved tag, or hanging sign for custom character.
Build Checklist: From Start to Finish
- Choose wood: 1×3 pine, dowels, or reclaimed
- Cut 2 rails (60 to 72 inches) and 4 to 6 rungs (14 to 18 inches)
- Angle bottom at 10 degrees, top at 20 degrees or 80 degrees
- Sand all pieces (120 to 220 grit), round edges
- Mark rung positions (11 to 14 inches apart)
- Drill pocket holes or prep for direct screws
- Assemble with screws or glue, clamp if needed
- Sand again if distressing
- Stain, paint, or leave natural
- Seal with matte polyurethane
- Attach felt pads to bottom and top
- Style with blankets, lights, or wreaths
Final Specs and Why You Should Build One
| Feature | Detail |
|---|---|
| Height | 60 inches or 72 inches |
| Rungs | 4 to 6 |
| Lean Angle | 15 to 20 degrees |
| Weight Capacity | 10 to 15 pounds (distributed) |
| Build Time | 1 to 4 hours |
| Cost | $5 to $35 |
| Skill Level | Beginner |
| Lifespan | 5 to 10+ years |
| Maintenance | Dust regularly, reseal every 1 to 2 years |
Why DIY?
- Save 90% compared to store-bought versions ($50 to $150 retail)
- Fully customizable to your space and style
- Quick weekend project with lasting impact
- High satisfaction from blending form and function
- Makes a great handmade gift
Frequently Asked Questions About Making a Blanket Ladder
What tools do I need to build a blanket ladder?
You need a miter saw or circular saw for cutting, a power drill for assembling, a speed square for alignment, sandpaper for smoothing, and basic measuring tools. A pocket hole jig is optional but recommended for a clean finish.
How much does it cost to build a DIY blanket ladder?
DIY costs range from $5 to $35 depending on wood type and finish. This saves you 90% compared to retail versions that cost $50 to $150.
Can I build a blanket ladder without cutting wood myself?
Yes. Most Home Depot and Lowe’s locations will cut wood for free or a small fee. Simply bring your measurements and they will make the cuts for you.
What is the best wood for a beginner blanket ladder project?
1×3 pine boards offer the best balance of cost, weight, and workability for beginners. They are affordable, easy to stain or paint, and forgiving of minor mistakes.
How do I ensure my blanket ladder leans safely against the wall?
Cut 10-degree angles at the bottom rails and 20-degree or 80-degree angles at the top. This creates a 15 to 20-degree lean that is stable and wall-friendly. Attach felt pads to prevent wall damage.
Key Takeaways for Building Your First Blanket Ladder
Building a blanket ladder is one of the most rewarding beginner woodworking projects you can tackle. The materials cost as little as $5 to $35, the tools are basic, and the entire project takes 1 to 4 hours from start to finish. The key to success lies in three areas: accurate angle cuts for stable leaning, proper sanding before finishing, and sealing with a protective topcoat.
Choose your style based on your home decor, whether that’s rustic farmhouse with Dark Walnut stain, modern with matte black paint, or coastal with whitewash. Whatever finish you choose, your handmade blanket ladder will organize your textiles while adding visual interest to any room. Start with your measurements, make those cuts with confidence, and enjoy the pride of a handmade upgrade to your home.

