
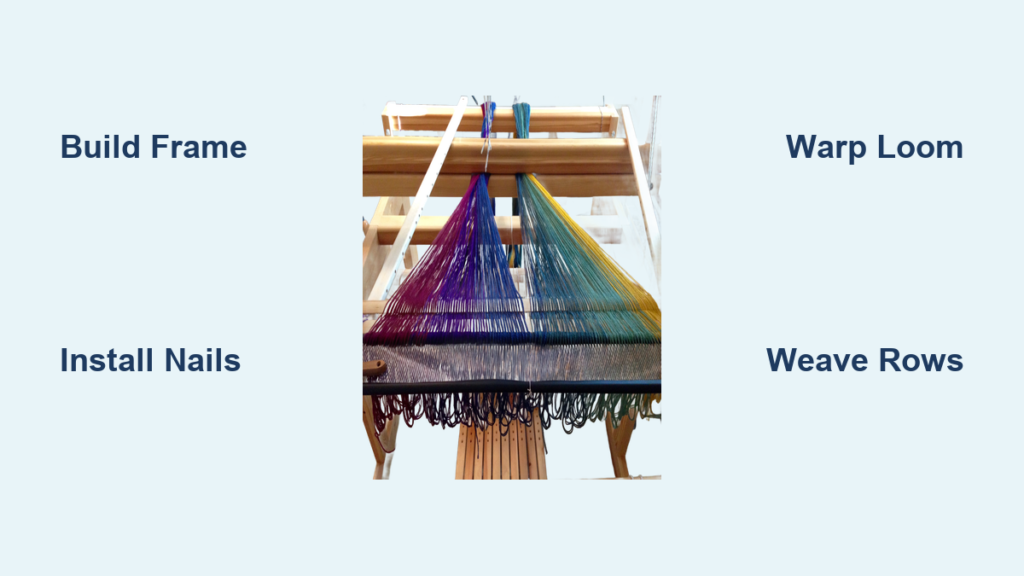
You’ve seen those cozy, chunky blankets everywhere—handmade, soft, and full of texture. What if you could make one yourself using a loom you build from scratch? You can. With just a few basic tools and some wood, how to make a blanket weaving loom becomes an easy weekend project. Whether you want to weave true interlaced fabric or knit thick loops on a peg board, a DIY loom gives you full control over size, design, and texture. This guide walks you through building both frame weaving looms and peg-based knitting looms, setting them up, weaving or knitting your blanket, and finishing it like a pro.
Build a Frame Weaving Loom
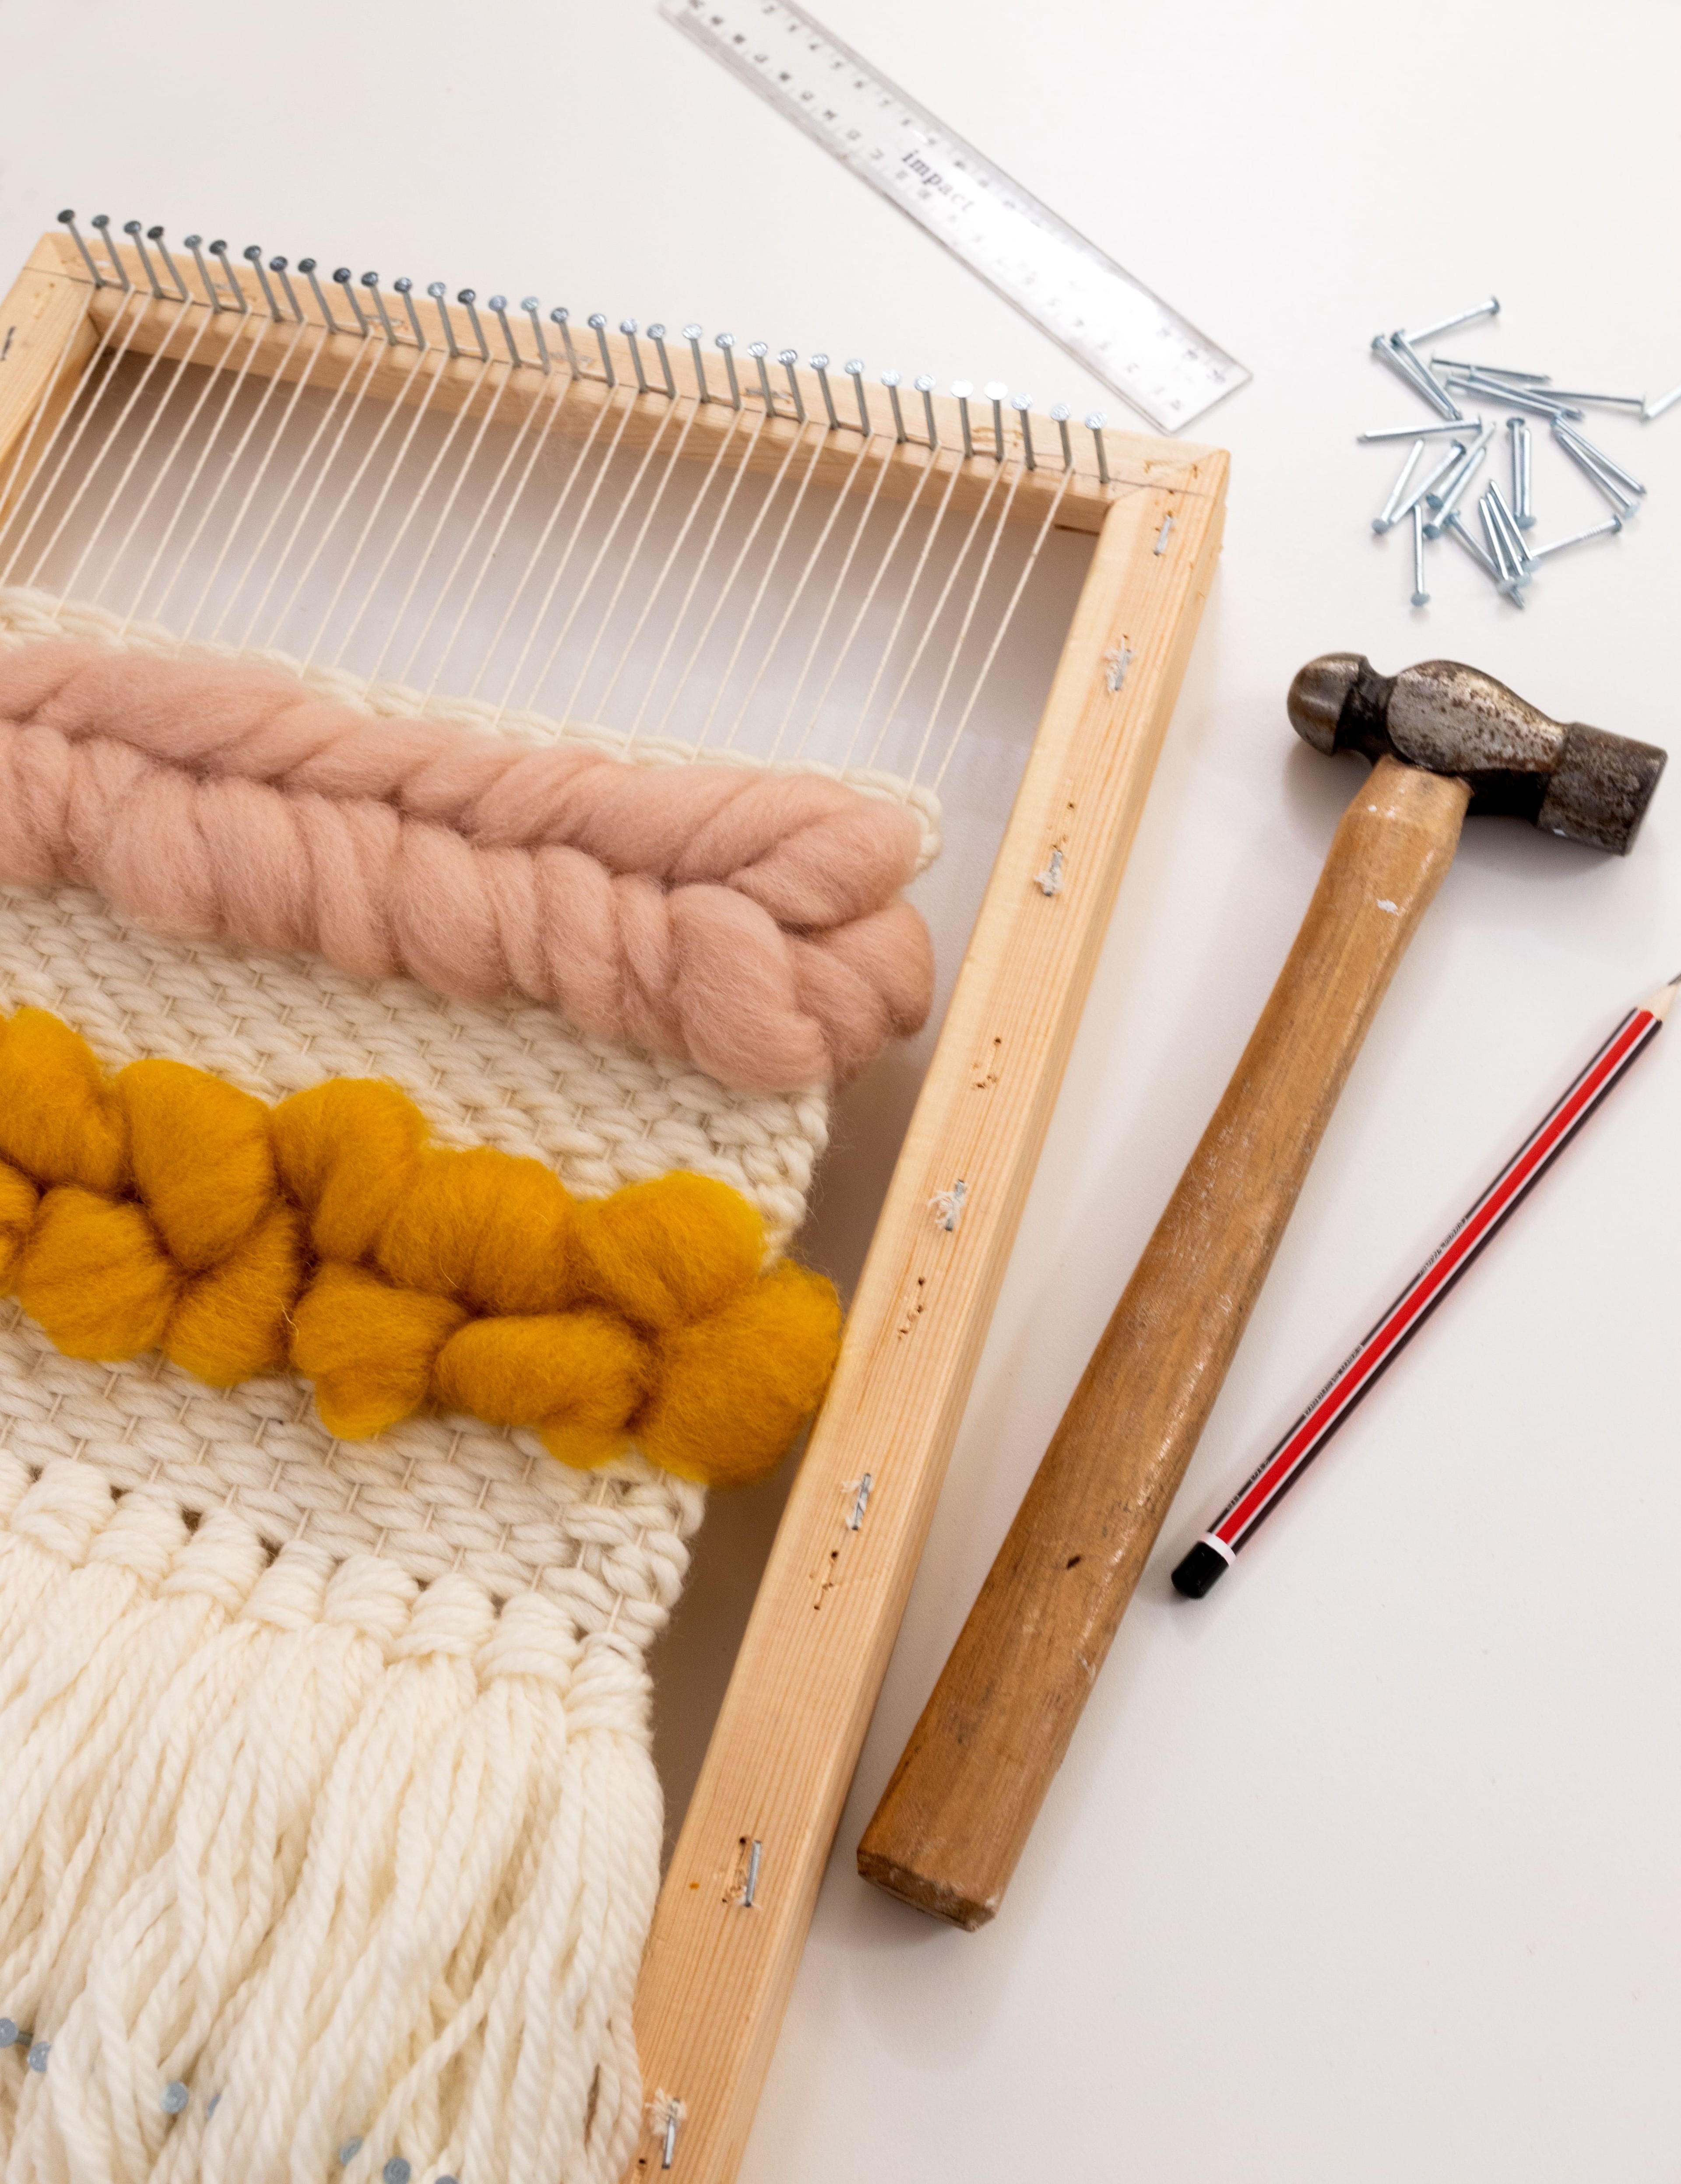
Construct a sturdy base for true warp-and-weft weaving using basic lumber and hardware.
Cut and Assemble the Frame
Use 1×2 inch lumber or ¾” plywood for strength. Cut two long sides (e.g., 18″) and two short sides (e.g., 12″) for a small blanket loom. For larger throws, scale up to 24″ × 36″. Position short pieces between long ones at each corner, clamp tightly, then pre-drill pilot holes to prevent splitting. Secure each joint with two 1.5-inch screws driven from the bottom so heads stay hidden. Check that the frame is square by measuring diagonals to confirm equal length, then let it sit flat before moving on.
Install Warp Nails Evenly
Mark nail positions along the inner edge of both long sides. Space them ¼ inch apart for fine yarns or ⅓ inch apart for bulky yarns. Use a ruler and pencil to plot each point precisely. Drive wire nails straight into the marks until they stand 1.5 inches tall. Ensure all nails face inward across the frame so warp threads stretch cleanly from side to side. After installation, sand nail heads smooth to avoid snagging yarn during warping.
Finish for Durability
Sand all wood surfaces, especially edges and corners, to prevent splinters. Apply a coat of paint if you want a styled look, then seal the entire frame with polyurethane to protect against moisture and wear. Let it dry fully—24 hours is ideal—before stringing your first warp. A sealed loom lasts longer and handles tension better over time.
Create a Peg Knitting Loom Setup
Build a fast, beginner-friendly loom for knitted chunky blankets using dowels and a solid board.
Prepare the Base Board
Use a solid 24″ × 36″ board, ideal for throw-sized blankets. You can rip plywood to 1½” width and 36″ length if custom sizing. Sand the surface smooth. Draw a centerline down the long axis to guide peg placement. This line ensures symmetry and keeps your knitting even from edge to edge.
Mark and Drill Peg Holes
Space pegs 1 inch apart for tight fabric, 1.5 inches for standard chunky texture, or 2 inches for loose, open knits. Mark each spot along the centerline. Drill holes with a ¾” spade bit, same diameter as your dowels. Cut broom handles or wooden dowels into 1½” lengths. Test-fit each peg and sand slightly if too tight. Apply wood glue to the base of each peg, insert firmly, and tap flush with a hammer. Let the glue cure for 24 hours before use.
Smooth All Edges
Lightly sand the tops and sides of each peg to remove burrs. Run your fingers over the surface; if it feels rough, keep sanding. A smooth loom prevents yarn fraying and makes knitting faster and more enjoyable. Wipe clean with a dry cloth before starting your first row.
Warp the Loom Correctly
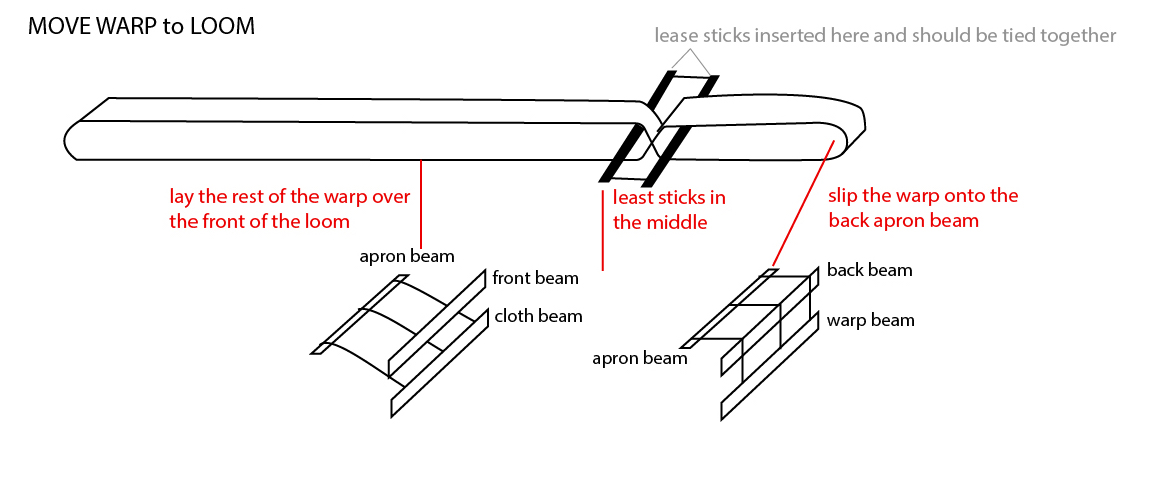
Set up tensioned vertical threads for successful weaving or prepare continuous yarn for knitting.
String Warp on Frame Looms
Tie the yarn end to a nail on one long side. Pull it straight across to the opposite nail and loop it around. Continue back and forth until the full width is covered. Maintain firm but not excessive tension—too loose causes sagging, too tight may warp the frame. Keep each warp thread parallel and untangled. Secure the final end with a knot. For better control, use scrap yarn between warp layers to separate them during weaving.
Secure Yarn on Peg Looms
For peg looms, no formal warping is needed. Instead, tie the yarn to the top-left corner. Wrap it around a bolt and secure with a wing nut to maintain tension. Begin wrapping each peg in sequence, looping down and back up. If the loom is tall, prop it upright or ask someone to help hold it steady during setup.
Start Weaving or Knitting
Begin your blanket with clean, even first rows using proper techniques.
Cast On for Peg Looms
Make a slip knot and place it on the first peg. Move across all pegs, creating slip knots by rolling yarn over your fingers, pulling through, and hooking onto each peg. Do not pull too tight—over-tensioned edges can roll. On the last peg, fasten the loop without cutting: pull the yarn inside the blanket and hook the loop back on. This keeps the working yarn continuous.
Weave First Rows on Frame Looms
On a frame loom, pass weft yarn through the warp using a tapestry needle or shuttle. Alternate over-under pattern for plain weave. Use a shed stick or dowel to lift every other warp thread, making it easier to pass the weft. After each pass, gently tamp down the weft with your fingers or a fork to maintain even density.
Join New Yarn Seamlessly
When a skein runs out, trim both ends to about 1 cm. Hold them flat and apply heat from a lighter for 1–2 seconds until the synthetic fibers melt. Press the ends together, hold until cooled, then test strength. Fused joins are nearly invisible and eliminate bulky knots. Resume knitting or weaving with the joined yarn.
Maintain Consistent Tension
Keep your blanket flat, even, and on track throughout the project.
Prevent Edge Rolling
On peg looms, do not over-tighten loops at the start and end of rows. Slightly looser tension prevents the edges from curling inward. If rolling occurs, block the finished panel by wetting and pinning it flat to dry.
Follow Color Sequences
For striped blankets, follow a clear sequence: 4 picks contrast color, 96 picks main color 1, 8 picks contrast color, then repeat with subsequent main colors. Stick to the plan to maintain symmetry across panels. Use hair ties on pegs to mark pattern changes or row counts.
Use a Shed Stick for Speed
Insert a DIY shed stick—two taped-together vertical blind slats—between alternate pegs or warp threads. This opens a clear path for the weft yarn, cutting weaving time in half. Slide it out, pass the yarn through, then reinsert on the opposite set for the next row.
Finish the Blanket Professionally
Remove the blanket from the loom and join panels seamlessly for a polished look.
Cast Off Without Loosening
On a peg loom, pull a 3-inch loop on the last row and leave it uncast. Work down the loom, removing each loop and casting it off with the next. After removal, locate the long starting loop. Pull a new 3–4 inch loop and fold the beginning chain over the edge for a clean finish.
Join Panels Seamlessly
For large blankets made in sections, use entrecate union. Cut contrast yarn longer than the panel and knot one end. Lay two panels side by side, aligned perfectly. Alternate picking up the first weft loop from the left panel, then the right panel. Knot the end and smooth as you go. This creates an almost invisible join, especially after brushing.
Brush for Softness
For wool blankets, use a stiff bristled scrubbing brush. Flick it across both sides in a quick motion. Brushing raises the fibers, hides seams, and creates a soft, cozy surface. Do this after fulling and drying for best results.
Finalize Fringes and Ends
Give your blanket a polished edge with properly finished fringes and woven-in tails.
Twist and Knot Fringes
Group fringe ends together and twist them tightly. Tie a knot at the base to secure. Wait until after fulling to trim—this ensures even length once fibers settle.
Trim Even with Rotary Cutter
Use a ruler and rotary cutter to slice close to the knot. Cut all fringes at once for uniformity. Avoid scissors—they can create uneven tips.
Weave in Loose Ends
Thread long tails into a darning needle. Weave them into the blanket’s edge for 2–3 inches. For synthetic yarns, burn the tip with a lighter, press it into the fabric, and let it cool. This fuses the end and prevents unraveling.
Care for Your Loom and Blanket
Extend the life of your tools and textiles with proper maintenance.
Store Loom Properly
Keep wooden looms dry and flat. Tighten wing nuts after each use. Stand peg looms upright to prevent bending. Re-glue any loose pegs and reseal wood every few years to prevent cracking.
Wash Wool Blankets Gently
Soak in hot water for 1 hour with no agitation. Machine wash on a gentle wool cycle. Lay flat to dry. Beat out wrinkles with open hands while damp. Fulling compacts the weave slightly—repeat if needed, but do not felt completely.
Maintain Acrylic Blankets
Machine washable and low maintenance. No fulling required. Brush lightly to remove pet hair or lint. Store folded—avoid hanging to prevent stretching.
Frequently Asked Questions About Making a Blanket Weaving Loom
What is the difference between a weaving loom and a knitting loom?
A weaving loom uses true warp-and-weft thread interlacing to create fabric. A knitting loom (often called a peg loom) creates looped fabric similar to hand knitting. Both can produce blankets, but the techniques and resulting textures differ significantly.
What materials do I need to build a DIY blanket loom?
For a frame weaving loom, you need 1×2 lumber or ¾” plywood, wire nails, screws, and wood glue. For a peg knitting loom, you need a solid board, wooden dowels or broom handles, a drill with a spade bit, and wood glue. Both require basic tools like a hammer, drill, sandpaper, and measuring tools.
How long does it take to make a blanket on a DIY loom?
A first row on a peg loom takes about 10–15 minutes. One skein of chunky yarn takes 45 minutes to 1 hour to knit. A single weaving panel takes 3–5 hours. A full four-panel blanket requires 12–20 hours total, plus drying time.
Can I make a large blanket on a small loom?
Yes. You can make large blankets by weaving multiple smaller panels and joining them together using techniques like entrecate union or figure-eight stitch. This “big blanket, little loom” approach is widely used and produces professional results.
What yarn works best for blanket looms?
Bulky or super bulky yarns work best for peg knitting looms. For frame weaving looms, you can use various weights depending on your nail spacing. Wool provides excellent fulling and brushing results, while acrylic offers easy care and durability.
Key Takeaways for Building Your Blanket Weaving Loom
Building a blanket weaving loom is an achievable weekend project that opens up years of creative blanket-making potential. The key to success lies in three areas. First, focus on precise construction—accurate nail or peg spacing and a sturdy, square frame ensure consistent tension and professional results. Second, master your tension technique whether weaving or knitting, maintaining even pressure throughout prevents puckering, rolling edges, and uneven fabric. Third, invest in proper finishing—brushing, fulling, and seamless panel joins transform homemade blankets into polished, durable textiles worth gifting or keeping.
Start with a small 12″ × 18″ frame loom or a basic peg board to practice your technique. Once comfortable, scale up to larger projects. Your handmade blanket is not just a cozy textile—it is a testament to craft, patience, and creativity that you built from scratch.

