
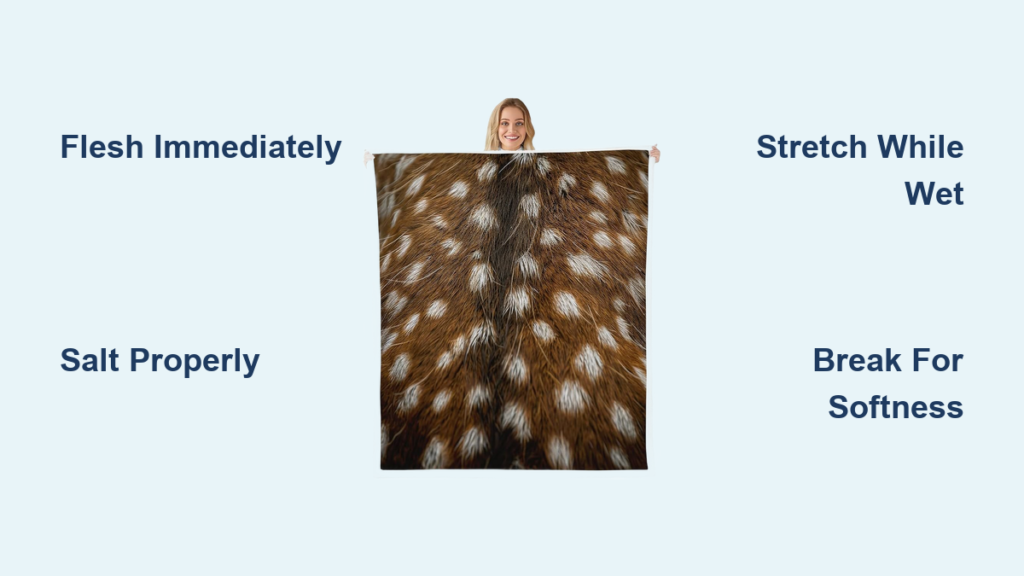
You’ve harvested a deer and want to honor that animal by creating something lasting and functional. A deer skin blanket connects you to tradition, self-reliance, and the natural world. But turning raw hide into a soft, usable blanket is not simple. It demands patience, precision, and respect for the material.
The key challenge? Deer hair is hollow and fragile, making it excellent for insulation but prone to breaking with friction. Most DIY results work best as floor rugs, wall hangings, or decorative throws rather than everyday blankets. This guide walks you through every stage from immediate post-skinning care to final conditioning.
Flesh the Deer Hide Immediately After Skinning

Start processing within hours of skinning to prevent spoilage. Lay the hide flesh-side up on a curved log, barrel, or fleshing beam. Use firm, lateral strokes across the grain to scrape off fat, membrane, and connective tissue. Never cut lengthwise as this weakens the hide.
Remove All Fat and Tissue Efficiently
Use the backside of a sharp knife, a paint scraper, or a large spoon for broad areas like the back. Focus extra attention along the spine and neck where tissue clings tightly. A 2000 PSI pressure washer with turbo nozzle can speed up the job and remove stubborn residue, but avoid exceeding that pressure as it damages collagen fibers.
Why Timing Matters for Fresh Hides
Delayed handling increases the risk of bacterial degradation, hair thinning, and odor development. Work in a clean, dry environment to prevent contamination. Do not wash the hide with soap before salting because moisture trapped during preservation leads to bacterial growth and hair slippage.
Preserve the Hide with Non-Iodized Salt
Salt draws out moisture and halts bacterial decay. Iodized salt causes hair loss, so use only non-iodized salt. Rub approximately one pound of salt per pound of hide into all areas, then fold the hide flesh-to-flesh with fur side out. Let it sit for 24 hours before unfolding, scraping off brine, and reapplying fresh salt.
How to Salt and Store the Hide Properly
Repeat the salting process until the hide is nearly dry but still pliable. Hang it vertically on a rack to drain completely. For storage, wrap the hide in two heavy black trash bags and spray with Raid to kill ticks before freezing indefinitely. Alternatively, store in a 5-gallon bucket with a tight lid and drain liquid every two days.
Prevent Tail Slippage During Storage
If the tail is not split, moisture trapped in the tail base causes slippage. Split the tail open or dry it thoroughly before storage to prevent hair loss at this critical junction.
Rehydrate and Wash the Hide Before Tanning
Mix one pound of non-iodized salt per gallon of hot water in a large bin. Submerge the salted hide for 24 hours to rehydrate and flush residual salt. After soaking, wash the flesh side with Dawn dish soap to cut grease effectively. Rinse thoroughly under running water and hang on a laundry rack until moist but pliable, not dripping wet.
Why Degreasing Is Critical
Never skip degreasing because oil left in the hide causes stiffness and rancidity over time. Thorough washing ensures the final blanket remains soft and durable rather than becoming brittle.
Choose Your Tanning Method
Aluminum Sulfate Pickling for DIY Projects
This method creates a flexible, soft hide that is not waterproof but ideal for rugs or throws. Dissolve 25 grams of aluminum sulfate and 40 grams of non-iodized salt per liter of warm water. Fully submerge the hide with no air pockets, cover, and store for four to seven days while stirring twice daily. Maintain pH between 1.5 and 2.0 using pH strips.
Commercial Tanning Formula for Beginners
Products like Deer Hunter’s and Trapper’s Hide Tanning Formula cost around $15 and are low-odor, making them safe for indoor use. Brush on three coats and wait 24 hours between applications. The hide will be cardboard-stiff when dry, so softening is required afterward.
Chromium Sulfate for Durable Results
Add 15 grams of chromium sulfate per liter of pickling solution for water resistance and longevity. Wear gloves, a mask, and work in a ventilated area because this chemical is toxic. This method is not recommended for beginners.
Citric Acid for Quick Processing
Soak the hide in citric acid solution for 20 to 30 minutes. This is faster but produces less durable results than other methods.
Repair Holes and Tears Before Stretching
Bullet holes or cuts should be stitched before tanning or drying. Pre-drill holes with a nail to guide the needle and prevent tearing. Use fishing line for strength and nearly invisible results. Apply a whip stitch pattern and check the fur side frequently to avoid pulling hair into the seam.
Pro Tip for Clean Repairs
Reshape jagged holes into oval shapes before stitching for cleaner, stronger repairs. This technique reduces stress on the stitches and creates a more professional appearance.
Stretch and Mount the Hide to Set the Shape
After rinsing off tanning chemicals, let the hide dry for about one hour. Do not let it become fully dry at this stage. Stretch the hide flesh-side up on plywood or a pallet board and nail edges with galvanized nails to prevent rust stains. Start from the bottom and pull symmetrically, stretching as far as possible without tearing.
The Shape You Set Is Permanent
Align legs, neck, and body evenly during mounting. Take your time at this stage because the final shape depends on how you stretch it now.
Break the Hide for Maximum Softness
A stiff hide becomes soft through mechanical action called breaking. Roll and unroll the hide tightly, pull it over a table edge repeatedly, and stretch by hand in all directions. Watch for whitening, which indicates fibers are loosening. The more you stretch while damp, the softer the final result.
Sanding to Open Fibers
Use 180-grit sandpaper on the flesh side until the surface turns uniformly whitish. This opens fibers and boosts softness. Stop if the hide appears to be thinning because over-sanding damages the material.
Condition with Fat Liquor or Oil
Fat Liquoring for Tanned Hides
Apply approximately 250 milliliters of fat liquor per kilogram of wet hide weight. Brush evenly on the flesh side and dry in shade, not sun or wind. Stop drying when the hide is slightly damp, then break the hide again to work in the oil.
Neat’s-Foot Oil for Pickled or Finished Hides
Apply generously to the flesh side after drying or during maintenance. Reapply every six to 12 months depending on climate and usage. Hang the blanket freely when not in use to prevent moisture buildup.
Trim and Finish the Edges
Once fully dry and softened, remove all nails and lightly sand any nail marks. Trim edges with sharp scissors, choosing rounded, square, or natural contour based on your preference. Balance symmetry with maximum usable size. Accept natural imperfections like scars and bites because they add character to the final piece.
Aesthetic Choices for Your Blanket
Trimmed edges look modern while raw edges suit rustic decor. Choose the style that matches your intended use and home aesthetic.
Real Talk About Durability and Best Uses
Deer hair is hollow and fragile, breaking easily with friction. While incredibly warm due to air-trapping fur, deer hair sheds and breaks with regular sitting or rubbing. Best uses for DIY hides include floor rugs where friction is low, wall decorations, lap throws for light use, bed toppers as decorative layers, and ceremonial or cultural items.
Thermal Performance
One deer skin blanket can keep you warm enough to turn down the heat at night. The insulation value is exceptional despite the fragility of the hair.
Maintain Your Deer Skin Blanket Long-Term
Air out the blanket monthly to prevent mustiness. Brush lightly with a soft brush to remove dust. Never machine wash or soak the hide. Store flat or hung, never folded. Every six to 12 months, wipe the flesh side with a damp cloth, reapply neat’s-foot oil, and flex and roll gently to restore suppleness.
Expected Lifespan
A DIY deer skin blanket lasts five to 10 years with careful use. Professional tanning extends lifespan to 15 years or more.
Avoid These Common Mistakes
Stiff hides result from insufficient stretching while wet. Rewet and re-stretch to improve softness. Hair loss occurs when using iodized salt or excessive chemical exposure. Always use non-iodized salt and limit immersion time. Uneven texture comes from poor agitation during pickling. Stir twice daily and ensure full submersion.
Quick Reference for Problem Solving
Mold growth indicates inadequate drying or ventilation. Increase airflow and extend salting time. Shrinkage results from inadequate stretching. Stretch aggressively during mounting. Tail slippage happens when moisture traps in the tail base. Split the tail or dry thoroughly before storage.
Frequently Asked Questions About Deer Skin Blankets
Can I use a deer skin blanket as an everyday bedding blanket?
Deer hair is hollow and fragile, breaking easily with friction from regular movement. It works better as a decorative throw, floor rug, or wall hanging rather than a daily blanket.
How long does it take to make a deer skin blanket at home?
The process takes 10 to 14 days total, with 10 to 15 hours of active work time spread across multiple stages including fleshing, salting, pickling, and softening.
What is the difference between pickled and tanned hide?
Pickled hide using aluminum sulfate creates flexibility but is not waterproof. Tanned hide using commercial formulas or chromium sulfate becomes more durable and can be waterproofed.
Why is my deer hide still stiff after processing?
Insufficient stretching while wet causes stiffness. Rewet the hide and stretch aggressively during the breaking process. The more you stretch while damp, the softer it becomes.
Can I wash my deer skin blanket?
Never machine wash or soak a deer skin blanket. Wipe the flesh side with a damp cloth for cleaning and air dry thoroughly. Regular brushing and monthly airing maintain freshness.
Is professional tanning worth the cost?
Professional tanning costs $50 to $150 but produces uniformly soft results with high hair retention and 15-plus year durability. DIY is best for learning and self-reliance projects.
Key Takeaways for Making a Deer Skin Blanket
Making a deer skin blanket is more than a DIY project. It is a ritual of respect that honors the animal’s life through careful, patient craftsmanship. Every step from fleshing to finishing creates a functional heirloom connecting you to tradition and nature.
Realize that deer hair is warm but fragile. It suits rugs, throws, and decorative uses better than everyday blankets. Choose your method based on your skill level, available time, and intended purpose. Start with a commercial tanning formula if you are a beginner. Stretch aggressively while wet because this is the single most important factor in achieving softness.
With patience and care, your deer skin blanket becomes a lasting symbol of craftsmanship, gratitude, and wild heritage.

