
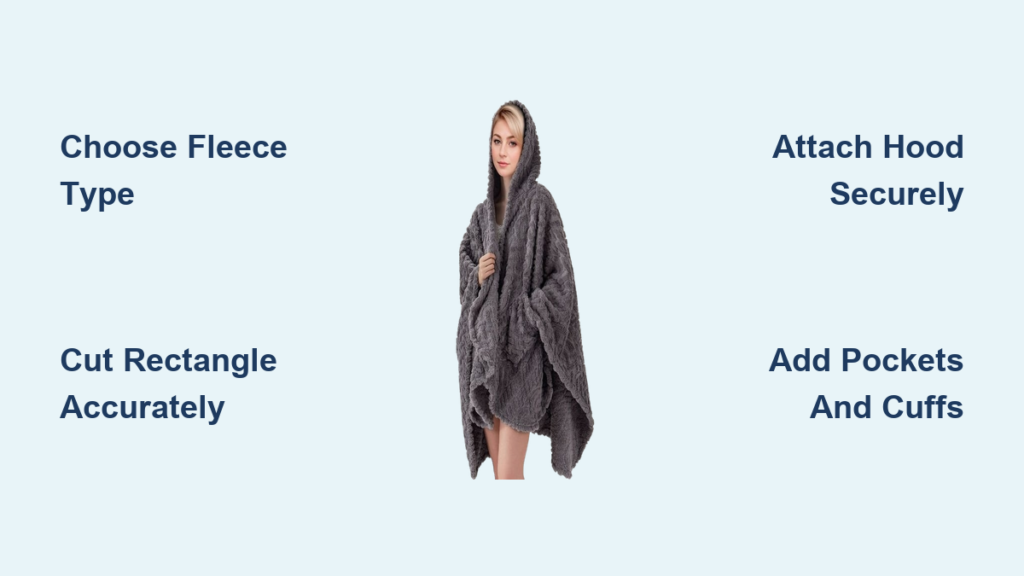
Nothing beats wrapping yourself in a soft, warm blanket you can actually wear. A hooded fleece blanket combines the coziness of a throw with the functionality of a hoodie, letting you stay warm while keeping your hands free for remote work, movie nights, or curling up with a book. Whether you are making it for yourself, gifting it to a loved one, or crafting for someone with limited mobility, this project is beginner-friendly and takes just 1 to 2 hours to complete.
In this guide, you will learn how to choose the right fleece, cut precise pieces, attach a hood securely, add optional pockets and cuffs, and finish your blanket with professional-looking results. Every step is broken down into simple, actionable instructions that work whether you are using a free pattern or creating your own design.
Choose the Best Fleece for Your Hooded Blanket
Fleece Types That Work Best
Not all fleece delivers the same comfort and durability. For a wearable blanket that feels soft and lasts for years, focus on these options.
Plush fleece offers an ultra-soft surface that feels luxurious against the skin, making it ideal for lounging. Polar fleece is the most common choice, made from 100 percent polyester with balanced stretch and durability. Double-brushed fleece is stretchier and silkier, draping beautifully over shoulders. Sherpa fleece provides textured, high-loft warmth and works perfectly as a lining for reversible styles.
Avoid cotton blends because they pill more easily and offer less stretch, which can cause seams to pop during wear.
Pro Tip: Skip buying fabric by the yard. Use a king-size pre-made fleece blanket (108 inches by 90 inches) from Amazon or Costco. It gives you enough material for an adult-sized wearable blanket with fabric left over for pockets or matching accessories. Just ensure the blanket is only stitched along the edges, not quilted through, so you can separate layers if making a reversible version.
Gather Essential Tools and Supplies
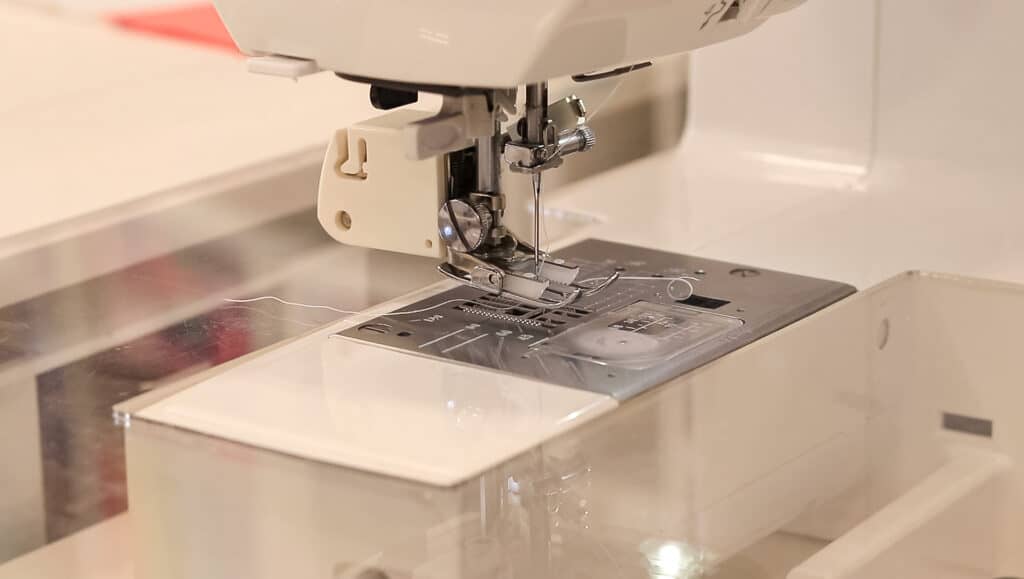
Sewing Machine Setup for Fleece
Fleece is thick and stretchy, so your tools matter more than with other fabrics. You need a sewing machine with adjustable stitch length and width, a ballpoint needle sized 14 or 16 to prevent snagging on the knit-like fibers, and a walking foot to feed both top and bottom layers evenly and reduce shifting.
A rotary cutter, ruler, and cutting mat ensure straight, accurate cuts. Use fabric clips instead of pins because they hold thick layers without slipping. Choose polyester thread, which is stronger than cotton and resists breakage. Have a measuring tape handy for customizing fit, and keep scissors or a serger ready for finishing seams.
Important: Avoid straight stitches on seams because they can pop under tension. Use zigzag stitch, lightning stitch, or a serger overlock for stretch-friendly seams that move with the fabric.
Measure Your Body for a Custom Fit
Key Measurements for Comfort
A well-fitting hooded blanket drapes comfortably without restricting movement. Measure wrist-to-wrist across your back to determine the blanket width, which usually matches your height. Measure from your back to your knee or waist to set the length from shoulders down.
For example, a person who is 5 feet 6 inches tall typically needs a blanket that is 66 inches wide by 40 inches long. Scale down proportionally for children. Most patterns come in small for toddlers, medium for children, and large for teens and adults.
No Pattern Needed: Fold your fabric and cut a rectangle based on these measurements. No templates required.
Cut the Blanket Base Accurately
Simple Rectangle Method
Lay your fleece flat on a clean surface, avoiding carpets where fabric slips easily. Remove the selvages, which are the edges with holes or print. Square off corners using a rotary cutter and ruler.
Cut a rectangle with your width equal to your wrist-to-wrist measurement, up to 60 inches if using standard fabric. Set the length to your desired drop from the shoulder, with knee-length being approximately 40 inches.
For wearable cape styles, fold the blanket in half vertically and horizontally to find the center for neck cutting.
Time Saver: Pre-wash fleece only if mixing with cotton, which is rare. Fleece does not shrink significantly.
Create the Neck Opening
Cutting a Circular Neck Hole
This step is essential for wearable cape-style blankets. Fold the top corner of the blanket in half vertically and horizontally to form a quadrant. Mark the center point.
Decide on your neck size. A 22-inch opening fits most adults, while 16 to 18 inches works for children. Calculate the radius by dividing the diameter by 6.28, which is 2 pi. For a 22-inch opening, divide 22 by 6.28 to get approximately 3.5 inches radius.
Tie a string to a pen, pin it at the center, and draw a quarter circle. Cut along the curve.
Optional: Add a vertical slit from the neck edge to the top edge for easier head entry, similar to designs from Melly Sews.
Draft or Print a Hood Pattern

Make Your Own Hood Template
You do not need a store-bought pattern. Create one using two key measurements. Measure from collarbone to collarbone over your head, which might be 36 inches for an average adult. Measure the curved neck opening on your blanket.
Draft the hood with width equal to half the neckline measurement and height equal to half the over-the-head measurement. The shape should have a rounded back and flat front edge. Add a half-inch seam allowance to the back only.
Free Patterns Available: FleeceFun.com offers a free PDF with adult and child hood templates. Life Sew Savory has printable hood patterns, and Sew Much Ado provides a full reversible hoodie pattern with a video tutorial. Print at 100 percent scale and check the 2-inch test square before trimming borders and taping sheets together.
Cut and Sew the Hood
Assemble a Lined or Single-Layer Hood
Cut two hood pieces on the fold, mirrored from each other. Place them right sides together and sew the back curve with a half-inch seam allowance using zigzag stitch.
Snip small notches into the seam allowance to let the curve lie flat. Turn right side out and hem the front edge by folding under half an inch to 1 inch, then sewing with zigzag stitch.
Optional topstitching adds durability. For double-layer hoods, repeat with lining fabric and sandwich the layers during attachment.
Attach the Hood to the Blanket
Align Centers and Overlap Fronts
Lay the blanket right side up. Fold in half lengthwise and mark the center back. Pin the center of the hood back seam to the center back of the neck opening.
Pin the hood to the neckline, easing fabric around curves. At the front, overlap hood edges by half an inch to prevent gapping. Sew all around with a serger or zigzag stitch, catching one layer of blanket and two layers of hood at the front overlap.
Critical Step: Ensure three layers are stitched at the front fold for strength. Trim excess at corners to reduce bulk.
Add Pockets for Extra Warmth
Simple Hand Warmer or Front Pockets
For outer pockets, cut two rectangles such as 8 inches by 6 inches. Hem the top edge by folding 1 inch and zigzag stitching. Position one-third down from the top and 6 inches from each side. Pin and sew the left, bottom, and right sides, leaving the top open. Topstitch a quarter inch from the edge for a clean look.
For triangular hand warmers, cut two right triangles with 7-inch legs. Hem the diagonal edge and attach to the bottom front corners of the blanket on the same side as the hood. Sew with half-inch seam allowance and trim corner bulk.
Use a measuring tape to center and align pockets perfectly.
Install Arm Cuffs for Stability
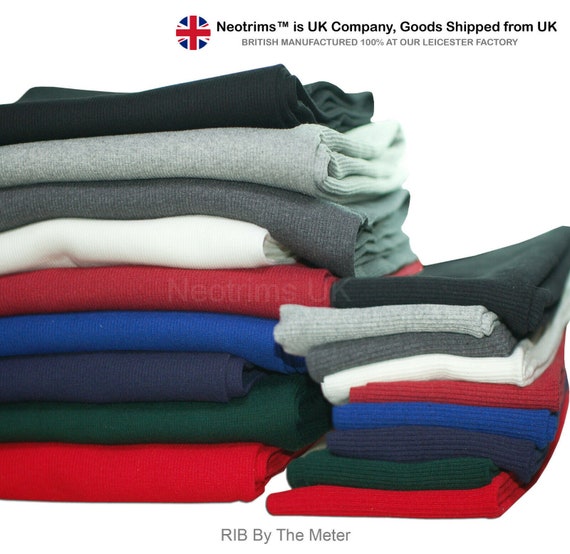
Keep the Blanket in Place
Cuffs prevent slipping and add polish. Use stretchy knit fabric like ribbing. Cut two strips 8 inches wide by 7 inches tall. Fold in half heightwise to find the center. Place the center of the cuff on the side edge of the blanket at shoulder level. Pin and sew through three layers, which are blanket and cuff. Fold the cuff in half again, creating four layers, and sew up the side to form a loop.
For reversible hoodie styles, sandwich cuffs between sleeve and lining before sewing to create invisible seams.
Finish Edges for Durability
Clean Hemming Without Fraying
Fleece does not unravel, but hemming improves the look and longevity. For a basic finish, turn under half an inch on all outer edges and sew with zigzag stitch. Optional topstitching around the hood, pockets, and cuffs adds a professional touch.
For a reversible hoodie finish, with exterior and lining wrong sides together, match side seams and fold lining up 4 to 5 inches at the bottom. Pin raw edges together around the bottom and sew all the way around, leaving a 6-inch opening in the lining side seam. Turn the entire blanket right side out and hand-stitch the opening closed with ladder stitch.
This technique hides all seams and creates a reversible finish.
Customize with Embellishments
Add Embroidery for Personality
Machine embroidery transforms a simple blanket into a personalized gift. Popular designs include Christmas peekers with reindeer and elves, forest animals like bears and foxes, holiday themes for Easter and Valentine’s, and monograms or names.
Designs transfer to your embroidery machine via USB or card in formats like DST, PES, JEF, VIP, VP3, and XXX.
Legal Note: These designs are copyright-protected. Only the original purchaser may use them at one location. Do not share or redistribute files.
Gift Idea: Pair an embroidered blanket with DIY socks or a rice heating pad for a thoughtful present.
Reinforce Stress Points
Prevent Seam Failure
Even strong fleece can tear at high-stress areas. Double-stitch the hood attachment and pocket corners. Topstitch around the neckline and cuffs. Use clips instead of pins to avoid stretching. Trim seam allowances to reduce bulk.
With proper reinforcement, your blanket can last 3 to 5 years of regular use.
Compare Design Styles

Choose the Right Type for Your Needs
| Style | Best For | Difficulty | Time |
|---|---|---|---|
| Basic Hooded Throw | Couch use, movie nights | Beginner | 1 hour |
| Wearable Cape Blanket | Mobility aid, chemo patients | Beginner to Intermediate | 1.5 hours |
| Reversible Hoodie | All-day wear, gifting | Intermediate to Advanced | 3 to 5 hours |
The wearable cape style is ideal for elderly users or anyone with mobility challenges because it requires no overhead lifting.
Care and Maintenance Tips
Keep It Soft and Long-Lasting
Wash your blanket in cold water on a gentle cycle. Tumble dry on low heat or air dry. Avoid fabric softener because it coats fibers and reduces softness. Do not iron directly; use low heat with a pressing cloth if needed. Repair loose seams promptly with zigzag stitch.
Sherpa lining may compress over time but still retains warmth.
Join a Crafting Community
Get Support and Free Designs
Share your creation and grow your skills through community resources. The Facebook group Blessings Group by Designs by JuJu offers monthly free embroidery toppers, project showcases, and troubleshooting help. Email support@designsbyjuju.com for pattern assistance.
Many creators post video tutorials. Search hooded fleece blanket DIY on YouTube for visual help from Sew Much Ado, Melly Sews, and other experts.
Key Takeaways for Making a Hooded Fleece Blanket
Making a hooded fleece blanket is a satisfying project that delivers maximum coziness with minimal effort. Choose fleece with at least 10 percent stretch, use a ballpoint needle and zigzag or serger stitches for durability, and measure carefully for a custom fit. Add pockets and cuffs for functionality, and reinforce stress points so your blanket lasts for years.
Whether you are sewing for comfort, gifting, or supporting someone with mobility challenges, this wearable blanket is a versatile win. With the right tools and accurate measurements, you will have a professional-looking result in just one afternoon.
So grab your fabric, fire up your sewing machine, and make a blanket that does not just keep you warm. It moves with you.
Frequently Asked Questions About Making a Hooded Fleece Blanket
What is the best fabric for a hooded fleece blanket?
Polar fleece, double-brushed fleece, and plush fleece work best because they are soft, stretchy, and warm. Avoid cotton blends because they pill easily and lack the stretch needed for comfortable wear.
How long does it take to make a hooded fleece blanket?
A basic hooded throw takes about 1 hour. A wearable cape-style blanket takes 1 to 2 hours. A reversible blanket hoodie with sleeves takes 3 to 5 hours depending on your experience level.
Do I need a pattern to make a hooded fleece blanket?
No. You can create a simple wearable blanket using just body measurements. Measure wrist-to-wrist for width and back-to-knee for length, then cut a rectangle and attach a hood. Free printable patterns are also available online for more complex designs.
Can I use a regular sewing needle on fleece?
No. Use a ballpoint needle sized 14 or 16 to prevent snagging on the knit-like fibers. A regular needle can puncture the fabric and cause runs or tears.
How do I prevent seams from popping on fleece?
Use stretch-friendly stitches such as zigzag, lightning stitch, or a serger overlock. Avoid straight stitches on seams because they cannot stretch with the fabric and will pop under tension.
Is a hooded fleece blanket suitable for elderly or mobility-challenged users?
Yes. Wearable cape-style blankets are ideal because they require no overhead lifting. Users can simply drape the blanket over their shoulders and secure it with optional arm cuffs. This makes it easier to put on and remove than pullover styles.

