
You’ve inherited a closet full of neckties from someone you love, and you can’t bear to throw them away. Maybe they’re silk ties from a father, grandfather, or mentor who wore them to work for decades. The sentimental weight feels too heavy to discard, yet wearing them yourself seems impractical. Turning them into a necktie quilt offers the perfect solution, transforming meaningful fabric into a functional heirloom that tells stories in every stitch.
This guide walks you through every step of learning how to make a necktie quilt using intact ties. You’ll discover proven techniques like the quarter-block Dresden variation, strategic bulk reduction, and the charming tradition of tucking original tie tags into the binding. Whether you want a wall hanging, lap throw, or full bed quilt, you’ll gain the confidence to create a textured, shimmering tribute that lasts for generations.
Choose a Necktie Quilt Design That Fits Your Collection
Pick a Layout That Matches Your Tie Count
Your design choice depends on how many ties you have, your skill level, and the story you want to tell. The most successful necktie quilts keep ties intact and arrange them in radial or grid patterns that highlight their long, tapered shape. Deconstructing ties only makes sense if you’re creating traditional patchwork blocks, since removing linings is slow and often ruins large motifs.
Popular layouts include:
– Dresden Plate: Ties radiate like flower petals around a center
– Starburst: Ties fan from a central point with curved seams
– Grid with Sashing: Ties appliqué in rows separated by solid fabric
– Pictorial Blocks: Designs like the “Starched Shirt” where ties form part of a shirt image
Group ties by theme (Disney, golf, university logos) or by color era for visual harmony throughout your finished piece.
Use the Quarter-Block Dresden for Easier Assembly
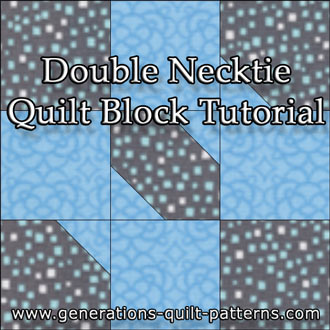
Rather than sewing a full Dresden Plate at once, break it into four quarter-blocks. Each block uses 8 to 10 ties layered on a 21½ inch background square. Sew four blocks, then join them into one large 42 inch unit.
This method:
– Reduces handling of bulky sections
– Lets you test your layout before final stitching
– Makes quilting far more manageable
Cut background fabric slightly oversized at 21½ inches so you can trim to 21 inches after appliqué is complete.
Prepare Ties Without Deconstruction
Keep Ties Whole for Faster Results
Do not rip open the seams unless you’re using the fabric for traditional patchwork. Keeping ties intact preserves their shape, avoids fabric loss, and saves hours of prep work.
To prepare:
1. Lay each tie flat and inspect for stains or damage
2. Iron gently on low heat with a pressing cloth, especially on silk
3. Trim frayed edges if needed, but preserve the tip and knot end
If you plan to use tie tags in the binding, remove them now and store in a labeled bag for later.
Sort Ties by Length and Pattern
Tie lengths vary, with standards ranging from 57 to 60 inches. Group them by size to ensure even blade lengths in radial designs. Also sort by color dominance (red, blue, neutral), pattern type (stripes, florals, solids), and theme (sports, holidays, brands).
This sorting system helps you balance busy and quiet areas in your final layout.
Cut and Layer Background Fabric
Start with Oversized Squares
Cut background fabric into 21½ inch squares for each quarter-block. Use solid dark grey, black, or white to separate busy tie patterns and give the eye a resting place.
For a bed-sized quilt at approximately 84 by 108 inches, you’ll need:
– 4 to 6 Dresden blocks (16 to 24 quarter-blocks)
– Or 12 to 16 grid blocks, depending on layout
Pre-wash fabric if it’s not pre-shrunk, but never wash silk ties since they may shrink unevenly.
Arrange Ties Before Stitching
Lay ties on the background square in a fan shape, with tips pointing toward the center. Overlap them slightly (½ inch) for density. For a fuller look, layer 8 to 10 ties per quarter-block.
Rotate ties so key designs like logos or characters face outward and aren’t lost in seams. Use quilting pins or washable markers to mark starting and ending points.
Appliqué Ties with Machine Stitching
Sew One-Quarter Inch from the Edge
Use a Glide foot or walking foot to handle the thickness of layered ties. Set your machine to a straight stitch with length between 2.5 and 3.0.
Stitch ¼ inch from the outer edge of each tie:
– Start 2 to 3 inches from the block corner to allow fabric manipulation
– Stop and pivot at tight angles
– Backstitch at start and end
Sew one tie at a time, pressing gently after each.
Reduce Bulk at the Center

After stitching all ties, cut out the center layers to prevent lumps:
1. Use a seam ripper to open the back of each tie near the convergence point
2. With small scissors, cut 3 to 4 inches of interfacing and lining from the center of each tie
3. Leave the outer silk shell intact
This step is critical. It allows blocks to lie flat when joined and makes hand appliqué of the center circle possible.
Finish Blocks and Trim to Size
Complete the Final Stitching
After removing center bulk, go back and finish stitching any gaps near the block center. The fabric should now lie flatter.
Check that all ties are securely attached and no raw edges are exposed.
Trim to Final Dimensions
Use a large square ruler (21 inches) to trim each block evenly. Align the ruler’s edge with the outermost tie tips and cut. Now your quarter-blocks are ready to join.
Assemble the Quilt Top
Sew Quarter-Blocks into Full Units
Place two quarter-blocks right sides together. Pin along the seam line, matching centers carefully.
Sew with a ¼ inch seam, then press seams open or to one side. Join two pairs to form one full 42 inch Dresden block. Repeat for remaining blocks.
Add Sashing or Borders
To separate busy blocks, cut sashing strips (2½ inches by width of block) from solid fabric. Sew strips between blocks horizontally and vertically.
For borders, cut 4 to 6 inch wide strips. Attach to sides first, then top and bottom. Miter corners for a clean finish.
Optional: Appliqué single ties vertically along border edges, spaced 1½ inches apart.
Layer and Baste the Quilt
Choose Cotton Batting for Heavy Weight
Use cotton batting like Hobbs 80/20 or 100% cotton to handle the weight and drape of silk. Avoid polyester, which may compress unevenly under heavy tie layers.
Cut batting and backing 2 to 3 inches larger than the quilt top.
Baste for Stability
Lay backing wrong side up and tape edges to a flat surface. Add batting, then quilt top right side up.
Smooth each layer, then baste using one of these methods:
– Spray baste: Best for silk since there are no pins to snag
– Pin baste: Use safety pins if you prefer traditional methods
Work from center outward to avoid wrinkles.
Quilt the Layers Together
Use a Loopy Meander Stitch
Set your machine to a meander or stipple pattern. This free-motion design flexes around thick areas without getting stuck.
Quilt as close to tie edges as possible, but avoid the bulky center if it resists the needle. Use 50 weight cotton or poly thread (like Aurifil Dove Grey) for strength.
If using a longarm machine such as the HandiQuilter Amara, a Glide foot helps feed thick zones smoothly.
Add Final Appliqué and Binding
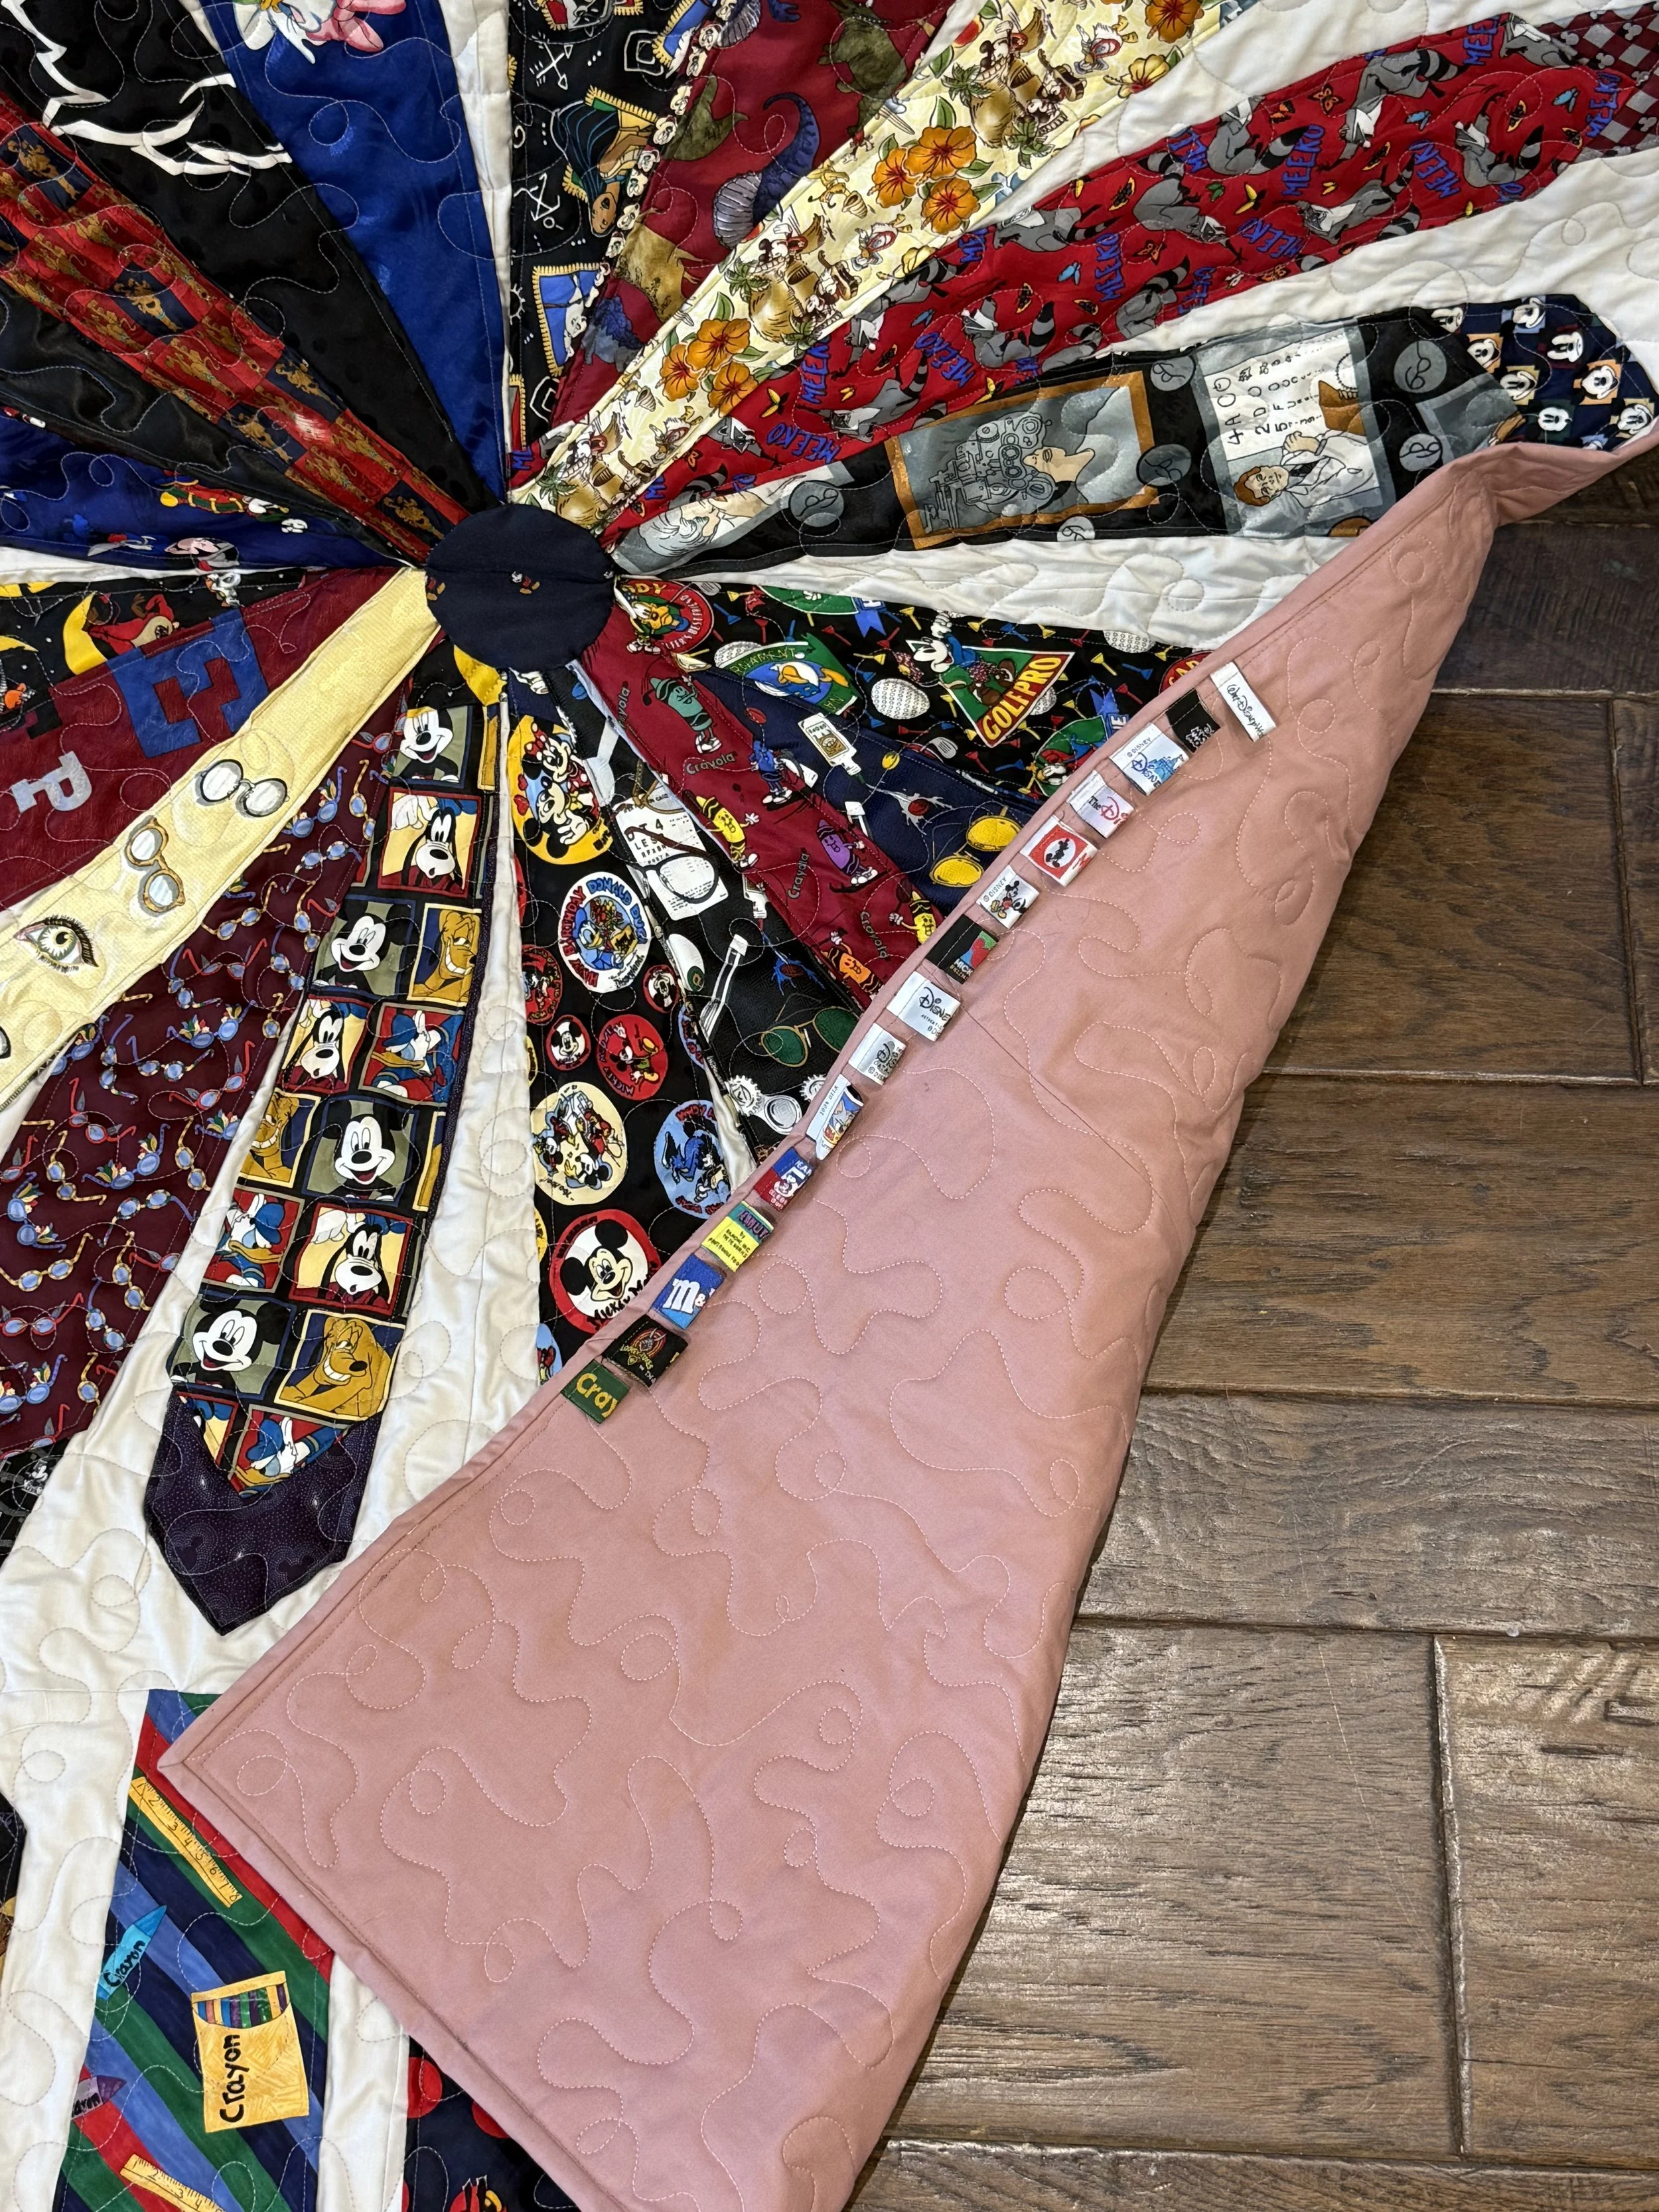
Hand-Stitch the Center Circle
Cut a 3 inch circle from a favorite tie. Use 80 weight super fine thread (Aurifil) for invisible stitching.
With needle-turn appliqué:
1. Fold seam allowance under as you go
2. Blind-stitch around the circle
3. Cover the cut-out center where ties converge
This hides bulk and adds a polished focal point.
Bind the Edges
Cut 2½ inch binding strips from solid fabric. Join at diagonals to minimize seams.
Machine-bind using these steps:
1. Sew to front with a ¼ inch seam
2. Fold to back and hand-stitch in place
Pro Tip: Tuck saved tie tags into the binding channel as you sew. They’ll be hidden on the back, serving as a secret archive of the quilt’s origins.
Finish and Display Your Necktie Quilt
Attach a Hanging Sleeve
For wall display, follow these steps:
1. Cut a 3 inch by width-of-quilt strip from backing fabric
2. Fold in half lengthwise, wrong sides together
3. Sew to the top edge of the quilt back, leaving ends open
Use a steel mounting bar instead of a wooden rod. This supports the heavy weight, since some quilts weigh over 10 pounds.
Care for Your Necktie Quilt Properly
Do not machine wash. Silk and lining may shrink at different rates, ruining the quilt’s shape.
To clean safely:
1. Spot treat stains with a damp cloth and mild soap
2. For full cleaning, hand wash gently in cool water
3. Press water out with towels and never wring
4. Dry flat, away from direct sunlight
Avoid folding over thick seams in storage. Use rolled storage or hang flat to prevent permanent creasing.
Alternative Projects for Fewer Ties
Try a Wall Hanging or Lap Quilt
If you don’t have 50 or more ties, scale down your project:
– Wall hanging: 2 to 4 blocks with no sashing
– Lap quilt: 6 to 9 blocks at smaller scale
– Pillow cover: One or two ties as appliqué
– Stocking or tree skirt: Tree skirts need 250 or more ties, so plan ahead
These projects preserve sentimental value without the weight or labor of a full quilt.
Final Tips for Necktie Quilt Success
Manage Weight and Thickness
Expect a heavy quilt. Some creators joke it’s good for strength training.
Use a sturdy table and strong needle (90/14 or 100/16). Trim bulk early and often throughout construction.
Choose the Right Thread and Foot
Use 50 weight thread for machine work and 80 weight for hand appliqué. A Glide or walking foot prevents fabric drag through thick layers.
Save the Tags
Tucking manufacturer tags into the binding is a beloved detail. It turns each tie into a documented memory, especially meaningful for Disney, Brooks Brothers, or custom-made ties.
Test Before Committing
Make a single quarter-block before committing to the full project. Test your machine’s ability to handle thickness, evaluate layout balance, and confirm bulk reduction effectiveness.
Frequently Asked Questions About Necktie Quilts
How many neckties do I need to make a quilt?
A lap quilt typically requires 30 to 50 ties, while a full bed quilt needs 80 to 180 ties depending on the design. A Christmas tree skirt requires 250 or more ties. Wall hangings can be made with as few as 15 to 20 ties arranged in a small Dresden or grid pattern.
Should I wash neckties before quilting?
Never wash silk ties, as they may shrink unevenly or lose their sheen. Instead, spot clean any stains with a damp cloth and mild soap. Pre-wash your background fabric and binding materials if they aren’t pre-shrunk, but keep ties intact and dry-clean only if necessary.
How do I keep my necktie quilt from being too heavy?
The best technique is cutting out center layers at convergence points. Use a seam ripper to open the back of each tie near the center, then remove 3 to 4 inches of interfacing and lining while leaving the silk shell intact. This dramatically reduces bulk where blocks join together.
Can I machine wash a finished necktie quilt?
No. Machine washing risks shrinkage discrepancies between silk shells and linings, which can warp the quilt permanently. Hand wash gently in cool water with mild soap, press water out with towels without wringing, and dry flat away from sunlight for safest results.
What is the best batting for a necktie quilt?
Cotton batting works best for necktie quilts because it handles the weight and drape of silk layers. Hobbs 80/20 or 100% cotton are excellent choices. Avoid polyester batting, which may compress unevenly under heavy tie layers and create inconsistent texture.
How do I display a heavy necktie quilt on a wall?
Attach a hanging sleeve to the back of the quilt and use a flat steel mounting bar instead of a wooden curtain rod. Steel distributes the heavy weight evenly and prevents sagging. Wall hanging is actually the recommended display method for silk tie quilts since it avoids folding stress on thick seam intersections.
Key Takeaways for Your Necktie Quilt Journey
Learning how to make a necktie quilt transforms sentimental fabric into a lasting heirloom that honors the person who wore those ties. The most important techniques include keeping ties intact for design integrity, using the quarter-block Dresden method for manageable construction, and cutting center layers to control bulk at convergence points.
Start by gathering and sorting your ties, then create a single test block to evaluate your machine’s capacity for thick layers. Choose cotton batting, use a Glide foot for smooth feeding, and finish with a hand-appliquéd center circle that hides bulk beautifully.
Your next step: collect at least 30 ties, purchase cotton batting and solid background fabric, and sew one quarter-block this weekend to test your approach before committing to the full project.

