
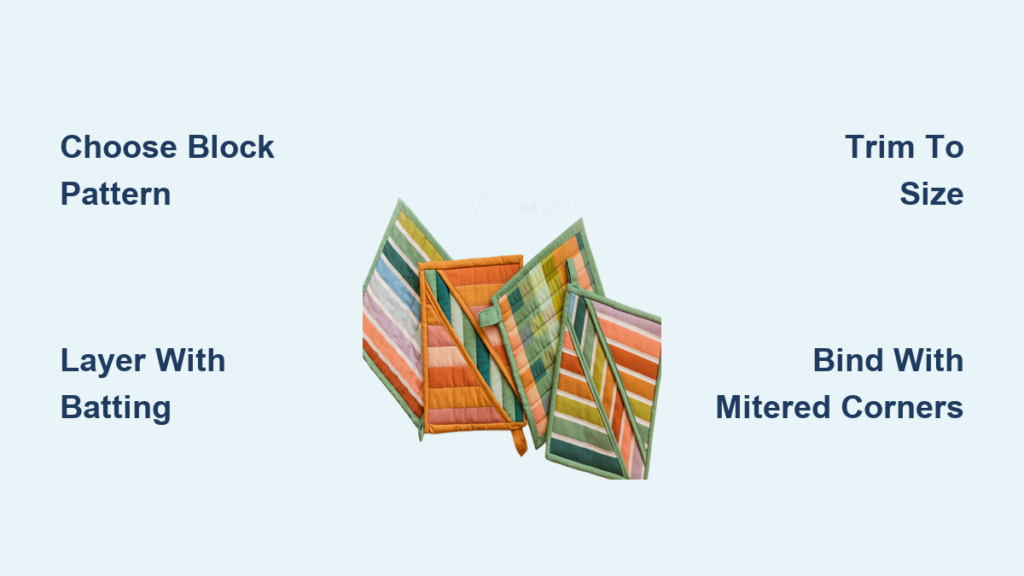
Tired of wrestling a massive quilt through your home sewing machine? The potholder quilt method breaks a large project into small, fully finished blocks—each one quilted, trimmed, and bound like its own mini quilt—before joining them together. Born during the Civil War when communities rapidly assembled quilts for soldiers, this technique remains a favorite for its reversibility, durability, and group-friendly workflow.
If you’ve ever wondered how to make a potholder quilt without the usual quilting headaches, this guide covers everything you need. You’ll learn how to pick patterns, layer and quilt individual blocks, master mitered binding, and assemble a stunning reversible finished piece that lasts for years.
Pick the Right Quilt Block Pattern
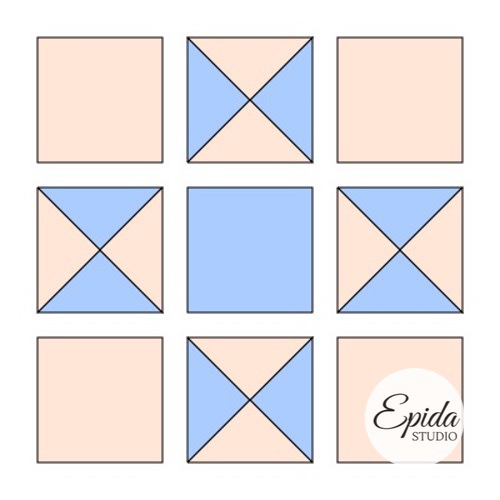
Beginner-Friendly Block Choices
Any traditional quilt block can become a potholder-style unit. The trick is choosing a design that pieces cleanly and finishes at your target size, usually 8″ to 9″.
Top options for new quilters:
– Log Cabin: Strip-pieced around a center square; perfect for using fabric scraps.
– Ohio Star: Bold and symmetrical; works beautifully in reversible designs.
– Flying Geese: Creates dynamic movement in rows or radiating layouts.
– Half-Square Triangles: Fast to piece and endlessly versatile.
For a modern twist, try hexagons or organic petal shapes. These create flowing compositions with intentional negative space between blocks.
Choose Reversible Fabric Pairings
Since potholder quilts are often reversible, coordinate two fabric lines—one for the front, one for the back.
Pro tip: Use the same fabric collection in different colorways, such as pink tones on one side and turquoise on the reverse. This delivers two distinct looks without doubling your fabric stash.
Fabric cuts you may need:
– Fat eighths for small blocks
– Fat quarters or ¼ yard cuts for larger blocks or pairs
– Backing pieces cut slightly larger than your block size
Gather Materials and Tools

Essential Supplies
You’ll need standard quilting tools plus a few specialized items for heat resistance and durability.
Fabrics:
– Quilt top fabric
– Backing fabric
– Binding fabric cut into 1 ¼” wide strips or bias tape
Batting options:
– For heat-resistant potholders: Insul-Bright layered with cotton batting
– For wall or lap quilts: Low-loft wool or lightweight cotton
Core tools:
– Rotary cutter, ruler, and cutting mat
– Sewing machine with a walking foot
– Iron and pressing surface
– Basting spray or pins
– Scissors and quality thread
Helpful notions:
– 1 yard of ½” double-fold bias tape for pockets
– A small bottle cap for rounding corners
– Fabric strips for optional hanging loops
Piece and Layer Each Block
Cut and Assemble Your Block
Sew your chosen pattern using a standard ¼” seam allowance. Accurate piecing now prevents headaches during assembly later.
Example: Log Cabin Block
1. Start with a 2.5″ center square in light fabric.
2. Add 1.5″ wide strips in alternating dark and light order.
3. Press seams flat after each addition.
Your finished pieced block should measure slightly larger than the target size—around 9″ unfinished for an 8 ½” finished block.
Build the Quilt Sandwich
Each block becomes a three-layer sandwich before quilting.
- Backing fabric placed right side down
- Batting layer (Insul-Bright plus cotton for heat resistance)
- Pieced block placed right side up
For functional potholders: Add a 6 ½” pocket square to one side before quilting.
Baste all layers securely with spray baste or pins to prevent shifting during stitching.
Quilt and Trim Each Block
Stitch the Layers Together
Quilting stabilizes each block. Choose a method that complements your design.
Popular quilting styles:
– Stitch in the ditch: Follows seam lines for an invisible finish
– Diagonal crosshatch: Classic grid that secures layers firmly
– Free-motion swirls: Adds texture to modern blocks
– Outline quilting: Emphasizes the shape of each block
Pro tip: Small blocks let you use complex quilting patterns without straining your domestic machine.
Trim to Exact Size
This step is critical. Every block must be the same size before binding.
- Place a ruler over the quilted block.
- Trim all four sides to your target dimension, such as 8 ½” square.
- Confirm corners are square and edges are straight.
Warning: A 1/16″ difference between blocks will create visible gaps during assembly. Measure twice, trim once.
Bind Each Block Individually
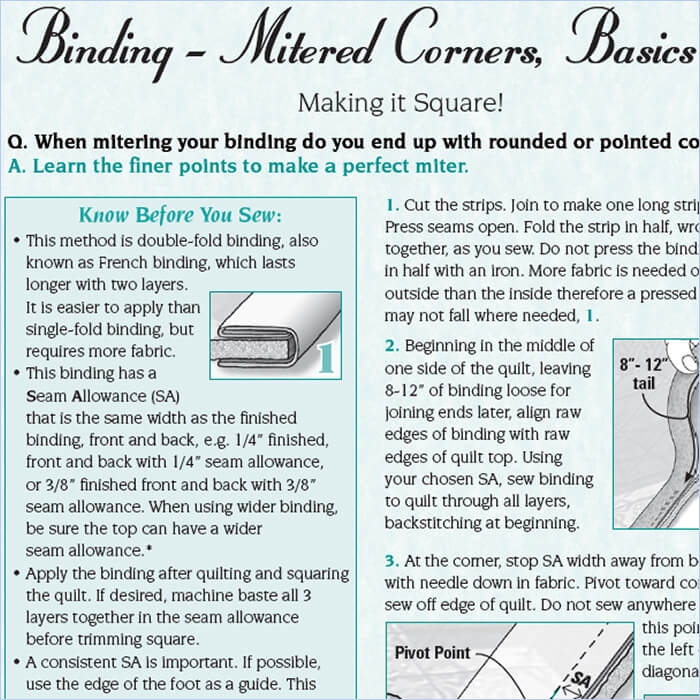
Cut and Prepare Binding Strips
Cut 1 ¼” wide strips from selvage to selvage. Calculate length using this formula:
Length = Perimeter of block + 4″
For an 8 ½” block, the perimeter is 34″. Add 4″ for a total binding length of 38″. Join strips with diagonal seams to reduce bulk.
Apply Binding with Mitered Corners
- Start stitching: Attach binding to the front edge with a ¼” seam. Leave a 2″ tail.
- Approach corner: Stop ¼” from the edge and backstitch.
- Miter fold: Lift the binding up at a 90° angle, then fold it down to create a crisp diagonal.
- Continue: Stitch from the corner edge to the next side.
- Repeat for all four corners.
Join Binding Ends Smoothly
- Stop stitching when 6″ from the starting point. Fold binding up and clip.
- Lay the working end over the starting tail. Mark a diagonal line where the raw edges cross.
- Pin right sides together and stitch along the marked line.
- Trim the seam to ¼” and press open.
- Finish stitching the binding around the block.
Pro tip: Add a slight curve (called a camber) in the overlap to prevent puckering.
Finish Binding by Machine
Fold the binding to the back and stitch in the ditch from the front. This secures the back edge and holds up better than hand stitching through frequent washings.
Optional: Tuck a fabric loop into one corner before final binding to create a hanger.
Assemble the Quilt

Lay Out the Final Design
Arrange all bound blocks on a design wall or clean floor.
- Flip some blocks to show the reverse side for contrast
- Alternate colors or quilting patterns across rows
- Use spacers to preview negative space
Snap a photo to lock in your layout before stitching.
Join Blocks by Hand or Machine
Hand Stitch: Invisible Ladder Seam
Best for a clean, floating-block look.
- Thread a needle with matching thread and knot the end.
- Bury the knot under the binding of the first block.
- Bring the needle up at the top of a mitered corner.
- Take a small stitch across to the adjacent block’s binding.
- Sweep the needle perpendicular into the fabric, then back out.
- Repeat across the seam.
The result is a nearly invisible join, perfect for heirloom quilts.
Machine Stitch: Bold Decorative Join
Faster and more durable for heavy-use quilts.
- Use triple zig-zag or a wide decorative stitch
- Adjust width so the stitch sits centered on the binding seam
- Stitch slowly for even spacing
The stitch line becomes a graphic design element, ideal for modern or utilitarian styles.
Explore Design Variations and Creative Twists
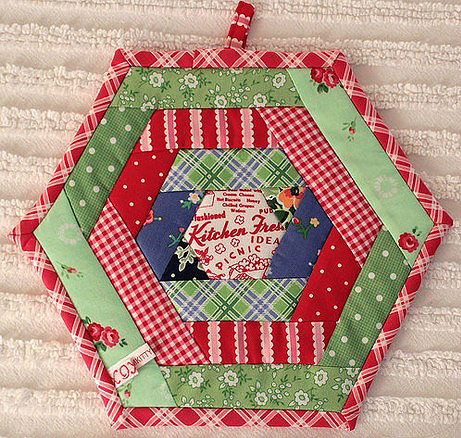
Try Hexagon or Organic Shapes
Squares are standard but not required.
Hexagons:
– Piece from 6 equilateral triangles
– Trim and bind each hexagon individually
– Join in clusters or rows
Organic shapes:
– Cut petal or cloud-like forms
– Leave intentional gaps between blocks
– Let the binding frame each shape like a picture
Create Reversible Magic
Design two completely different looks in one quilt.
- Front: Colorful stars
- Back: Solid navy with white stars
When assembled, flipping the quilt instantly changes the mood of your room.
Pro tip: Use the same block pattern on both sides but rotate or reverse fabric placement.
Experiment with Texture
Vary quilting density between blocks for visual depth.
- High-density grid: Creates a stiff, structured look
- Loose swirls: Produces a soft, drapey feel
- Embellished blocks: Add beads or hand embroidery
Because each block is bound first, different textures won’t cause puckering in the final quilt.
Troubleshoot Common Issues
Fix Puckered Binding
Cause: Binding ends joined too tightly.
Solution: Always add a slight curve (camber) when overlapping ends. Test the technique on scrap fabric first.
Prevent Misaligned Blocks
Cause: Inconsistent trimming between blocks.
Solution: Use the same ruler and technique for every block. Discard any that measure off by more than 1/16″.
Avoid Wavy Edges
Cause: Stretching fabric during quilting.
Solution: Baste thoroughly and quilt from the center outward. A walking foot helps prevent distortion.
Care for Your Finished Quilt
Washing and Maintenance
- Machine washable: Use cold water on a gentle cycle
- Dry flat or tumble on low heat: Prevents shrinkage
- Skip fabric softener: Preserves batting integrity
Reported durability: One quilter’s hexagon lap quilt has been washed twice a year since 2016 and still looks brand new.
Repair and Replace Blocks
Thanks to the modular design, you can:
- Remove a damaged block with a seam ripper
- Replace it with a freshly bound unit
- Re-stitch the seam without affecting the rest
This makes potholder quilts ideal for long-term use and treasured family heirlooms.
Why the Potholder Quilt Method Works
This technique solves common quilting frustrations:
- No large quilt basting: Work small and finish fast
- No machine wrestling: Each block fits easily under the arm
- No distortion from mixed textures: Binding locks each unit in place
- Perfect for groups: Assign blocks, assemble later
- Reversible by design: Double the beauty in one project
Got leftover blocks from past projects? Turn them into a potholder quilt for zero waste and maximum charm.
Frequently Asked Questions About Potholder Quilts
What size should potholder quilt blocks be?
Most quilters use 8″ to 9″ finished blocks. An 8 ½” square is a common target because it fits easily under a domestic sewing machine and creates a balanced grid when assembled.
Can beginners learn how to make a potholder quilt?
Yes. The technique is rated for all skill levels. The small block size removes the intimidation of managing a large quilt, and the binding process is excellent practice for fundamental quilting skills.
What batting works best for heat-resistant potholders?
A combination of Insul-Bright and cotton batting provides the best heat protection. Insul-Bright uses hollow polyester fibers that reflect heat, while cotton adds structure and absorbency.
How do I prevent puckering when joining binding ends?
Create a slight curve (called a camber) in the overlap before stitching the ends together. This small adjustment absorbs tension and keeps the binding smooth around the block.
Are potholder quilts truly reversible?
Yes. Because each block is finished with its own binding, both sides look polished. Many quilters design two distinct looks using coordinated fabric lines in different colorways.
How long does it take to make a potholder quilt?
A single block takes less than an hour. A full quilt varies based on size, but the modular method allows groups to assemble a large quilt in just a couple of hours once all blocks are finished.
Key Takeaways for Making Your First Potholder Quilt
Learning how to make a potholder quilt opens the door to faster, more flexible quilting without sacrificing beauty or durability. Start by choosing a simple block pattern like Log Cabin or Ohio Star, gather quality materials, and focus on accurate trimming and mitered binding. Each finished block becomes a mini quilt you can stitch together by hand for an invisible join or by machine for a bold decorative effect.
Your next step: Cut fabric for one sample block today. Piece, layer, quilt, and bind it before committing to a full quilt. This single test block reveals your fabric’s shrinkage rate, confirms your binding fit, and builds confidence for the entire project.

