
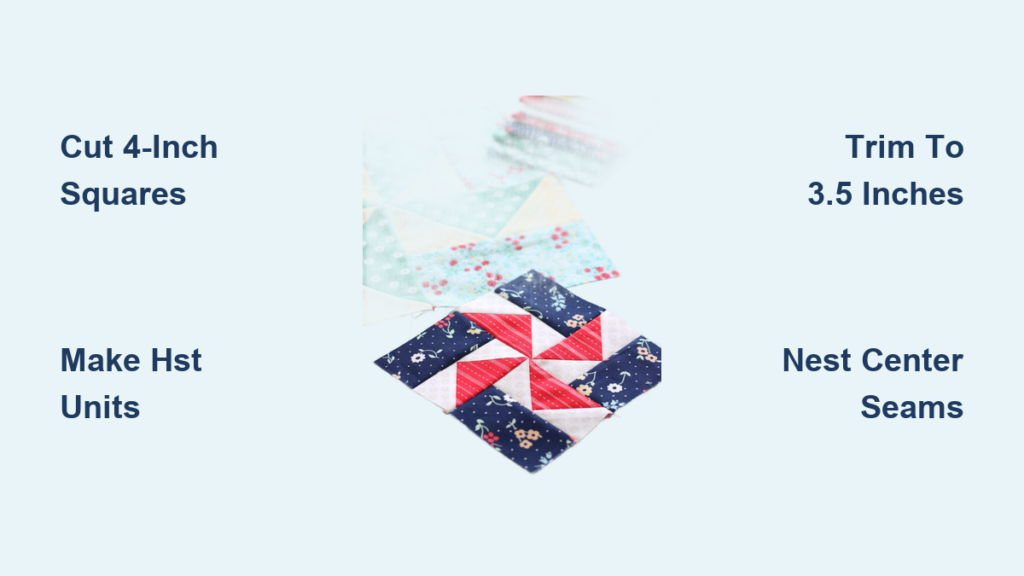
You’ve spotted it in vintage quilts and modern designs alike, the spinning, dynamic pinwheel block. Simple yet striking, this classic pattern suits quilters at every skill level. Whether you raid your scrap bin or pick up new fabric, learning how to make a pinwheel quilt block unlocks endless quilt layout possibilities. The secret lies in mastering the Half-Square Triangle (HST), the building block behind this design. With precise cutting, careful pressing, and smart trimming, you can create a flat, sharp-pointed pinwheel every single time.
This guide walks you through every step, from fabric selection to final pressing, with pro tips to sidestep common pitfalls like misaligned points or a lumpy center. By the end, you’ll hold a perfectly sized, professional-looking block ready for your next project.
Cut Fabric to Size

Select Two Contrasting Fabrics
Pick one light fabric and one dark fabric for maximum visual contrast. Cotton quilting fabric works best because it presses cleanly and holds its shape. Scraps are perfect for practice runs or small projects. For a standard 6″ finished block, the most common size, you’ll need:
• Two 4″ squares of Fabric 1 (light)
• Two 4″ squares of Fabric 2 (dark)
Check the sizing chart below for other block dimensions.
| Finished Block | Unfinished Block | Starting Square |
|---|---|---|
| 4″ | 4 ½” | 3″ |
| 6″ | 6 ½” | 4″ |
| 8″ | 8 ½” | 5″ |
| 10″ | 10 ½” | 6″ |
| 12″ | 12 ½” | 7″ |
Use Sharp Tools for Accuracy
Cut squares with a rotary cutter, self-healing mat, and clear acrylic ruler. Dull blades or warped rulers create uneven edges that compound during assembly. Make sure all four sides of each square are perfectly straight and perpendicular. Trim the selvage edge first, then cut accurately to size.
Make Half-Square Triangles
Mark Diagonal Lines Correctly
Turn the wrong side of one fabric square face up (usually the lighter one). Use an air-erasable or washable fabric pen to draw a single diagonal line from corner to corner. This line guides your stitching.
Pro Tip: If the line is hard to see on the lighter fabric, draw it on the darker fabric instead. Just make sure your thread contrasts well so you can stitch accurately.
Sew and Cut HST Units
Place a marked square and an unmarked square right sides together. Pin or clip to prevent shifting.
• Stitch exactly ¼” away from both sides of the drawn line.
• Cut along the diagonal line to separate into two HSTs.
• Repeat with remaining squares to create four HST units.
⚠️ Never sew over pins. Stop, remove the pin, then continue. Breaking a needle can damage your machine.
Press for Flat Seams
Press the seam allowances toward the darker fabric to reduce shadowing on the right side. Alternatively, press seams open to reduce bulk, especially if you plan to nest seams later.
Check that each HST is accurate before moving on. Misaligned seams here will distort your final block.
Trim HSTs to Perfection

Align Using a Square Ruler
For the cleanest results, use a square ruler with a 45° line, such as a Bloc Loc or Creative Grids square ruler.
- Place the ruler over the HST.
- Align the 45° ruler line with the seam.
- Ensure excess fabric extends beyond the 3 ½” marks (for a 6″ block).
- Trim the right and top edges.
- Rotate the HST 180°, realign the 45° line and 3 ½” marks, then trim the other two sides.
Result: a perfectly square, centered HST with points that meet precisely.
Trim Without a Specialty Ruler
No square ruler handy? Use your rectangular ruler and cutting mat with grid lines.
- Place HST on the mat, aligning the diagonal seam with a diagonal grid line.
- Trim right edge to 3 ½” width using horizontal lines.
- Flip the HST top to bottom (keep orientation stable), then trim the new right edge.
- Rotate the mat 90° and repeat for height.
Visual Cue: After trimming, check that the seam runs perfectly from corner to corner and the block is square.
Arrange and Assemble the Block
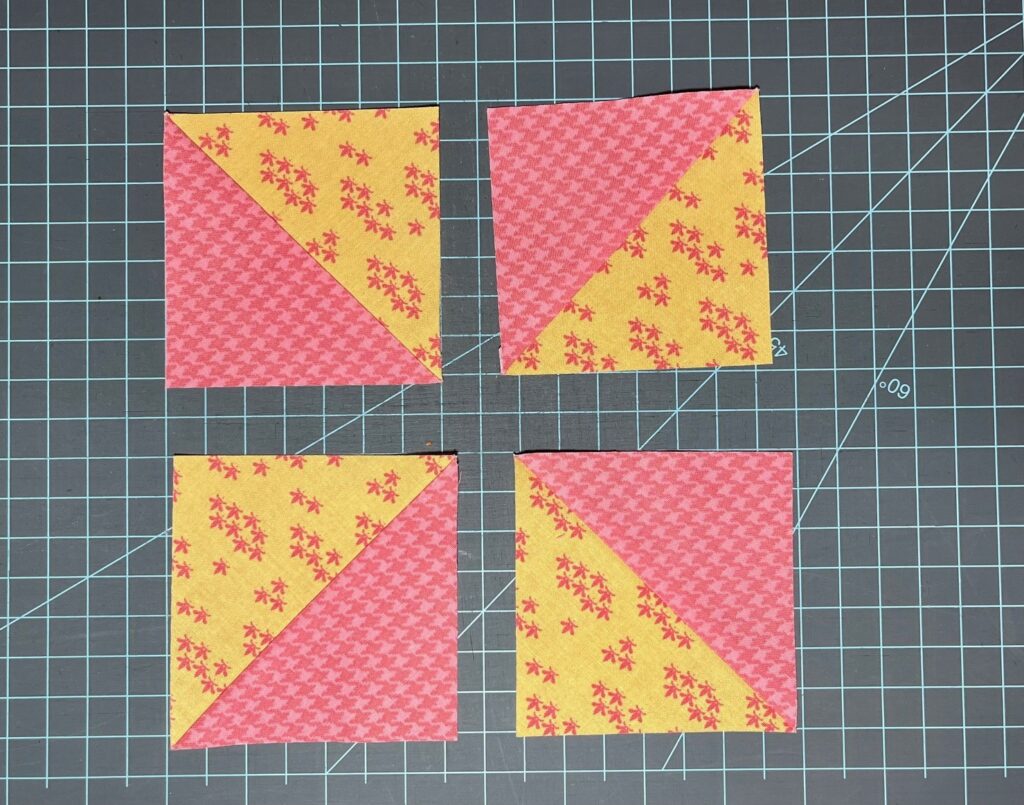
Position HSTs for Pinwheel Effect
Lay the four trimmed HSTs in a 2×2 grid. The key to the spinning pinwheel look is correct orientation:
• Two HSTs should have the dark triangle pointing inward (toward center).
• The other two should have the light triangle pointing inward.
• Rotate them so the colored “arms” flow in a circular direction.
❌ Wrong: All dark corners meet in center, which creates an hourglass.
✅ Right: Alternating dark and light points spin around the center.
Sew Rows and Join Together
- Sew the top two HSTs together.
- Sew the bottom two HSTs together.
- Press seams: Press one row left, the other right to enable nesting.
Match Seams with Nesting Technique
Pin the two rows together, right sides facing. Push the seam allowances so they butt against each other (not overlap). You’ll feel a ridge when aligned.
• This “locks” the center intersection.
• Stitch across with a consistent ¼” seam.
Expert Note: If seams are pressed open, nesting isn’t possible. Just pin carefully and match points by eye.
Reduce Bulk at the Center
Use the Open-Center Trick
A thick center can pucker or resist quilting. Prevent this:
• When sewing the two rows, start stitching ¼” from the center.
• Sew to the edge, backstitch, then sew the other side from the edge to ¼” from center.
• Leave a tiny gap in the middle.
This prevents thread buildup and allows you to press the center open.
Press the Center Flat
After sewing, gently open the very center with your fingers or the tip of the iron. Push one seam allowance up and the other down to create a mini pinwheel on the back.
Result: a flat, smooth center with no bulk, ideal for machine quilting.
Fix Common Mistakes
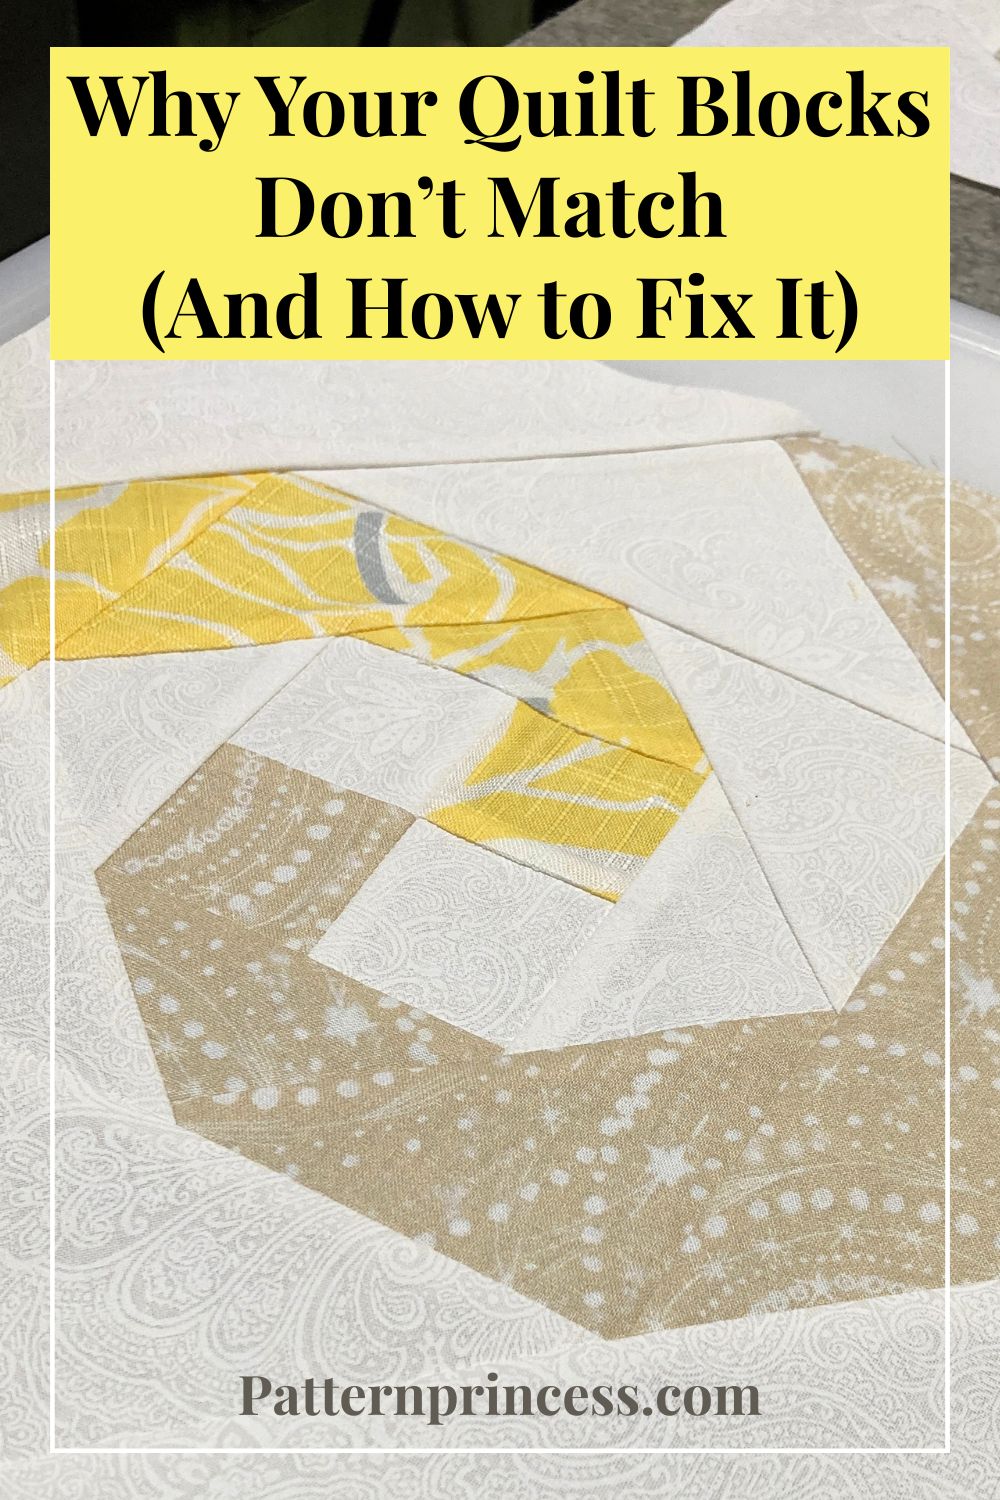
Points Don’t Meet in Center
Cause: Inconsistent seam allowance or misaligned trimming.
Fix:
• Recheck your ¼” foot. Test it with a scrap first.
• Always trim HSTs to exact size before assembly.
• Use the nesting method to lock seams.
Quick Test: Place two HSTs right sides together. If the points align perfectly before sewing, your prep is solid.
Block Is Not Square
Cause: Uneven trimming or stretched bias edges.
Fix:
• Use the 45° line on your ruler to verify diagonal alignment.
• Handle HSTs gently and avoid pulling on diagonal (bias) edges.
• After final assembly, place on cutting mat and realign edges using grid lines.
Center Is Bulky or Puckered
Cause: All seams pressed in the same direction.
Fix:
• Press seams open or use the open-center trick.
• Trim excess thread from intersections.
• Use a smaller stitch length (1.8 to 2.0) for finer thread control.
Maintain Precision Throughout
Check Seam Allowance Frequently
Even slight deviations add up. Every few seams, stitch a test square:
- Cut two 3″ squares.
- Make an HST, trim to 2 ½”.
- Measure the result.
If it’s smaller than 2 ½”, your seam is too wide. Adjust your needle position or guide.
Handle Bias Edges Gently
The diagonal of an HST is on the bias, which means it’s stretchy and prone to distortion.
• Don’t pull or tug while pressing.
• Use clips instead of pins if they distort the fabric.
• Press with a lift-and-set motion, not a sliding iron.
Scale Up or Down Easily
Apply the Formula to Any Size
The method stays the same regardless of block size. Just follow the rule:
Starting square size = (Finished block size ÷ 2) + 1″
Example: For a 10″ finished block:
• Half = 5″
• Add 1″ = 6″ starting squares
Trim HSTs to (Finished block size ÷ 2) + ½” (e.g., 5 ½” for a 10″ block).
Pro Tip: Larger blocks benefit from chain-piecing HSTs. Sew multiple pairs in a row without breaking thread.
Finalize and Use Your Block
Verify the Back Looks Clean
Flip the block over. A well-made pinwheel will show:
• A small four-petal pinwheel in the seam allowances.
• All seams flowing outward from the center.
• No tucks or puckers.
This confirms reduced bulk and proper pressing.
Plan Your Next Steps
Now that your block is complete:
• Make more: Create multiples for a full quilt.
• Alternate with plain blocks: Try a checkerboard layout.
• Add sashing or borders: Frame the pinwheel for a vintage look.
Idea: Rotate some blocks 180° in the layout to create an “X” or “windmill” effect across the quilt top.
Frequently Asked Questions About Pinwheel Quilt Blocks
What is the easiest way to make a pinwheel quilt block for beginners?
The easiest method uses Half-Square Triangles. Cut two contrasting 4″ squares, draw a diagonal line, sew ¼” on both sides, cut apart, press, and trim. Four HSTs arranged correctly form the pinwheel shape with minimal math and maximum visual impact.
How big should I cut my starting squares for a pinwheel block?
For a 6″ finished block, cut 4″ squares. The general formula is finished block size ÷ 2 + 1″. A 10″ finished block needs 6″ starting squares, while a 4″ block needs only 3″ squares.
Why are my pinwheel points not meeting in the center?
Points typically miss the center because of inconsistent seam allowances or inaccurate trimming. Test your ¼” foot with a scrap, trim every HST to exact size, and use the nesting technique to lock center seams together before stitching.
Can I make a pinwheel block without a specialty square ruler?
Yes. Use a standard rectangular ruler and a cutting mat with grid lines. Align the HST seam with a diagonal grid line, trim to the correct width, rotate the mat 90°, and trim again. The result is just as accurate with a little extra care.
How do I keep the center of my pinwheel block flat?
Use the open-center trick. Leave a ¼” gap at the center seam when joining rows, then press the intersection open with your fingers or iron tip. This creates a mini pinwheel on the back and eliminates bulk that causes puckers.
What fabrics work best for a pinwheel quilt block?
Cotton quilting fabric works best because it presses cleanly, holds shape, and handles bias edges without excessive stretching. Choose high-contrast colors (one light, one dark) for the most striking pinwheel effect.
Key Takeaways for Making a Beautiful Pinwheel Quilt Block
The pinwheel quilt block rewards precision over speed. Focus on three core habits: cutting accurate squares with sharp tools, trimming every HST to exact dimensions before assembly, and pressing seams thoughtfully to reduce center bulk. These small steps transform a simple pattern into a professional-looking block.
Start with a 6″ finished block using 4″ starting squares, the most beginner-friendly size. Once you’ve mastered one block, scale up or down using the simple formula (finished size ÷ 2 + 1″ for starting squares). Chain-piecing saves time when making multiple blocks for a full quilt.
Your next step is clear: grab two contrasting fabrics, cut your squares, and sew your first pinwheel block today. Once you see that spinning design come together, you’ll have a versatile building block ready for countless quilt projects.

