
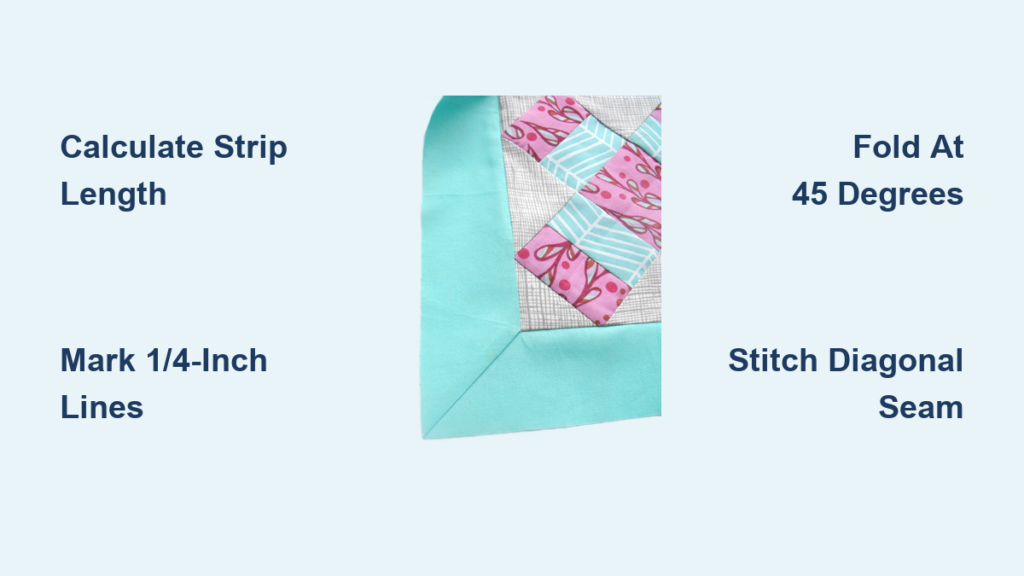
You’ve spent hours piecing your quilt top, but the corners look unfinished and choppy. Standard borders meet at blunt 90-degree angles that interrupt your fabric’s pattern, especially with stripes or plaids. Mitered borders solve this problem by creating seamless 45-degree corners that flow like a custom picture frame around your quilt.
This guide teaches you exactly how to miter borders on a quilt using a reliable formula, precise marking, and careful pressing. You’ll learn the math behind perfect strips, how to fold and stitch clean diagonal seams, and how to fix common mistakes before they become permanent.
Calculate Border Strip Length the Right Way
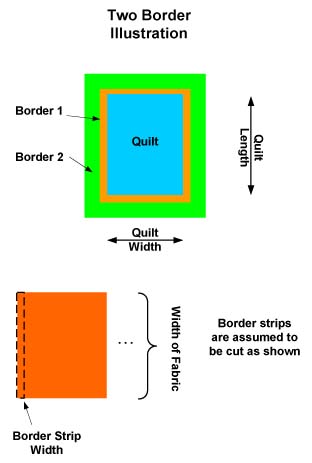
Accurate cutting prevents most mitering problems before they start. Border strips that are too short won’t form a proper diagonal fold. Strips that are too long waste fabric and create bulk at the corners. A simple formula gives you the correct length every time.
Use the Mitered Border Length Formula
The standard formula for border strip length is:
Strip Length = Quilt Side + (2 × Border Width) + 1 inch
The extra inch acts as a safety buffer. It gives you room to handle the fabric during alignment and trim away any excess later. Some quilters add 1 to 2 inches for extra peace of mind.
Here is a working example:
– Quilt side: 60 inches
– Border width: 4 inches
– Required strip length: 60 + (2 × 4) + 1 = 69 inches
Even if other sources suggest 68 inches, the additional inch prevents last-minute frustration when aligning the diagonal fold.
Cut Strips Longer Than You Think
Always cut your border strips longer than the quilt side measurement. Never assume pre-cut fabric is sufficient, especially if your quilt top isn’t perfectly square.
- Cut strips on the cross-grain for better stability
- Press strips before measuring to avoid hidden shrinkage
- Label each strip (top, bottom, left, right) to prevent mix-ups
- Measure each side individually for accuracy
Mark Stopping Points Before Sewing

Marking your fabric before stitching prevents accidental seams in the miter zone. This step keeps your corners clean and your diagonal fold aligned.
Draw Quarter-Inch Corner Lines
Using an erasable fabric marker, draw a line exactly 1/4 inch from each corner edge along all four sides of the quilt. These lines mark where your stitching must begin and end.
When you attach the border, you’ll start sewing exactly where the first 1/4-inch line meets the edge and stop at the opposite line. This leaves a clean, unsewn corner area where the miter will form.
Pro Tip: If your quilt has multiple border strips, mark only the outermost border before mitering.
Attach Borders with Controlled Stitching
Unlike standard borders, mitered borders are not sewn corner to corner. You stop short of each corner to leave room for the diagonal fold.
Sew Borders Within the Marked Lines
For each side, follow these steps:
- Place the border strip right sides together with the quilt edge
- Align the raw edges evenly
- Start sewing at the intersection of the first 1/4-inch mark and the edge
- Use a precise 1/4-inch seam allowance
- Stop stitching exactly at the second 1/4-inch mark
- Backstitch at both ends to secure the seam
Repeat for all four sides. Do not sew over the adjacent border tails. Let them lie free, overlapping but unstitched at the corners.
Press Seams Open After Each Border
After attaching each border, press the seam allowance open rather than toward the border. Open pressing reduces bulk at the corners and prevents lumps under the miter.
Use a dry iron and press without dragging. Dragging stretches the fabric and distorts your carefully measured edges.
Fold Borders to Form the Miter

This is where your quilt transforms from square-cornered to professionally mitered. The fold creates a perfect 45-degree angle that locks the border strips together.
Align Borders at a 45-Degree Angle
Work on one corner at a time. Lay the quilt flat on a large surface with no bunching or folding.
- Fold the quilt diagonally from corner to corner
- Bring the two border strips together so they lie right sides up
- Match the inner seams where each border meets the quilt top
- Ensure the strips stack perfectly with no gaps
Your goal is two border strips forming a straight line from the inner corner outward, with a triangle of excess fabric extending from the corner.
Pin Layers for Stability
Once the fold is set, smooth out any wrinkles or tucks. Pin through all layers at the fold and add extra pins near the inner corner and along the raw edges. Secure the tails so they don’t shift when you move to the sewing machine.
Mark and Stitch the Diagonal Seam
Now you lock in the miter with a single diagonal stitch. Accuracy here determines whether your corner lies flat or bubbles after quilting.
Draw a Precise 45-Degree Sewing Line
Use a straight ruler with a printed 45-degree angle marking.
- Align the 45-degree mark with the inner seam where the borders meet the quilt top
- Position the ruler’s edge along the fold or raw edge
- Draw a line from the inner corner to the outer raw edge
This line is your stitching guide. Double-check alignment before drawing, because a small ruler slip creates a large error at the outer edge.
Warning: A 1/8-inch error at the inner corner can cause a 1-inch wave at the outer edge of your border.
Sew Along the Marked Line
Take the quilt to the sewing machine with the bulk folded out of the way.
- Begin stitching exactly at the inner corner intersection
- Follow the marked line precisely
- Backstitch lightly at the start and end
- Sew slowly near the corner for control
Expert Note: Some quilters leave a tiny gap (about half a stitch) at the very tip to reduce puckering. Try this if your corners pucker after pressing.
Trim and Press for a Professional Finish
A clean miter requires trimming excess fabric and pressing strategically. Skipping this step leads to bulky, uneven corners that show through the finished quilt.
Trim the Seam Allowance to 1/4 Inch
After stitching the diagonal seam, refold the quilt along the diagonal. Use a square ruler or an Add-A-Quarter ruler to trim the seam allowance to 1/4 inch beyond the stitching line.
This removes bulk while keeping the seam strong. Cut slowly and avoid trimming too close to the stitching, because a jagged edge weakens the seam.
Press the Miter Seam Open
Unfold the corner and press the diagonal seam open. This step is non-negotiable for professional results. Open pressing eliminates lumps and ensures the corner lies perfectly flat against the table.
Fix Common Miter Mistakes Before Quilting
Even experienced quilters make errors. Most miter problems can be corrected before quilting, so don’t ignore warning signs.
Wavy or Bubbling Corner
Cause: Ruler slipped during marking, or quilt wasn’t flat when folding.
Fix: Unpick the diagonal seam, re-fold, re-mark, and re-stitch with perfect 45-degree alignment.
Pointy or Tight Corner
Cause: Not enough fabric in the fold, or angle less than 45 degrees.
Fix: Unpick and re-fold, ensuring the diagonal line starts at the true inner corner with a fresh 45-degree ruler.
Puckered Inner Corner
Cause: Too many stitches piled up at the intersection.
Fix: Leave a tiny gap (about half a stitch) at the center. Press the seam open firmly with a dry iron.
Misaligned Pattern
Cause: Borders not matched before folding.
Fix: Unfold, realign the seams, refold, and restitch. For plaids or stripes, pin pattern lines together before folding.
Verify Each Corner Before Moving On
Don’t assume the miter is perfect. A quick inspection saves hours of frustration later.
Final Miter Checklist
Before trimming or pressing, confirm the following:
– Does the corner lie flat on the table?
– Is the angle exactly 45 degrees?
– Do stripes or prints line up across the corner?
– Are borders square to the quilt body?
– Is the seam allowance trimmed to 1/4 inch?
– Is the diagonal seam pressed open?
If any check fails, unpick and redo. The effort is worth it because errors amplify during quilting.
Practice on a Small Project First

Mitered borders are easier to master when you’re not risking a full-size quilt. A practice square builds confidence fast.
Build a Practice Square
Cut the following pieces:
– An 8.5-inch square for the center
– Four 1.5-inch-wide border strips, each 12.5 inches long (using the formula: 8.5 + 3 + 1)
Follow every step from marking to pressing. You’ll gain muscle memory and avoid costly mistakes on your real project.
Pro Tip: Use contrasting thread so you can easily see and fix errors during practice.
Frequently Asked Questions About Mitered Borders
What is the formula for mitered border strip length?
The formula is Quilt Side + (2 × Border Width) + 1 inch. For example, a 60-inch quilt side with a 4-inch border requires a 69-inch strip. The extra inch provides a safety margin for alignment and trimming.
Why do mitered corners wave or bubble after quilting?
Wavy corners usually result from ruler slippage during marking or bunching during folding. A 1/8-inch error at the inner corner can create a 1-inch wave at the outer edge. Unpick the seam and restitch with precise 45-degree alignment on a flat surface.
Can you miter borders on a quilt with stripes or plaids?
Yes, and mitering is especially recommended for directional fabrics. The 45-degree fold allows patterns to flow continuously around the corners instead of being chopped off at 90-degree angles. Pin pattern lines together before folding for perfect alignment.
Should you press miter seams open or to one side?
Press miter seams open for the best results. Open pressing reduces bulk at the corners and prevents lumps from showing through the finished quilt. This step is essential for a professional appearance.
How do you prevent puckering at the inner corner?
Avoid piling up stitches at the exact intersection point. Leave a tiny gap (about half a stitch) at the very tip to allow the fabric layers to relax. Press the seam open firmly with a dry iron after stitching.
Is it harder to miter borders on a large quilt?
The technique is the same regardless of quilt size, but large quilts are harder to handle on a standard table. Work on a flat floor or large surface to prevent bunching, and consider mitering one corner at a time for accuracy.
Key Takeaways for Mitering Quilt Borders Like a Pro
Mitered borders elevate any quilt from homemade to professionally finished. The technique relies on three core principles: accurate cutting using the formula Side Length + 2×Width + 1 inch, precise marking with a 45-degree ruler, and consistent open pressing to eliminate bulk.
Start with a small practice square to build confidence before tackling your main project. Measure carefully, mark slowly, and check each corner against the verification checklist before moving forward. Precision matters more than speed when learning how to miter borders on a quilt.
Your next step is gathering your tools (a 45-degree ruler, erasable fabric marker, and Add-A-Quarter ruler) and cutting strips for a practice block. Master the technique on scrap fabric, then apply it to your quilt top with confidence.

